Quick Summary: Ideally, the toilet flange should sit on top of the finished tile floor. This ensures a proper seal between the toilet and the waste pipe, preventing leaks and potential water damage. If your flange is below the tile, you’ll need to raise it using flange extenders or shims to achieve the correct height. This is crucial for a watertight and odor-free bathroom.
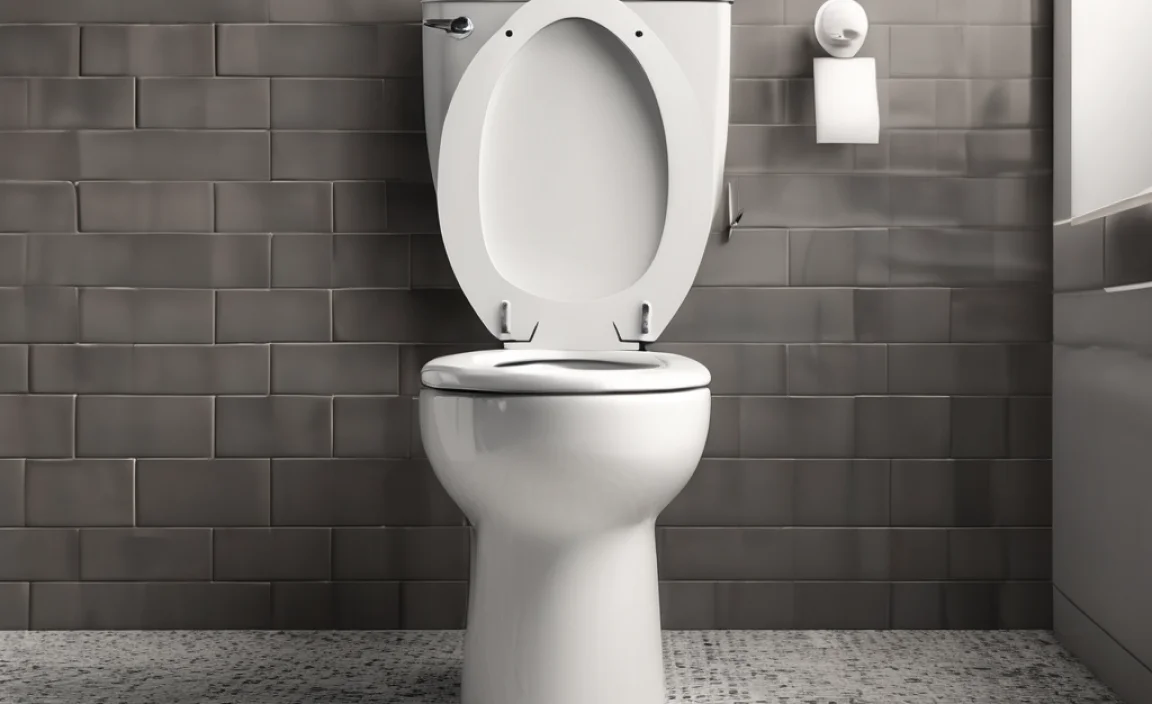
Ever flushed your toilet and worried about leaks? One of the most common reasons for toilet troubles is an improperly installed toilet flange. This crucial part connects your toilet to the drainpipe. Getting the flange height right is key to preventing leaks and nasty smells. It might seem tricky, but don’t worry! This guide will show you exactly how to make sure your toilet flange is sitting pretty on top of your tile, step by step. We’ll cover everything from checking the height to fixing common problems. Let’s get started and keep your bathroom dry and worry-free!
Understanding the Toilet Flange
The toilet flange, also known as a closet flange, is the connecting point between your toilet and the drainpipe. It’s usually made of PVC, ABS, or metal. This seemingly simple ring plays a big role in your bathroom’s plumbing. The flange provides a secure and leak-proof connection, ensuring waste goes where it should. When installed correctly, it prevents water and sewer gases from escaping into your bathroom. A properly installed flange also supports the weight of the toilet, keeping it stable and preventing wobbling.
Why Flange Height Matters
Why is the height of the toilet flange so important? If the flange is too low relative to the finished floor, you won’t be able to get a good seal with the wax ring. This leads to leaks, which can damage your floor and subfloor. On the other hand, if the flange is too high, the toilet might not sit correctly, causing it to wobble or even crack. The ideal scenario is for the flange to sit directly on top of the finished floor, providing a solid and even surface for the toilet to seal against.
Common Problems with Toilet Flange Height
Several issues can arise with toilet flange height, often during or after bathroom renovations. Here are a few common scenarios:
- Flange Too Low After Tiling: This is the most frequent problem. When new tile is installed, it raises the floor level, leaving the existing flange sitting too low.
- Broken or Damaged Flange: Over time, flanges can crack or break, especially if they’re made of plastic.
- Incorrect Installation: Sometimes, the flange is simply installed at the wrong height to begin with.
- Settling Foundation: In older homes, the foundation can settle, causing the plumbing to shift and the flange to sink.
Recognizing these issues early can save you from costly repairs down the road.
Does the Toilet Flange Sit on Top of Tile? – The Ideal Scenario
Yes, the ideal scenario is for the toilet flange to sit on top of the finished tile floor. This arrangement ensures that the flange is at the correct height to create a proper seal with the wax ring when the toilet is installed. When the flange is correctly positioned, the wax ring can compress evenly between the toilet and the flange, creating a watertight seal that prevents leaks and sewer gas from escaping.
Benefits of a Flange on Top of Tile
- Watertight Seal: Proper compression of the wax ring prevents leaks.
- Stability: The toilet sits firmly on the floor without wobbling.
- Odor Prevention: Prevents sewer gases from entering the bathroom.
- Prevents Floor Damage: Keeps water away from the subfloor, preventing rot and mold.
What Happens If the Flange Is Not on Top of Tile?
If the toilet flange is not on top of the tile, several problems can arise. The most common issue is a leaky seal, which can lead to water damage, mold growth, and unpleasant odors. The toilet may also wobble if the flange is too low, which can eventually cause the wax ring to fail.
Tools and Materials You’ll Need
Before you start, gather these tools and materials. Having everything on hand will make the job go smoothly.
- Toilet Flange Extender: Used to raise the flange to the correct height.
- Toilet Shims: Small plastic wedges used to level the toilet if needed.
- Wax Ring: Creates a watertight seal between the toilet and the flange.
- New Toilet Bolts and Washers: To secure the toilet to the flange.
- Screwdriver or Wrench: To tighten bolts and screws.
- Putty Knife or Scraper: To remove old wax ring residue.
- Measuring Tape: To measure the flange height accurately.
- Level: To ensure the toilet is level.
- Gloves: To protect your hands.
- Safety Glasses: To protect your eyes.
- Old Rags or Towels: For cleanup.
Step-by-Step Guide: Fixing a Flange That’s Too Low
If your toilet flange is sitting below the tile, don’t worry! Here’s how to fix it.
Step 1: Assess the Situation
First, you need to figure out how low the flange is. Use your measuring tape to measure the distance from the top of the flange to the top of the finished tile floor. This measurement will determine the type and size of extender you’ll need.
Step 2: Turn Off the Water Supply
Before you remove the toilet, turn off the water supply valve located behind the toilet. Flush the toilet to remove as much water as possible from the tank and bowl. Use a sponge to soak up any remaining water.
Step 3: Disconnect the Toilet
Remove the caps covering the toilet bolts. Use a wrench to loosen and remove the bolts. You might need to use a bit of force if they’re corroded. Once the bolts are removed, gently rock the toilet from side to side to break the wax seal. Lift the toilet straight up and carefully set it aside on an old towel or blanket to prevent damage.
Step 4: Clean the Old Flange
Using a putty knife or scraper, remove all traces of the old wax ring from the flange and the bottom of the toilet. Make sure the surface is clean and smooth for the new wax ring to seal properly.
Step 5: Install a Flange Extender
A flange extender raises the height of the existing flange. There are different types of extenders available, so choose one that matches your flange type and the height you need to raise it. Follow the manufacturer’s instructions for installation. Generally, this involves placing the extender over the existing flange and securing it with screws.
Step 6: Install a New Wax Ring
Place a new wax ring on the bottom of the toilet around the waste opening. Some wax rings come with a plastic horn, which should face down into the flange.
Step 7: Reinstall the Toilet
Carefully align the toilet over the flange and lower it straight down, pressing firmly to compress the wax ring. Make sure the toilet sits evenly on the floor. If it wobbles, use toilet shims to level it. Insert the new toilet bolts and washers, and tighten them evenly until the toilet is securely fastened to the floor. Be careful not to overtighten, as this can crack the porcelain.
Step 8: Connect the Water Supply
Reconnect the water supply line to the toilet. Turn the water supply valve back on and check for leaks around the base of the toilet and the water supply connection. Flush the toilet several times to ensure everything is working properly.
Step 9: Finishing Touches
Trim any excess shim material with a utility knife. Cover the bolt heads with the plastic caps. Clean up any mess and dispose of the old wax ring and other materials properly.
Alternative Solutions for Raising a Toilet Flange
Sometimes, a standard flange extender might not be enough, or you might prefer a different approach. Here are a couple of alternative solutions.
Using Multiple Wax Rings
In some cases, you can use two wax rings stacked on top of each other to create a higher seal. This is generally only recommended for small gaps, as it can be less reliable than using an extender. Make sure to use wax rings of the same size and type, and press them firmly together before installing the toilet.
Adjustable Flange Extenders
Adjustable flange extenders are designed to provide a customizable solution for raising the flange height. These extenders typically consist of a base that attaches to the existing flange and an adjustable collar that can be raised or lowered to the desired height. This type of extender can be particularly useful if you need to fine-tune the flange height to achieve a perfect seal.
Dealing with a Broken or Damaged Flange
If your toilet flange is cracked or broken, it’s important to address the problem promptly to prevent leaks and further damage. Here’s how to deal with a broken flange.
Assessing the Damage
Carefully inspect the flange to determine the extent of the damage. If the flange is only slightly cracked, you might be able to repair it with a flange repair kit. However, if the flange is severely damaged or corroded, it’s best to replace it entirely.
Repairing a Cracked Flange
Flange repair kits typically include a metal or plastic ring that fits over the existing flange, providing a new surface for the toilet to seal against. To install a repair kit, clean the flange thoroughly and apply adhesive to the underside of the repair ring. Press the ring firmly onto the flange and allow the adhesive to dry completely before reinstalling the toilet.
Replacing a Flange
Replacing a toilet flange is a more involved process, but it’s necessary if the flange is severely damaged. The process involves cutting away the old flange and connecting a new flange to the drainpipe. This typically requires some plumbing experience and may involve using special tools and fittings. If you’re not comfortable with this type of repair, it’s best to hire a qualified plumber to do the job.
When to Call a Professional Plumber
While many toilet flange issues can be resolved with DIY solutions, there are situations where it’s best to call a professional plumber. Here are a few scenarios to consider:
- Extensive Plumbing Damage: If you discover significant water damage or mold growth around the toilet, it’s important to have a professional assess the situation and make any necessary repairs.
- Complex Plumbing Issues: If you encounter complex plumbing issues, such as a blocked drainpipe or a damaged sewer line, it’s best to leave the repairs to a qualified plumber.
- Uncertainty or Lack of Experience: If you’re not comfortable working with plumbing or you’re unsure about any aspect of the repair process, it’s always best to err on the side of caution and call a professional.
Hiring a plumber can save you time, money, and potential headaches in the long run, especially if you’re dealing with a complex or challenging repair.
Preventative Measures
Taking some preventative measures can help you avoid toilet flange problems in the future. Here are a few tips to keep in mind:
- Inspect Regularly: Check the flange periodically for cracks, leaks, or other signs of damage.
- Avoid Harsh Chemicals: Avoid using harsh chemicals or drain cleaners in your toilet, as they can corrode the flange and other plumbing components.
- Proper Installation: Ensure that the flange is installed correctly during any bathroom renovations or plumbing repairs.
- Use Quality Materials: Use high-quality flanges and wax rings to ensure a long-lasting and reliable seal.
By following these preventative measures, you can help keep your toilet flange in good condition and avoid costly repairs down the road.
Cost Considerations
The cost of fixing a toilet flange can vary depending on the type of repair needed and whether you hire a professional plumber. Here’s a general overview of the costs involved:
| Repair Type | DIY Cost | Professional Cost |
|---|---|---|
| Flange Extender | $10 – $30 | $100 – $200 |
| Flange Repair Kit | $15 – $40 | $150 – $300 |
| Flange Replacement | $30 – $100 | $250 – $500+ |
These are just estimates, and the actual cost may vary depending on your location and the specific circumstances of the repair. Keep in mind that hiring a professional plumber will typically include labor costs in addition to the cost of materials.
Toilet Flange Materials: Choosing the Right One
Toilet flanges come in various materials, each with its own set of pros and cons. Here’s a quick rundown:
- PVC (Polyvinyl Chloride): PVC flanges are affordable and resistant to corrosion. They’re suitable for most residential applications.
- ABS (Acrylonitrile Butadiene Styrene): ABS flanges are similar to PVC but offer slightly better impact resistance.
- Cast Iron: Cast iron flanges are durable and long-lasting. They’re often used in older homes and commercial buildings.
- Stainless Steel: Stainless steel flanges are highly resistant to corrosion and are a good choice for areas with high moisture levels.
When choosing a toilet flange material, consider your budget, the age of your home, and the specific requirements of your plumbing system.
FAQ: Toilet Flange on Tile
Here are some frequently asked questions about toilet flanges and tile, with clear and concise answers.
Question 1: What happens if my toilet flange is lower than the tile floor?
Answer: If the flange is lower, the wax ring won’t seal properly, leading to leaks and potential water damage. You’ll need to raise it with an extender or multiple wax rings.
Question 2: Can I use two wax rings instead of a flange extender?
Answer: Yes, but it’s only recommended for small gaps. For larger gaps, a flange extender is a more reliable solution.
Question 3: How do I know if my toilet flange is leaking?
Answer: Signs of a leaking flange include water around the base of the toilet, a musty odor, or stains on the ceiling below.
Question 4: Is it difficult to install a toilet flange extender myself?
Answer: No, it’s a relatively simple DIY project. Just follow the steps carefully and take your time.
Question 5: What tools do I need to replace a broken toilet flange?
Answer: You’ll need a screwdriver or wrench, putty knife, measuring tape, new wax ring, new bolts, and possibly a saw or cutter to remove the old flange.
Question 6: Can I reuse the old toilet bolts when reinstalling the toilet?
Answer: It’s best to use new bolts. Old bolts can be corroded or weakened, which can compromise the stability of the toilet.
Question 7: How often should I replace the wax ring on my toilet?
Answer: You should replace the wax ring every time you remove and reinstall the toilet. A wax ring is designed for one-time use, and it won’t seal properly if reused.
Conclusion
Making sure your toilet flange sits correctly on top of your tile is super important for a leak-free and worry-free bathroom. By following these simple steps, you can tackle this common issue yourself. Remember, a little effort now can save you from costly repairs and water damage later. So, grab your tools, take your time, and get that flange sitting pretty! Happy plumbing!