Are you struggling with a wobbly toilet or leaks every time you flush? It might be time to install a toilet flange 1/2 above the floor. But don’t worry. We’ve got you covered with the ultimate guide on how to do it.
Here, we will walk you through the easy 7 steps for installing toilet flange 1 2 above floor, from gathering the necessary tools and materials to testing for leaks and proper function. We will also provide troubleshooting tips for common issues and share maintenance tips to ensure the longevity of your newly installed toilet flange. So say goodbye to those annoying plumbing problems and hello to a sturdy and leak-free toilet.
Easy 7 Steps For Toilet Flange 1 2 Above Floor Installation
When installing a toilet flange, one common question arises whether it should be installed 1/2 inch above the floor. While there is no hard and fast rule, this installation method can offer certain advantages. Raising the flange slightly above the floor level allows for easier wax ring installation and ensures a better seal between the toilet and the sewer pipe.
This can help prevent any leaks or odours from escaping. Installing a toilet flange 1/2 inch above the floor can be relatively simple if you follow these seven steps. By following these steps, you can easily install a toilet flange 1 2 above floor level, allowing for proper installation and functionality of your
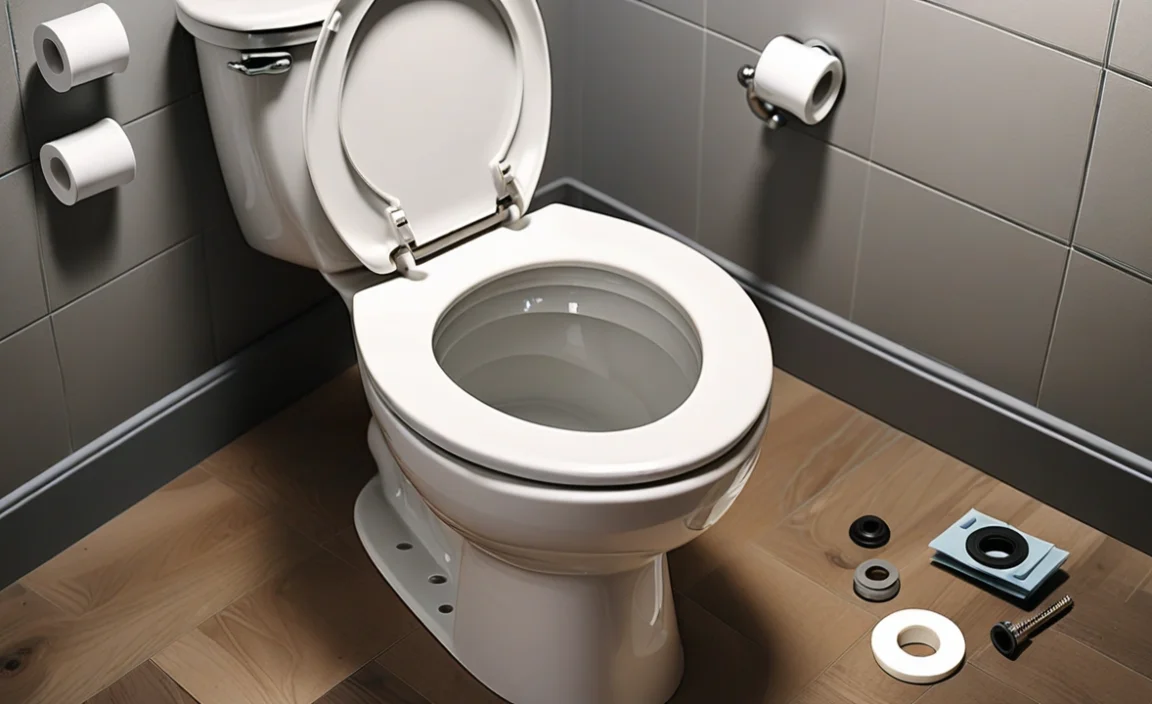
Step 1: Gather The Necessary Tools And Materials
Before you begin installing the toilet flange 1 2 above the floor, it’s important to gather all the necessary tools and materials. You’ll need a toilet flange, wax ring, adjustable wrench, screwdriver, measuring tape, and a hacksaw. These tools will ensure you have everything you need to complete the installation successfully. Once you have gathered these materials, you can move on to the next step of the installation process.
Step 2: Remove Old Toilet Flange
To install a toilet flange 1/2 inch above the floor, the first step is to remove the old flange. Start by turning off the water supply and flushing the toilet to drain any remaining water. Then, use a wrench or socket set to remove the bolts securing the toilet to the floor.
Carefully lift the toilet off the flange and set it aside. Next, remove any wax or debris around the old flange using a scraper or putty knife. Once the area is clean, use a screwdriver or drill to remove any screws or nails holding the old flange in place.
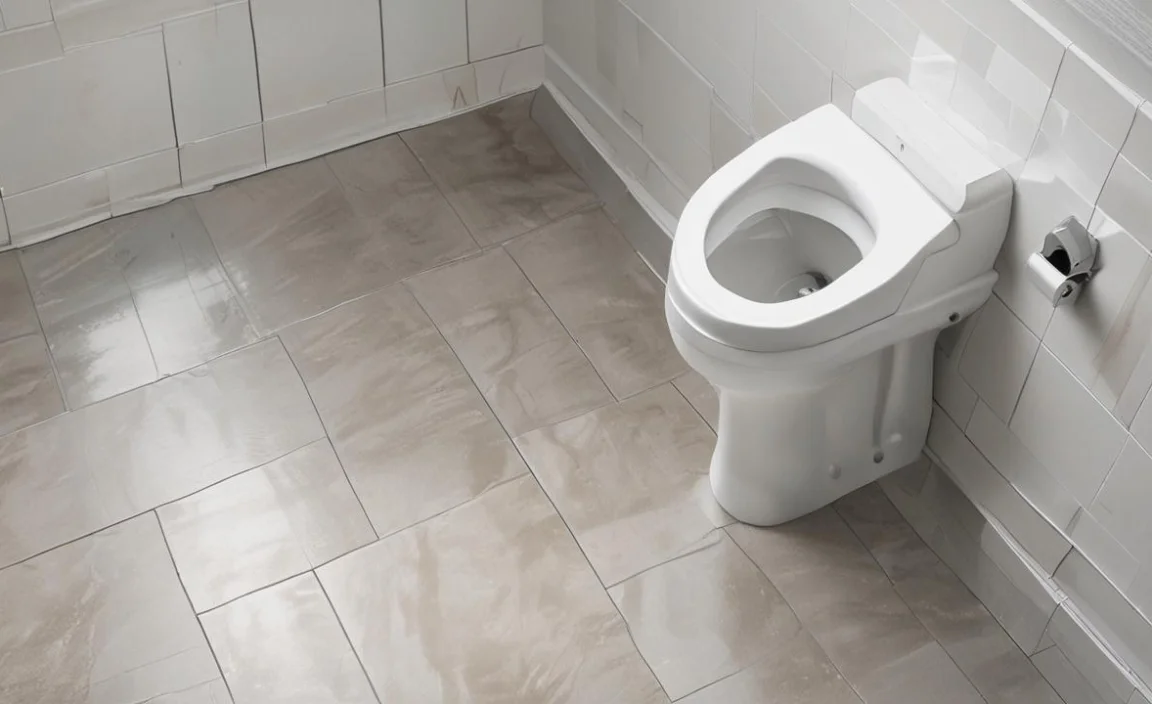
Step 3: Inspect The Drain Pipe And Clean The Area
Inspecting the drain pipe and cleaning the area are crucial steps before installing a toilet flange 1/2 inch above the floor. Take a flashlight and carefully examine the drain pipe for any cracks, leaks, or debris that could cause potential issues. If you encounter problems like a cracked pipe or clogs, fixing them before moving forward with the installation is important.
Next, clean the area surrounding the drain pipe using a rag or brush to remove dirt, grime, and any remnants of old wax. Make sure the area is completely dry and free of loose debris to ensure a tight seal between the toilet flange and the drain pipe, preventing any leaks.
Step 4: Install The New Flange
To install the new flange, ensure the cleanliness of the area around the toilet drain and remove any debris present. Place the new flange over the toilet drain, aligning it with the drainpipe. Secure the flange firmly to the floor using screws or bolts.
Apply the plumber’s putty or silicone sealant around the base of the flange to create a watertight seal. Attach the toilet bowl using wax rings or other sealing methods after installing the flange. It’s important to follow additional installation instructions from your specific toilet model.
Step 5: Secure The Flange To The Floor
To secure the flange to the floor, start by placing the wax ring onto it. Align the flange with the toilet drain pipe and press it firmly onto the floor. Use screws or bolts to secure the flange, ensuring it is level and tightly secured. Please double-check that you position the flange 1/2 inch above the finished floor level. Use a level to ensure proper alignment and avoid tilting. Once secured, test the stability by gently rocking it back and forth. This step ensures a tight seal and stability for the entire toilet installation.
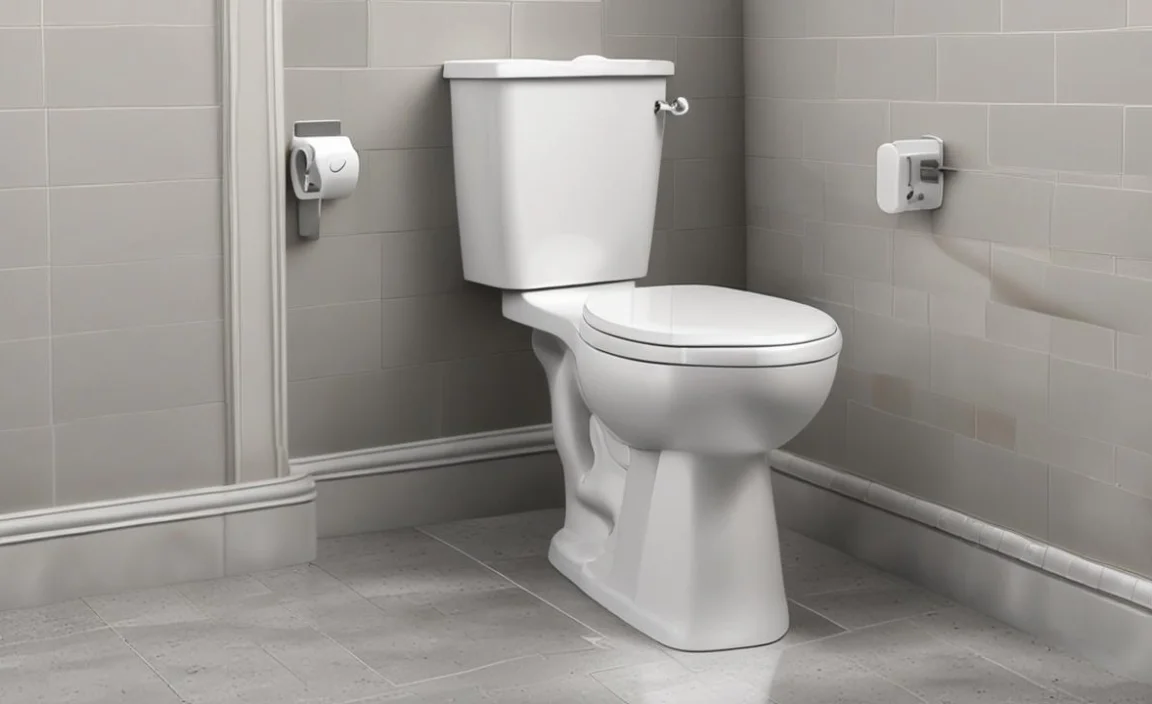
Step 6: Install The Toilet
After securing the toilet flange 1/2 inch above the floor, it’s time to install it. Place a new wax ring onto the flange, ensuring it is properly centred. Carefully lower the toilet bowl onto the wax ring, aligning the bolt holes on the toilet’s base with the bolts on the flange.
Apply even pressure and press down firmly to create a watertight seal with the wax ring. Tighten the nuts onto the bolts using a wrench, careful not to overtighten and crack the toilet base. Attach the tank to the bowl according to manufacturer instructions, ensuring all connections are secure.
Step 7: Test For Leaks And Proper Function
After completing the installation of the toilet flange 1/2 above the floor, it’s crucial to test for leaks and ensure proper function. Flush the toilet multiple times to check for any water leakage around the base or from the flange area. If it leaks, tighten the bolts connecting the toilet to the flange or adjust the wax ring for a tighter seal.
Additionally, ensure that you securely fasten the toilet to the floor without wobbling or movement. Check for proper water flow and drainage during flushing, which may indicate potential installation or plumbing issues. Periodically inspect for leaks and proper function to catch any problems early.
Troubleshooting Common Issues
When installing a toilet flange 1/2 inch above the floor, it’s important to be aware of common issues that may arise during installation. Misalignment and leaks are two common problems that can occur. To troubleshoot these issues, ensure you understand a toilet flange’s purpose and function.
Follow the step-by-step instructions for installing the flange correctly. Additionally, if you encounter a loose or wobbly toilet, there are tips to help resolve this issue. By addressing these common issues, you can ensure a successful toilet flange installation.
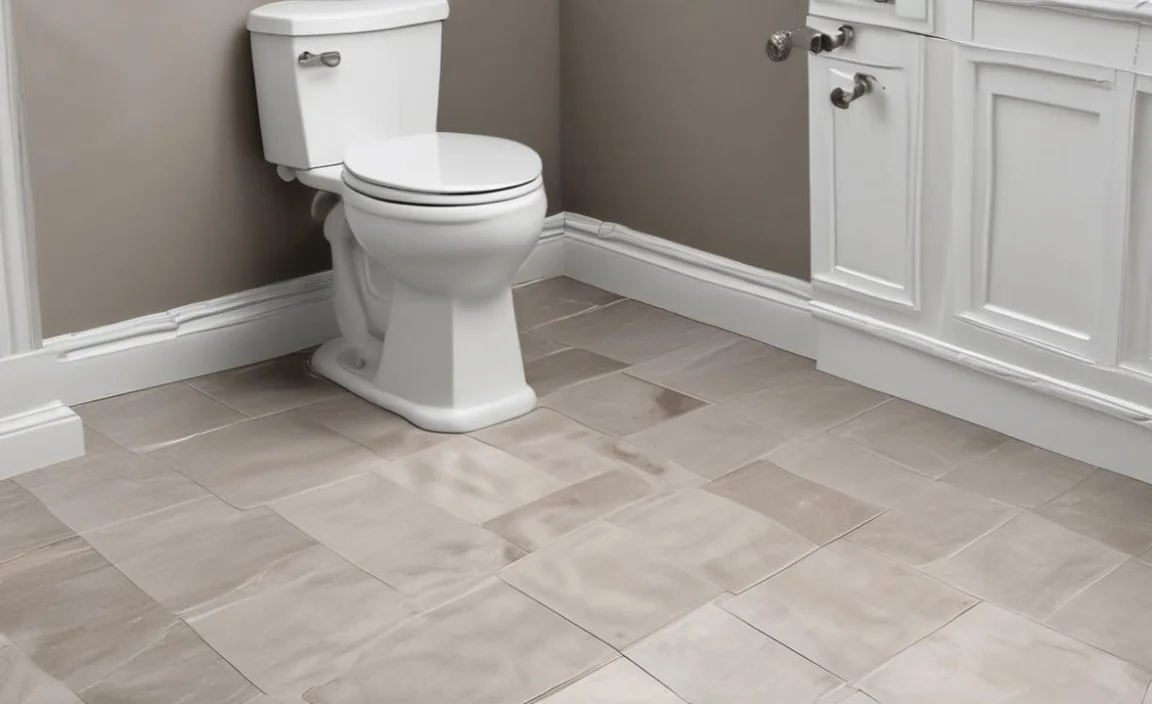
Maintenance Tips For Longevity
Proper toilet flange installation is essential for a secure and leak-free connection. Measure and mark the correct height, ensuring it is 1/2 inch above the finished floor level. Using a wax ring or foam gasket, create a watertight seal between the flange and the toilet bowl. Securely attach the toilet to the flange using bolts or screws, following manufacturer instructions. Regularly inspect and maintain the toilet flange to prevent issues or leaks in the future. If you’re unsure about installing or repairing a toilet flange, consider hiring a professional plumber.
What Is A Toilet Flange, And Why Should You Care?
A toilet flange is an essential component of a toilet installation. It is a piece that connects the toilet bowl to the drainpipe and secures it in place. The flange is typically made of PVC or metal and is installed on top of the floor, with the bottom part extending into the drainpipe. It provides a watertight seal between the toilet and the drainage system, preventing leaks and ensuring proper waste disposal.
So why should you care about a toilet flange? Without a properly installed flange, your toilet may not function correctly. It could wobble or even leak, causing damage to your bathroom floor and potentially leading to costly repairs. A secure flange is also necessary for maintaining hygiene and preventing unpleasant odors in your bathroom. So, when installing or repairing your toilet, pay attention to the condition and placement of the flange to ensure a durable and reliable plumbing system.
Conclusion
Installing a toilet flange 1 2 above floor is an important step in ensuring a proper and secure installation of your toilet. Following the easy 7-step guide, you can confidently install a toilet flange at the correct height, preventing leaks and other common issues.
Remember to gather all the necessary tools and materials before starting, remove the old flange, inspect and clean the area, install the new flange securely to the floor, install the toilet properly, and test for leaks and proper function. Additionally, learn how to troubleshoot common issues and follow maintenance tips for longevity. Understanding a toilet flange and why it matters will help you make informed decisions regarding your plumbing needs.
