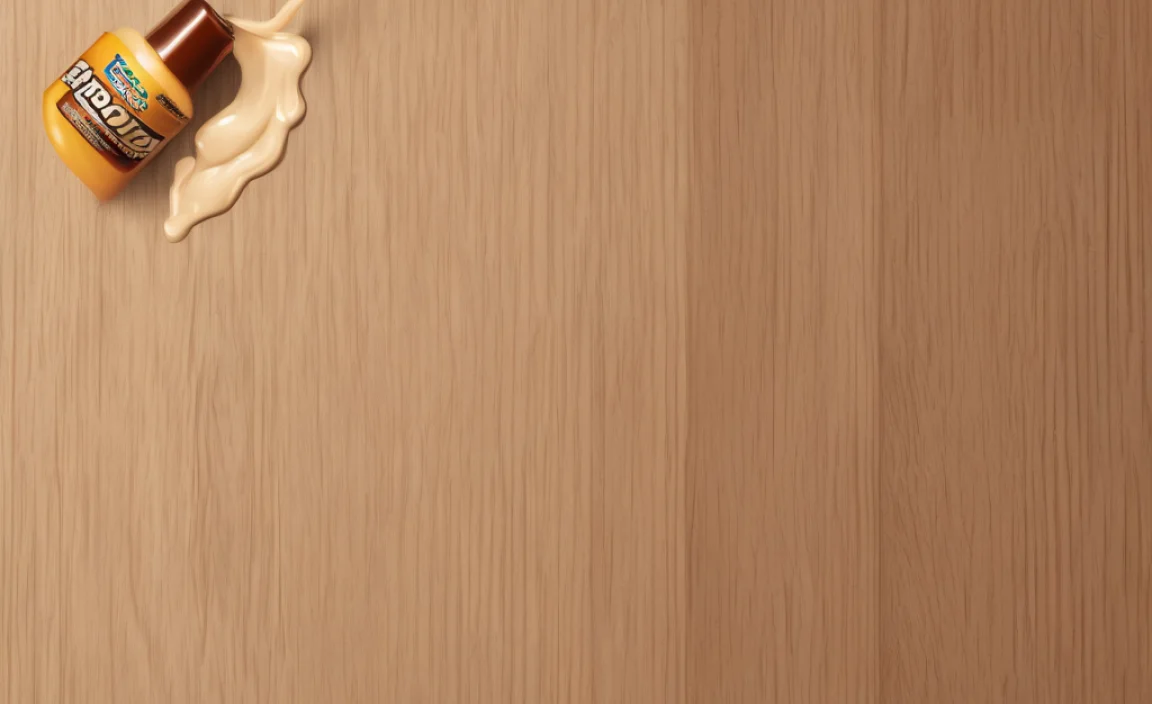
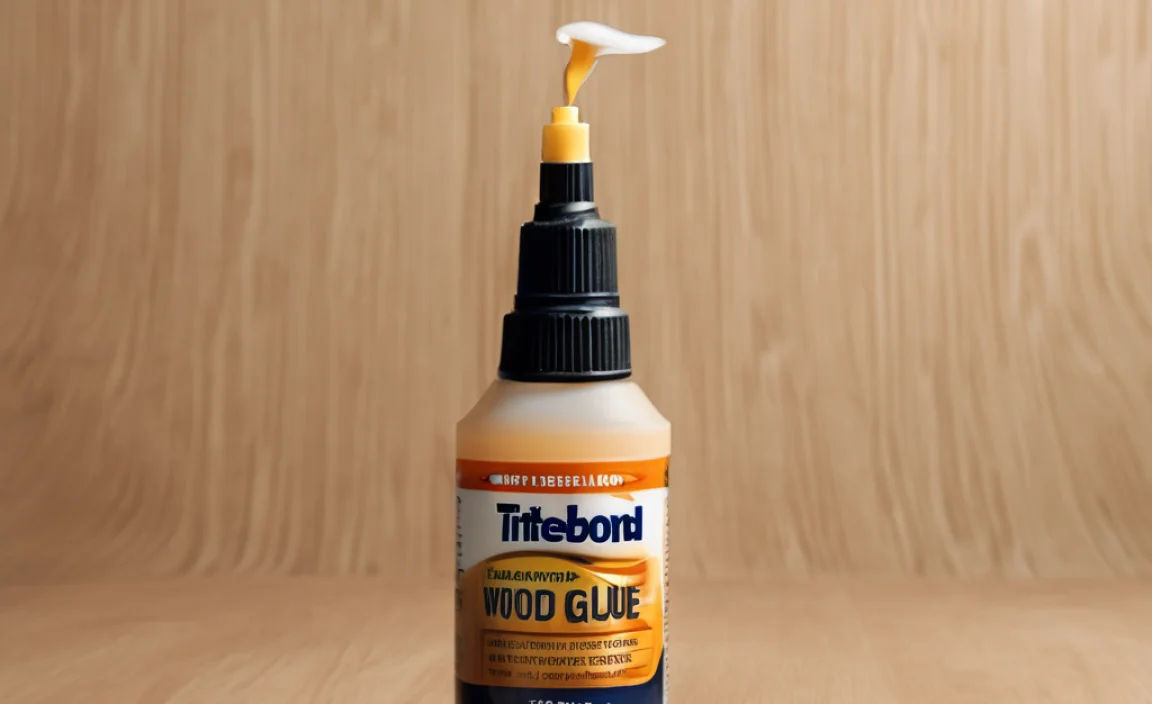
Quick Summary: Yes, Titebond Original Wood Glue does dry clear, but it has a slightly amber or yellowish tint. This tint is usually unnoticeable on most wood types, especially when stained or painted. For projects where a completely invisible glue line is crucial, consider using Titebond’s other clear-drying glues like Titebond Hide Glue or Titebond Ultimate.
Ever glued something and been frustrated by a visible glue line? It’s a common problem, especially when working with wood. You want your projects to look seamless and professional, right? Don’t worry, choosing the right glue makes all the difference. We’ll walk you through what to expect from Titebond Original Wood Glue, and how to get the best, clearest results possible. Let’s dive in and make your woodworking projects shine!
Understanding Titebond Original Wood Glue
Titebond Original Wood Glue is a popular choice for many woodworking projects. It’s known for its strong bond and ease of use. But does it dry clear? Let’s take a closer look at its properties.
What is Titebond Original Wood Glue?
Titebond Original Wood Glue is an aliphatic resin glue. It’s designed for general woodworking, carpentry, and DIY projects. It’s known for its strong initial tack, which helps hold pieces together while the glue dries. It’s also easy to sand and is not affected by finishes.
Color and Appearance
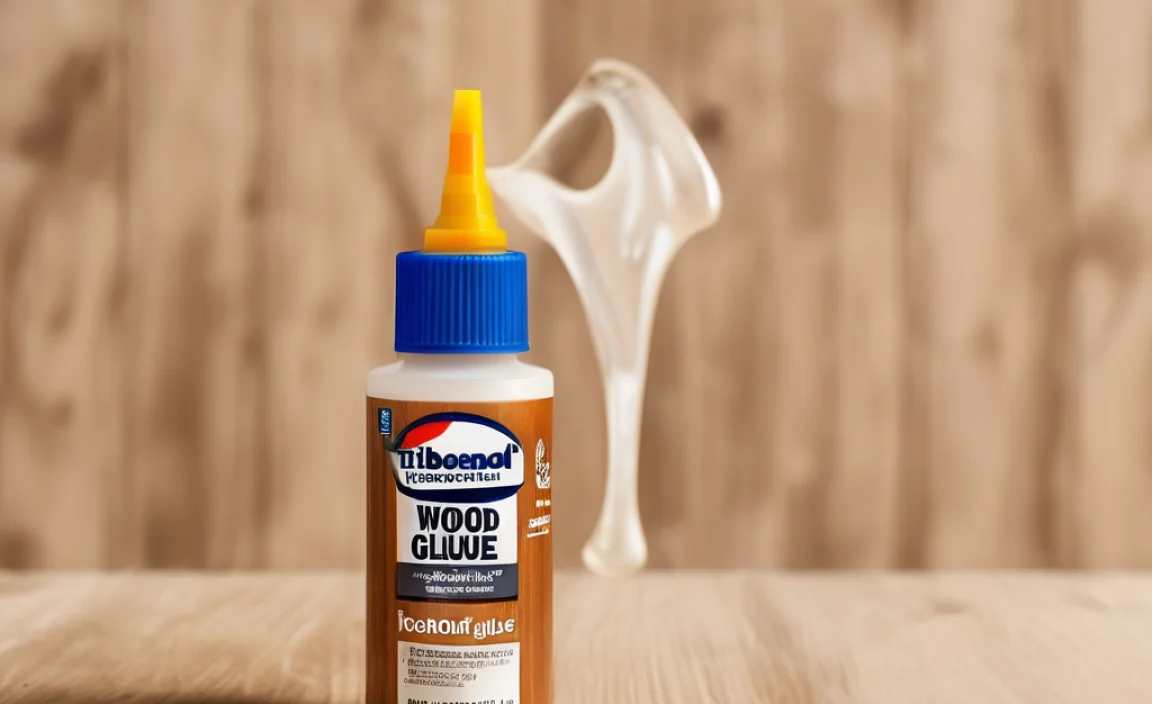
When wet, Titebond Original Wood Glue has a creamy, yellowish color. As it dries, it becomes more transparent. However, it never becomes completely invisible. Instead, it retains a slightly amber or yellowish tint. This tint is usually subtle, but it can be noticeable on lighter-colored woods or when used in thick layers.
Factors Affecting Clarity
Several factors can influence how clear Titebond Original Wood Glue dries:
- Wood Type: The color and grain of the wood can either hide or accentuate the glue line. Lighter woods like maple or birch will show the tint more easily than darker woods like walnut or cherry.
- Application Thickness: Applying too much glue can result in a thicker glue line, which is more visible even when dry.
- Sanding: Sanding the glue line after it dries can help blend it with the surrounding wood, making it less noticeable.
- Finishing: Applying a stain or finish can further disguise the glue line.
Step-by-Step Guide to Minimizing Glue Line Visibility
Even though Titebond Original Wood Glue isn’t perfectly clear, you can take steps to minimize its visibility. Here’s how:
Step 1: Prepare the Wood Surfaces
Proper preparation is crucial for a strong and invisible glue joint.
- Clean the Surfaces: Make sure the wood surfaces are clean, dry, and free from dust, oil, or old finishes. Use a clean cloth or brush to remove any debris.
- Ensure Proper Fit: The pieces should fit together snugly. Gaps can lead to excessive glue use and a more visible glue line. Use clamps to test the fit before applying glue.
- Lightly Dampen the Wood (Optional): For hardwoods, lightly dampen the wood with a damp cloth before applying the glue. This helps the glue penetrate the wood fibers better.
Step 2: Apply the Glue
Applying the right amount of glue is key to minimizing the glue line.
- Use a Thin, Even Coat: Apply a thin, even layer of Titebond Original Wood Glue to one or both surfaces. Use a brush, roller, or glue spreader to ensure uniform coverage.
- Avoid Excess Glue: Too much glue is just as bad as not enough. Excess glue will squeeze out of the joint and create a thicker, more visible glue line.
- Work Quickly: Titebond Original Wood Glue has a relatively fast set time. Work quickly to assemble the pieces before the glue starts to dry.
Step 3: Clamp the Pieces Together
Clamping provides the necessary pressure for a strong, tight bond.
- Apply Clamps: Use clamps to hold the pieces together. Apply even pressure across the joint.
- Use Protective Pads: Place protective pads (such as wood blocks or felt) between the clamps and the wood surface to prevent dents or marks.
- Tighten the Clamps: Tighten the clamps until you see a small amount of glue squeezing out of the joint. This indicates that you have sufficient pressure.
- Remove Excess Squeeze-Out: Wipe away any excess glue squeeze-out with a damp cloth or sponge immediately. Dried glue is much harder to remove.
Step 4: Allow the Glue to Dry
Patience is essential for a strong, lasting bond.
- Follow Drying Time Guidelines: Allow the glue to dry for the recommended time specified on the Titebond Original Wood Glue label (usually 24 hours).
- Maintain Consistent Pressure: Keep the clamps in place during the entire drying time to ensure consistent pressure and a strong bond.
- Avoid Disturbing the Joint: Do not move or disturb the joint while the glue is drying. This can weaken the bond and create visible imperfections.
Step 5: Sand and Finish
Sanding and finishing can further minimize the appearance of the glue line.
- Sand the Joint: Once the glue is completely dry, sand the joint to blend it with the surrounding wood. Use fine-grit sandpaper (220 grit or higher) to avoid scratching the wood.
- Apply Wood Filler (Optional): If there are any small gaps or imperfections, use a wood filler that matches the color of the wood. Let the filler dry completely and then sand it smooth.
- Apply Finish: Apply a stain, paint, or clear finish to the wood. This will help to further disguise the glue line and protect the wood.
Alternative Glues for Clear Drying
If you need a glue that dries truly clear, consider these alternatives:
- Titebond Hide Glue: This glue dries clearer than Titebond Original. It’s excellent for antique restoration and fine woodworking.
- Titebond Ultimate: It offers excellent clarity and water resistance.
- Epoxy: Epoxy resins dry very clear. They are a good choice for filling gaps and bonding dissimilar materials. However, they can be more difficult to work with than wood glues.
- Cyanoacrylate (Super Glue): For small repairs and quick bonds, super glue can dry clear. Be careful, as it can bond skin instantly.
Tips for Achieving the Best Results
Here are some additional tips to help you achieve the best results with Titebond Original Wood Glue:
- Test on Scrap Wood: Before starting your project, test the glue on scrap wood to see how it looks when dry. This will give you a better idea of what to expect.
- Use a UV Tracer: Add a UV tracer to the glue. This will make it easier to see where the glue is applied and ensure even coverage.
- Control the Environment: Maintain a consistent temperature and humidity level in your workspace. Extreme temperatures or humidity can affect the drying time and clarity of the glue.
- Clean Up Immediately: Clean up any spills or excess glue immediately with a damp cloth. Dried glue is much harder to remove and can leave a visible residue.
Pros and Cons of Titebond Original Wood Glue
Here’s a quick overview of the advantages and disadvantages of using Titebond Original Wood Glue:
| Pros | Cons |
|---|---|
| Strong bond | Not completely clear-drying |
| Easy to sand | Can be visible on light-colored woods |
| Unaffected by finishes | Requires clamping |
| Good initial tack | Shorter open time compared to other glues |
| Versatile for various woodworking projects |
Common Mistakes to Avoid
Even with the best techniques, mistakes can happen. Here are some common pitfalls to avoid when using Titebond Original Wood Glue:
- Using Expired Glue: Check the expiration date on the glue bottle. Expired glue may not bond properly.
- Applying Glue to Unprepared Surfaces: Always clean and prepare the wood surfaces before applying glue. Dirt, oil, or old finishes can interfere with the bond.
- Over-Clamping: Applying too much pressure with the clamps can squeeze out all the glue, resulting in a weak joint.
- Removing Clamps Too Soon: Allow the glue to dry completely before removing the clamps. Removing them too soon can weaken the bond.
- Ignoring the Grain Direction: When gluing two pieces of wood together, align the grain direction properly. This will create a stronger and more stable joint.
Safety Precautions
While Titebond Original Wood Glue is relatively safe, it’s important to take certain precautions:
- Work in a Well-Ventilated Area: Avoid breathing in the fumes.
- Wear Gloves: Protect your skin from direct contact with the glue.
- Eye Protection: Wear safety glasses to prevent glue from splashing into your eyes.
- Keep Out of Reach of Children: Store the glue in a safe place where children cannot access it.
- First Aid: If glue gets in your eyes, flush them with water for 15 minutes. If skin irritation occurs, wash the affected area with soap and water. If ingested, contact a poison control center.
Titebond Original vs. Other Wood Glues
Let’s compare Titebond Original with other popular wood glues to understand its strengths and weaknesses better.
| Glue Type | Drying Color | Strength | Water Resistance | Best For |
|---|---|---|---|---|
| Titebond Original | Slightly Amber | High | Low | General woodworking, interior projects |
| Titebond II Premium | Slightly Amber | High | Good | Exterior projects, moisture-prone areas |
| Titebond III Ultimate | Darker Amber | High | Excellent | Exterior projects, marine applications |
| Polyurethane Glue | Foaming, varies | Very High | Excellent | Gap filling, bonding dissimilar materials |
| Epoxy | Clear | Very High | Excellent | Gap filling, structural bonds |
FAQ About Titebond Original Wood Glue
Here are some frequently asked questions about Titebond Original Wood Glue:
- Does Titebond Original Wood Glue dry completely clear?
- No, Titebond Original Wood Glue dries with a slightly amber or yellowish tint. It’s not perfectly clear.
- Can I stain or paint over Titebond Original Wood Glue?
- Yes, Titebond Original Wood Glue is easily paintable and stainable once it’s fully dried.
- How long does Titebond Original Wood Glue take to dry?
- It typically takes about 24 hours for Titebond Original Wood Glue to dry completely. However, you can usually remove clamps after 30-60 minutes.
- Is Titebond Original Wood Glue waterproof?
- No, Titebond Original Wood Glue is not waterproof. For projects that will be exposed to moisture, use Titebond II or Titebond III.
- Can I use Titebond Original Wood Glue for exterior projects?
- While you can use it, it’s not recommended. Titebond Original Wood Glue is not water-resistant enough for exterior projects. Use Titebond II or Titebond III instead.
- How should I store Titebond Original Wood Glue?
- Store Titebond Original Wood Glue in a cool, dry place. Keep the lid tightly closed to prevent it from drying out.
- What do I do if Titebond Original Wood Glue gets on my skin?
- Wash the affected area with soap and water. If irritation occurs, consult a doctor.
Conclusion
So, does Titebond Original Wood Glue dry clear? Not perfectly, but its slight tint is often unnoticeable. By following our step-by-step guide, using the right techniques, and considering alternative glues when needed, you can achieve beautiful, seamless results in your woodworking projects. Now you’re equipped with the knowledge to tackle your next project with confidence. Go ahead, get gluing, and create something amazing!