Is your compost pile sitting there, stubbornly refusing to turn into that dark, crumbly goodness you’re dreaming of? It’s a common frustration, but don’t worry! Getting your compost cooking again is totally doable. Think of it like a recipe – sometimes you just need to tweak the ingredients a bit. We’re going to walk through exactly what might be going wrong and how to fix it, step-by-step.
Fix Compost Piling Up: Easy Solutions for a Stalled Pile
Hey there, it’s Troy D Harn from TopChooser! If you’ve been diligently adding kitchen scraps and yard waste to your compost bin, only to find it looking… well, exactly the same after weeks or even months, you’re probably wondering what’s the hold-up. It can feel like a waste of time and effort. But the good news is, compost not breaking down is usually a fixable problem. It’s often a simple matter of balancing a few key elements. Let’s dive into what might be causing the slowdown and how to speed things up so you can get back to creating that amazing soil amendment.
Why Isn’t My Compost Breaking Down? The Usual Suspects
Composting is a natural process, but it needs the right conditions to work efficiently. When your compost pile seems stuck, it’s usually because one or more of these essential components are out of whack:
- The Carbon-to-Nitrogen Ratio is Off: This is the big one! Compost bugs and microbes need a good mix of “brown” (carbon-rich) and “green” (nitrogen-rich) materials. Too much of one and not enough of the other can grind things to a halt.
- Not Enough Airflow: Those helpful microbes need to breathe! A compacted pile with no air circulation can become anaerobic (lacking oxygen), which slows down decomposition and can lead to stinky problems.
- Too Dry: Moisture is crucial for the microbes to do their work. A bone-dry pile is a sleepy pile, and decomposition will be very slow.
- Too Wet: On the flip side, a soggy compost pile can also cause problems. It can become compacted, limiting airflow, and leading to anaerobic conditions and unpleasant smells.
- Pieces Are Too Big: The smaller the pieces of organic matter, the more surface area there is for microbes to attack. Think of it like trying to eat a whole apple versus a chopped-up salad – the salad is easier to digest!
- The Pile Isn’t Hot Enough: A healthy, working compost pile will often heat up in the center. This heat is generated by the microbes breaking down the materials and is a sign that things are going well. A cold pile means the microbial activity is low.
- Wrong Materials Added: Some things just don’t break down well in a typical home compost pile, or they can cause problems.
The Power Duo: Browns and Greens – Finding the Right Balance
This is the most crucial part of composting. Think of it as feeding your compost critters the perfect meal. You need a good balance of materials high in carbon (the “browns”) and materials high in nitrogen (the “greens”).
Understanding Your “Browns” (Carbon-Rich Materials)
Browns provide energy for the microorganisms and add bulk to your pile, which helps with airflow. They tend to break down more slowly. Good examples include:
- Dried leaves
- Straw or hay
- Shredded cardboard (uncoated, no glossy print)
- Shredded newspaper (avoid glossy inserts)
- Small twigs and branches (chopped up)
- Sawdust (from untreated wood)
- Grass clippings (dried out, not fresh)
- Paper towels and toilet paper rolls
Understanding Your “Greens” (Nitrogen-Rich Materials)
Greens provide the protein and moisture that the microorganisms need to reproduce and be active. They tend to break down faster and can heat up the pile. Good examples include:
- Fruit and vegetable scraps (peels, cores, rinds)
- Coffee grounds and tea bags
- Fresh grass clippings
- Plant trimmings (non-woody)
- Eggshells (crushed)
- Manure from herbivores (like chickens, rabbits, cows – avoid pet waste)
- Seaweed
The Ideal Ratio: Aiming for a ~30:1 Carbon to Nitrogen Ratio
This might sound technical, but it’s simpler than it seems. A good rule of thumb for a healthy compost pile is to have roughly two to three parts “browns” to one part “greens” by volume. This means for every bucket of kitchen scraps you add, you should aim to add two or three buckets of fallen leaves or shredded cardboard.
Why this ratio? If you have too many greens, your pile can become dense, slimy, and anaerobic (without enough oxygen), leading to foul odors. If you have too many browns, the microbes won’t have enough nitrogen to multiply and work efficiently, and the decomposition process will be very slow.
If your compost isn’t breaking down, chances are you have too many browns or not enough greens. The simplest fix? Add more nitrogen-rich materials!
Troubleshooting Common Issues & How to Fix Them
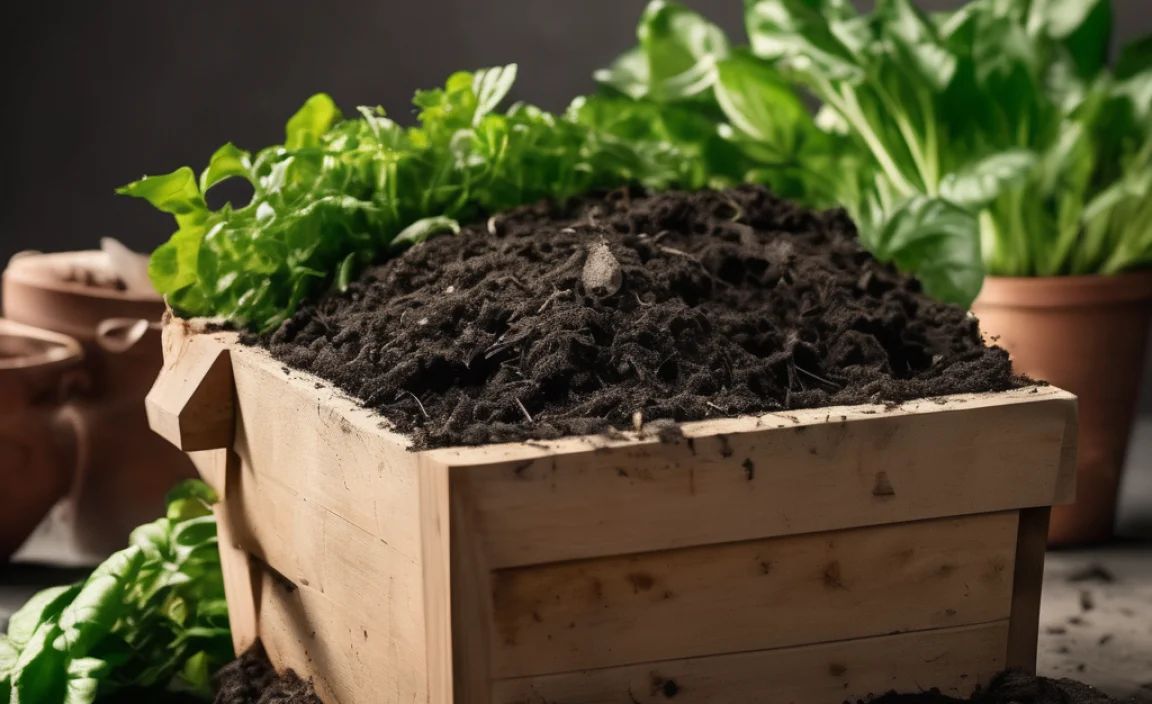
Let’s get practical. Here are the most common reasons your compost might be stalled and exactly how to fix them:
1. The Pile is Too Dry: Not Enough Moisture
What it looks like: The materials are dusty, brittle, and don’t feel damp when you grab a handful. Little to no decomposition is happening.
How to fix it:
- Add Water: The easiest solution is to simply add water. Use a hose with a spray nozzle, a watering can, or even a bucket.
- Mix It In: As you add water, try to mix the moisture throughout the pile. Turn the pile if you can, or at least poke it with a pitchfork to help the water penetrate.
- Target Moisture Level: Aim for the feeling of a damp, wrung-out sponge. It should be moist but not dripping wet.
- Cover It: Once moistened, consider covering your compost pile with a tarp or lid to help retain moisture, especially in hot, dry weather.
2. The Pile is Too Wet: Excessive Moisture
What it looks like: The pile is soggy, matted, and smells sour or like ammonia. It might be compacted and feel dense.
How to fix it:
- Add Browns: This is the primary fix! Add a generous amount of carbon-rich “brown” materials. Think dried leaves, shredded cardboard, straw, or sawdust. These will act like sponges, absorbing excess moisture and helping to aerate the pile.
- Aerate/Turn the Pile: Turning your compost pile with a pitchfork or compost aerator will help break up any matted sections and introduce air. This is crucial for drying things out and preventing anaerobic conditions.
- Stop Adding Wet Greens: If you’re constantly adding very wet kitchen scraps, try to balance them with dry browns before adding them to the pile, or let them sit for a day to dry out a bit.
- Ensure Drainage: If your compost bin sits in a very wet spot, consider moving it or ensuring it has good drainage.
3. Not Enough Airflow: The Pile is Compacted
What it looks like: The pile is dense, matted, and may have a strong, unpleasant odor. Decomposition is slow or has stopped.
How to fix it:
- Turn Your Pile Regularly: This is the most effective way to introduce oxygen. Aim to turn your compost pile every 1-2 weeks. Use a pitchfork, shovel, or a specialized compost aerator. If you have a tumbler, give it a good spin.
- Add “Bulking” Browns: Materials like straw, twigs, or shredded cardboard add structure and create air pockets within the pile.
- Layer Carefully: When adding materials, try not to just dump large amounts of one type together. Layering browns and greens helps maintain structure.
- Avoid Over-Compacting: Don’t stomp on your compost pile or let heavy materials compress it too much.
4. Pieces Are Too Big: Materials Aren’t Broken Down Enough
What it looks like: You can still recognize most of the original food scraps and yard waste, even after a long time. The pile isn’t heating up.
How to fix it:
- Chop or Shred Materials: Before adding larger items like vegetable stalks, fruit rinds, or cardboard, take a few extra seconds to chop them into smaller pieces. An axe, sturdy scissors, or a garden shredder can be helpful.
- Break Down Browns: Large branches or leaves can take a very long time. Shredding leaves or breaking twigs into smaller bits makes a big difference.
- Even Out the Size: Aim for your materials to be roughly in bite-sized pieces (around 1-2 inches ideally).
5. The Pile Isn’t Getting Hot Enough: Low Microbial Activity
What it looks like: The pile remains cool to the touch, even in the center. Decomposition is extremely slow.
How to fix it:
- Add Nitrogen (Greens): A cold pile often means a lack of nitrogen. Add fresh kitchen scraps, coffee grounds, or fresh grass clippings.
- Increase Moisture: If the pile is also dry, a good watering will help wake up the microbes.
- Aerate: Turning the pile can help distribute moisture and food for the microbes.
- Check the Ratio: Ensure you have a good balance of browns and greens. Too many browns can lead to a cold pile.
- Start Over (If Necessary): If your pile is very old, matted, and cold, and you suspect it’s too far out of balance, sometimes the easiest thing is to start a fresh pile and add the old material once the new pile is active and hot.
6. Adding the Wrong Materials
What it looks like: Your pile might be attracting pests, smelling bad (in a wrong way), or simply not breaking down.
What to avoid in a home compost pile:
- Meat, bones, and dairy products (attract pests and smell)
- Oily or greasy foods
- Diseased plants (can spread diseases)
- Weeds that have gone to seed (can spread weeds)
- Pet waste (from dogs and cats – can contain harmful pathogens)
- Chemically treated wood or lawn clippings
- Glossy or heavily printed paper/cardboard
- Synthetic materials
For further reading on best practices, the U.S. Environmental Protection Agency (EPA) offers excellent resources on composting: EPA Composting Basics.
Essential Tools for Composting Success
You don’t need a lot of fancy gadgets to compost successfully. Here are a few handy items:
- Pitchfork or Garden Fork: Absolutely essential for turning and aerating your pile.
- Shovel: Useful for moving materials and turning.
- Compost Bin or Tumbler: While you can build a simple pile, a bin or tumbler helps contain materials, retain heat and moisture, and can make turning easier.
- Watering Can or Hose with Nozzle: For adding moisture.
- Bucket: For collecting kitchen scraps.
- Shredder (Optional): A garden shredder makes breaking down yard waste much faster.
A Quick Guide: Brown vs. Green Materials Cheat Sheet
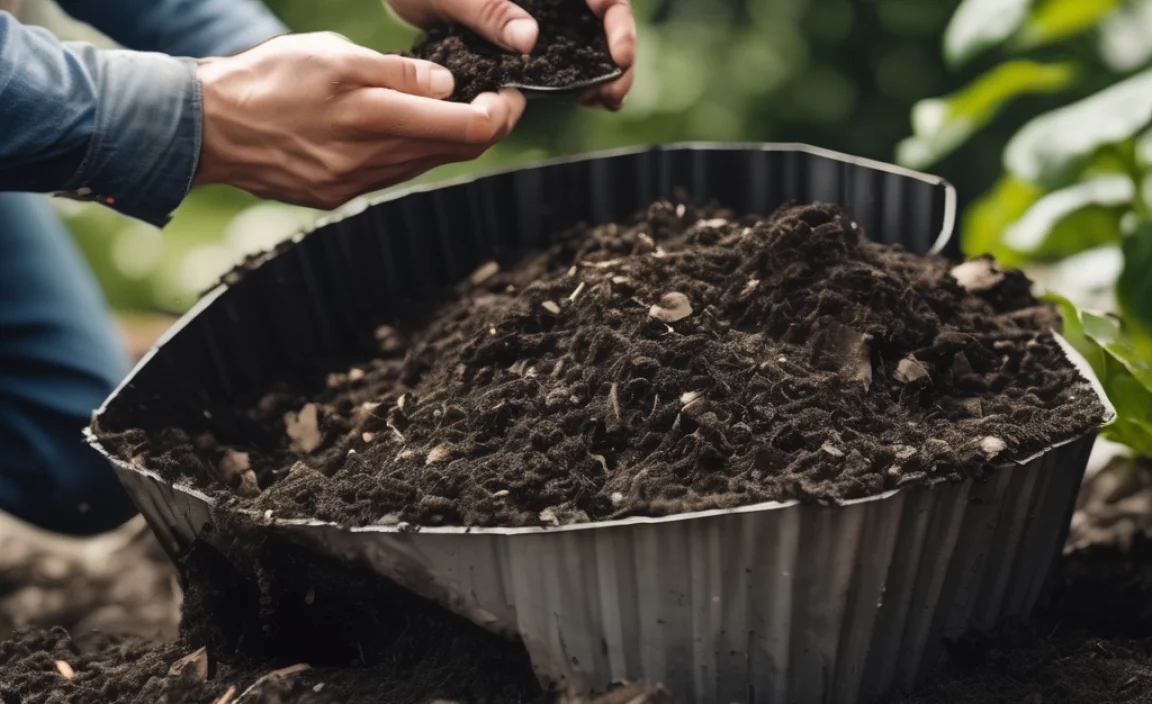
To make it super easy to remember, here’s a quick comparison:
| Browns (Carbon Rich) | Greens (Nitrogen Rich) |
|---|---|
| Dried leaves | Fruit and vegetable scraps |
| Straw or hay | Coffee grounds and tea bags |
| Shredded cardboard (uncoated) | Fresh grass clippings |
| Shredded newspaper | Plant trimmings (green) |
| Small twigs and branches | Eggshells (crushed) |
| Sawdust (untreated wood) | Manure (herbivores) |
| Paper towels, toilet paper rolls | Seaweed |
Putting It All Together: Your Step-by-Step Compost Revival Plan
If your compost pile is stalled, here’s a plan to get it moving again:
- Assess the Moisture: Grab a handful of material from the middle of the pile. Does it feel like a damp, wrung-out sponge?
- If it’s dry, slowly add water and mix it in until it feels right.
- If it’s soggy and drips water, stop adding water and prepare to add browns.
- Check the Ratio: Estimate if you have a good balance of browns and greens. If it feels like mostly greens (smelly, wet), it’s time to add browns. If it feels overwhelmingly dry and brown, you might need more greens.
- Aerate the Pile: Use your pitchfork or aerator to turn and fluff up the pile. Break up any matted sections, especially if it was too wet.
- Add Missing Components:
- If too dry: Add water as described in step 1.
- If too wet: Add plenty of shredded cardboard, dried leaves, or straw. Mix thoroughly.
- If lacking nitrogen (cold, slow): Add a layer of fresh kitchen scraps, coffee grounds, or fresh grass clippings.
- If pieces are too big: Chop or shred any large items before adding them back or to the top of the pile.
- Mix Thoroughly: After adding water, browns, or greens, mix everything up as well as you can. The goal is to distribute the new materials and moisture evenly.
- Maintain and Monitor:
- Keep an eye on moisture levels – it should stay like a damp sponge.
- Turn the pile every 1-2 weeks to ensure airflow.
- Continue adding a mix of browns and greens as you generate them.
Be patient! It might take a few days to a week for the microbes to get back into full swing after you make adjustments. You should start to see some warmth in the center of the pile again.
Frequently Asked Questions about Slow Compost
Q1: How long should it take for compost to break down?
A: It varies a lot! With ideal conditions, you can have finished compost in as little as 2-3 months. However, it can also take 6 months to a year or even longer, especially if you’re not actively turning it or if you have a less active pile. The key is consistent progress rather than a strict timeline.
Q2: My compost smells bad. What’s wrong?
A: A healthy compost pile should smell earthy, like a forest floor. A bad smell (sour, ammonia, rotten eggs) usually means it’s too wet and lacks oxygen (anaerobic). The fix is to add dry “brown” materials like shredded cardboard or dead leaves, and turn the pile thoroughly to introduce air.
Q3: Can I add meat scraps to my compost pile if it’s not breaking down?
A: Generally, it’s best to avoid meat scraps, bones, dairy, and oily foods in a typical backyard compost bin. These items decompose slowly, can create foul odors, and are likely to attract pests like rodents and flies. They are better suited for specialized composting systems or not composted at home.
Q4: I have a lot of brown leaves. Can I just dump them all in?
A: You can add a lot of brown leaves, but it’s best to break them up or shred them if possible, and mix them with some “green” materials. If you add too many dry leaves at once without enough green material, they can create a very carbon-heavy, dry, and slow-decomposing pile. If they are already in a big pile, break them up and mix in some kitchen scraps or fresh grass clippings.
Q5: How do I know when my compost is ready to use?
A: Finished compost will be dark brown or black. It will have a uniform texture, with no recognizable food scraps or
.lwrp.link-whisper-related-posts{
margin-top: 40px;
margin-bottom: 30px;
}
.lwrp .lwrp-title{
}.lwrp .lwrp-description{
}
.lwrp .lwrp-list-container{
}
.lwrp .lwrp-list-multi-container{
display: flex;
}
.lwrp .lwrp-list-double{
width: 48%;
}
.lwrp .lwrp-list-triple{
width: 32%;
}
.lwrp .lwrp-list-row-container{
display: flex;
justify-content: space-between;
}
.lwrp .lwrp-list-row-container .lwrp-list-item{
width: calc(25% – 20px);
}
.lwrp .lwrp-list-item:not(.lwrp-no-posts-message-item){
max-width: 150px;
}
.lwrp .lwrp-list-item img{
max-width: 100%;
height: auto;
object-fit: cover;
aspect-ratio: 1 / 1;
}
.lwrp .lwrp-list-item.lwrp-empty-list-item{
background: initial !important;
}
.lwrp .lwrp-list-item .lwrp-list-link .lwrp-list-link-title-text,
.lwrp .lwrp-list-item .lwrp-list-no-posts-message{
}@media screen and (max-width: 480px) {
.lwrp.link-whisper-related-posts{
}
.lwrp .lwrp-title{
}.lwrp .lwrp-description{
}
.lwrp .lwrp-list-multi-container{
flex-direction: column;
}
.lwrp .lwrp-list-multi-container ul.lwrp-list{
margin-top: 0px;
margin-bottom: 0px;
padding-top: 0px;
padding-bottom: 0px;
}
.lwrp .lwrp-list-double,
.lwrp .lwrp-list-triple{
width: 100%;
}
.lwrp .lwrp-list-row-container{
justify-content: initial;
flex-direction: column;
}
.lwrp .lwrp-list-row-container .lwrp-list-item{
width: 100%;
}
.lwrp .lwrp-list-item:not(.lwrp-no-posts-message-item){
max-width: initial;
}
.lwrp .lwrp-list-item .lwrp-list-link .lwrp-list-link-title-text,
.lwrp .lwrp-list-item .lwrp-list-no-posts-message{
};
}

I am passionate about home engineering. I specialize in designing, installing, and maintaining heating, ventilation, and air conditioning systems. My goal is to help people stay comfortable in their homes all year long.

