Got a pile of kitchen scraps and yard waste sitting around? Don’t toss it! Turning that organic stuff into rich garden compost is easier than you think. It’s like magic for your garden, giving your plants a superfood boost. Many Aussies find it a bit daunting at first, but I’m here to break it down. We’ll go through everything you need to know, step-by-step, so you can start making your own black gold. First, let’s get you started with the basics.
Creating Garden Compost in Australia: Your Simple Guide
G’day, gardeners! Troy D Harn here, from TopChooser. If you’re looking to give your Australian garden a natural, healthy boost without spending a fortune, you’ve come to the right place. Making your own garden compost is one of the best things you can do. It recycles kitchen and yard waste, reduces landfill, and creates a nutrient-rich soil amendment that plants absolutely love. Forget those fancy bags of fertilizer; homemade compost is the real deal for happy, thriving plants.
I know starting something new can feel a bit overwhelming, especially if you’re new to gardening or composting. But trust me, it’s not complicated! I’ve helped loads of folks, just like you, get their compost going, and I’ll walk you through every step. We’ll cover what compost is, why it’s brilliant for our Aussie soils, what you need to get started, and the simple secrets to making it work for you. Let’s dig in!
What Exactly Is Garden Compost?
Think of compost as nature’s way of recycling. It’s what happens when organic materials – like fruit peels, garden trimmings, and even old newspapers – are broken down over time by tiny organisms like bacteria, fungi, and worms. The end result is a dark, crumbly, earthy-smelling material that’s packed with nutrients. This finished product is often called “black gold” by gardeners because it’s so good for improving soil health.
Why Compost? The Brilliant Benefits for Australian Gardens
Composting isn’t just about getting rid of waste; it offers a heap of fantastic advantages, especially for our unique Australian gardening conditions:
- Improves Soil Structure: Australian soils can be sandy, clayey, or a bit of both. Compost helps bind sandy soils together, improving water retention, and it loosens up dense clay soils, allowing for better drainage and root growth.
- Enriches Soil Nutrients: As organic matter breaks down, it releases essential nutrients that plants need to grow strong and healthy. This reduces the need for artificial fertilizers, which can sometimes be harsh.
- Encourages Beneficial Microbes: Compost is a living ecosystem! It introduces and feeds the helpful bacteria, fungi, and worms that keep your soil healthy and your plants resilient.
- Reduces Waste: A significant portion of household waste is organic material that can be composted. By composting, you’re diverting this from landfill, which is great for the environment.
- Saves Money: Making your own compost means you don’t have to buy expensive soil conditioners or fertilizers. It’s a win for your garden and your wallet!
- Better Water Retention: Compost acts like a sponge, helping your soil hold onto moisture. This is super important in Australia, especially during drier periods, as it means you’ll need to water less.
For more on the science behind soil health and organic matter, check out this helpful guide from the Queensland Government on understanding and improving soil quality.
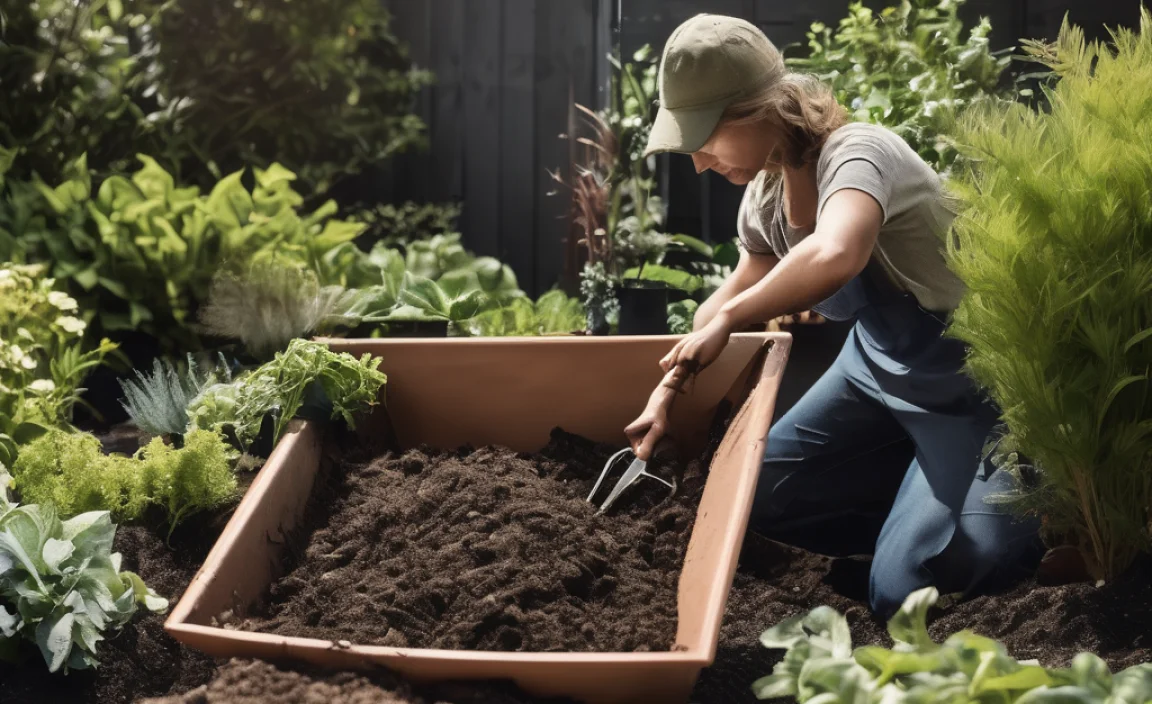
Getting Started: What You Need to Compost Like a Pro
You don’t need a fancy setup to start composting. Here are the basic things you’ll need:
1. A Compost Bin or Pile
This is where the magic happens. You have a few options:
- Open Pile: The simplest method. Just start piling your organic materials in a designated spot in your yard. It needs to be at least 1 cubic metre (about 1m x 1m x 1m) to generate enough heat for efficient composting. This is best if you have plenty of space.
- Compost Bin: These are enclosed containers that help retain heat and moisture, often speeding up the process. They come in various types:
- Tumbling Composters: These are barrel-like bins that rotate, making turning (aerating) the compost easy. Great for quick compost but can be smaller in volume.
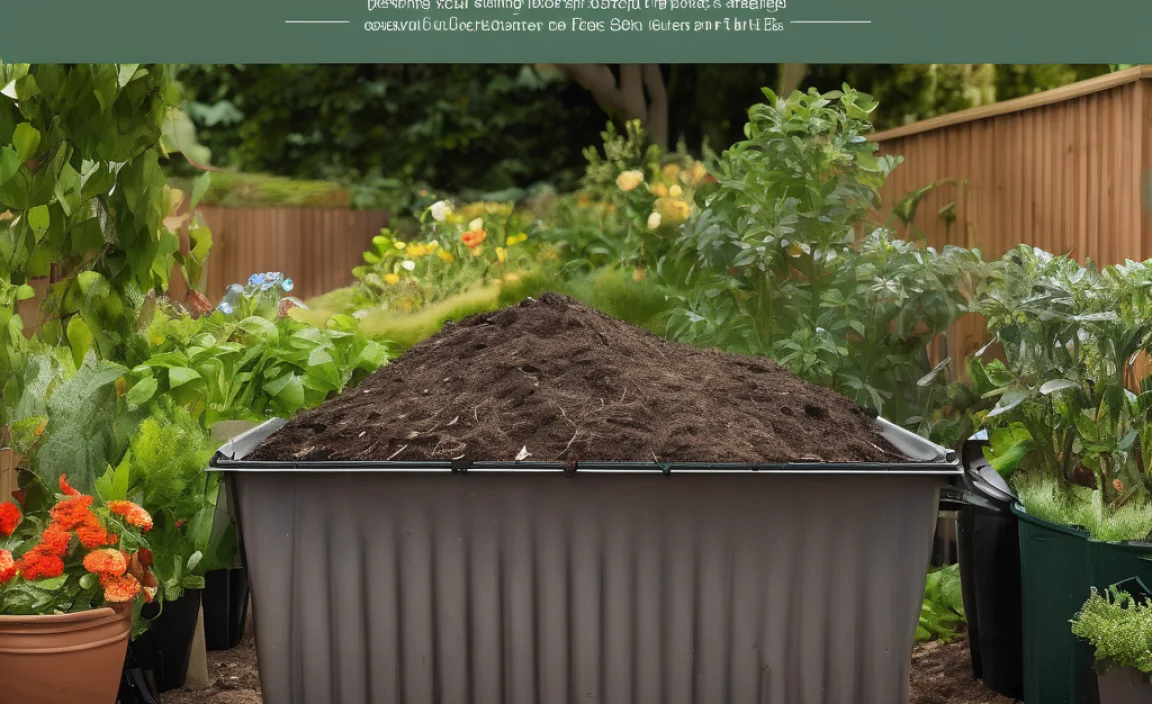
- Stationary Bins: Freestanding bins, often made of plastic or recycled materials, with lids and sometimes doors at the bottom to access finished compost. They are easy to use and come in various sizes.
- Wire Mesh Bins: Simple and affordable. You can buy them ready-made or create your own by shaping wire mesh into a cylinder. They offer good aeration but can dry out quickly.
- Worm Farms (Vermicomposting): While technically different from hot composting, worm farms are a fantastic, space-saving way to compost kitchen scraps, especially for apartment dwellers or those with smaller yards. We won’t go into extreme detail here as it’s a slightly different topic, but it’s a great option!
When choosing a bin, consider the size of your yard, how much waste you produce, and how much effort you want to put in. Many councils in Australia offer subsidized compost bins to residents, so it’s worth checking their websites!
2. Greens and Browns: The Perfect Mix
Composting relies on a balance of two main types of materials:
- “Greens” (Nitrogen-rich): These materials are typically wet and provide nitrogen, which fuels the microorganisms that break down the compost. Think of kitchen scraps and fresh garden waste.
- “Browns” (Carbon-rich): These materials are usually dry and provide carbon, which gives the microorganisms energy. Think of dead leaves, straw, and cardboard.
Getting this balance right is key. A good rule of thumb is to aim for roughly 2 to 3 parts Browns to 1 part Greens by volume. Too many Greens can make your compost wet and smelly; too many Browns will slow down the decomposition process.
3. Water
Compost needs moisture to work. It should feel like a damp sponge – moist but not soaking wet. You’ll need a way to add water if it gets too dry, especially in our Australian climate.
4. Air
The microorganisms that break down organic matter need oxygen. Regularly turning or aerating your compost pile is essential. If you have an open pile or a stationary bin, you’ll need a compost fork or a sturdy spade for this. Tumblers do this for you.
What Can I Compost? The Do’s and Don’ts
It’s important to know what goes into your compost bin to ensure a healthy, nutrient-rich end product and avoid attracting pests or creating unpleasant smells.
The “Greens” – What to Add:
- Fruit scraps (peels, cores, etc.)
- Vegetable scraps (peels, stalks, wilted leaves)
- Coffee grounds and filters
- Tea bags (remove staples)
- Grass clippings (add in thin layers to avoid matting)
- Fresh plant cuttings (from weeds you haven’t let go to seed)
- Egg shells (crushed)
- Manure from herbivores (e.g., chook, cow, horse – if you have access)
The “Browns” – What to Add:
- Dry leaves
- Straw and hay
- Cardboard (torn into small pieces, remove any glossy print or tape)
- Paper (shredded, avoid glossy magazines)
- Sawdust and wood shavings (from untreated timber)
- Twigs and small branches (chopped up)
- Pine needles (in moderation, as they can be slow to break down)
- Egg cartons (torn up)
- Toilet paper rolls (torn up)
What NOT to Compost:
These items can cause problems like attracting pests, producing bad odours, or containing harmful pathogens:
- Meat, fish, and bones (attract pests, can smell)
- Dairy products (milk, cheese, yoghurt – attract pests, can smell)
- Oily or greasy foods
- Diseased plants (especially if you haven’t had very hot composting temperatures)
- Weeds that have gone to seed or persistent perennial weeds (they might survive and spread)
- Pet waste (from cats and dogs – can contain harmful pathogens)
- Treated timber or sawdust from treated timber
- Synthetic materials (plastics, metals, glass)
- Coal ash or charcoal ash (can contain harmful chemicals)
When in doubt, it’s often best to leave it out, especially when you’re just starting.
The Composting Process: Step-by-Step
Here’s how to build and manage your compost pile:
Step 1: Choose Your Location
Find a convenient spot in your yard that gets some sun (to help heat it up) but also some shade (to prevent it from drying out too quickly). Ensure it has good drainage and is accessible for adding materials and eventually removing finished compost. Aim for a spot that isn’t directly against your house or a wooden fence if you’re putting in a large open heap. For a bin, anywhere is usually fine as long as you can get to it.
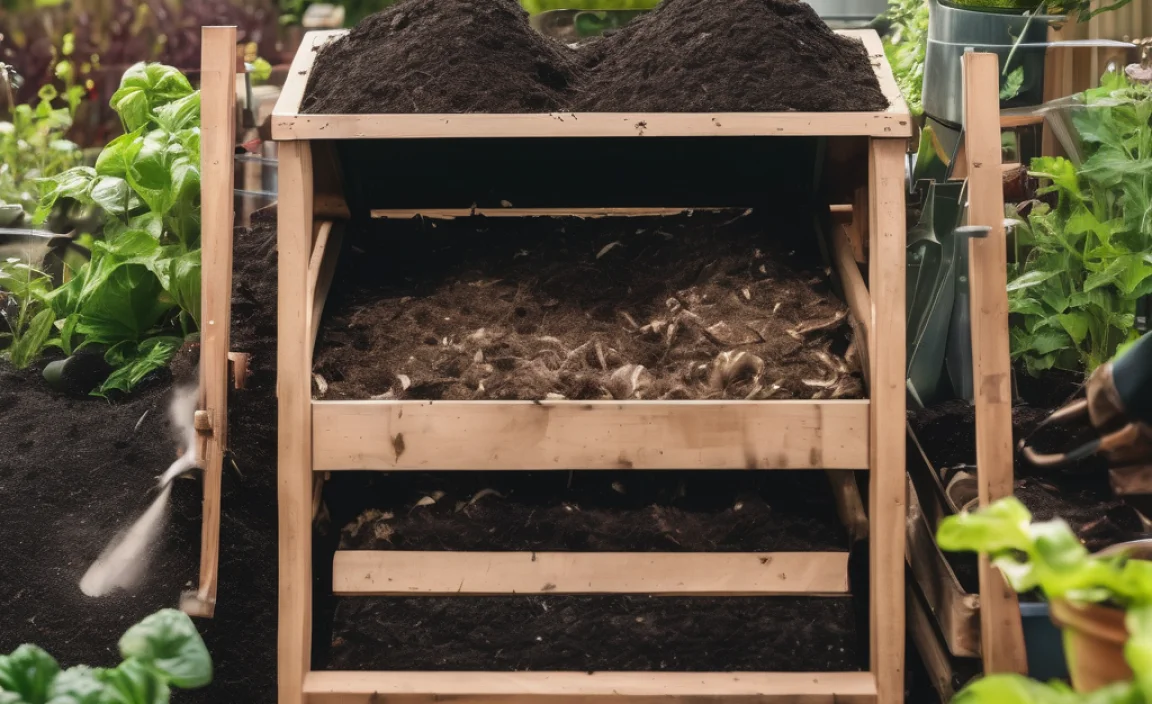
Step 2: Start Layering
Begin by putting a base layer of coarse “Brown” materials, like twigs or straw, at the bottom. This helps with drainage and aeration. Then, start adding your “Greens” and “Browns” in alternating layers. A good starting point is roughly 2 parts Browns to 1 part Greens.
- Start with a layer of coarse brown material (twigs, straw).
- Add a layer of green material (kitchen scraps, grass clippings).
- Add a layer of brown material (dry leaves, shredded paper).
- Repeat these layers, aiming for that 2:1 or 3:1 brown-to-green ratio.
- You can sprinkle a handful of garden soil or finished compost on top of layers occasionally; this introduces beneficial microbes to kickstart the decomposition process.
Step 3: Maintain Moisture Levels
Your compost needs to be moist, like a wrung-out sponge. If it feels dry, give it a good watering. If it’s too wet (smells sour or ammonia-like), add more “Brown” materials and turn it to help it dry out.
Step 4: Aerate Regularly
This is crucial for fast, efficient composting. The microorganisms need oxygen. Turn your compost pile about once every two to four weeks. If you have a tumbler, give it a few turns every few days. For a pile or bin, use a compost fork or spade to turn the material from the outside into the centre and vice versa. This also helps the layers mix.
Step 5: Be Patient!
Composting isn’t an instant process. Depending on the materials you use, the weather, how often you turn it, and the type of bin, it can take anywhere from a few months to a year to produce finished compost.
Troubleshooting Common Composting Problems
Even with the best intentions, sometimes things go a bit awry. Here are a few common issues and how to fix them:
| Problem | Possible Cause | Solution |
|---|---|---|
| Bad Smell (Rotten Eggs/Ammonia) | Too many “Greens” (nitrogen-rich materials) or pile is too wet. Lack of air. | Add more “Browns” (carbon-rich materials like dried leaves, paper). Turn the pile thoroughly to introduce air and help it dry out. If it smells like ammonia, you likely have too much nitrogen, so add more carbon (browns). |
| Pile Not Heating Up | Not enough “Greens,” too dry, or pile is too small. Needs more material or microorganisms. | Add more “Greens.” Water the pile if dry. Make sure the pile is at least 1 cubic metre. Add a shovel of finished compost or garden soil to introduce microbes. Turn to mix things up. |
| Composting is Too Slow | Lack of moisture, lack of air, or not enough “Greens.” Materials are too large. | Check moisture levels and water if needed. Turn the compost more frequently. Ensure a good balance of Greens and Browns. Chop or shred larger items into smaller pieces before adding them. |
| Attracting Pests (Flies, Rodents) | Including forbidden items like meat, dairy, or oily foods. Pile is too dry and material is exposed. | Remove any forbidden items immediately. Ensure a good mix of Greens and Browns, with Browns on top. Bury kitchen scraps deep within the pile. Consider a compost bin with a secure lid if pests are a persistent problem. |
For more in-depth pest management advice applicable to home gardens, the NSW Department of Primary Industries offers resources that can sometimes relate to compost management.
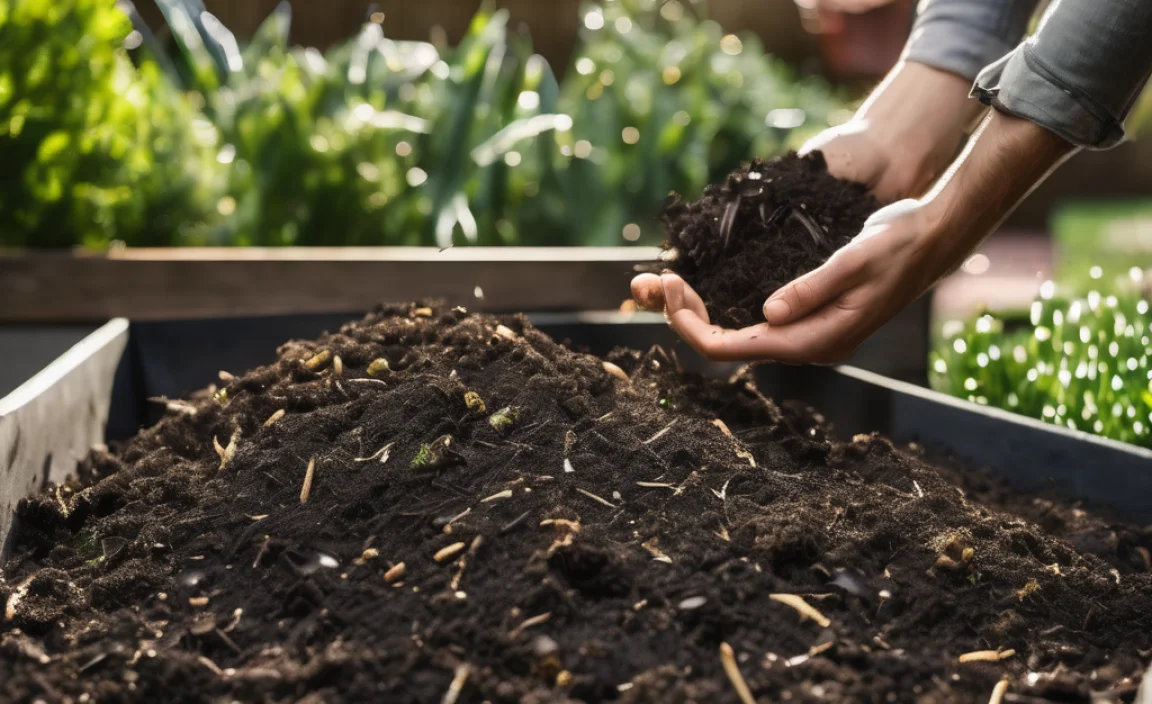
When Is Compost Ready?
You’ll know your compost is ready to use when it:
- Looks dark brown and crumbly, like rich soil.
- Smells earthy and pleasant, not sour or like ammonia.
- The original materials are no longer recognisable.
- The temperature of the compost pile has cooled down.
You can sift it through a sieve if you want a finer texture, but it’s not essential. Larger, uncomposted bits can go back into your new compost batch.
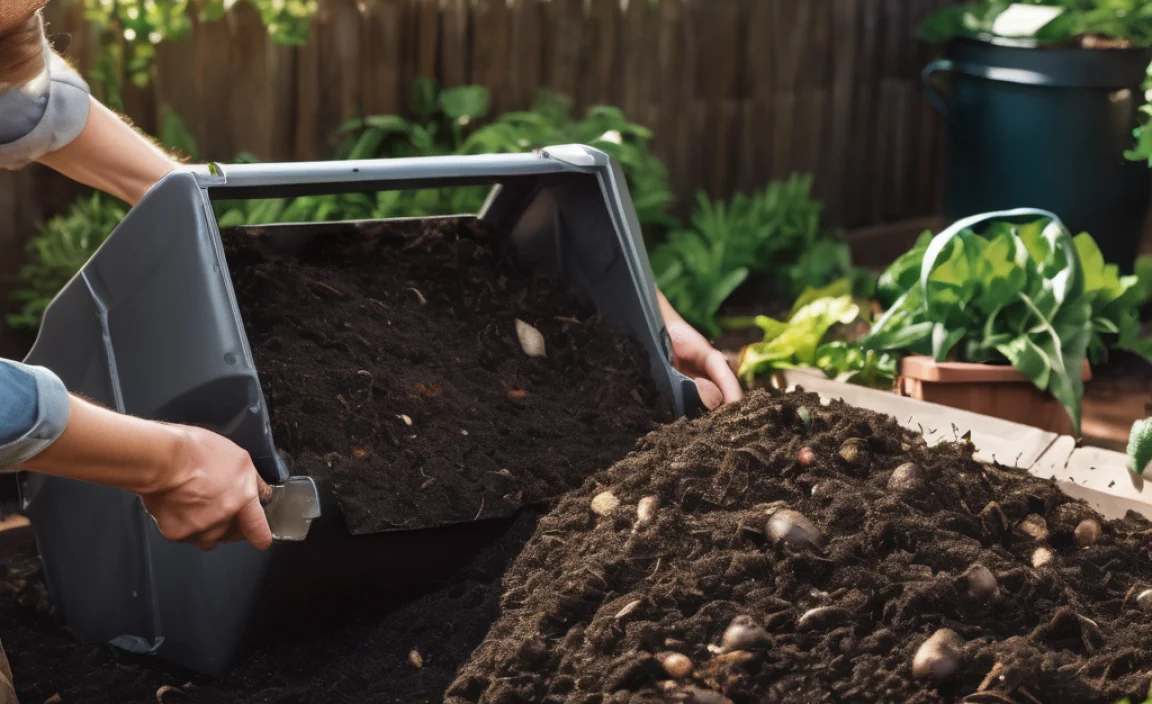
Using Your Homemade Compost
Once your “black gold” is ready, you can use it in so many ways around your garden:
- Soil Amendment: Dig it into garden beds before planting. It improves soil structure and fertility. Aim for a layer of 5-10 cm mixed into the top 15-20 cm of soil.
- Mulch: Spread a layer around the base of plants, trees, and shrubs. This helps retain moisture, suppress weeds, and slowly feed the soil beneath.
- Potting Mix: Mix compost (about 1 part compost to 2 parts potting mix) to create a nutrient-rich medium for pots and containers.
- Top Dressing Lawns: Spread a thin layer over your lawn in spring or autumn to improve soil health and grass growth.
Key Considerations for Australian Climates
Australia’s diverse climate presents unique challenges and advantages for composting:
- Heat and Sun: Can dry out your compost pile quickly. You might need to water more frequently, and providing some shade can be beneficial, especially in tropical and inland areas.
- Rainfall: In regions with heavy rainfall (like parts of the tropics or temperate coasts), your pile can become too wet. Ensure good drainage and consider turning more often or adding extra browns to absorb excess moisture.
- Wind: Windy conditions can also dry out piles. A bin with a lid or windbreaks can help.
- Microbial Activity: Warmer temperatures generally mean faster decomposition, which is great! However, extreme heat can sometimes kill off beneficial microorganisms if the pile gets too hot and stays that way for too long without turning.
For guidance on sustainable gardening practices in your specific Australian region, your local council or state government’s agricultural department website is an excellent resource. For example, Gardening Know How often has articles that discuss climate considerations for composting.
FAQ: Your Composting Questions Answered
Q1: How long does it take for compost to be ready?
A: It can take anywhere from 2-3 months to a year. It depends on what you put in, how often you turn it, the weather, and the type of bin you use. A well-managed, hot compost pile will be ready much faster than a cold, undisturbed pile.
Related Posts

I am passionate about home engineering. I specialize in designing, installing, and maintaining heating, ventilation, and air conditioning systems. My goal is to help people stay comfortable in their homes all year long.