Ever felt a little lost when it comes to making compost for your garden? You’re not alone! So many of us want to give our plants the best, but the whole composting thing can seem a bit much at first. It’s like trying to read a foreign instruction manual. But what if I told you it’s actually super straightforward? We’re going to break down how to create a fantastic garden compost right here, step-by-step. Get ready to transform your kitchen scraps and yard waste into gardening gold!
Unlock Your Garden’s Potential with a Garden Compost PDF: Your Genius Essential Guide!
Hey there, gardening friends! Troy D Harn here, your go-to guy for making home projects, including a thriving garden, way less complicated. If you’ve ever wondered how to turn those kitchen scraps and lawn clippings into the black gold that your plants just adore, you’re in the right place. We’re talking about compost – the ultimate organic fertilizer. It’s super important for healthy soil, meaning healthier, happier plants, and tastier veggies or brighter blooms.
Many folks think composting is tricky, requiring fancy equipment or a degree in soil science. That’s just not true! With a little know-how, you can easily start composting at home. And to make it even easier, we’re going to guide you through creating your own personal “Garden Compost PDF” – not a literal PDF document, but a set of clear, actionable steps that you can come back to anytime. Think of it as your ultimate, easy-to-digest guide. Let’s dig in and turn that waste into wonderfulness!
Why Compost? The Amazing Benefits for Your Garden
Before we dive into the “how,” let’s quickly touch on the “why.” Composting is like giving your garden a superfood smoothie. Here’s why it’s such a game-changer:
- Healthier Soil: Compost improves the soil structure, making it easier for plant roots to grow and access nutrients and water.
- Natural Fertilizer: It’s packed with nutrients that plants need, reducing or even eliminating the need for chemical fertilizers.
- Waste Reduction: You’ll be surprised how much kitchen and yard waste can be composted, diverting it from landfills.
- Water Retention: Compost acts like a sponge, helping soil hold onto moisture longer, which is great for your plants and reduces watering needs.
- Disease and Pest Resistance: Healthy soil leads to healthy plants that are better equipped to ward off diseases and pests naturally.
- Environmental Friendliness: Composting reduces methane gas emissions from landfills and creates a sustainable way to manage organic waste.
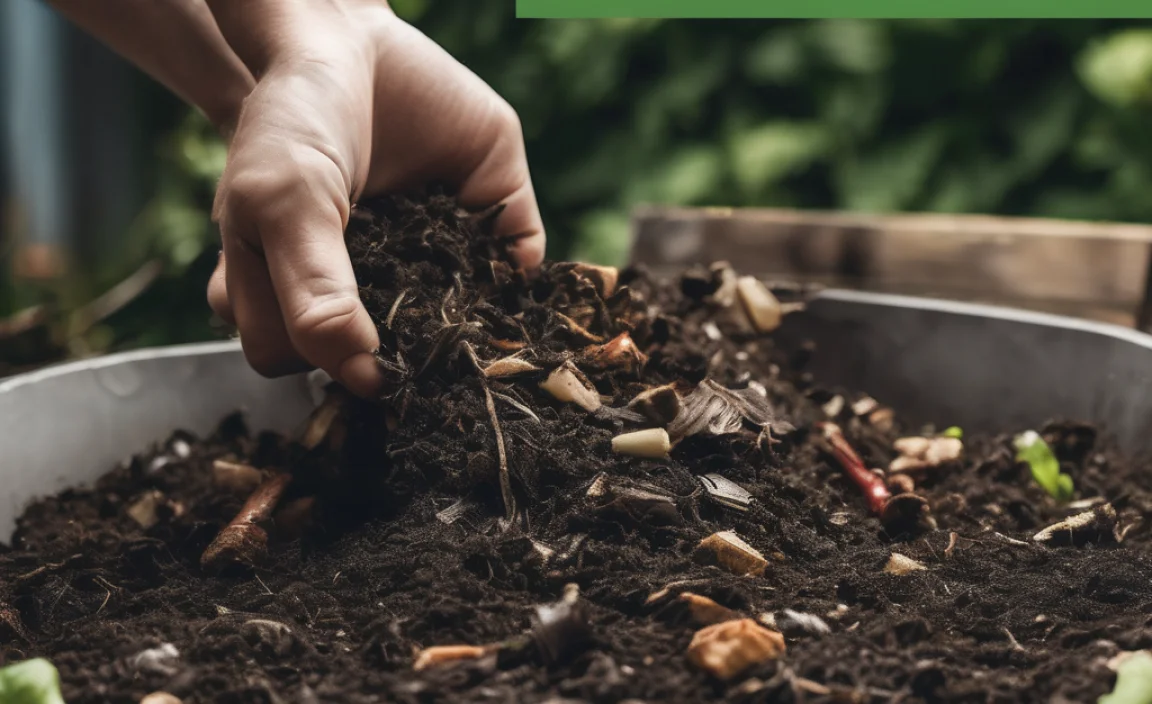
What Can You Compost? The “Greens” and “Browns” Explained
The secret to great compost is balancing two types of materials: “greens” and “browns.” This might sound a bit technical, but it’s really just about mixing nitrogen-rich materials (greens) with carbon-rich materials (browns). Getting this balance right is key to making your compost pile heat up and break down efficiently.
Greens (Nitrogen-Rich Materials)
These items are typically moist and break down quickly, providing nitrogen for the microorganisms doing the composting work.
- Fruit and vegetable scraps
- Coffee grounds and tea bags (paper filters are fine too!)
- Grass clippings (in moderation, as they can get matted)
- Plant trimmings (non-diseased)
- Eggshells (crushed)
- Manure from herbivores (like rabbits, chickens, cows – avoid pet waste!)
Browns (Carbon-Rich Materials)
These are usually dry and provide carbon, which fuels the composting process and gives your pile structure, preventing it from becoming a soggy mess.
- Dry leaves
- Straw or hay
- Shredded newspaper or cardboard (avoid glossy or colored inks)
- Twigs and small branches (chopped or shredded)
- Sawdust (from untreated wood)
- Pine needles (in moderation, as they can be acidic)
- Paper towels and napkins (unsoiled by grease or chemicals)
What to Keep OUT of Your Compost Pile
Just as important as knowing what to put in is knowing what to leave out. Some items can attract pests, spread diseases, or simply won’t break down properly. Here’s a quick rundown:
- Meat, poultry, and fish scraps (attract pests and can smell)
- Dairy products (milk, cheese, yogurt – attract pests and can smell)
- Oils, fats, and grease (slows decomposition, attracts pests)
- Diseased plants (can spread illness to your garden)
- Weeds that have gone to seed (you’ll end up with weeds in your compost)
- Pet waste (dog and cat feces can contain pathogens)
- Chemically treated wood or yard waste
- Coal or charcoal ash (can contain harmful substances)
- Synthetic materials (plastics, foam, etc.)
Choosing Your Composting Method: Bin vs. Pile
You don’t need a fancy setup to start composting. There are a few popular methods, each with its own pros and cons. Your choice will depend on your space, budget, and how hands-on you want to be.
Option 1: The Simple Compost Pile
This is the most basic approach. You just create a heap of your compostable materials in a corner of your yard. It’s free and easy, but it can be a bit messy and take longer to break down because it’s exposed to the elements.
Pros:
- No cost to set up.
- Can handle large volumes of material.
- Simple to start.
Cons:
- Can look untidy.
- May attract pests more easily if not managed well.
- Can dry out or get too wet depending on the weather.
- Takes longer to break down.
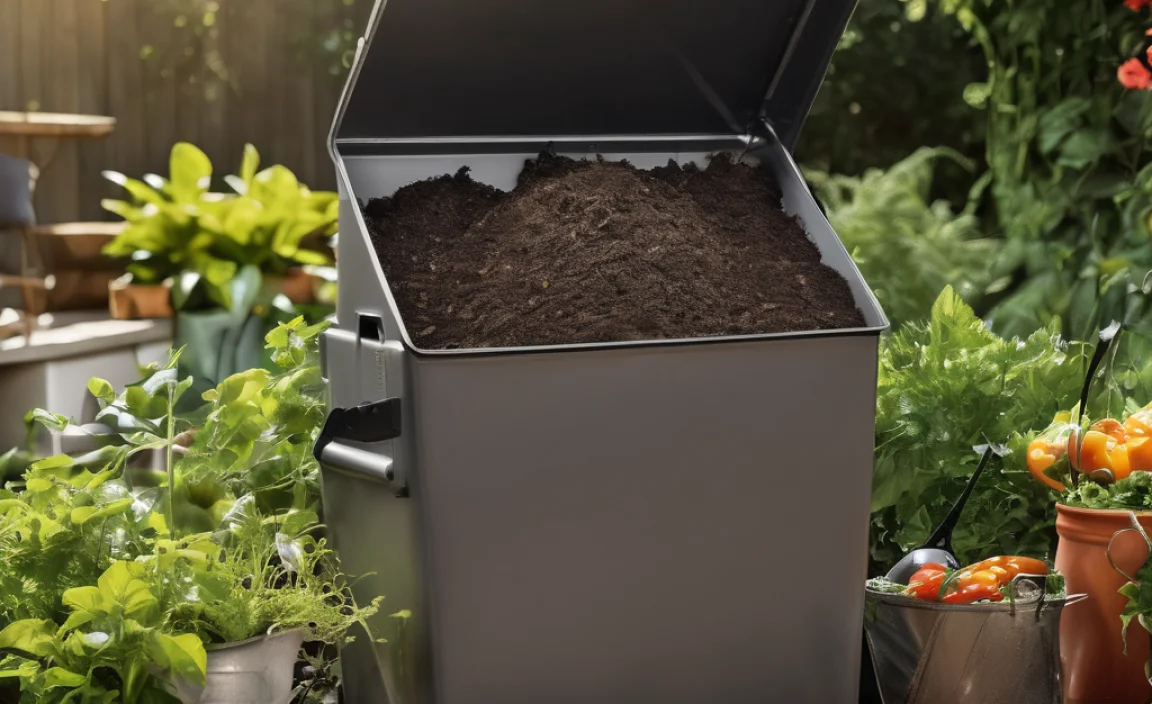
Option 2: The Enclosed Compost Bin
These are structures designed to hold your compost. You can buy them at garden centers, or you can build your own. They come in various forms, like wooden bins, plastic tumblers, or wire mesh enclosures. Bins help contain the materials, retain heat and moisture better, and can look neater.
Pros:
- Neater appearance.
- Helps retain heat and moisture for faster decomposition.
- Can deter pests more effectively.
- Various styles to suit different aesthetics and needs.
Cons:
A popular DIY option is a simple wire mesh cylinder. You can buy hardware cloth and some zip ties and form a circle. For a more robust solution, people often build wooden bins from recycled pallets or lumber. If you’re looking for quick, reliable garden supplies, check out resources like The Home Depot for a range of bins and materials.
Option 3: The Tumbler Composter
These are sealed drums or barrels on an axis that you can easily rotate. Tumblers make turning your compost incredibly simple, mixing the materials and aerating them efficiently. This significantly speeds up the composting process.
Pros:
- Very easy to turn and aerate.
- Composts much faster (often in weeks).
- Fully enclosed, deterring pests nicely.
- Can be very tidy and space-saving.
Cons:
- Can be more expensive upfront.
- Batch composting is usually required (you fill it, then let it compost).
- Limited capacity compared to a large pile.
- May require more frequent additions of moisture.
No matter which method you choose, remember that good airflow is crucial. If you’re using a bin, ensure it has ventilation holes. For piles, make sure they aren’t too compacted.
Getting Started: Your Step-by-Step Garden Compost PDF Guide
Let’s get down to building that amazing compost. Think of this as your personal guide, like a downloadable PDF you can always refer back to.
Step 1: Choose Your Location
Find a spot that’s convenient for you. It should be relatively easy to access for adding materials and harvesting finished compost. Ideally, it should have good drainage so your compost doesn’t become waterlogged. A spot that gets some sun can help heat the pile, but too much intense sun can dry it out too quickly. Near a water source is also helpful.
Step 2: Gather Your Materials
Start collecting both your “greens” and “browns.” It’s good to have a mix ready before you begin. You can keep a small bin for kitchen scraps indoors and a larger bin or area for yard waste outdoors.
Step 3: Build Your Compost Pile or Fill Your Bin
This is where you start layering. A good starting point is a ratio of roughly 2-3 parts browns to 1 part greens by volume. This doesn’t have to be exact, but it’s a good guideline. You can layer them like a cake, or just mix them as you add them.
- Start with a base layer of bulky browns: Think twigs or chopped-up cardboard. This helps with aeration from the bottom.
- Add a layer of greens: This provides the nitrogen to kickstart the decomposition.
- Add a layer of browns: This balances the greens and prevents the pile from getting slimy.
- Moisten as you go: Each layer should be damp, like a wrung-out sponge. Not soggy, not dry.
- Continue layering: Alternate greens and browns, moistening each layer.
If you’re using a bin, pack the materials in. If you’re making a pile, try to keep it roughly 3 feet by 3 feet by 3 feet for optimal heat retention. If you don’t have enough materials to get started, don’t worry – just start adding as you collect them!
Step 4: Aerate and Manage Moisture
This is crucial for healthy, fast composting. Microorganisms need air to do their work. You’ll need to turn your compost pile or bin regularly.
- How often? Aim to turn it every 1-2 weeks.
- How to turn? Use a garden fork or shovel to mix the materials from the outside into the center and vice-versa. If you have a tumbler, just give it a good spin every few days.
- Check moisture: Squeeze a handful of compost. If a few drops of water come out, it’s perfect. If it’s too dry, add water as you turn. If it’s too wet, add more browns and turn it well.
Step 5: Be Patient and Monitor
Composting is a natural process, and it takes time. Depending on the materials you use, how often you turn it, and the weather, it can take anywhere from a few months to a year to get finished compost.
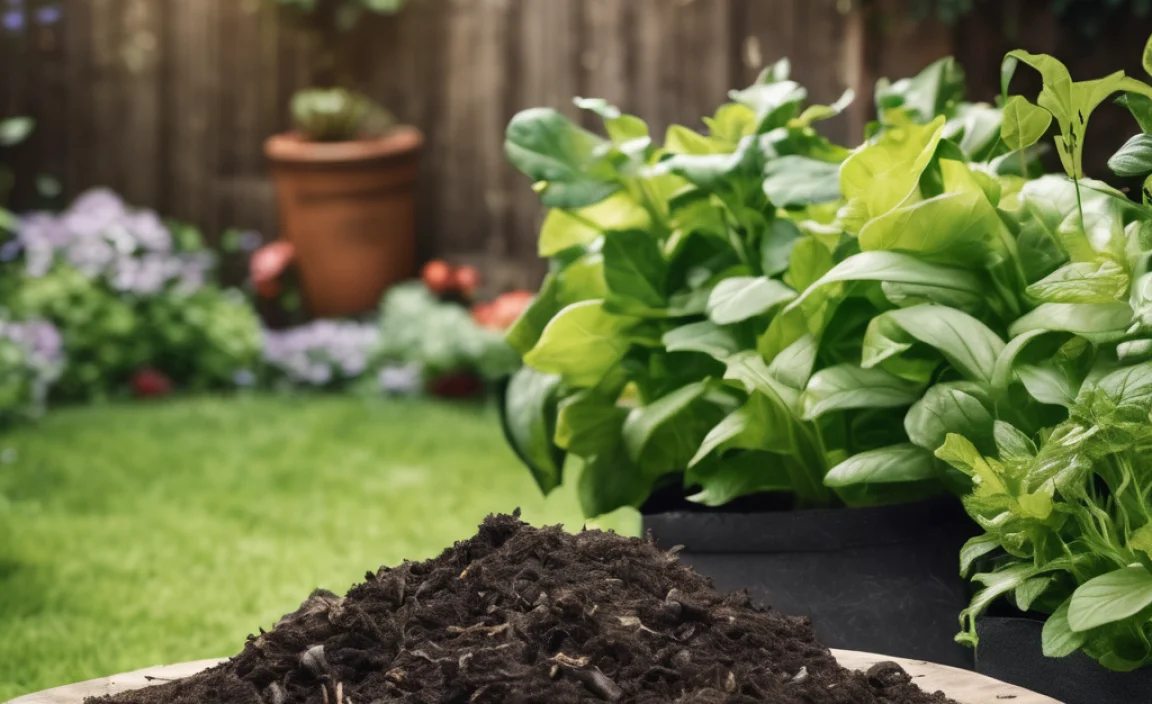
- What to look for: Your compost is ready when it looks dark, crumbly, and smells earthy – like a forest floor. You shouldn’t be able to recognize the original materials anymore.
- Troubleshooting:
- Smelly pile? Likely too wet, or not enough browns. Add more browns and turn.
- Not heating up? Not enough greens or too dry. Add greens and moisture.
- Pests? Bury food scraps deep in the pile, ensure a good ratio of browns, and consider a bin with a lid.
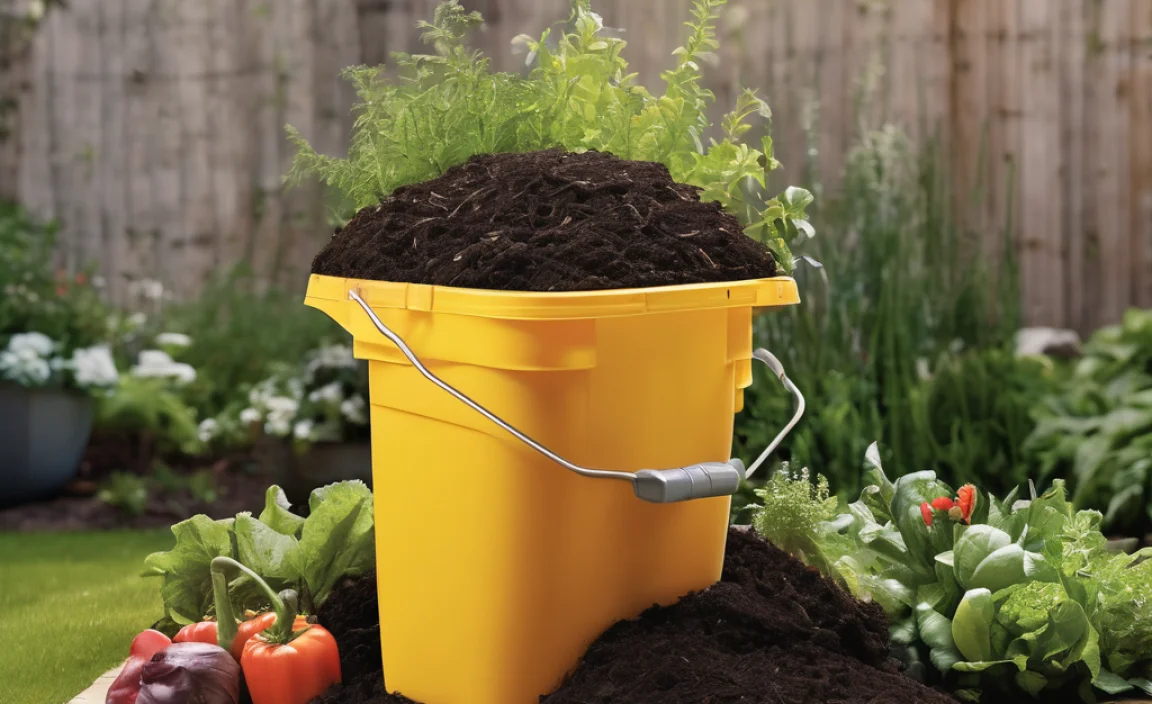
Step 6: Use Your Compost!
Once your compost is ready, you can use it in so many ways:
- As a soil amendment: Dig it into your garden beds before planting.
- As a top dressing: Spread a layer around existing plants.
- In potting mixes: Mix it with soil for container plants.
- For starting seeds: A small amount can be mixed into seed-starting soil.
Quick Compost Troubleshooting Table
Sometimes, things don’t go perfectly. This table can help you quickly identify common composting problems and their solutions. Think of it as your handy reference card!
| Problem | Possible Cause(s) | Solution |
|---|---|---|
| Foul Odors (Ammonia or Rotten Egg Smell) | Too many “greens” (high nitrogen). Pile is too wet and lacks air. | Add more “browns” (carbon materials like leaves, shredded paper). Turn the pile thoroughly to aerate. Ensure good drainage. |
| Pile is not heating up | Not enough “greens” (nitrogen). Pile is too dry. Pile is too small. Not enough aeration. | Add more “greens” (food scraps, grass clippings). Add water to moisten it. Make the pile at least 3x3x3 feet. Turn more frequently. |
| Pile is too wet and slimy | Too many “greens” or too much water. Poor drainage. | Add more “browns” (straw, shredded cardboard, sawdust). Turn the pile very well to dry it out. Ensure the bin or pile location drains well. |
| Attracting Pests (Rodents, Flies) | Exposed food scraps. Meat/dairy/oily items included. | Bury food scraps deep within the pile, always cover with browns. Avoid meat, dairy, and oily foods. Use an enclosed bin or tumbler. |
| Compost is taking too long to break down | Lack of moisture. Lack of aeration. Pile is too small. Materials are too large. | Keep the pile consistently moist. Turn more often (at least weekly). Make sure the pile is large enough. Chop or shred larger items. |
Advanced Tips for Super Composters
Once you’ve got the basics down, you might want to level up your composting game. Here are a few tips to make your compost even better:
Chop It Up!
Smaller pieces break down much faster. If you have large branches or bulky items, take the time to chop or shred them before adding them to your compost. A chipper/shredder can be a great investment if you have a lot of yard waste.
The Magic of Manure
Manure from herbivores (like rabbits, horses, cows, and chickens) is a fantastic addition, providing a nitrogen boost and valuable microbes. Just make sure it has aged a bit or is composted thoroughly if you’re using it for vegetable gardens, as fresh manure can sometimes burn plants.
Worm Magic (Vermicomposting)
For a super-powered compost, consider vermicomposting with red wiggler worms. They eat food scraps and produce incredibly rich castings that are a premium fertilizer. This is a bit more specialized but yields amazing results for smaller spaces or those looking for the best of the best. The EPA provides great composting resources that touch on various methods.
Activators and Boosters
If your pile is sluggish, you can add a compost activator. This is often a commercial product containing beneficial microbes or enzymes. Alternatively, a shovelful of finished compost or rich garden soil can introduce these microbes naturally. Some people also add a bit of molasses or even a splash of beer to kickstart a slow pile.
Frequently Asked Questions (FAQ) About Garden Compost PDFs
Got more questions buzzing around your head? Here are some common ones beginners ask, answered in plain English.
Q1: How do I know when my compost is ready to use?
Answer: Your compost is ready when it looks like dark, crumbly soil. It should smell pleasant and earthy, like a forest floor. You won’t be able to recognize the original food scraps or yard waste anymore.
Q2: Can I compost diseased plants in my garden?
Answer: It’s best to avoid composting diseased plants. The disease-causing organisms might survive the composting process and then spread to your healthy plants when you use the compost. Stick to healthy plant trimmings.
Q3: My compost smells bad. What am I doing wrong?
Answer: A bad smell usually means your compost pile is too wet and doesn’t have enough air. It’s often a sign of too many “greens” or not enough “browns.” Try adding more dry, carbon-rich materials like shredded newspaper, cardboard, or dry leaves, and
.lwrp.link-whisper-related-posts{
margin-top: 40px;
margin-bottom: 30px;
}
.lwrp .lwrp-title{
}.lwrp .lwrp-description{
}
.lwrp .lwrp-list-container{
}
.lwrp .lwrp-list-multi-container{
display: flex;
}
.lwrp .lwrp-list-double{
width: 48%;
}
.lwrp .lwrp-list-triple{
width: 32%;
}
.lwrp .lwrp-list-row-container{
display: flex;
justify-content: space-between;
}
.lwrp .lwrp-list-row-container .lwrp-list-item{
width: calc(25% – 20px);
}
.lwrp .lwrp-list-item:not(.lwrp-no-posts-message-item){
max-width: 150px;
}
.lwrp .lwrp-list-item img{
max-width: 100%;
height: auto;
object-fit: cover;
aspect-ratio: 1 / 1;
}
.lwrp .lwrp-list-item.lwrp-empty-list-item{
background: initial !important;
}
.lwrp .lwrp-list-item .lwrp-list-link .lwrp-list-link-title-text,
.lwrp .lwrp-list-item .lwrp-list-no-posts-message{
}@media screen and (max-width: 480px) {
.lwrp.link-whisper-related-posts{
}
.lwrp .lwrp-title{
}.lwrp .lwrp-description{
}
.lwrp .lwrp-list-multi-container{
flex-direction: column;
}
.lwrp .lwrp-list-multi-container ul.lwrp-list{
margin-top: 0px;
margin-bottom: 0px;
padding-top: 0px;
padding-bottom: 0px;
}
.lwrp .lwrp-list-double,
.lwrp .lwrp-list-triple{
width: 100%;
}
.lwrp .lwrp-list-row-container{
justify-content: initial;
flex-direction: column;
}
.lwrp .lwrp-list-row-container .lwrp-list-item{
width: 100%;
}
.lwrp .lwrp-list-item:not(.lwrp-no-posts-message-item){
max-width: initial;
}
.lwrp .lwrp-list-item .lwrp-list-link .lwrp-list-link-title-text,
.lwrp .lwrp-list-item .lwrp-list-no-posts-message{
};
}

I am passionate about home engineering. I specialize in designing, installing, and maintaining heating, ventilation, and air conditioning systems. My goal is to help people stay comfortable in their homes all year long.
