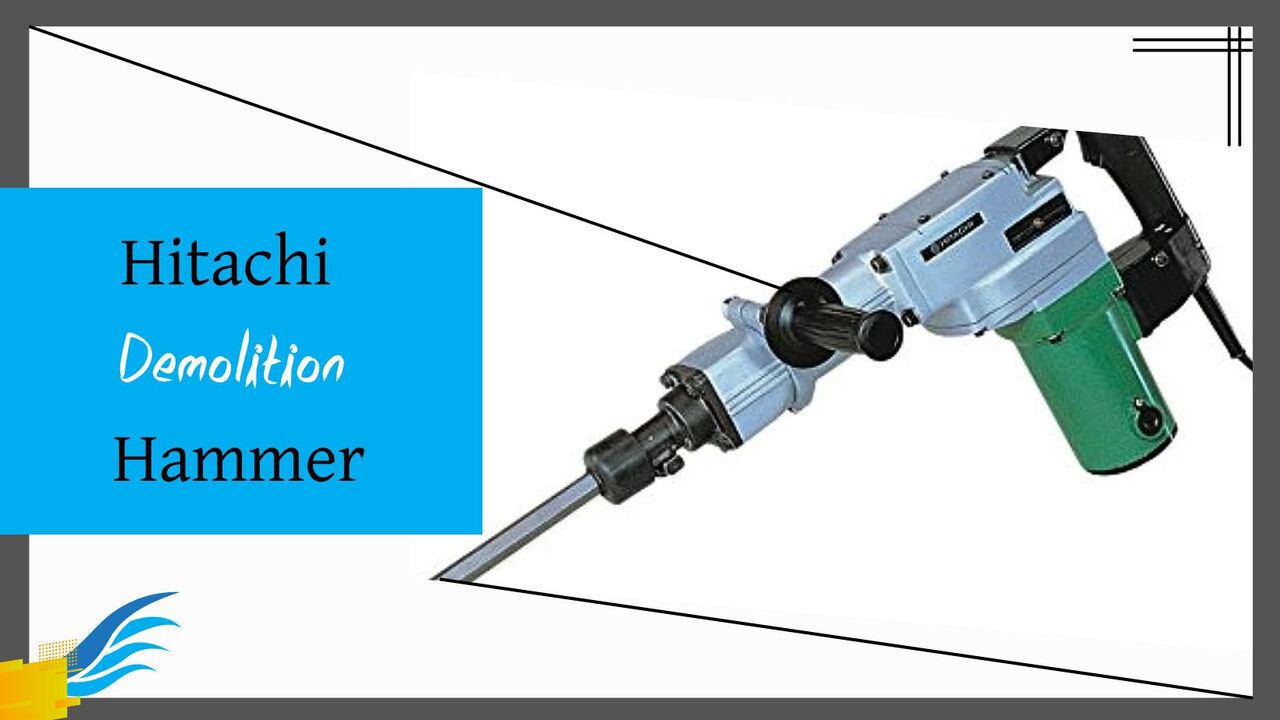
The Hitachi Demolition Hammer is a powerful tool that is used to break through tough surfaces like concrete, brick, and stone. People commonly use this tool in construction and renovation projects because it can break through tough materials quickly and efficiently. The designers have designed the Hammer with a powerful motor that delivers high-impact energy.
Which makes it possible to break through even the thickest surfaces. The manufacturer designed it with a comfortable grip that reduces user fatigue. Making it easy to use for extended periods. This tool is available in different sizes and models, each with unique features and capabilities. Whether you are a professional contractor or a DIY enthusiast. You can use the hammer to finish the job faster and with less effort.
How To Operate The Hitachi Demolition Hammer
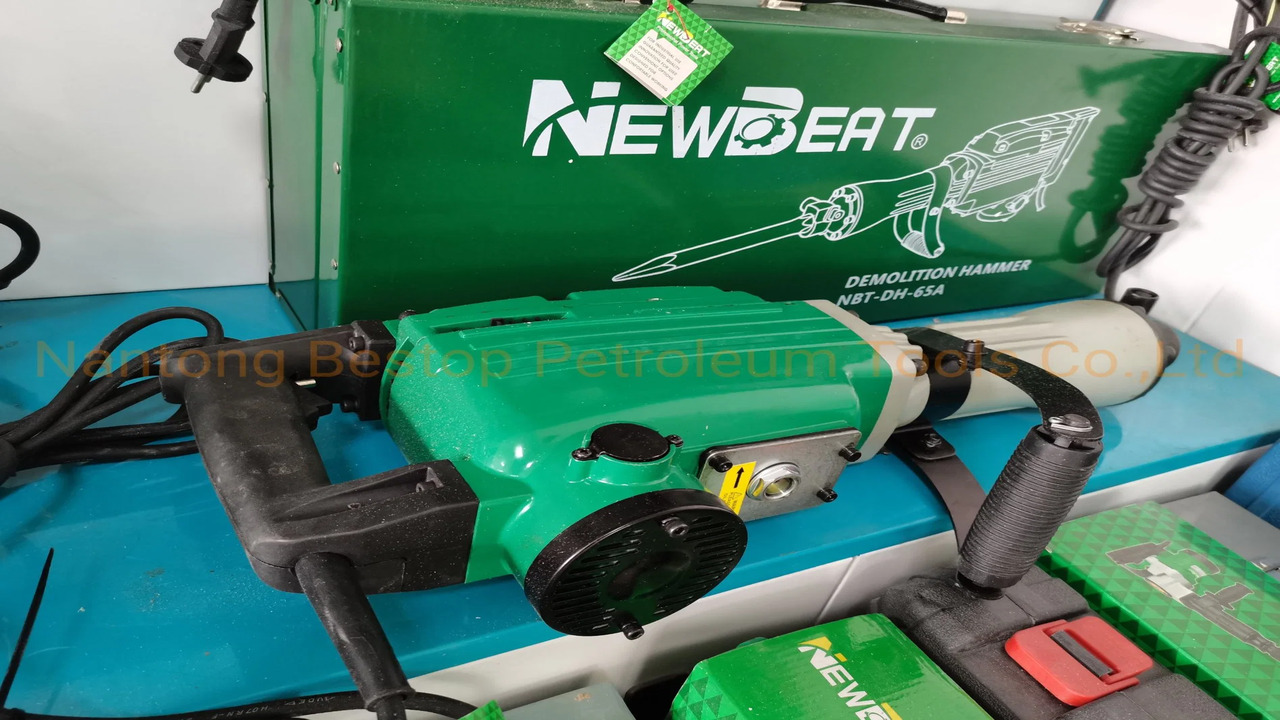
A demolition hammer is a powerful tool that can break through concrete, brick, stone, and other hard materials. It can be handy for various construction, renovation, or demolition projects. However, operating a demolition hammer requires some skill and caution, as it can be dangerous if not handled properly. We will explain how to operate the Hitachi demolition hammer, one of the popular models in the market.
Select The Correct Chisel Bit For The Job
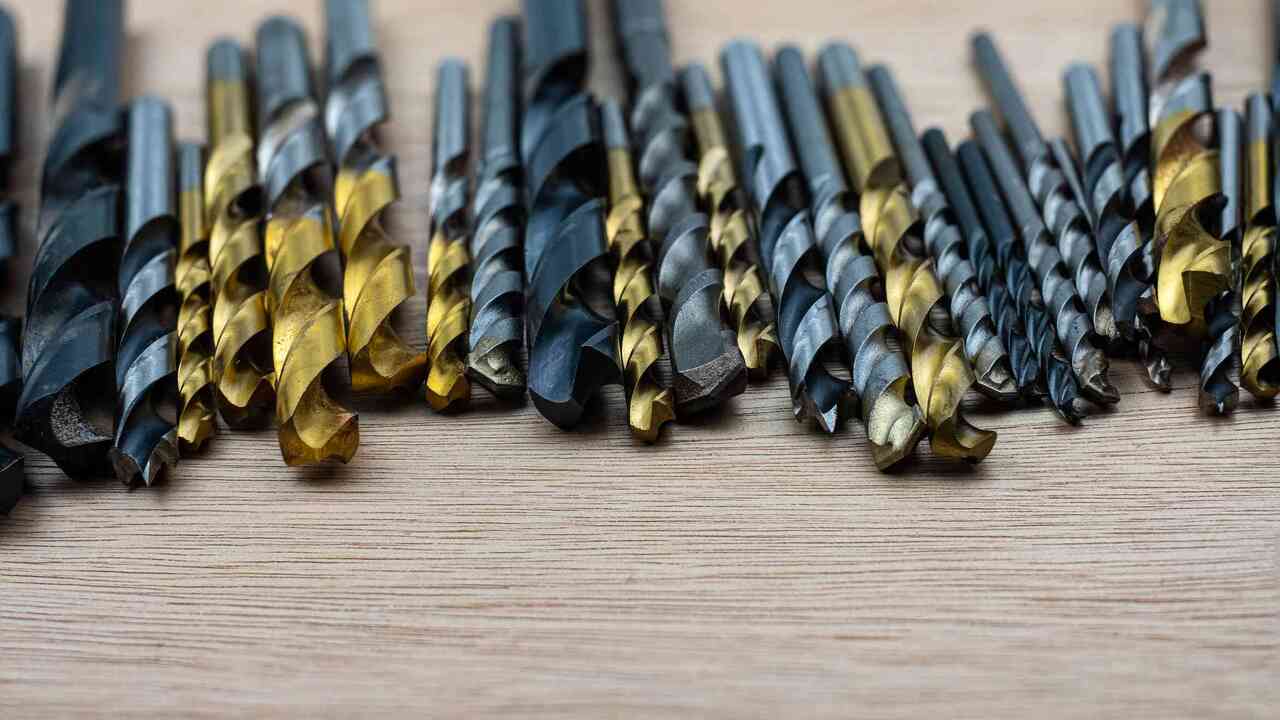
The first step in operating the hammer is to select the correct chisel bit for the job. The chisel bit is the part that attaches to the hammer and delivers the impact force to the material. There are different types of chisel bits available, such as:
- Bull point: A pointed bit used for breaking up concrete or stone in a single direction.
- Cold chisel: You can use a flat bit to cut or chip concrete or stone horizontally.
- Scaling chisel: A wide bit used to remove scale, rust, or paint from metal surfaces.
- Spade: A shovel-shaped bit used for digging or scooping soil or gravel.
- Bushing tool: A star-shaped bit for roughening or texturing concrete or stone surfaces.
To select the correct chisel bit, you should consider the type, size, shape, and hardness of the material you are working on and the desired result you want to achieve. You should also check the compatibility of the chisel bit with your hammer model and make sure it fits securely.
Attach The Chisel Bit To The Demolition Hammer
The next step in operating the hammer is to attach the chisel bit to the demolition hammer. Turn off and unplug the demolition hammer from the power source. Loosen and remove the hex socket head bolt and washer from the front cover of the demolition hammer using a hex wrench.
Insert the shank of the chisel bit into the tool holder of the demolition hammer until it locks in place with a click sound. Replace and tighten the hex socket head bolt and washer on the front cover of the demolition hammer using a hex wrench. Check if you have firmly attached the chisel bit, and it does not wobble or fall off.
Adjust The Demolition Hammer’s Settings For Optimal Performance
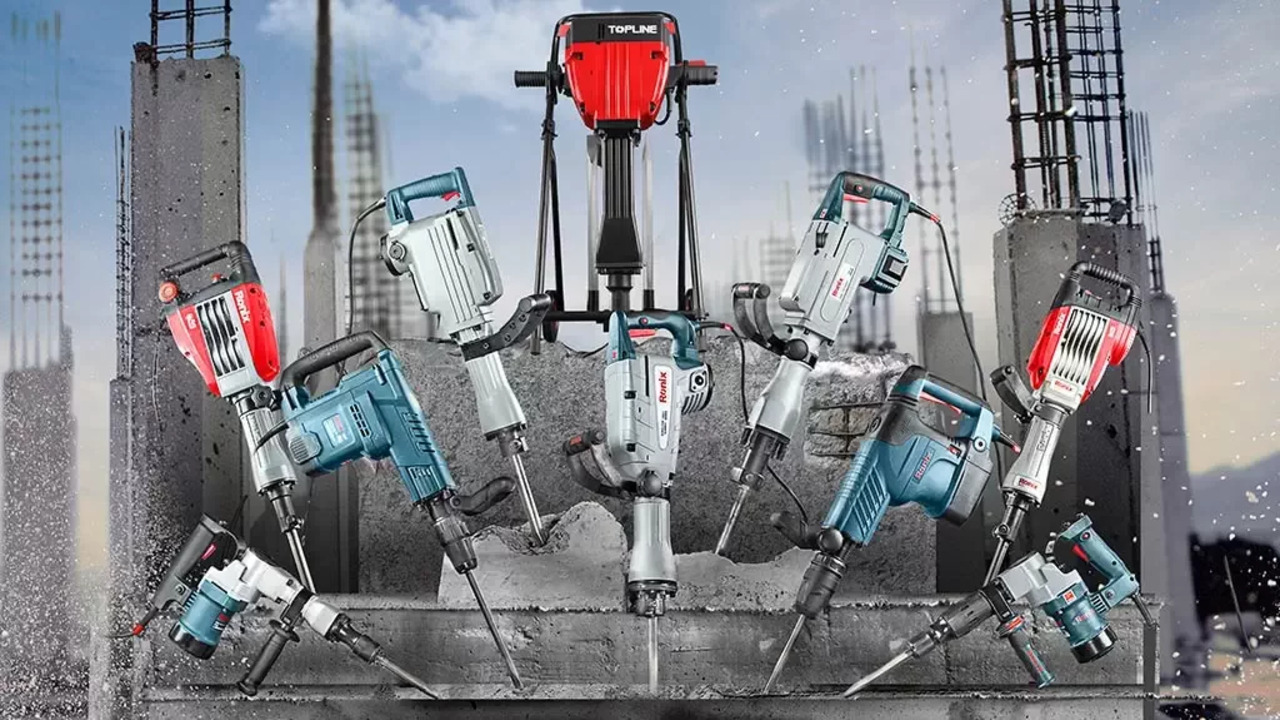
The next step in operating the demolition hammer is to adjust its settings for optimal performance. The demolition hammer has two main settings to adjust: speed and impact force.
- Speed: The speed setting controls how fast the chisel bit moves back and forth inside the demolition hammer. You can adjust the speed by turning the variable speed dial on the side of the demolition hammer.
- Impact force: The impact force setting controls how hard the chisel bit hits the material. You can adjust the impact force by turning the impact rate selector on the demolition hammer. The higher the number on the selector, the harder the impact force. You should select an impact force that matches your work condition and preference.
Plug In The Demolition Hammer And Turn It On

The next step in operating the demolition hammer is to plug it in and turn it on. Plug the power cord of the demolition hammer into a suitable power outlet that matches the voltage and frequency of the tool. Make sure the power cord is not damaged or tangled.
Turn on the power switch on the back of the demolition hammer. The power indicator light will turn on to show that the tool is ready. Press the trigger switch on the handle of the demolition hammer to start the tool.
The tool’s speed will vary depending on how much you press the trigger switch. You can lock the trigger switch in the ON position by pushing it forward and sliding it to the right. This will allow you to operate the tool continuously without holding the trigger switch.
Begin By Testing The Demolition Hammer On A Small Area
The next step in operating the demolition hammer is testing it on a small area. This will help you get familiar with the tool and its performance and check if there are any problems or defects with the tool or the chisel bit.
Choose a small and inconspicuous area of the material you are working on that is away from any people or objects that could be damaged by flying debris. Hold the demolition hammer firmly with both hands and position it at a right angle to the material.
Make sure you have a stable and comfortable stance and posture. Press the trigger switch lightly and gently touch the chisel bit to the material. Observe how the tool reacts and how the material responds. Adjust the speed and impact force settings if needed. Stop pressing the trigger switch and lift the tool away from the material when you finish testing or need to pause or change your position.
Position The Demolition Hammer Properly Before Use
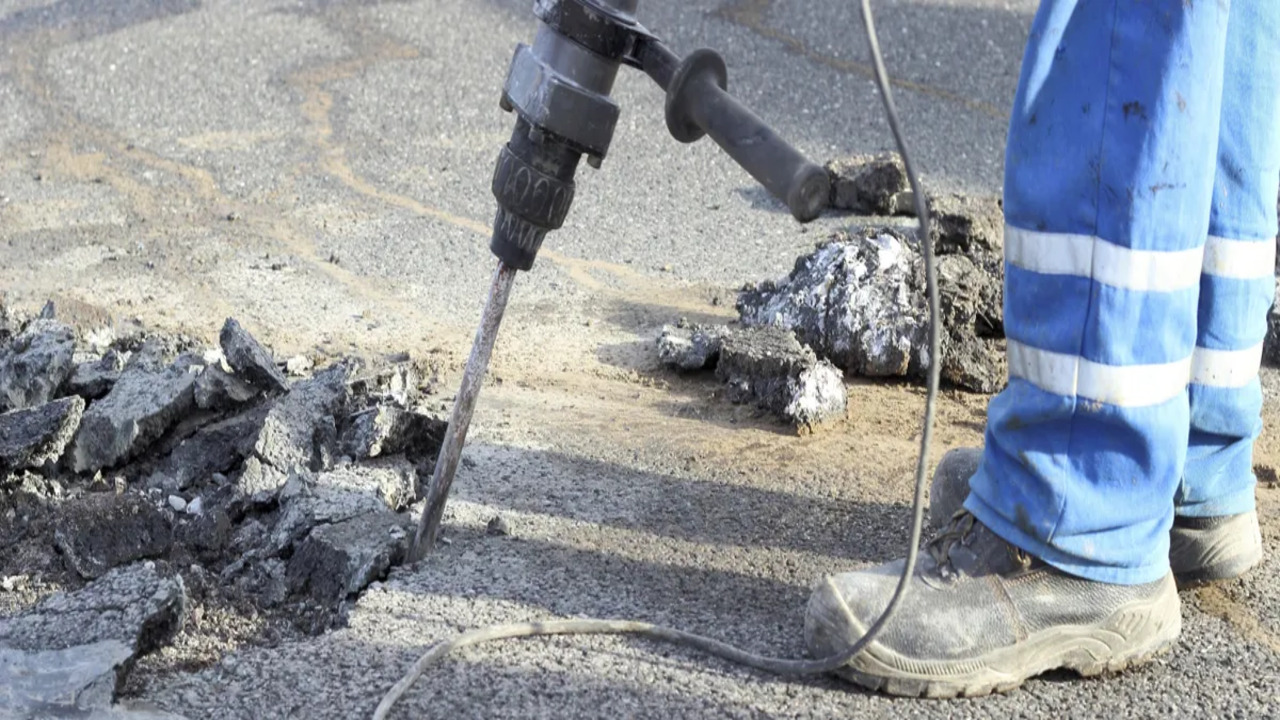
The next step in operating the demolition hammer is to position it properly before use. This will help you achieve better results and avoid injuries or damages. Position the demolition hammer at a right angle to the material you are working on.
This will ensure that the chisel bit hits the material squarely and effectively. Position yourself behind or beside the demolition hammer, not in front of it. This will prevent you from being hit by flying debris or losing control of the tool if it kicks back or recoils.
Position the demolition hammer away from any electrical wires, pipes, or other hazards that could be damaged or cause a shock or fire. Position the demolition hammer in a well-ventilated and well-lit area free of dust, moisture, or flammable materials.
Use Proper Technique When Operating The Demolition Hammer
The next step in operating the demolition hammer is to use the proper technique. This will help you improve your efficiency and accuracy and reduce fatigue and stress. Use short and steady strokes when operating the demolition hammer. Do not use long or erratic strokes that could cause the tool to bounce or slip. Use moderate and consistent pressure when operating the demolition hammer.
Do not use excessive or uneven pressure that could cause the tool to overheat or jam. Use the appropriate chisel bit for the material and the job. Do not use a chisel bit that is too large or too small, too blunt or sharp, or too worn or damaged. Use your body weight to assist the demolition hammer. Do not push or force the tool into the material.
Turn Off The Demolition Hammer And Safely Store It After Use
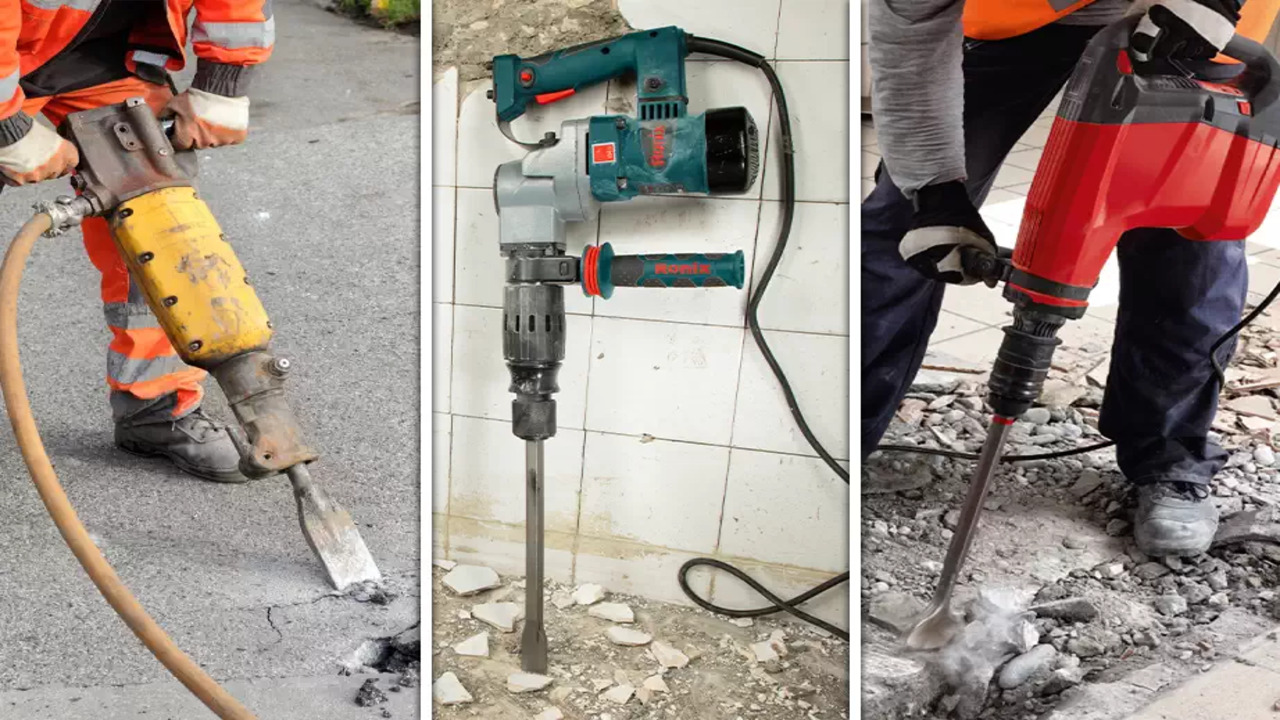
The final step in operating the demolition hammer is to turn it off and safely store it after use. This will help you prolong the life and performance of the tool, as well as prevent accidents or injuries. Release the trigger switch and wait for the tool to stop completely.
If you locked the trigger switch in the ON position, slide it to the left and pull it back to unlock it. Turn off the power switch and unplug the power cord from the outlet. Make sure the power indicator light is off. Clean the tool and the chisel bit with a soft cloth and remove any dust, dirt, or debris. Do not use water, solvents, or abrasives that could damage the tool or cause corrosion.
Lubricate the tool and the chisel bit with a few drops of oil. Do not use too much oil that could leak or drip. Store the tool and the chisel bit in a dry and cool place. Do not expose them to direct sunlight, heat, moisture, or dust. Do not store them in a case or a bag that could trap moisture or restrict air circulation.
Conclusion
This hammer is a powerful tool proven highly effective in demolishing structures. Its specificity in design and construction sets it apart from other demolition tools, making it a reliable option for contractors and DIY enthusiasts.
The results of using the Hitachi demolition hammer are impressive, as it can easily break through concrete and other hard materials. Its success can be attributed to its durability, versatility, and precision, making it an essential tool in any demolition project.
The importance of having such a tool cannot be overstated, as it can save time, effort, and money in the long run. Overall, the hammer is a tool that delivers on its promises, and its effectiveness and efficiency make it a must-have for any demolition project.
Frequently Asked Questions
[rank_math_rich_snippet id=”s-d594e92d-9129-4e99-8a5f-46571a28821f”]

I am passionate about home engineering. I specialize in designing, installing, and maintaining heating, ventilation, and air conditioning systems. My goal is to help people stay comfortable in their homes all year long.


