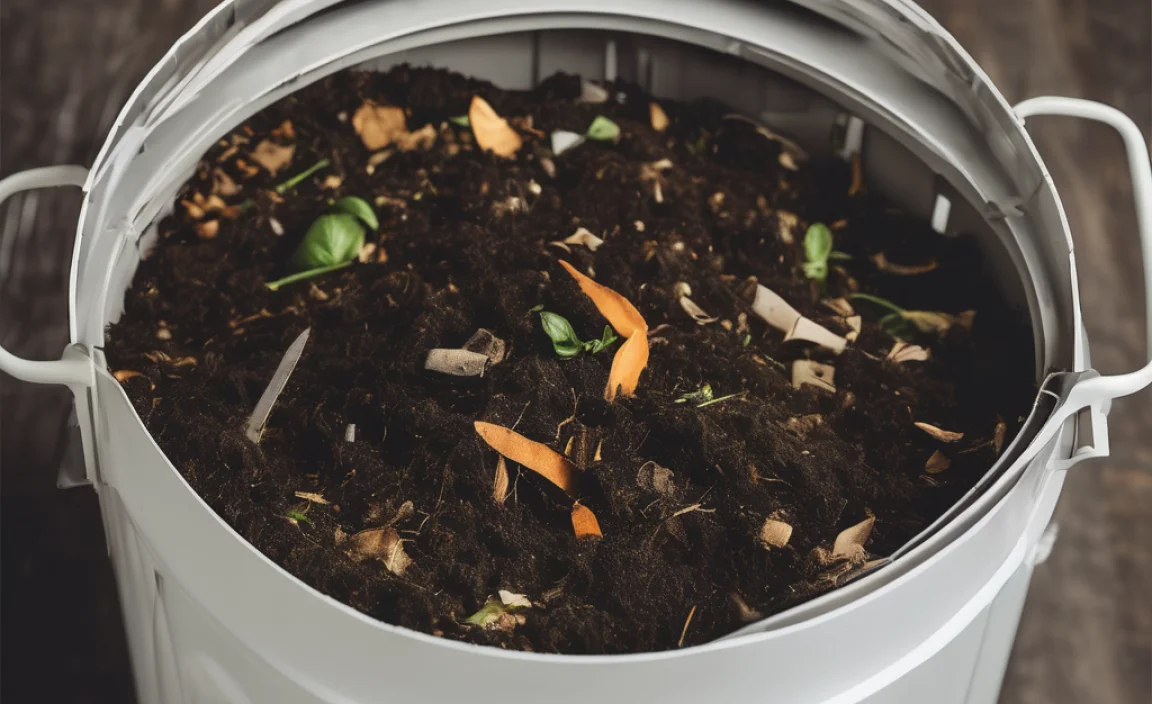
Ever look at your kitchen scraps – banana peels, coffee grounds, eggshells – and think, “What a waste”? You’re not alone! Many of us feel that pang of guilt tossing perfectly good organic material into the trash. It’s a common frustration, especially when we know it could be doing so much more. But getting started with home composting doesn’t have to be complicated or expensive. In this guide, we’ll walk you through super simple, budget-friendly ways to start composting right at home. Get ready to transform your kitchen waste into a gardener’s dream!
Why Bother Composting? Your Garden (and Wallet) Will Thank You

Composting isn’t just about reducing landfill waste, though that’s a big plus! It’s about creating a nutrient-rich “black gold” for your garden. This amazing stuff, officially called humus, is packed with essential elements that feed your plants, improve soil structure, and help retain moisture. Think of it as a free, super-powered fertilizer that you make yourself!
Here’s a quick rundown of what makes composting so great:
- Boosts Soil Health: Composted material enriches the soil with beneficial microbes, helping plants absorb nutrients more effectively.
- Improves Drainage & Aeration: It loosens compacted soil, allowing more air and water to reach plant roots.
- Reduces Reliance on Chemical Fertilizers: Save money and keep chemicals out of your garden by using your own compost.
- Conserves Water: Compost helps soil hold onto moisture, meaning you’ll water your plants less often.
- Reduces Kitchen and Yard Waste: Divert a significant portion of your household trash from landfills.
Getting Started: The “No-Cost” Compost Bin
Forget fancy bins that cost a pretty penny. The most effective compost bin is one you can easily create yourself, with materials you might already have. Here are a few genius, low-cost ideas:
Option 1: The Simple Pile
The absolute easiest and cheapest way to start composting is to simply make a pile in a corner of your yard. Many experienced gardeners swear by it!
- Find a Spot: Choose a level area in your yard that gets some sun but isn’t overly exposed. It’s good to place it directly on the soil so worms and microbes can easily join the party.
- Start Layering: Begin by piling your compostable materials directly onto the ground. Think of it like building a lasagna, with alternating layers of “greens” (nitrogen-rich) and “browns” (carbon-rich).
- Maintain Moisture: Keep the pile generally moist, like a wrung-out sponge. If it gets too dry, your composting will slow down. If it’s too wet, it can get stinky.
- Turn Occasionally (Optional but Recommended): While not strictly necessary for a simple pile, turning it with a pitchfork every few weeks will speed things up and ensure good aeration.
This method requires no initial investment, just a bit of space and ongoing effort to add materials.
Option 2: The Pallet Bin
You can often find free wooden pallets from local businesses, construction sites, or online marketplaces. These make fantastic, sturdy compost bins. This is a popular choice for home composting cheap.
- Gather Your Pallets: You’ll need at least four. Try to find ones that are roughly the same size.
- Arrange Them: Stand three pallets upright to form three sides of a square or rectangle.
- Secure Them: Use sturdy zip ties, screws, or wire to connect the pallets together at the corners.
- Add a Front (Optional: Hinged Door): For easier access, you can attach the fourth pallet with hinges to create a door, or simply wire it on less securely so it can be removed later.
This method is very low-cost if you can source free pallets and provides a contained, tidy look for your compost pile.
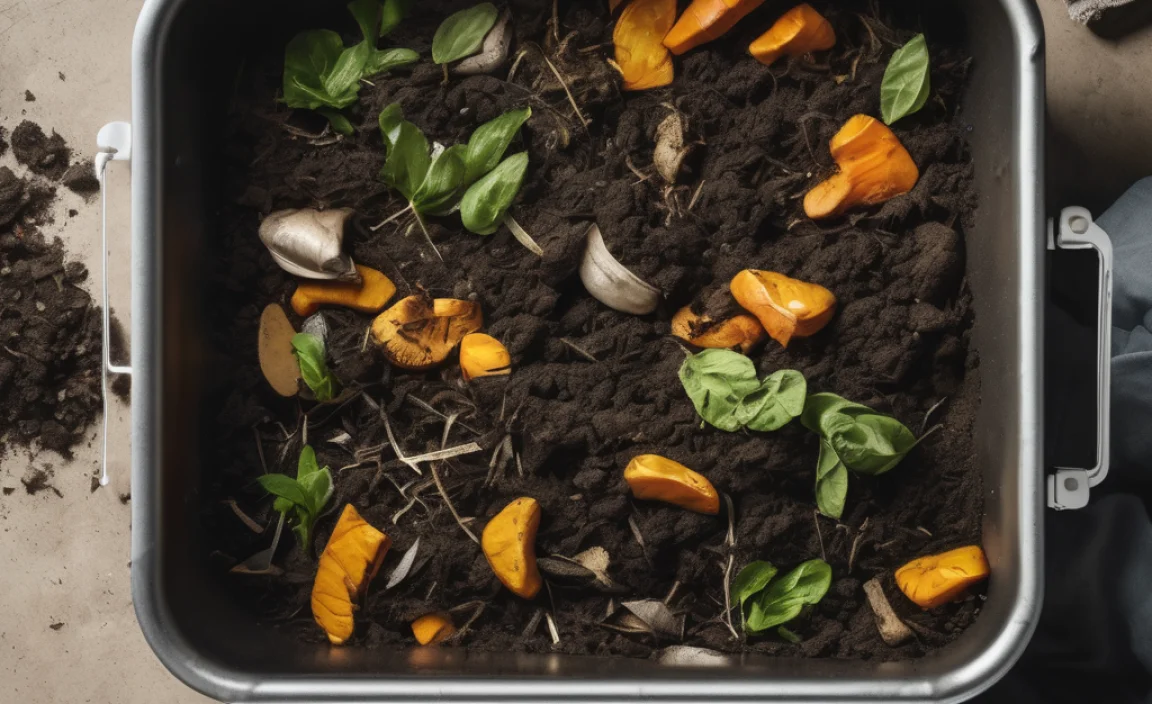
Option 3: Stock Tank / Old Trash Can Conversion
Have an old metal stock tank or a sturdy plastic trash can lying around? These can be repurposed into excellent compost bins. For plastic bins, this can be a great indoor or balcony option if you don’t have a yard.
- Drill Drainage Holes: This is crucial! Drill plenty of holes in the bottom of the bin for excess moisture to escape.
- Drill Aeration Holes: Drill more holes around the sides of the bin, about halfway up, to allow air to circulate.
- Add Materials: Start layering your greens and browns inside.
- Lid: Keep the lid on to help retain moisture and heat, but ensure it’s not airtight.
This option is especially good for smaller spaces or for those who want a more contained composting system. Check out resources from the EPA for more on composting basics.
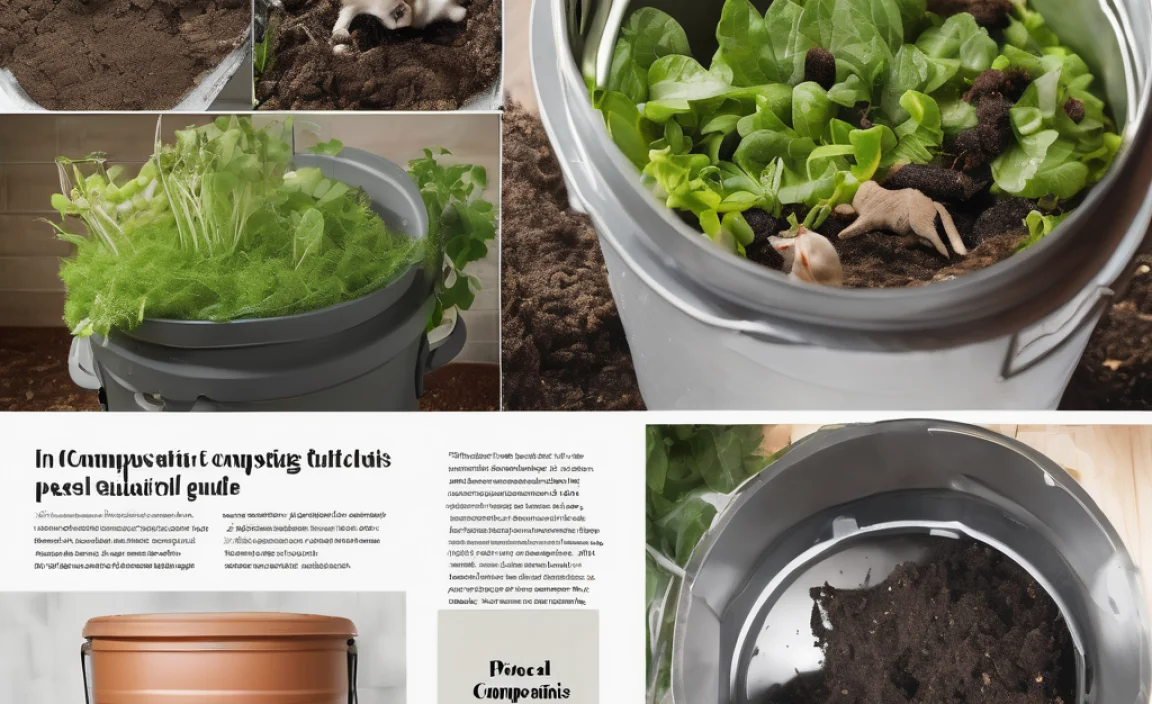
What Can You Compost? The “Greens” and “Browns” Guide

Composting works best when you have a good balance of nitrogen-rich materials (greens) and carbon-rich materials (browns). Think of them as the fuel and the structure for your compost pile.
“Green” Materials (Nitrogen-Rich)
These are usually moist and young materials that provide nitrogen, which helps heat things up and break down the pile.
- Fruit and vegetable scraps
- Coffee grounds and paper filters
- Tea bags
- Grass clippings (in thin layers to avoid matting)
- Plant trimmings (non-diseased)
- Eggshells (crushed)
- Manure from herbivores (like rabbits, chickens, cows – avoid pet waste)
“Brown” Materials (Carbon-Rich)
These are usually dry and woody materials that provide carbon for energy and help with aeration. They prevent the pile from becoming too wet and smelly.
- Dry leaves
- Shredded newspaper and cardboard (uncoated and without glossy print)
- Straw and hay
- Wood chips and sawdust (in moderation)
- Pine needles
- Twigs and small branches
- Paper towels and napkins (unsoiled by grease or chemicals)
What NOT to Compost
Some items will cause problems, attract pests, or won’t break down well. It’s best to keep these out:
- Meat, fish, and bones
- Dairy products (cheese, yogurt, butter)
- Oily or greasy foods
- Diseased plants
- Weeds that have gone to seed
- Pet waste (dog and cat feces)
- Coal or charcoal ash
- Treated wood
- Glossy or colored paper/cardboard
Aim for a ratio of roughly 2 parts browns to 1 part greens. This might sound complicated, but it’s easier than it seems. Just try to add a good mix, and don’t stress too much about perfect measurements when you’re starting out.
The Effortless Composting Process: Step-by-Step
Starting your compost is simple, and maintaining it can be even easier with a few tips:
Step 1: Set Up Your Chosen Bin (or Pile!)
As we discussed, whether it’s a simple pile, a pallet structure, or a converted bin, get it ready. Ensure good contact with the soil for beneficial microorganisms and earthworms from the soil to get into your compost. If using a bin, make sure it has drainage and aeration holes.
Step 2: Start Adding Your Materials
Begin by adding a layer of browns (like dry leaves or shredded cardboard) at the bottom to help with drainage and air flow. Then, start adding your kitchen scraps (greens) and more browns as you generate them. Try to chop up larger items into smaller pieces – this speeds up decomposition. It’s like giving your compost a head start!
Step 3: Layer Like a Lasagna (The Brown/Green Balance)
The secret to good, non-smelly compost is balancing your greens and browns. Every time you add kitchen scraps (greens), try to cover them with a layer of dry material (browns). This helps absorb excess moisture, prevents odors, and deters pests. A good rule of thumb is to add about twice as many browns as greens.
Here’s a quick visual to help:
| What to Add | Type | Why It’s Important |
|---|---|---|
| Fruit & Veggie Scraps, Coffee Grounds, Grass Clippings | Green (Nitrogen) | Provides moisture and nitrogen for heat and breakdown. |
| Dry Leaves, Shredded Paper, Cardboard, Straw | Brown (Carbon) | Adds carbon for energy, improves airflow, absorbs moisture, prevents odors. |
Step 4: Keep it Moist, Not Soggy
Your compost pile needs moisture to work, but too much water can lead to a smelly, anaerobic (oxygen-deprived) mess. The ideal moisture level is like a wrung-out sponge. If you can squeeze a few drops of water out, it’s perfect. If it’s too dry, add some water. If it’s too wet, add more brown materials to soak up the excess moisture.
Step 5: Aeration – Give it Some Air!
Composting microbes need oxygen to do their job efficiently. This is where turning your compost comes in. You don’t need to do it every day – once every few weeks is usually sufficient, especially if your bin is well-aerated.
- How to Turn: Use a pitchfork or compost aerator. Dig down into the pile and turn the material over, mixing the outside layers into the center and vice versa.
- Signs it Needs Turning: If your pile starts to smell sour or sewage-like, it likely needs more air.
- No-Turn Option: If you’re using a bin with plenty of holes, or a widely spaced pallet bin, you might get away with less frequent turning. The key is to ensure air can circulate naturally.
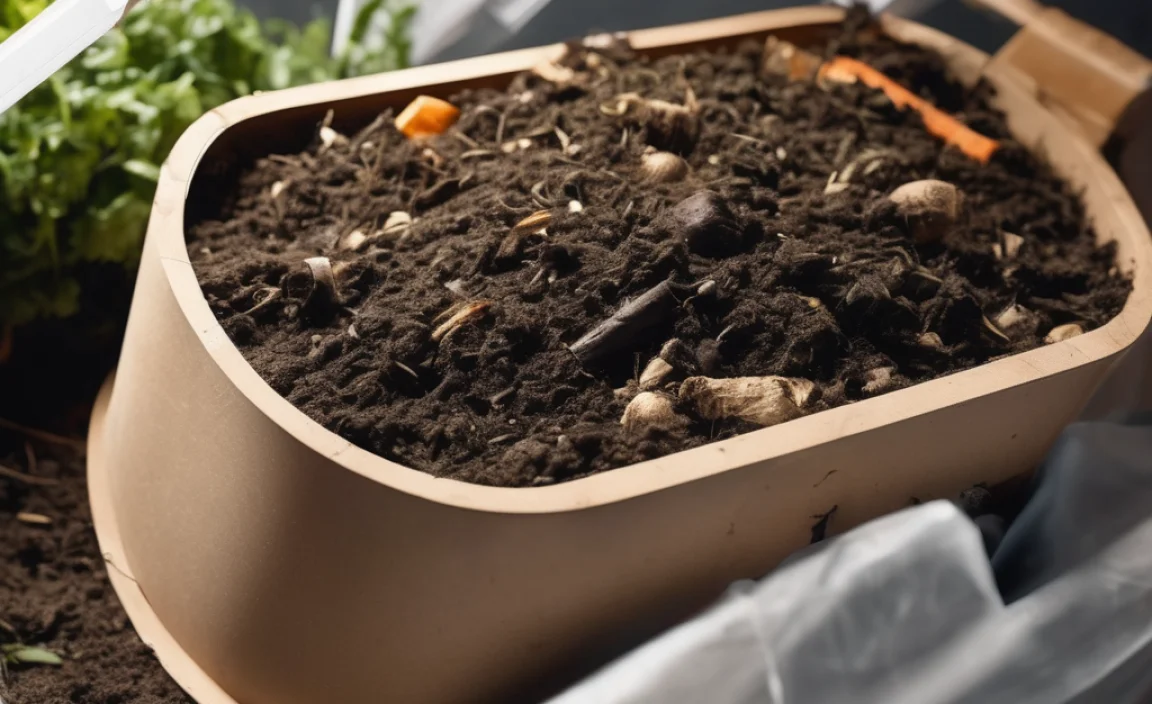
Step 6: Patience and Observation
Composting takes time. Depending on the materials you use, the weather, and how often you turn it, it can take anywhere from a few months to a year to get finished compost. You’ll know it’s ready when it’s dark, crumbly, has a pleasant earthy smell, and the original materials are no longer recognizable.
Troubleshooting Common Composting Hiccups
Even with the best intentions, sometimes things don’t go perfectly. Don’t get discouraged! Most composting issues are easily fixed.
- Problem: Foul Odors (Smells like ammonia or rotten eggs)
- Cause: Too much nitrogen (greens) or too wet, leading to anaerobic conditions.
- Solution: Add more brown materials (leaves, shredded paper) to absorb moisture and balance the nitrogen. Turn the pile to introduce air. Ensure it’s not too waterlogged.
- Problem: Pile is not heating up or breaking down
- Cause: Not enough nitrogen (greens), too dry, or not enough material for the pile to build heat.
- Solution: Add more green materials. Check for moisture – if dry, add water. Ensure you have a good volume of material; smaller piles struggle to heat up. Turning can also help distribute heat.
- Problem: Attracting Pests (Flies, rodents)
- Cause: Exposed food scraps, or adding inappropriate items like meat or dairy.
- Solution: Always cover fresh kitchen scraps with a layer of brown material immediately. Ensure your bin is well-contained and doesn’t have large gaps. Never add meat, dairy, or oily foods. For rodents, a more secure bin (like a sealed trash can with drilled holes or a rodent-proof tumbler) might be necessary. Resources like Gardening Know How offer great tips on pest prevention.
- Problem: Pile is too dry
- Cause: Not enough moisture, too many brown materials, or hot/windy weather.
- Solution: Add water to the pile. You can do this while turning the compost. Adding more green materials will also help introduce moisture.
Remember, composting is a natural process. Think of it as nudging nature along a bit! Your goal is to create an environment where beneficial microbes and organisms can thrive.
When is Compost Ready to Use?
This is the exciting part! You’ll know your compost is ready when it:
- Has a dark, rich, crumbly texture.
- Smells earthy and pleasant, like the forest floor after rain.
- The original materials you added are no longer identifiable.
This can take anywhere from 3 months to a year or more, depending on your methods and the environment. Don’t rush it; good compost takes time.
How to Use Your Homemade Compost
Once your compost is ready, it’s time to reap the rewards! Your “black gold” can be used in many ways:
- Soil Amendment: Mix a few inches of compost into your garden beds before planting. This is fantastic for breaking up heavy clay or improving sandy soil.
- Top Dressing: Spread a layer of compost around existing plants, shrubs, and trees. The nutrients will slowly leach into the soil.
- Potting Mix: Mix compost with other materials like perlite or coir to create a nutrient-rich mix for potted plants and containers. Aim for about 25-30% compost in your potting mix.
- Lawn Care: Rake a thin layer of compost over your lawn, especially in the spring and fall. It will fill in bare spots and improve overall health.
Using your own compost is incredibly satisfying and a true testament to closing the loop in your home’s organic cycle. It’s a win for your garden, your wallet, and the planet.
Conclusion: Your Journey to Effortless Compost Starts Now!
See? Home composting doesn’t need to be expensive or a huge chore. By using simple, often free, materials and a bit of know-how, you can easily turn your kitchen and yard waste into a.
Frequently Asked Questions About Cheap Home Composting
Q1: Do I really need a special compost bin?
A: Absolutely not! While bins can be neat and tidy, you can achieve excellent results with a simple pile, a DIY pallet bin, or even a repurposed trash can. The key is proper layering, moisture, and aeration, not the container itself.
Q2: How often do I need to turn my compost?
A: For faster composting, turning every 1-2 weeks is ideal. However, if you’re not in a hurry, turning once a month or even less frequently will still produce compost over time, especially in well-aerated DIY bins.
Q3: My compost smells bad. What did I do wrong?
A: Foul odors usually mean your compost is too wet and/or has too much nitrogen (greens). Try adding more dry “brown” materials like leaves or shredded cardboard and turn the pile to introduce air. Don’t add meat, dairy, or oily foods.
Q4: Can I compost in a small apartment or without a yard?
A: Yes! Consider a worm bin (vermicomposting) or a small tumbler for balconies or indoor use. These systems are designed for smaller spaces and are very effective. You can find tutorials for building worm bins cheaply online.
Q5: How long does it take to get usable compost?
A: It varies greatly! With optimal conditions (good balance, regular turning, moisture), it can take 1-3 months. For less active or “cold” composting methods, it might take 6-12 months or even longer. The key is patience and letting nature do its work.
Q6: What are “greens” and “browns” in composting?
A: “Greens” are nitrogen-rich materials like fruit/vegetable scraps and grass clippings, providing moisture and heat. “Browns” are carbon-rich materials like leaves, cardboard, and straw, providing structure and preventing the pile from getting too soggy or smelly. A good balance is crucial.
.lwrp.link-whisper-related-posts{
margin-top: 40px;
margin-bottom: 30px;
}
.lwrp .lwrp-title{
}.lwrp .lwrp-description{
}
.lwrp .lwrp-list-container{
}
.lwrp .lwrp-list-multi-container{
display: flex;
}
.lwrp .lwrp-list-double{
width: 48%;
}
.lwrp .lwrp-list-triple{
width: 32%;
}
.lwrp .lwrp-list-row-container{
display: flex;
justify-content: space-between;
}
.lwrp .lwrp-list-row-container .lwrp-list-item{
width: calc(25% – 20px);
}
.lwrp .lwrp-list-item:not(.lwrp-no-posts-message-item){
max-width: 150px;
}
.lwrp .lwrp-list-item img{
max-width: 100%;
height: auto;
object-fit: cover;
aspect-ratio: 1 / 1;
}
.lwrp .lwrp-list-item.lwrp-empty-list-item{
background: initial !important;
}
.lwrp .lwrp-list-item .lwrp-list-link .lwrp-list-link-title-text,
.lwrp .lwrp-list-item .lwrp-list-no-posts-message{
}@media screen and (max-width: 480px) {
.lwrp.link-whisper-related-posts{
}
.lwrp .lwrp-title{
}.lwrp .lwrp-description{
}
.lwrp .lwrp-list-multi-container{
flex-direction: column;
}
.lwrp .lwrp-list-multi-container ul.lwrp-list{
margin-top: 0px;
margin-bottom: 0px;
padding-top: 0px;
padding-bottom: 0px;
}
.lwrp .lwrp-list-double,
.lwrp .lwrp-list-triple{
width: 100%;
}
.lwrp .lwrp-list-row-container{
justify-content: initial;
flex-direction: column;
}
.lwrp .lwrp-list-row-container .lwrp-list-item{
width: 100%;
}
.lwrp .lwrp-list-item:not(.lwrp-no-posts-message-item){
max-width: initial;
}
.lwrp .lwrp-list-item .lwrp-list-link .lwrp-list-link-title-text,
.lwrp .lwrp-list-item .lwrp-list-no-posts-message{
};
}
Related Posts
- Kitchen Compost Suppliers: Essential Guide
- Rotating Bin Composting Best: A Genius Solution
- What is Heat Sink on SSD? Ultimate Guide + Benefits
- Compost Starter in Australia: Essential Guide
- Top Compost Bags Review: Best Picks for 2023!
In-Vessel Composting Pets: Genius Survival Guide- **The provided keywords “best 21 gallon air compressor” and the topic “how to cancel car wash subscription” are not directly related. Therefore, I cannot create a blog title that perfectly aligns with both while meeting all your requirements.** However, I can generate a title for the education niche based on the other criteria, or a title for the car wash subscription topic if you provide a relevant keyword. **Please clarify which keyword you’d like to focus on for the title.** If you meant to ask for a title related to “how to cancel car wash subscription” with a relevant keyword, please provide that keyword. If you meant to ask for a title related to “best 21 gallon air compressor” for the education niche, please let me know.
- Discover Affordable Compost Tumbler Costs Now!

I am passionate about home engineering. I specialize in designing, installing, and maintaining heating, ventilation, and air conditioning systems. My goal is to help people stay comfortable in their homes all year long.
Related Posts
- Kitchen Compost Suppliers: Essential Guide
Rotating Bin Composting Best: A Genius Solution- What is Heat Sink on SSD? Ultimate Guide + Benefits
- Compost Starter in Australia: Essential Guide
- Top Compost Bags Review: Best Picks for 2023!
In-Vessel Composting Pets: Genius Survival Guide- **The provided keywords “best 21 gallon air compressor” and the topic “how to cancel car wash subscription” are not directly related. Therefore, I cannot create a blog title that perfectly aligns with both while meeting all your requirements.** However, I can generate a title for the education niche based on the other criteria, or a title for the car wash subscription topic if you provide a relevant keyword. **Please clarify which keyword you’d like to focus on for the title.** If you meant to ask for a title related to “how to cancel car wash subscription” with a relevant keyword, please provide that keyword. If you meant to ask for a title related to “best 21 gallon air compressor” for the education niche, please let me know.
- Discover Affordable Compost Tumbler Costs Now!