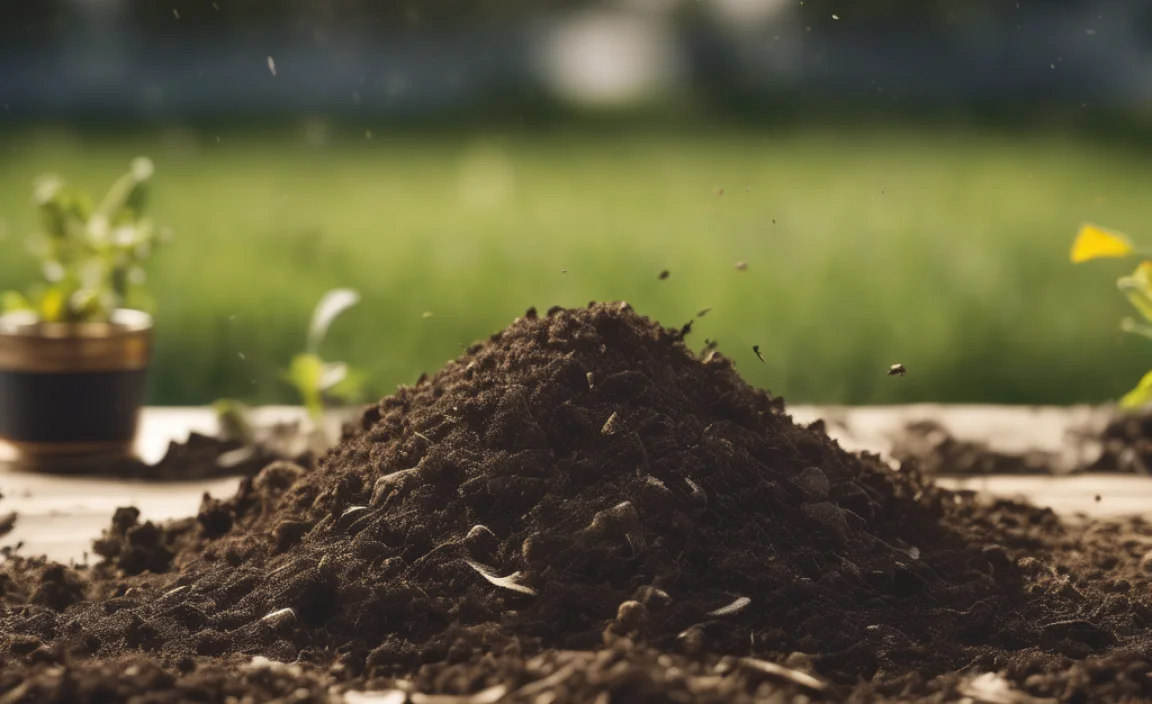
Ever feel like your garden could use a little boost? Maybe you’re tired of seeing kitchen scraps go to waste in the trash. Building super-rich soil for your plants shouldn’t be complicated or time-consuming. You can create amazing compost that your garden will love, and it’s easier than you might think! We’ll walk through how to get started with hot composting, turning ordinary waste into garden gold in no time. Get ready to give your plants the best food they’ve ever had!
What is Hot Composting and Why Should You Care?
Think of hot composting as the express lane to supercharged soil. Unlike the slow, lazy method of cold composting, hot composting is a fast, active process that breaks down organic materials much quicker. The key difference is generating heat. When you layer the right “greens” and “browns” in the correct proportions and maintain moisture and aeration, the microorganisms working in your compost pile get really busy. This activity creates heat, often reaching temperatures between 130°F and 160°F (54°C to 71°C).
Why is this so good for you and your garden? Well, this high heat is a game-changer:
- Speed: It can turn your waste into finished compost in as little as 4-6 weeks, compared to several months or even a year for cold composting.
- Weed Seed & Pathogen Killer: The intense heat effectively kills off weed seeds and harmful pathogens like E. coli and salmonella that might be present in your organic matter. This means you get a cleaner, safer compost for your garden beds.
- Nutrient-Rich Soil: The rapid breakdown process locks in more nutrients, creating a potent fertilizer that acts like a superfood for your plants.
- Waste Reduction: You’ll be diverting a significant amount of kitchen scraps and yard waste from landfills, which is great for the environment. According to the EPA, food is the largest single component of U.S. municipal solid waste sent to landfills.
Hot composting might sound a bit more involved than just piling things up, but once you understand the basic principles, it’s quite straightforward. It’s all about creating the right conditions for those tiny compost-eating microbes to do their best work. Let’s break down what you need to get started.
Getting Started: Your Hot Composting Toolkit
You don’t need a fancy setup to begin hot composting. The most important thing is to have a space where you can build a pile that’s at least 3 feet x 3 feet x 3 feet (about 1 cubic meter). This size is crucial because it helps the pile retain heat. Here’s what you’ll ideally want:
Essential Components: Greens and Browns
The magic of hot composting lies in balancing two types of materials: nitrogen-rich “greens” and carbon-rich “browns.” Think of greens as the food for the microbes, providing nitrogen, and browns as their energy source, providing carbon. Getting the ratio right is key to generating heat.
What are “Greens”? (Nitrogen-Rich Materials)
These are typically moist, fresh materials that are high in nitrogen. They help heat up the pile.
- Fruit and vegetable scraps (peels, cores, wilted produce)
- Coffee grounds and tea bags
- Grass clippings (in thin layers to avoid matting)
- Plant trimmings (non-woody)
- Manure from herbivores (cow, horse, chicken, rabbit – well-aged is best but fresh can work)
What are “Browns”? (Carbon-Rich Materials)
These are dry, woody materials that provide carbon and create air pockets, helping the pile breathe.
- Dry leaves
- Shredded newspaper or cardboard (avoid glossy paper and colored inks)
- Straw or hay
- Wood chips or sawdust (use sparingly, especially from treated wood)
- Twigs and small branches (chopped or shredded)
- Pine needles (use in moderation as they can be slightly acidic)
Pro Tip: Chop up larger items into smaller pieces before adding them. This increases the surface area, allowing microbes to work faster and the pile to heat up more efficiently.
The Ideal Ratio: Aim for 25-30 Parts Carbon to 1 Part Nitrogen (by Volume)
This sounds technical, but in practice, it’s more about a good visual balance. A good rule of thumb is to aim for roughly 2 parts greens to 1 part browns by volume. This isn’t an exact science, and you’ll get a feel for it. If your pile isn’t heating up, it likely needs more greens. If it’s gotten slimy or smells like ammonia, it might have too many greens or needs more browns and air.
Your Composting Container (Bin)
While you can build a freestanding pile, a compost bin helps contain everything, retain moisture, and looks tidier. There are several options:
- DIY Bins: You can build a simple bin using wooden pallets, wire mesh, or lumber. This is a budget-friendly option and allows for good airflow. A three-sided bin is great for easy turning.
- Purchased Bins: Compost bins are readily available at garden centers or online. Look for bins that are at least 3 feet in each dimension. Some have lids to help retain heat and moisture, and others have doors at the bottom for easy access to finished compost. Tumblers are also an option, but they can sometimes struggle to reach and maintain the high temperatures needed for true hot composting if not managed very actively.
- Open Piles: If you have the space, a simple open pile is perfectly fine. Just ensure it’s large enough (minimum 3x3x3 feet) to generate and hold heat.
Tools for the Job
You don’t need a lot, but a few tools will make the process much easier:
- Pitchfork or Compost Aerator: Essential for turning your compost pile. Turning mixes the materials, introduces oxygen (which microbes need to thrive), and helps the pile heat up evenly. A compost aerator is specifically designed for this and can be very effective.
- Garden Hose or Watering Can: To maintain the correct moisture level.
- Shovel: For moving finished compost and new materials.
- Gloves: To keep your hands clean.
- Optional: Compost Thermometer: This is a handy tool to monitor the internal temperature of your pile, helping you know if it’s hot enough to kill weed seeds and pathogens. A thermometer that reads up to 160°F is ideal. You can find these at garden supply stores or online.
The Hot Composting Method: Step-by-Step
Now that you’ve got your materials and tools ready, let’s get composting! The goal is to build layers that will heat up quickly and efficiently.
Step 1: Choose Your Location
Find a spot for your compost bin or pile that is:
- Accessible: Easy to get to with your kitchen scraps and yard waste.
- Well-drained: You don’t want your pile sitting in a puddle.
- Partially Shaded: This helps prevent the pile from drying out too quickly in hot weather, though it can be in full sun if you’re diligent about watering.
- Away from Water Sources: Avoid placing it too close to wells or streams to prevent potential contamination, although properly managed compost is safe.
Step 2: Build Your Base Layer
Start with a layer of coarse brown materials at the bottom. This could be small twigs, straw, or wood chips. This layer helps with air circulation and drainage from the very start. Aim for about 4-6 inches deep.
Step 3: Add Your “Greens” and “Browns” in Layers
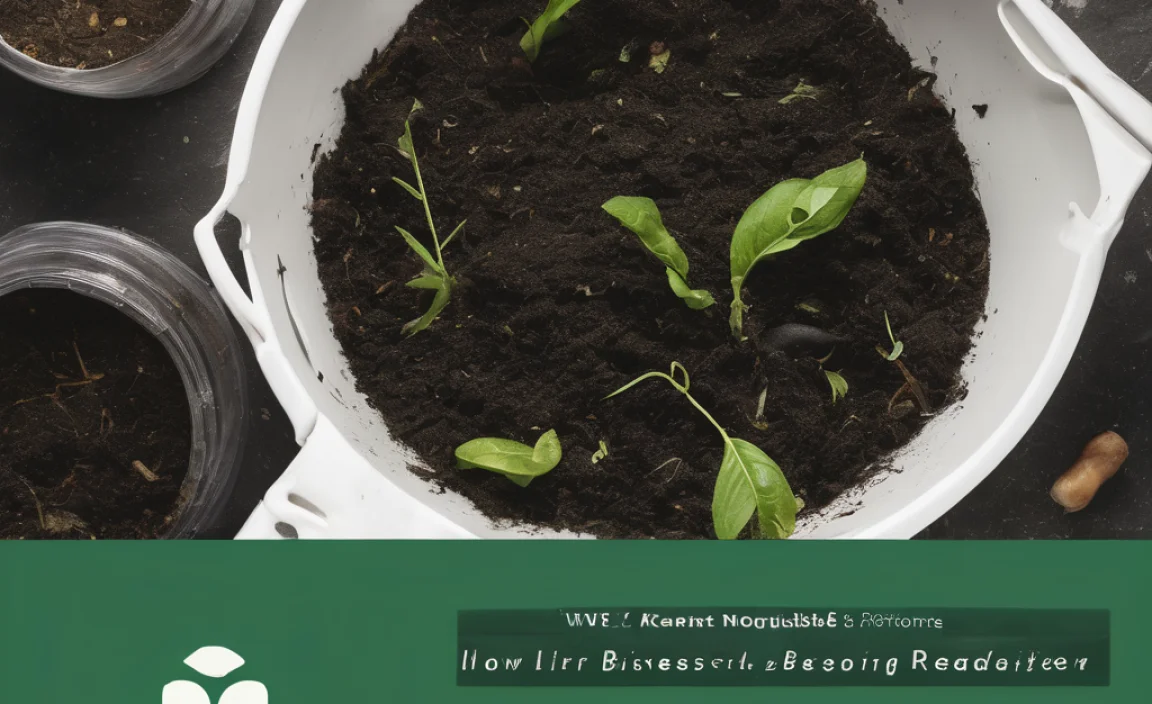
This is where the magic begins. You’ll alternate layers of green and brown materials, much like making a lasagna.
Layering Technique:
- Add a layer of green materials (e.g., vegetable scraps, coffee grounds). This layer should be about 2-4 inches thick.
- Follow with a layer of brown materials (e.g., dry leaves, shredded paper). This layer should be about 4-6 inches thick.
- Lightly water each layer as you build it. You want the materials to be as damp as a wrung-out sponge.
- Continue alternating layers until your pile is at least 3 feet high.
- Top off the pile with a layer of brown material to help deter pests and reduce odors.
Important Note on Grass Clippings: If you’re adding a lot of fresh grass clippings, spread them thinly or mix them well with browns before adding. Thick layers of grass can mat down, block airflow, and become slimy.
Step 4: Monitor and Maintain Moisture
The ideal moisture level is crucial for hot composting. Your compost pile should feel moist like a wrung-out sponge. If it’s too dry, the microbes can’t survive, and the pile won’t heat up. If it’s too wet, it can become anaerobic (lacking oxygen) and develop a foul smell.
- Check the moisture regularly by grabbing a handful of material from the center of the pile and squeezing it. A few drops of water should come out.
- If it’s too dry, water the pile thoroughly with a hose or watering can. You might do this while turning.
- If it’s too wet, add more brown, carbon-rich materials and turn the pile to introduce air.
Step 5: Turn Your Pile Regularly
Turning is what really makes hot composting “hot.” It introduces oxygen, which the thermophilic (heat-loving) microbes need to thrive, and it distributes moisture and heat. It also moves materials from the outside of the pile to the hotter center.
- Frequency: For the fastest results, turn your pile every 4-7 days. If you’re less concerned about speed, turning every 1-2 weeks can still work effectively, albeit slower.
- How to Turn: Use a pitchfork or compost aerator to mix the materials. The goal is to take the material from the outside and move it into the center, and to break up any compacted areas.
- Temperature Fluctuations: After turning, you should see the temperature rise again. If you have a thermometer, aim to turn the pile when the temperature starts to drop from its peak (around 140°F-160°F).
What happens if you don’t turn? It will likely revert to cold composting, taking much longer to break down. The center might get hot initially, but if air can’t get in, the process will slow down significantly.
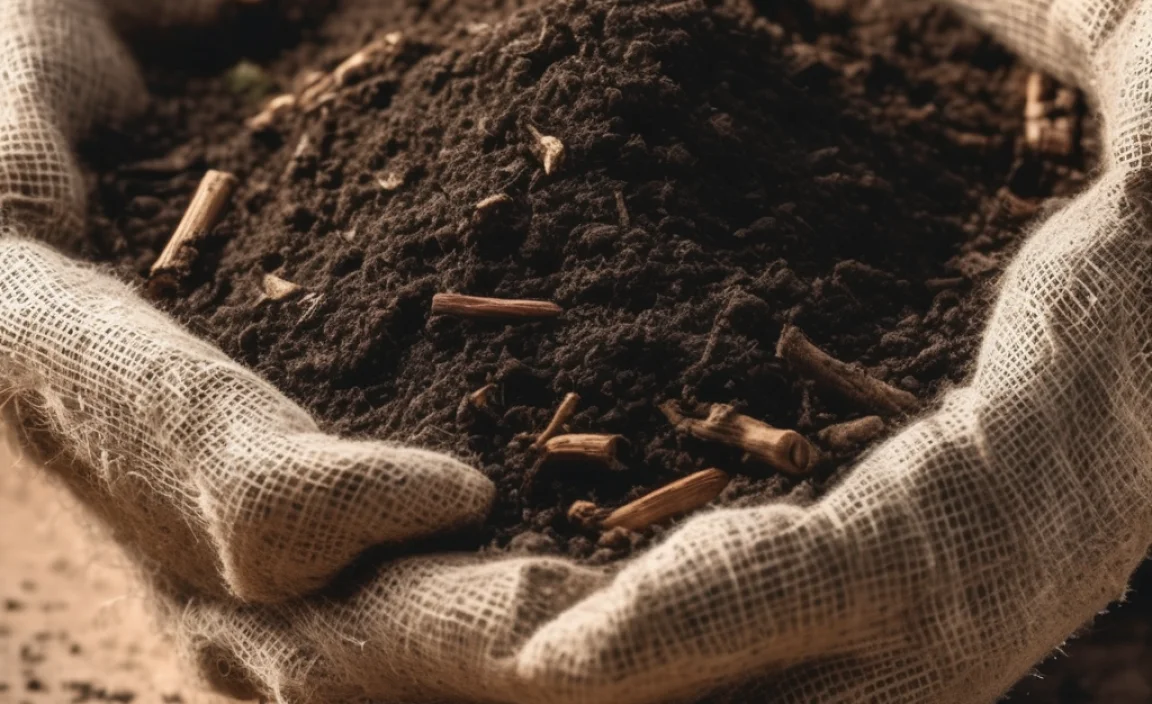
Step 6: Know When Your Compost is Ready
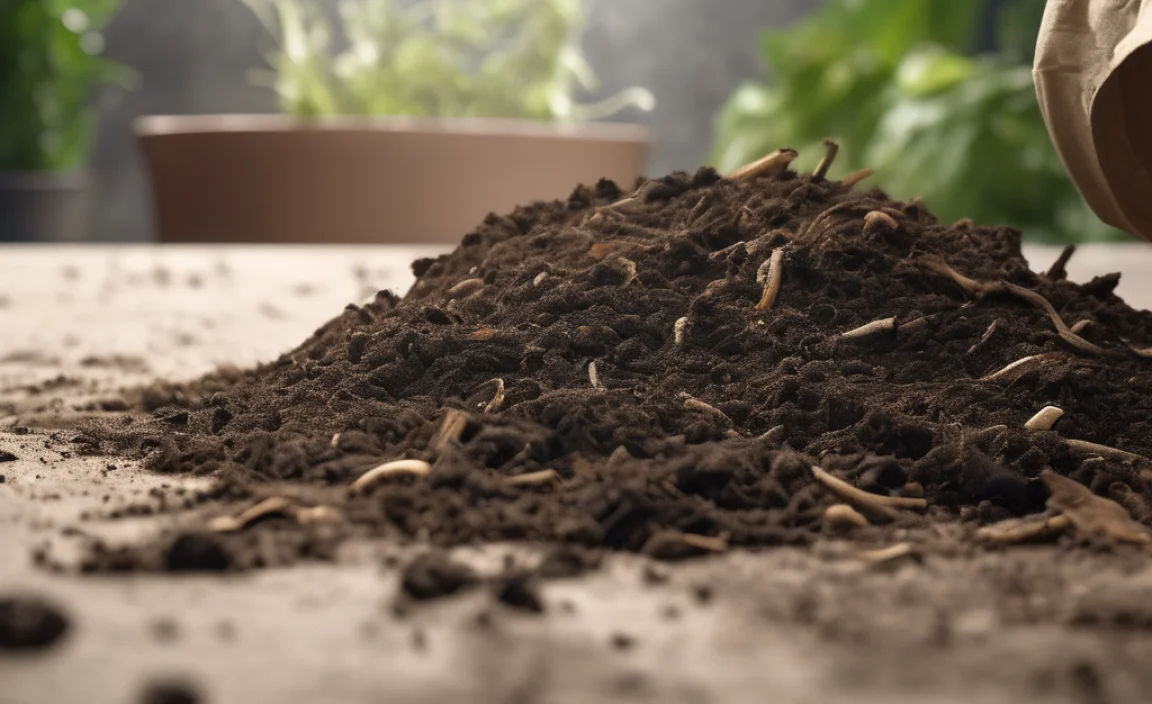
Finished compost, often called “black gold,” will be dark, crumbly, and have a pleasant, earthy smell. You shouldn’t be able to recognize the original materials you put in.
Signs of finished compost:
- Appearance: Dark brown or black, with a crumbly texture.
- Smell: Smells earthy and fresh, like a forest floor. There should be no sour, ammonia, or putrid odors.
- Temperature: The pile will have cooled down significantly.
- Material Recognition: You won’t be able to identify the original food scraps or yard waste.
Depending on how actively you manage your pile, hot composting can produce finished compost in as little as 4-6 weeks. If you turn less often, it might take a couple of months.
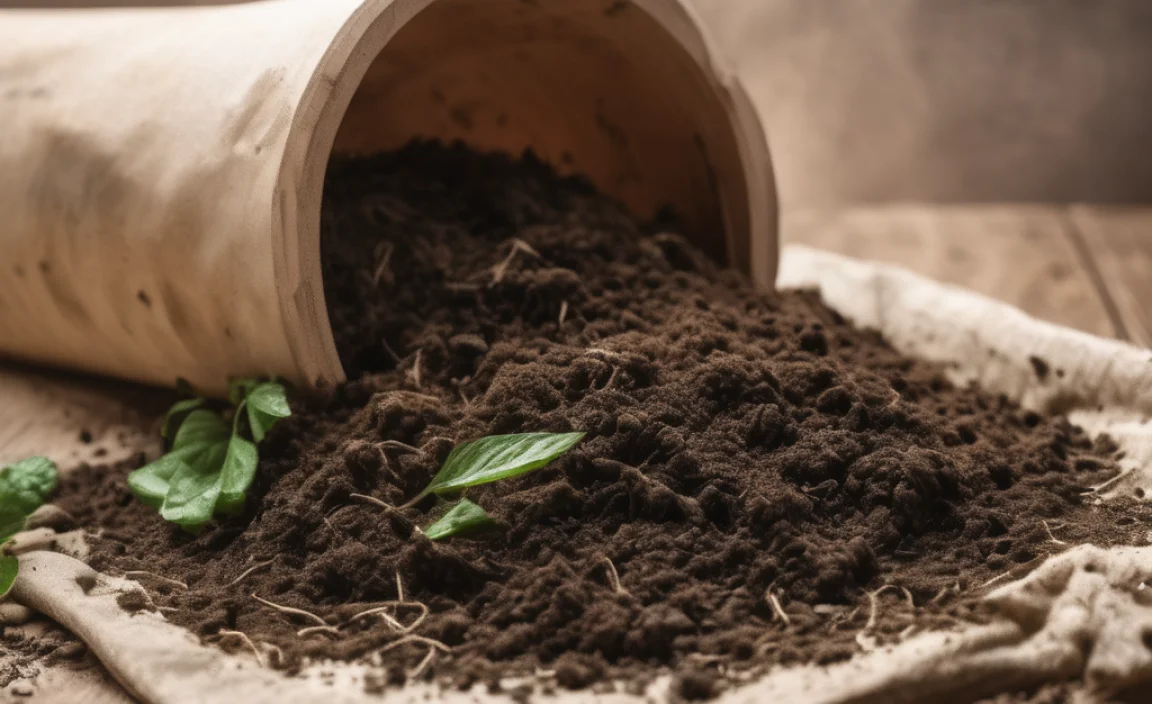
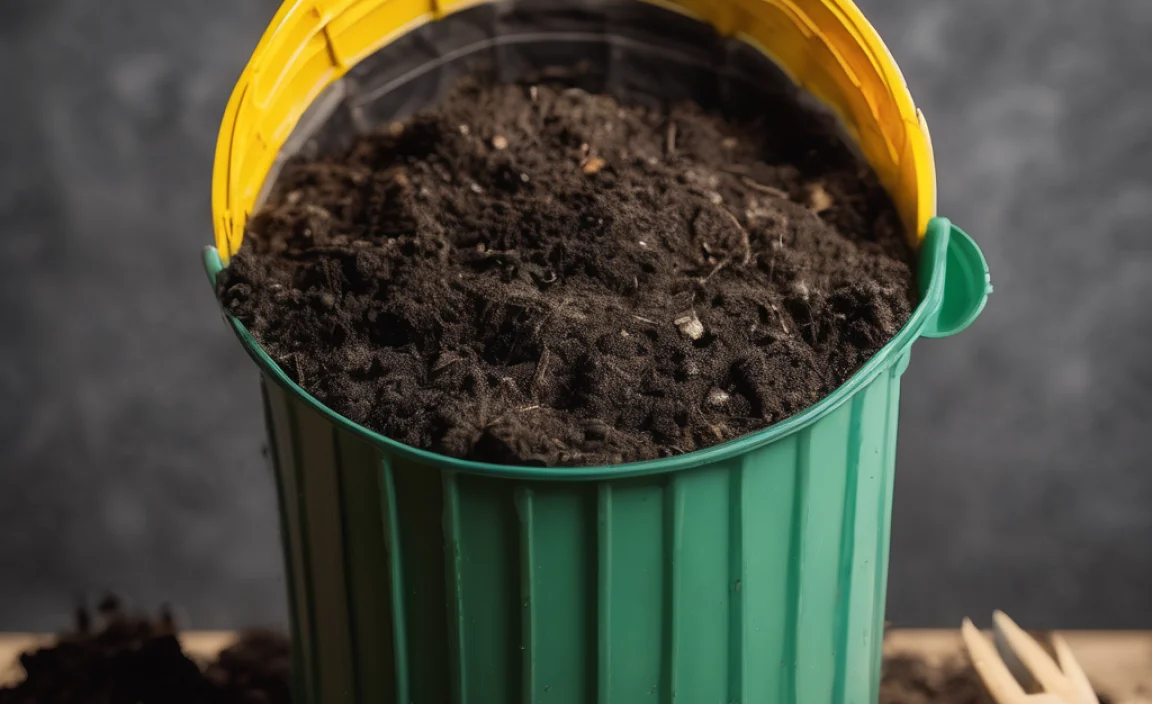
Step 7: Harvest and Use Your Compost
Once your compost is ready, you can harvest it from the bottom of the bin or by sifting the whole pile. Sifting is optional but recommended if you want a finer texture for starting seeds or top-dressing delicate plants. You can use a simple sieve or hardware cloth.
Here’s how to use its rich goodness:
- Soil Amendment: Mix compost into your garden beds before planting to improve soil structure, water retention, and nutrient content. Aim for a 2-3 inch layer incorporated into the top 6-8 inches of soil.
- Mulch: Spread a layer of compost around plants to suppress weeds, conserve moisture, and provide a slow release of nutrients.
- Potting Mix: Mix compost with other ingredients like peat moss or coco coir to create a nutrient-rich potting mix for containers.
- Top Dressing: Sprinkle a thin layer of compost around established plants and trees.
Troubleshooting Common Hot Composting Issues
Even with the best intentions, you might run into a few hiccups. Don’t worry, these are common and usually easy to fix!
| Problem | Possible Cause | Solution |
|---|---|---|
| Pile won’t heat up | Too dry Too many browns (not enough nitrogen) Pile is too small Not enough aeration |
Add water and turn. Add more green materials and turn. Make the pile larger (at least 3x3x3 ft). Turn the pile more frequently to add oxygen. |
| Pile smells like ammonia | Too many greens (excess nitrogen) | Add more brown, carbon-rich materials (leaves, cardboard) and turn to mix and aerate. |
| Pile smells rotten or putrid | Too wet and anaerobic (lacking oxygen) Too many greens or food scraps without enough carbon material |
Add brown materials and turn thoroughly to introduce air. Ensure good drainage. Break up matted material. |
| Pile is slimy or matted | Too much moisture Large amounts of fresh grass clippings or other “wet” greens without enough browns to absorb moisture. |
Add dry brown materials (shredded cardboard, dry leaves) and turn to absorb excess moisture and aerate. |
| Pests (flies, rodents) are attracted | Exposed food scraps Compost too wet |
Always cover fresh food scraps with a layer of brown material. Ensure the pile is turning regularly and has a good balance of greens/browns. Check that the pile is not too wet. For rodents, ensure your bin has a lid and is made of sturdy material, or that the pile is actively managed and hot. |
Remember, composting is a living process. Sometimes it just needs a nudge! Observing your pile and making small adjustments is part of the learning process.
Benefits of Hot Composting vs. Cold Composting
While both methods have their place, hot composting offers some distinct advantages, especially for those looking for faster results and a more sterile end product.
| Feature | Hot Composting | Cold Composting |
|---|---|---|
| Speed | Fast (4-6 weeks to finished compost) | Slow (6 months to 2 years) |
| Temperature | High heat (130-160°F / 54-71°C) | Ambient or low heat (cool or slightly warm) |
| Weed Seeds and Pathogens | Killed by high heat | May survive, especially weed seeds |
| Effort/Management | Requires active layering, moisture monitoring, and regular turning | “Set it and forget it” approach, less management needed |
| Material Size Requirement | Smaller particles break down faster and aid heating | Larger pieces can be added, will break down over time |
| Ideal For | Quick soil enrichment, killing pathogens, gardeners wanting fast results | Gardening situations with ample space and time, where immediate sterile compost isn’t a priority |
Hot composting is fantastic for gardeners who want to produce significant amounts of finished compost relatively quickly. It’s especially useful if you’re concerned about introducing weed seeds into your garden or if you have access to kitchen scraps that might carry less desirable microbes. The <a href
Related Posts

I am passionate about home engineering. I specialize in designing, installing, and maintaining heating, ventilation, and air conditioning systems. My goal is to help people stay comfortable in their homes all year long.