Hey there, neighbor! Tired of your kitchen scraps and yard waste piling up? Wish you could turn that everyday mess into super-rich compost for your garden? If you’re in India and thinking about “hot composting,” it might sound a bit technical, but don’t worry! I’m Troy D Harn from TopChooser, and I’m here to make it super simple. We’ll walk through it step-by-step, turning trash into garden treasure. Get ready to boost your garden’s health, the easy way!
Hot Composting In India: Your Quick Start Guide
Composting is like magic for your garden, turning waste into nutrient-rich food for your plants. Hot composting, in particular, is a speedier way to get there. It’s a process that heats up quickly, breaking down organic materials faster than traditional cold composting. This is especially handy in India, where varied climates can offer unique composting advantages. We’ll cover everything you need to know to get started, from what materials to use to how to maintain the perfect temperature. Let’s get this compost party started!
What is Hot Composting?
Imagine your compost pile as a busy kitchen working overtime. Hot composting is a method where you carefully balance “greens” (nitrogen-rich materials) and “browns” (carbon-rich materials) in specific ratios. When these ingredients are mixed correctly and have enough moisture and air, tiny microorganisms get to work. They multiply rapidly and generate heat as they consume the organic matter. This heat is the “hot” in hot composting. It helps to break down materials much faster – we’re talking weeks or a few months, not years!
This high temperature also has a fantastic benefit: it kills off weed seeds and harmful pathogens that might be lurking in your waste. This means you get a cleaner, more potent compost, perfect for giving your plants a real boost without introducing unwanted guests to your garden.
Why Choose Hot Composting in India?
India’s diverse climate – from the heat of the plains to the humidity of the tropics – can be a great asset for hot composting. The ambient heat can help your pile reach its optimal temperature faster. Plus, with a large population, managing organic waste is a growing concern. Hot composting offers an efficient solution:
- Speed: Get usable compost much faster than cold composting methods. Perfect if you’re eager to start gardening with your homemade fertilizer.
- Sanitation: The high temperatures (often reaching 130-160°F or 55-70°C) effectively kill weed seeds and disease-causing organisms.
- Volume Reduction: It significantly reduces the amount of organic waste going to landfills.
- Nutrient-Rich Compost: Produces a high-quality compost teeming with beneficial microbes, providing excellent nutrition for your soil.
- Odor Control: When managed correctly, a hot compost pile actually produces less smell than a neglected cold pile.
Choosing Your Hot Composting Method
There are a few ways to go about hot composting, and the best one for you depends on your space, budget, and how much material you have. Here are some popular options:
1. The Pile Method (Open Pile)
This is the simplest and most straightforward approach. You just build a pile directly on the ground in your yard.
- What you need: A clear space in your yard, preferably with good drainage and some sunlight.
- Pros: Easy to set up, no special bins needed, can handle large volumes.
- Cons: Can look a bit messy, might require more effort to turn, can dry out faster in arid regions.
2. Composting Bins
Bins contain your compost, looking neater and helping to retain moisture and heat. You can buy them or even build your own!
- Types:
- Stationary Bins: These are one-piece bins, often made of plastic or wood. You add materials from the top and harvest from a door at the bottom.
- Tumblers: These drum-like bins spin, making turning the compost much easier. They can be single or dual chamber.
- Pros: Tidy appearance, better moisture and heat retention, tumblers make turning very easy.
- Cons: Can be more expensive, capacity might be limited compared to an open pile.
For hot composting, bins with good ventilation are crucial. Look for ones with aeration holes or slats.
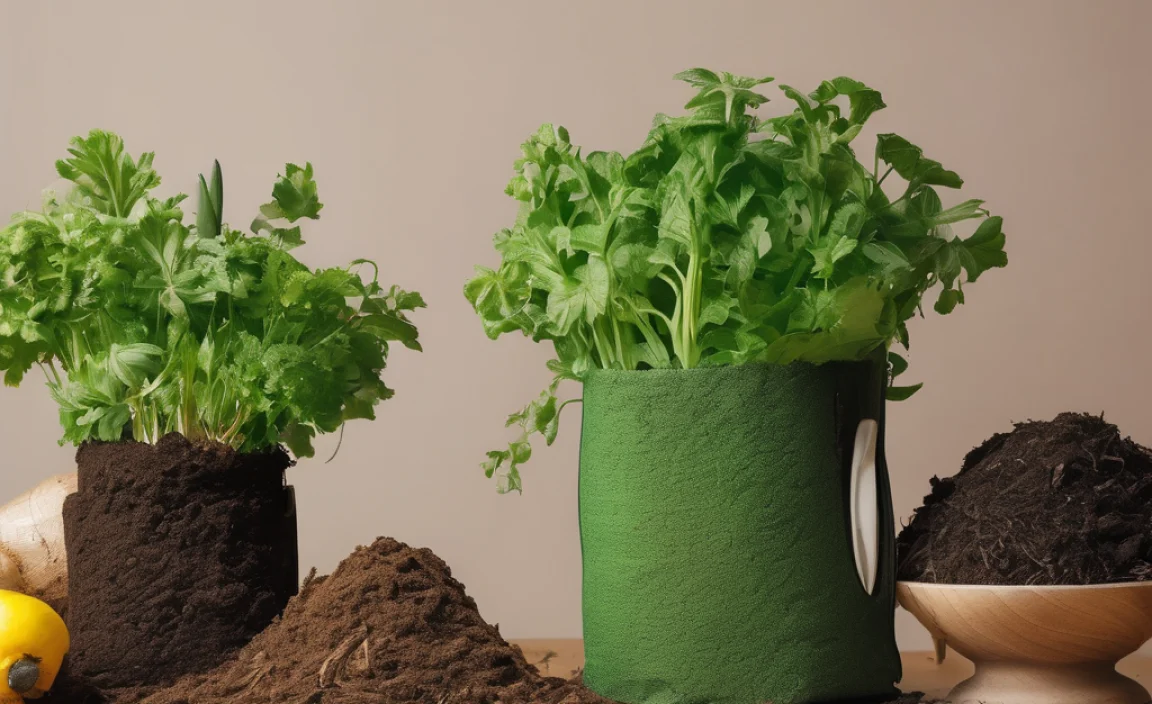
Getting Your Materials Right: Greens and Browns
This is the heart of hot composting! You need a good mix of two types of organic materials: greens and browns. Think of them as the fuel and the structure for your compost fire.
The general rule of thumb for hot composting is a Carbon-to-Nitrogen (C:N) ratio of around 25:1 to 30:1 by weight. This is hard to measure precisely at home, so we often aim for a volume ratio of about 2 parts browns to 1 part greens to get close. Don’t stress too much about perfect ratios initially; you’ll get a feel for it.
What are “Greens”? (Nitrogen-Rich)
Greens are generally wet, fresh materials that provide nitrogen. Nitrogen is like the protein shake for the microbes; it helps them grow and multiply, which creates heat.
- Fruit and vegetable scraps (peels, cores, wilted lettuce)
- Coffee grounds and tea bags
- Grass clippings (use in thin layers to avoid matting)
- Fresh plant leaves and trimmings
- Manure from herbivores (cow, horse, rabbit, chicken – avoid pet waste)
What are “Browns”? (Carbon-Rich)
Browns are dry, carbon-rich materials. They provide the energy source for the microbes and add bulk, allowing air to circulate. Too many greens can make your compost wet and smelly; browns balance things out.
- Dry leaves
- Straw and hay
- Shredded newspaper and cardboard (avoid glossy paper, rip into small pieces)
- Wood chips and sawdust (use sparingly, as they break down slowly)
- Twigs and small branches (chopped up)
- Eggshells (crushed)
Materials to Avoid
Some things just don’t belong in a compost pile:
- Meat, fish, and dairy products (attract pests and smell bad)
- Oily or greasy foods
- Diseased plants or weeds gone to seed (unless your pile gets consistently hot enough to kill them)
- Pet waste (dog or cat feces can contain pathogens)
- Treated wood
- Synthetic materials
Building Your Hot Compost Pile: Step-by-Step
Ready to get your hands dirty? Here’s how to build your hot compost pile or bin.
Step 1: Choose Your Location
Select a spot that’s convenient to access from your kitchen and garden. It should be:
- Level: For stability.
- Well-drained: You don’t want your pile sitting in a puddle.
- Partially shaded: Direct, hot sun can dry out the pile too quickly, while deep shade might keep it too cool. A spot that gets morning sun and afternoon shade is often ideal.
- Accessible: You’ll need space to turn the compost and to add materials easily. If using an open pile, placing it directly on the soil helps beneficial microbes and worms find their way in, plus it allows excess moisture to drain.
Step 2: Gather Your Materials
Start collecting your kitchen scraps (in a small bin with a lid) and yard waste. It’s helpful to have a good supply of both greens and browns before you begin layering. Chop larger materials into smaller pieces; this speeds up decomposition.
Step 3: Create a Base Layer
Start with a layer of coarse brown material, like small twigs or straw, about 4-6 inches deep. This helps with aeration and drainage right from the start. If you’re using a bin without a bottom, this layer is even more important.
Step 4: Start Layering
Now, alternate layers of greens and browns. A good starting point for volume is roughly two parts browns to one part greens. Think:
Brown Layer -> Green Layer -> Brown Layer -> Green Layer…
Make each layer about 3-6 inches thick. It’s a good idea to slightly dampen each layer as you add it, like a wrung-out sponge – not soaking wet, but moist throughout.
Step 5: Introduce Microbes (Optional but Recommended)
To kick-start the composting process, you can add a shovel-full of finished compost or rich garden soil to your initial layers. This introduces a healthy population of microorganisms to get things going.
Step 6: Chop and Mix
Remember to break down larger items. Kitchen scraps, leaves, grass clippings, and cardboard should all be chopped, torn, or shredded into smaller pieces (ideally 1-2 inches). The smaller the pieces, the more surface area can be accessed by microbes, leading to faster decomposition.
Step 7: Initial Watering
Once your pile is built, give it a good watering. The goal is for the material to be moist all the way through, but not waterlogged. If you squeeze a handful, only a drop or two of water should come out.
Maintaining Your Hot Compost Pile
Building the pile is just the first step. Keeping it active and hot requires a little attention.
1. Monitor Temperature
The most defining characteristic of hot composting is the heat. Ideally, your pile should reach temperatures between 130-160°F (55-70°C). You can buy a compost thermometer for about ₹300-₹800 online or at garden stores to check. Stick it into the center of the pile. If it’s not heating up, you might need more greens or more moisture.
2. Turn Your Compost
Turning introduces oxygen, which the microbes need to survive and work. It also redistributes moisture and nutrients, ensuring everything breaks down evenly.
- Frequency: Aim to turn your pile weekly, or at least every two weeks, especially during the initial hot phase.
- How to Turn: Use a pitchfork or compost aerator. Move the outer materials into the center and the inner materials to the outside. If you have a tumbler, give it a few spins every few days.
Turning is also when you can check moisture levels. If it seems dry, add some water while turning.
3. Maintain Moisture Levels
Your compost pile should feel like a damp sponge. Too dry, and the microbes slow down or die. Too wet, and it can become anaerobic (without oxygen) and start to smell. Check moisture when turning: if it crumbles dry, add water; if it’s soggy and smells bad, add more browns and turn well.
An easy way to check moisture is the “squeeze test”: grab a handful of compost. If it feels moist and only a little water squeezes out when you apply pressure, it’s good. If water runs freely, it’s too wet. If it falls apart and feels dry, it’s too dry.
4. Add New Materials
When adding fresh kitchen scraps, try to bury them in the center of the pile to help them heat up quickly and avoid attracting pests. Always try to mix new greens with some browns to maintain that C:N balance.
When is Compost Ready?
Hot composting is quick, but it still takes time. You’ll know your compost is ready when:
- It has cooled down to near ambient temperature.
- It smells earthy and pleasant, like a forest floor.
- The original materials are no longer recognizable.
- The texture is dark, crumbly, and uniform.
This can take anywhere from 4 to 12 weeks, depending on how well you managed the pile, the materials used, and the climate.
Screening Your Compost (Optional)
Once it’s ready, you might want to screen your compost to remove any larger, undecomposed pieces. You can use a simple sieve or build your own screener with hardware cloth and a wooden frame. The bigger pieces can go back into your next compost pile.
Troubleshooting Common Hot Composting Issues
Even with the best intentions, sometimes things don’t go perfectly. Here are a few common issues and how to fix them:
1. The Pile Isn’t Heating Up
- Too many browns (carbon): Add more green materials.
- Too dry: Add water and mix well.
- Not enough volume: A pile needs a minimum volume to build heat – try to keep it at least 3x3x3 feet if possible.
- Needs turning: Aeration might be insufficient; turn the pile.
2. The Pile Smells Bad (Ammonia or Rotten Eggs)
- Smells like ammonia: Too many greens (excess nitrogen). Add more brown materials like dry leaves, shredded cardboard, or sawdust, and turn thoroughly.
- Smells like rotten eggs or sour: Too wet and not enough air (anaerobic conditions). Add plenty of browns to absorb moisture and improve aeration, then turn the pile well. Ensure proper drainage.
3. Pests (Flies, Rodents)
- Avoid meat, dairy, and oily foods in your compost.
- Bury kitchen scraps in the center of the pile.
- Ensure proper moisture and turning to keep the pile actively composting.
- Use a bin with a lid if pests are a major problem.
Hot Composting vs. Vermicomposting in India
It’s worth noting that in India, vermicomposting (using earthworms) is also very popular. While both are excellent ways to handle waste, they differ significantly:
| Feature | Hot Composting | Vermicomposting |
|---|---|---|
| Process | Microbial decomposition driven by heat | Earthworm activity breaks down organic matter |
| Speed | Faster (weeks to a few months) | Slower (several months) |
| Temperature | High heat (130-160°F / 55-70°C) needed | Requires cooler, more stable temps (ideally 50-77°F / 10-25°C) |
| Materials | Broader range, can handle thicker materials if chopped | Prefers softer, more digestible materials; sensitive to citrus, onions, and spicy foods |
| Finished Product | Dark, crumbly compost | Fine castings (worm poop), rich in nutrients and beneficial microbes |
| Space | Requires more space for a pile or larger bin | Can be done in smaller bins, suitable for apartments or balconies |
| Effort | Requires regular turning and temperature monitoring | Requires feeding worms and maintaining ideal moisture/temperature |
Hot composting is your go-to if you want faster results and have more space and materials. Vermicomposting is excellent for smaller spaces and producing highly concentrated, worm-driven compost, but requires a gentler approach. You can even use a combination: start a hot compost pile and then add some of the partially decomposed material to a worm bin!
Using Your Finished Compost
Once your compost is ready, you’ve got black gold for your garden! Here’s how to use it:
- Soil Amendment: Mix 2-4 inches of compost into your garden beds before planting. This improves soil structure, water retention, and provides essential nutrients.
- Top Dressing: Spread a layer of compost around existing plants, flowers, and shrubs. This feeds the plants and helps suppress weeds.
- Potting Mix: Mix compost with soil and other elements like coir or perlite to create a nutrient-rich potting mix for containers and seedlings. According to the Royal Horticultural Society (rhs.org.uk), compost is a key ingredient for healthy container growth.
- Compost Tea: Steep finished compost in water to create a nutrient-rich liquid fertilizer that can be sprayed on leaves or watered into the soil.

I am passionate about home engineering. I specialize in designing, installing, and maintaining heating, ventilation, and air conditioning systems. My goal is to help people stay comfortable in their homes all year long.