Quick Summary: A dripping Delta shower faucet usually means you need to replace the valve cartridge. First, turn off the water supply. Then, remove the handle, trim, and retaining clip. Pull out the old cartridge and install the new one, making sure it’s properly aligned. Reassemble the faucet, turn the water back on, and test for leaks.
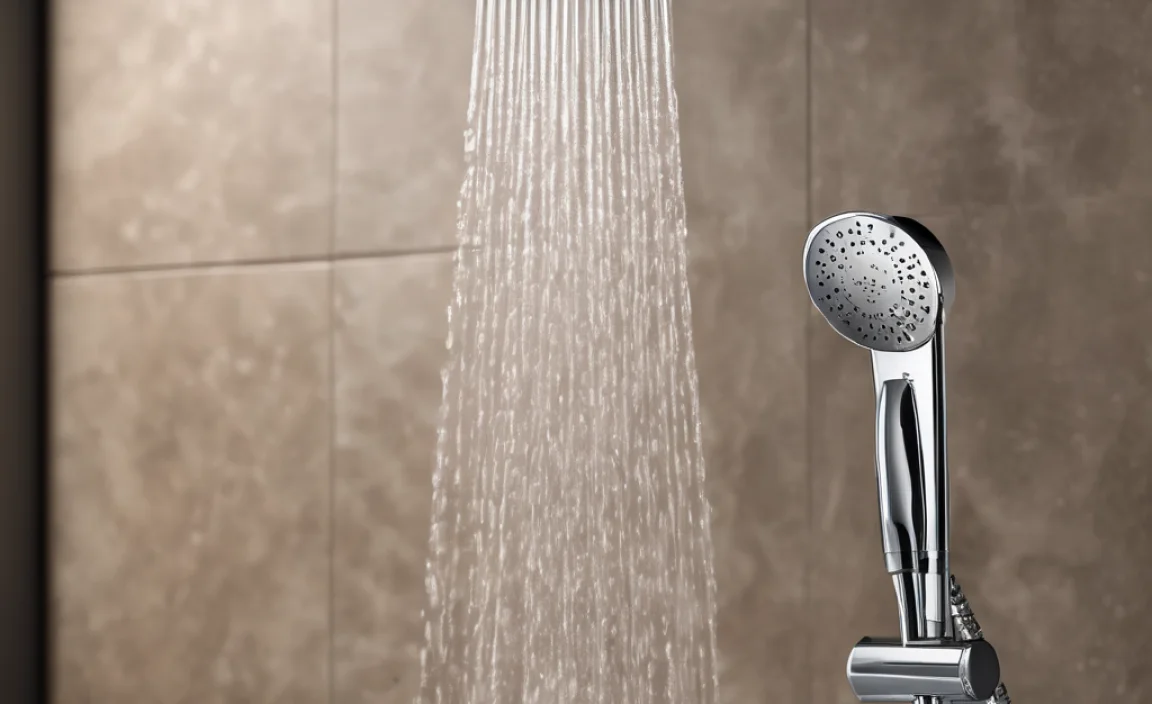
Is that constant drip, drip, drip from your Delta shower faucet driving you crazy? You’re not alone! A leaky faucet is a common problem, and it wastes water and money. The good news is that fixing it yourself is often easier than you think. You don’t need to be a plumbing expert. With a few simple tools and these step-by-step instructions, you can stop that drip and enjoy a peaceful shower again. We’ll walk you through each step, from turning off the water to replacing the faulty part. Let’s get started!
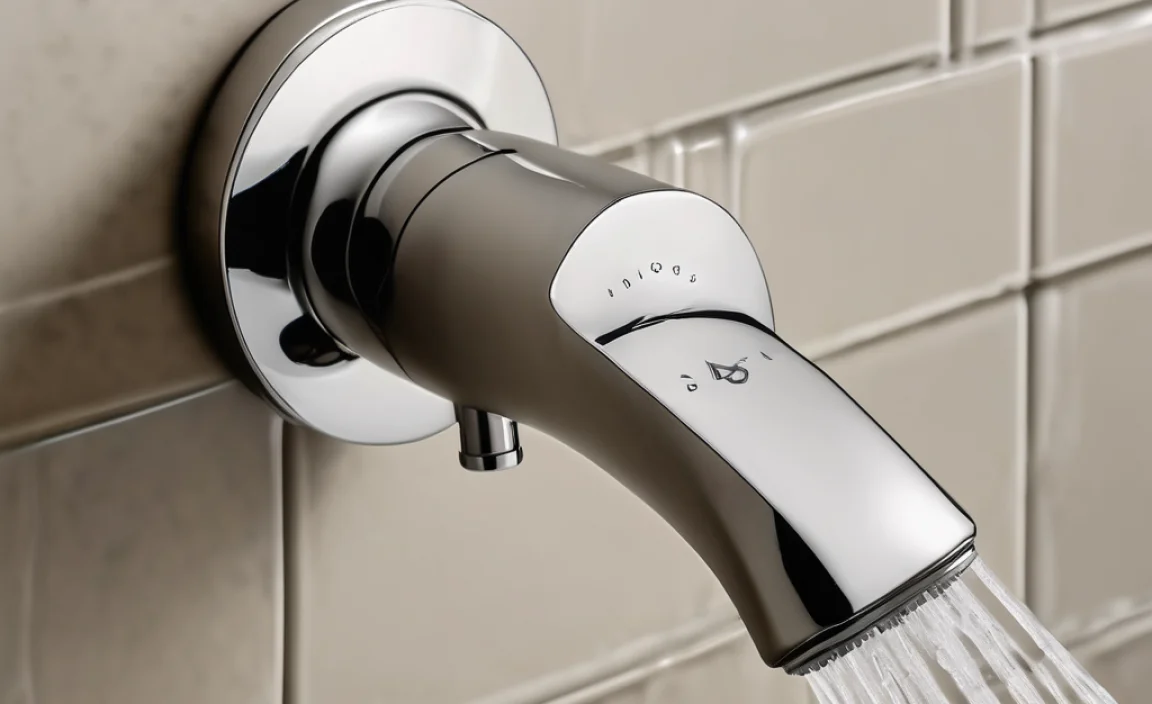
Why is My Delta Shower Faucet Dripping?
Before we jump into fixing the problem, let’s understand why your Delta shower faucet is dripping in the first place. Here are the most common culprits:
- Worn-Out Valve Cartridge: This is the most frequent cause. The cartridge controls the flow of water, and over time, the rubber seals inside can wear out, causing drips.
- Hard Water Buildup: Minerals in hard water can accumulate inside the faucet, damaging the cartridge and other parts.
- Loose or Damaged O-Rings: These small rubber rings create a seal between different faucet components. If they become brittle or break, leaks can occur.
- High Water Pressure: Excessively high water pressure can put extra stress on the faucet’s internal parts, leading to premature wear and drips.
Tools You’ll Need
Having the right tools on hand will make the job much smoother. Here’s a list of what you’ll likely need:
- New Delta Faucet Cartridge: Make sure it’s the correct replacement for your specific Delta faucet model. You can usually find this information on the faucet itself or in your original paperwork.
- Flathead Screwdriver: For removing caps and loosening screws.
- Phillips Head Screwdriver: For removing handle screws.
- Allen Wrench Set: Some Delta faucets use Allen screws.
- Adjustable Wrench: For loosening and tightening nuts.
- Cartridge Puller (Optional but Recommended): This tool makes removing the old cartridge much easier, especially if it’s stuck.
- Penetrating Oil (e.g., WD-40): To help loosen stubborn parts.
- Clean Cloths or Rags: For wiping up water and cleaning parts.
- Small Container or Plug: To block the drain and prevent losing small parts.
Step-by-Step Guide: Stopping the Drip
Follow these steps carefully to replace your Delta shower faucet cartridge and stop that annoying drip.
Step 1: Turn Off the Water Supply
This is the most important step! You don’t want to flood your bathroom. Locate the shut-off valves for the shower. These are usually located in the basement, utility room, or near the water heater. If you can’t find individual shut-off valves, you may need to turn off the main water supply to your entire house. Once you’ve turned off the water, turn on the shower faucet to relieve any remaining pressure in the pipes.
Step 2: Prepare the Work Area
Protect your shower and tub by laying down a towel or old cloth. This will prevent scratches and make cleanup easier. Place a small container or plug in the drain to prevent small parts from falling in.
Step 3: Remove the Faucet Handle
The handle is usually held in place by a screw or a set screw. Look for a cap on the handle. You can usually pry it off with a flathead screwdriver. Once the cap is off, you’ll see the screw. Use the appropriate screwdriver (Phillips head or Allen wrench) to loosen and remove the screw. Gently pull the handle off the faucet stem.
Step 4: Remove the Faucet Escutcheon (Trim)
The escutcheon is the decorative plate behind the handle. It may be held in place by screws or by a friction fit. If there are screws, remove them. If not, gently twist and pull the escutcheon straight off the wall. You might need to use a bit of force, but be careful not to damage the surrounding tile or shower wall.
Step 5: Remove the Retaining Clip
The retaining clip holds the valve cartridge in place. It’s usually a U-shaped piece of metal. Use a small screwdriver or pliers to carefully remove the clip. Note the orientation of the clip before removing it, as you’ll need to reinstall it the same way.
Step 6: Remove the Old Cartridge
This can be the trickiest part, especially if the cartridge is old and stuck. Try gripping the stem of the cartridge with pliers and gently twisting and pulling. If it won’t budge, use a cartridge puller. This tool is designed to grip the cartridge and provide leverage for removal. Follow the instructions that come with the cartridge puller. If you don’t have a cartridge puller, you can try spraying some penetrating oil around the cartridge and letting it sit for a few minutes before trying again.
Step 7: Clean the Cartridge Housing
Once the old cartridge is out, take a look inside the faucet body. Clean out any debris, mineral deposits, or corrosion. You can use a small brush or a cloth dampened with white vinegar to remove buildup. This will ensure a good seal with the new cartridge.
Step 8: Install the New Cartridge
Before installing the new cartridge, lubricate the O-rings with silicone grease. This will help it slide into place and create a better seal. Align the cartridge properly. There’s usually a specific orientation, often indicated by a notch or marking on the cartridge. Push the cartridge firmly into the faucet body until it’s fully seated. Make sure it’s snug and secure.
Step 9: Reinstall the Retaining Clip
Place the retaining clip back into its original position. Make sure it’s fully seated and securely holding the cartridge in place. This clip is essential for preventing the cartridge from popping out under water pressure.
Step 10: Reinstall the Escutcheon (Trim)
Slide the escutcheon back onto the faucet body. If it’s held in place by screws, tighten them securely. If it’s a friction fit, press it firmly against the wall until it’s snug.
Step 11: Reinstall the Faucet Handle
Place the handle back onto the faucet stem. Align it properly and tighten the screw. Replace the cap on the handle. Make sure the handle moves smoothly and controls the water flow properly.
Step 12: Turn the Water Supply Back On
Slowly turn the water supply back on. Check for leaks around the faucet handle, escutcheon, and showerhead. If you see any leaks, turn the water off again and double-check the cartridge installation and the tightness of all connections.
Step 13: Test the Faucet
Turn the faucet on and off several times, checking for leaks each time. Make sure the hot and cold water mix properly and that the water flow is consistent. If everything looks good, congratulations! You’ve successfully replaced your Delta shower faucet cartridge and stopped the drip.
Troubleshooting Common Problems
Sometimes, things don’t go exactly as planned. Here are some common problems you might encounter and how to solve them:
- Cartridge Won’t Come Out: Apply penetrating oil and let it sit for a while. Use a cartridge puller if necessary.
- New Cartridge Leaks: Make sure the cartridge is fully seated and the retaining clip is properly installed. Check the O-rings for damage.
- Handle is Hard to Turn: Lubricate the cartridge stem with silicone grease.
- Water Pressure is Low: Check for mineral buildup in the showerhead or faucet body. Clean as needed.
Preventative Maintenance Tips
To keep your Delta shower faucet in good working order and prevent future drips, follow these tips:
- Install a Water Softener: If you have hard water, a water softener can reduce mineral buildup and prolong the life of your faucet.
- Clean the Faucet Regularly: Wipe down the faucet with a mild cleaner to remove soap scum and mineral deposits.
- Inspect O-Rings Periodically: Check the O-rings for wear and tear and replace them as needed.
- Adjust Water Pressure: If your water pressure is excessively high, consider installing a pressure regulator.
Cost Considerations
Fixing a dripping Delta shower faucet yourself is usually much cheaper than hiring a plumber. Here’s a breakdown of the potential costs:
| Item | Estimated Cost |
|---|---|
| Delta Faucet Cartridge | $20 – $50 |
| Cartridge Puller | $15 – $30 |
| Penetrating Oil | $5 – $10 |
| Silicone Grease | $5 – $10 |
| Total DIY Cost | $45 – $100 |
| Plumber’s Fee (for the same job) | $150 – $300+ |
As you can see, doing it yourself can save you a significant amount of money.
When to Call a Plumber
While many dripping faucet issues can be resolved with a DIY approach, there are times when it’s best to call a professional plumber:
- You’re not comfortable working with plumbing.
- You can’t identify the source of the leak.
- The faucet is severely corroded or damaged.
- You’ve tried to fix the problem yourself, but it’s not working.
- You have complex plumbing issues that require specialized knowledge.
FAQ: Fixing a Dripping Delta Shower Faucet
Q: How do I know which Delta cartridge to buy?
A: Look for the model number on your faucet or in the original paperwork. You can also visit the Delta website or a local hardware store and compare your faucet to their online catalog. It is important to get the right match.
Q: What if I can’t find the shut-off valves for my shower?
A: If you can’t find individual shut-off valves, you’ll need to turn off the main water supply to your house. The main shut-off valve is usually located in the basement, utility room, or near the water meter.
Q: Do I really need a cartridge puller?
A: While it’s not strictly necessary, a cartridge puller can make the job much easier, especially if the old cartridge is stuck. It’s a worthwhile investment if you plan to do more plumbing repairs in the future.
Q: Can I use any type of grease on the O-rings?
A: No, it’s important to use silicone grease specifically designed for plumbing applications. Other types of grease can damage the O-rings or contaminate the water supply.
Q: How often should I replace my Delta faucet cartridge?
A: It depends on the water quality and usage, but generally, you should replace the cartridge every 5-10 years. If you notice any signs of dripping or reduced water flow, it’s a good idea to replace it sooner.
Q: What if the new cartridge still leaks?
A: Double-check that the cartridge is fully seated and the retaining clip is properly installed. Also, inspect the O-rings for damage and make sure they’re lubricated with silicone grease. If the problem persists, the faucet body itself may be damaged, and you may need to replace the entire faucet.
Q: Can hard water cause my faucet to drip?
A: Yes, hard water contains minerals that can build up inside the faucet and damage the cartridge and other parts. Installing a water softener can help prevent this problem.
Conclusion
Fixing a dripping Delta shower faucet is a straightforward DIY project that can save you money and water. By following these step-by-step instructions, you can confidently replace the valve cartridge and enjoy a leak-free shower. Remember to take your time, be careful, and don’t hesitate to call a plumber if you encounter any difficulties. With a little effort, you can tackle this common home repair and feel proud of your accomplishment. So, grab your tools, follow these steps, and say goodbye to that annoying drip once and for all!
Related Posts
- Composting For Hotels How To: Genius Solutions
- Best Composting Practices for Schools: Top Tips!
- Why Does My Urine Stain Underwear Brown? Find Out!
- Trench Composting: Cheap & Easy Garden Boost!