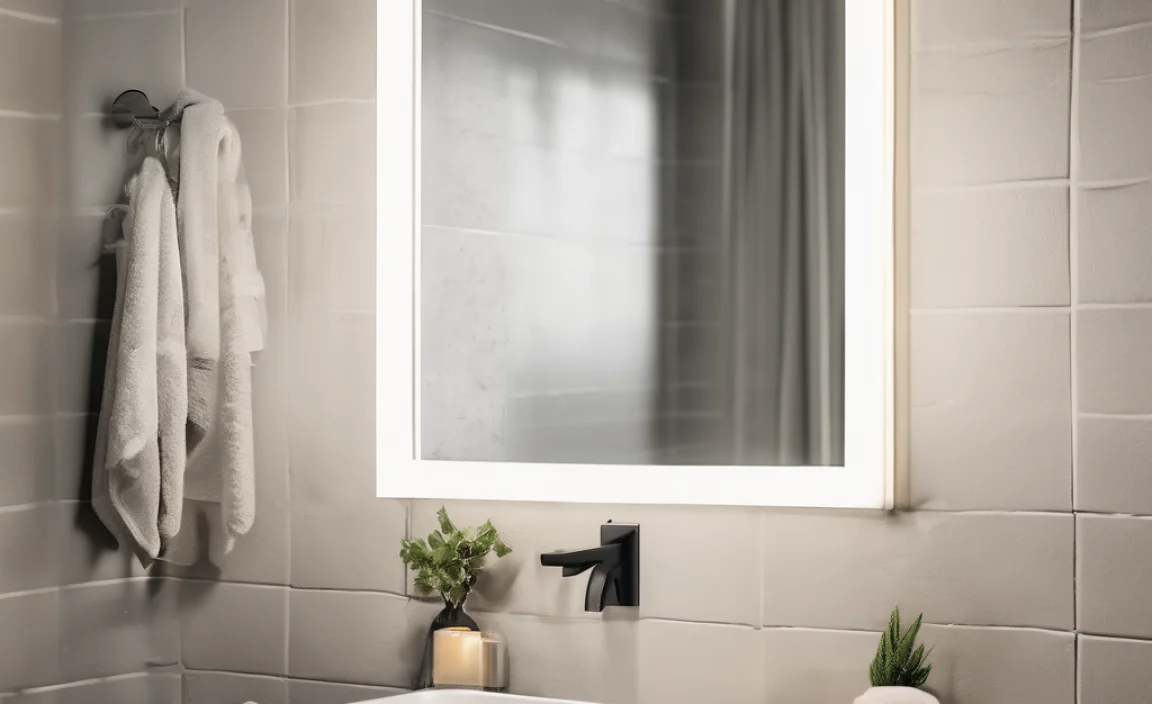
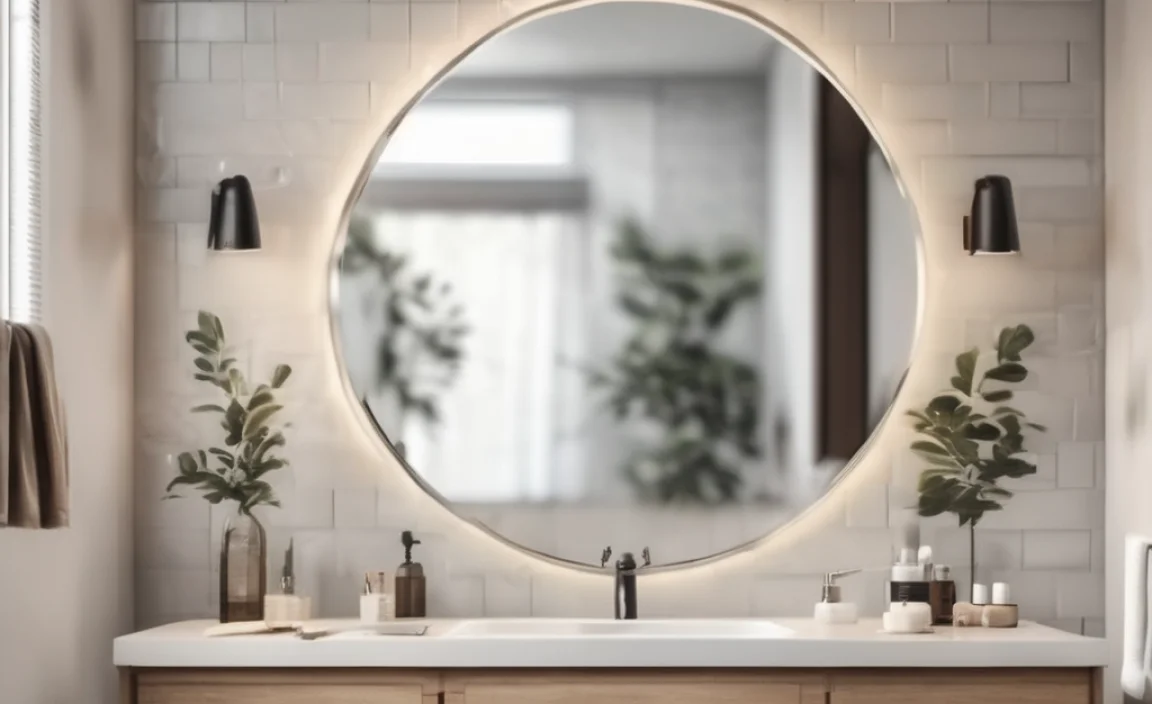
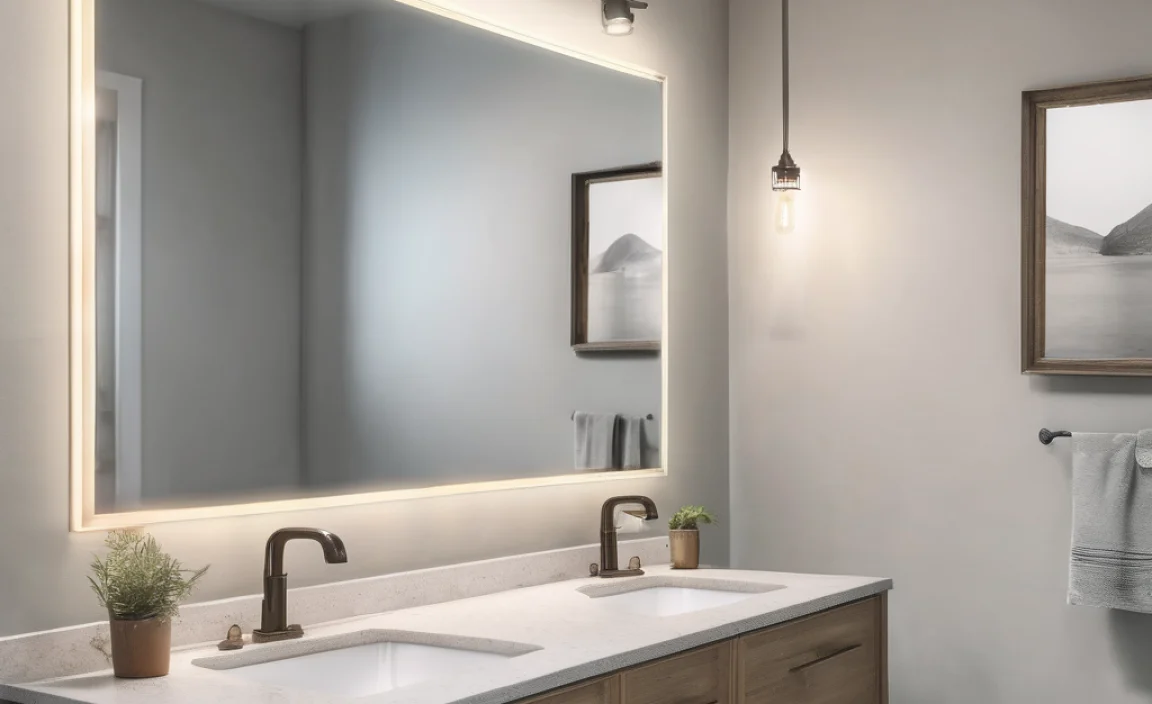
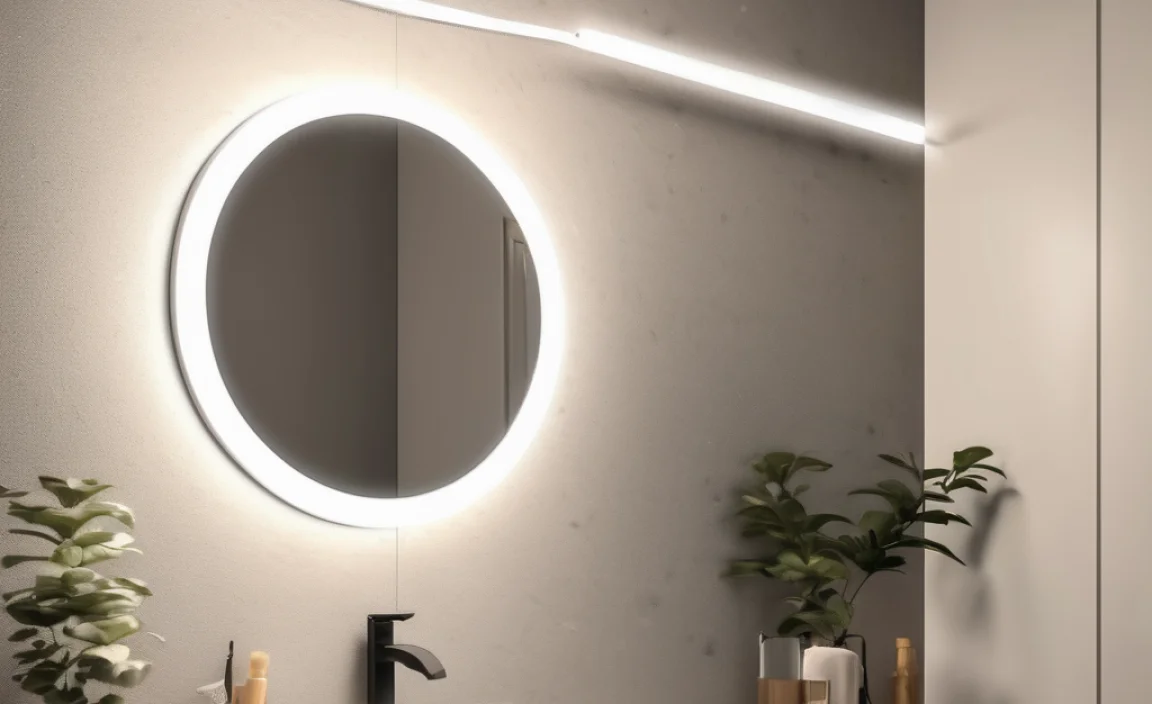
Adding a frame to your bathroom mirror is easier than you think! You can transform a plain mirror into a stylish focal point in just a few hours. Measure your mirror, choose a frame style, and use construction adhesive or mounting clips to attach it. With basic tools and a little patience, you’ll have a custom-looking mirror that enhances your bathroom’s decor.
Is your bathroom mirror looking a bit bland? A frameless mirror is functional, but adding a frame can instantly elevate the look of your entire bathroom. It’s a simple and affordable DIY project that anyone can tackle, even if you’re not a seasoned handyman. You don’t need fancy tools or advanced skills. With the right materials and these easy-to-follow instructions, you’ll have a beautiful framed mirror in no time. Ready to get started? Let’s dive in!
Why Frame Your Bathroom Mirror?

Framing your bathroom mirror isn’t just about aesthetics. It’s a practical and impactful way to enhance your space. Here’s why it’s a great idea:
- Adds Style: A frame can complement your bathroom’s decor, whether it’s modern, rustic, or traditional.
- Increases Value: A framed mirror looks more polished and can increase the perceived value of your bathroom.
- Hides Imperfections: Frames can cover chipped edges or other minor flaws on the mirror.
- Easy DIY Project: It’s a relatively simple and affordable project that most homeowners can complete themselves.
- Personalization: Choose a frame that reflects your personal taste and style.
Choosing the Right Frame

Selecting the perfect frame is crucial for achieving the look you want. Here are some factors to consider:
- Style: Match the frame style to your bathroom’s overall decor. Consider modern, traditional, rustic, or minimalist designs.
- Material: Wood, metal, and synthetic materials are popular choices. Wood offers warmth, while metal provides a sleek, modern look. Synthetic materials are moisture-resistant and ideal for bathrooms.
- Width: The width of the frame can impact the overall look. A wider frame makes a bolder statement, while a narrower frame is more subtle.
- Color: Choose a color that complements your bathroom’s color scheme. Consider contrasting colors for a pop of visual interest.
- Size: Measure your mirror accurately to ensure the frame fits properly.
Tools and Materials You’ll Need

Before you start, gather all the necessary tools and materials. This will make the process smoother and more efficient.
- Measuring Tape: For accurate measurements of your mirror.
- Miter Saw or Hand Saw: For cutting the frame pieces to the correct angles. A miter saw provides more precise cuts.
- Miter Box (if using a hand saw): Helps guide the hand saw for accurate angle cuts.
- Wood Glue or Construction Adhesive: For assembling the frame. Choose an adhesive that is suitable for bathroom environments.
- Clamps: To hold the frame pieces together while the glue dries.
- Safety Glasses: To protect your eyes from dust and debris.
- Pencil: For marking measurements on the frame pieces.
- Sandpaper: For smoothing rough edges.
- Paint, Stain, or Finish: To customize the frame’s appearance.
- Caulk (optional): To seal the frame to the mirror for added protection against moisture.
- Mounting Clips or Adhesive Mirror Tape: For attaching the frame to the mirror.
- Level: To ensure the frame is straight when attaching it to the mirror.
Step-by-Step Guide: Adding a Frame to Your Bathroom Mirror

Follow these detailed steps to create a beautiful framed mirror for your bathroom.
Step 1: Measure Your Mirror
Accuracy is key! Measure the height and width of your mirror carefully. Write down these measurements, as you’ll need them to cut the frame pieces.
Step 2: Calculate the Frame Dimensions
Decide how wide you want your frame to be. Add this width twice to both the height and width of your mirror measurements. This will give you the outer dimensions of the frame.
For example, if your mirror is 24 inches wide and 36 inches tall, and you want a 2-inch wide frame, the outer dimensions of the frame will be:
- Width: 24 inches + (2 inches x 2) = 28 inches
- Height: 36 inches + (2 inches x 2) = 40 inches
Step 3: Cut the Frame Pieces
Using a miter saw or hand saw with a miter box, cut the frame pieces at a 45-degree angle. You’ll need two pieces for the height and two pieces for the width.
- Ensure accurate cuts: Double-check your measurements and make sure the angles are precise.
- Safety first: Wear safety glasses and follow the manufacturer’s instructions for your saw.
Step 4: Assemble the Frame
Lay the frame pieces on a flat surface and apply wood glue or construction adhesive to the mitered corners. Clamp the pieces together and let the glue dry completely, according to the manufacturer’s instructions. This usually takes several hours or overnight.
- Clean up excess glue: Wipe away any excess glue with a damp cloth.
- Ensure a tight bond: Use clamps to hold the pieces firmly together while the glue dries.
Step 5: Sand and Finish the Frame
Once the glue is dry, remove the clamps and sand any rough edges or imperfections. Apply paint, stain, or a clear finish to the frame, according to your preference. Let the finish dry completely.
- Smooth finish: Use fine-grit sandpaper for a smooth finish.
- Multiple coats: Apply multiple thin coats of paint or stain for a more durable and professional-looking finish.
Step 6: Attach the Frame to the Mirror
There are several ways to attach the frame to the mirror:
- Construction Adhesive: Apply a bead of construction adhesive to the back of the frame and carefully position it around the mirror. Press firmly and hold in place for a few minutes until the adhesive sets.
- Mounting Clips: Attach mounting clips to the back of the frame and use them to secure the frame to the mirror.
- Adhesive Mirror Tape: Apply double-sided adhesive mirror tape to the back of the frame and press it firmly onto the mirror.
- Ensure proper alignment: Use a level to make sure the frame is straight before the adhesive sets.
- Secure attachment: Use enough adhesive or mounting clips to ensure the frame is securely attached to the mirror.
Step 7: Caulk (Optional)
For added protection against moisture, apply a bead of caulk around the inside edge of the frame where it meets the mirror. Smooth the caulk with your finger or a caulk smoothing tool.
- Choose mildew-resistant caulk: This will help prevent mold and mildew growth in the bathroom.
- Clean up excess caulk: Wipe away any excess caulk with a damp cloth.
Alternative Framing Methods

If you’re looking for simpler options, here are a couple of alternative methods for framing your bathroom mirror:
Using Pre-Made Frame Kits
Pre-made frame kits are available at most home improvement stores. These kits include all the necessary frame pieces, pre-cut to the correct angles. Simply assemble the frame and attach it to the mirror.
- Easy to install: Pre-made kits are quick and easy to install.
- Limited customization: You may have limited options in terms of style and material.
Using Peel-and-Stick Frames
Peel-and-stick frames are another easy option. These frames have an adhesive backing that allows you to simply peel off the backing and stick the frame to the mirror.
- Quick installation: Peel-and-stick frames can be installed in minutes.
- Less durable: These frames may not be as durable as traditional frames.
Safety Tips
Safety should always be a top priority when undertaking any DIY project. Here are some safety tips to keep in mind when framing your bathroom mirror:
- Wear Safety Glasses: Protect your eyes from dust and debris when cutting and sanding.
- Use Caution with Power Tools: Follow the manufacturer’s instructions and use caution when operating power tools.
- Work in a Well-Ventilated Area: When working with adhesives, paints, or finishes, work in a well-ventilated area to avoid inhaling harmful fumes.
- Protect Your Skin: Wear gloves when working with adhesives, paints, or finishes to protect your skin.
- Clean Up Spills Immediately: Clean up any spills immediately to prevent accidents.
Cost Considerations
The cost of framing your bathroom mirror can vary depending on the materials you choose and whether you opt for a pre-made kit or build the frame yourself. Here’s a general breakdown of the costs involved:
| Item | Estimated Cost |
|---|---|
| Frame Material (wood, metal, etc.) | $20 – $100 |
| Pre-Made Frame Kit | $30 – $150 |
| Adhesive or Mounting Clips | $5 – $20 |
| Paint, Stain, or Finish | $10 – $30 |
| Tools (if you don’t already have them) | $20 – $100 |
Overall, you can expect to spend anywhere from $55 to $350 to frame your bathroom mirror, depending on your choices.
Design Ideas and Inspiration
Need some inspiration? Here are a few design ideas to get you started:
- Rustic Wood Frame: Use reclaimed wood for a rustic, farmhouse-style frame.
- Sleek Metal Frame: Opt for a brushed metal frame for a modern, minimalist look.
- Painted Frame: Paint the frame a bold color to add a pop of visual interest to your bathroom.
- Distressed Frame: Create a distressed look by sanding and staining the frame.
- Ornate Frame: Choose an ornate frame for a more traditional, elegant look.
Maintenance and Care
Once your framed mirror is installed, proper maintenance and care will help keep it looking its best. Here are a few tips:
- Clean Regularly: Clean the frame regularly with a damp cloth to remove dust and dirt.
- Avoid Harsh Cleaners: Avoid using harsh cleaners or abrasive materials, as they can damage the finish.
- Check for Moisture: Check the frame and the surrounding area for signs of moisture or mold. Address any issues promptly to prevent further damage.
- Touch Up as Needed: Touch up any scratches or imperfections with paint or stain as needed.
Troubleshooting Common Issues
Even with careful planning and execution, you may encounter some common issues when framing your bathroom mirror. Here are a few troubleshooting tips:
| Issue | Possible Solution |
|---|---|
| Frame doesn’t fit properly | Double-check your measurements and ensure the frame pieces were cut accurately. |
| Frame is not securely attached to the mirror | Use more adhesive or mounting clips. Make sure the adhesive is suitable for bathroom environments. |
| Caulk is cracking or peeling | Remove the old caulk and apply a fresh bead of mildew-resistant caulk. |
| Frame finish is fading or peeling | Sand the frame and apply a new coat of paint, stain, or finish. |
Frequently Asked Questions (FAQ)
Can I frame a mirror that is already glued to the wall?
Yes, you can. Be extra careful when applying adhesive to avoid damaging the wall. Use a level to ensure the frame is straight.
What’s the best adhesive for attaching the frame to the mirror?
Construction adhesive or mirror mastic is a good choice. Make sure it’s designed for use in damp environments like bathrooms.
Can I use a plastic frame in the bathroom?
Yes, plastic frames are moisture-resistant and a good option for bathrooms. They are also lightweight and easy to install.
How do I cut the frame pieces at a 45-degree angle without a miter saw?
Use a hand saw and a miter box. A miter box helps guide the saw for accurate angle cuts.
What if my mirror has rounded corners?
You’ll need to custom-cut the frame pieces to match the curve of the corners. This may require more advanced woodworking skills.
Can I use nails or screws to attach the frame?
It’s generally not recommended to use nails or screws, as they can damage the mirror. Adhesive or mounting clips are safer options.
How long does it take to complete this project?
It typically takes a few hours to complete the project, including measuring, cutting, assembling, and attaching the frame. Drying time for glue and finishes may add additional time.
Conclusion
Adding a frame to your bathroom mirror is a simple yet impactful DIY project that can transform the look of your entire bathroom. By following these step-by-step instructions, you can create a custom-looking mirror that reflects your personal style and enhances your space. Whether you choose a rustic wood frame, a sleek metal frame, or a pre-made kit, the possibilities are endless. So, gather your tools and materials, get creative, and enjoy the process of transforming your bathroom mirror into a beautiful focal point. You got this!

