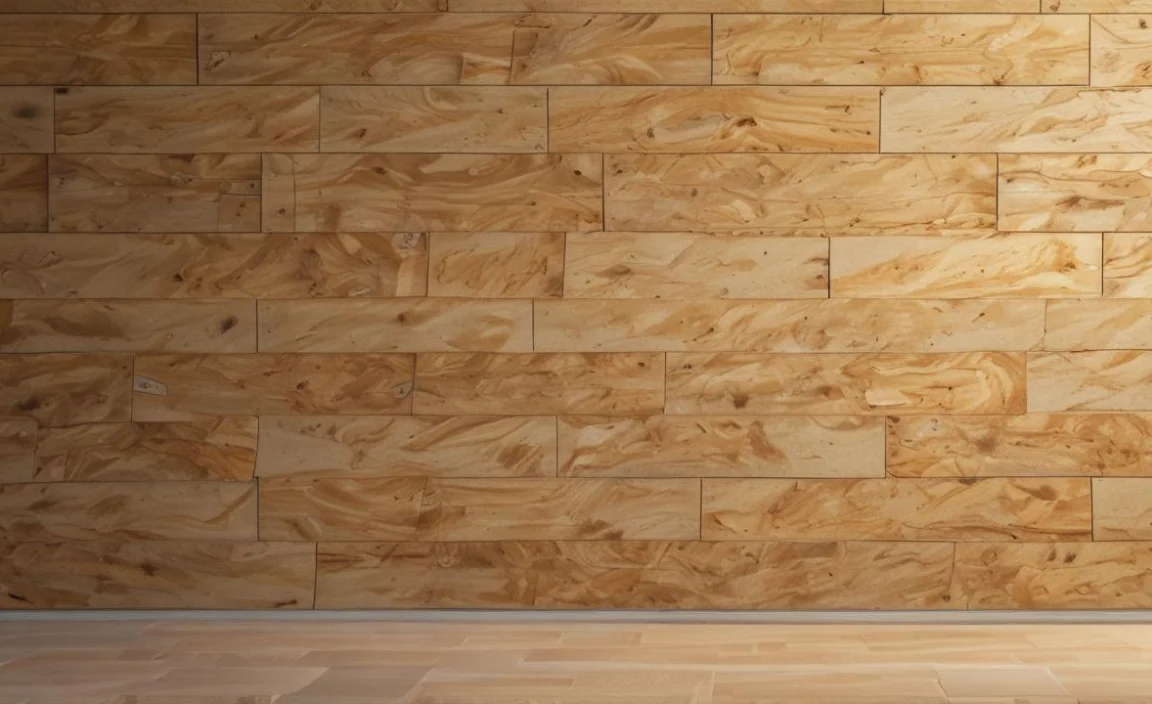
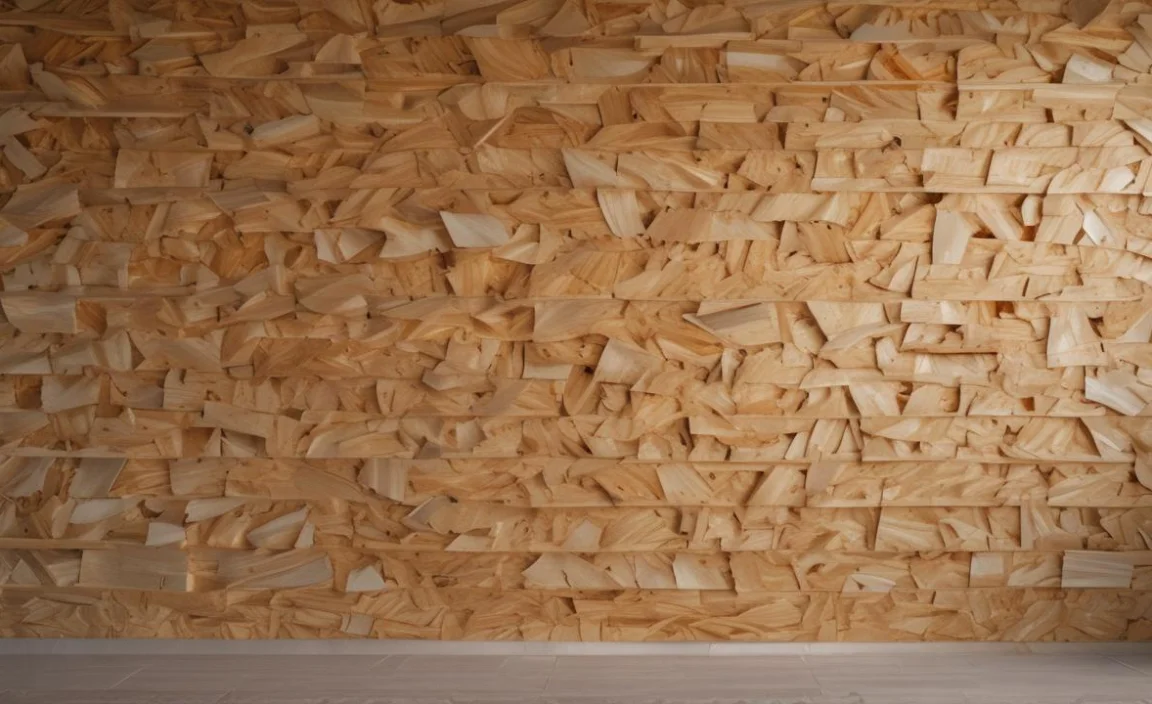
OSB, or oriented strand board, has become a popular choice for interior wall finishing in recent years due to its cost-effectiveness and durability. However, for many homeowners or DIY enthusiasts, the task of finishing OSB walls can seem daunting.
The rough texture and uneven surface of OSB can present a challenge regarding achieving a smooth and polished finish. But fear not. With the right techniques and tools, finishing OSB walls can be a straightforward and rewarding process.
Here, we will discuss the step-by-step guide on how to finish OSB walls, including preparation, priming, and different finishing options. Whether you are looking to add a touch of sophistication to your home or enhance the overall appearance of your OSB walls, we will provide you with all the necessary information and tips to achieve a professional-looking finish.
What Is Osb?
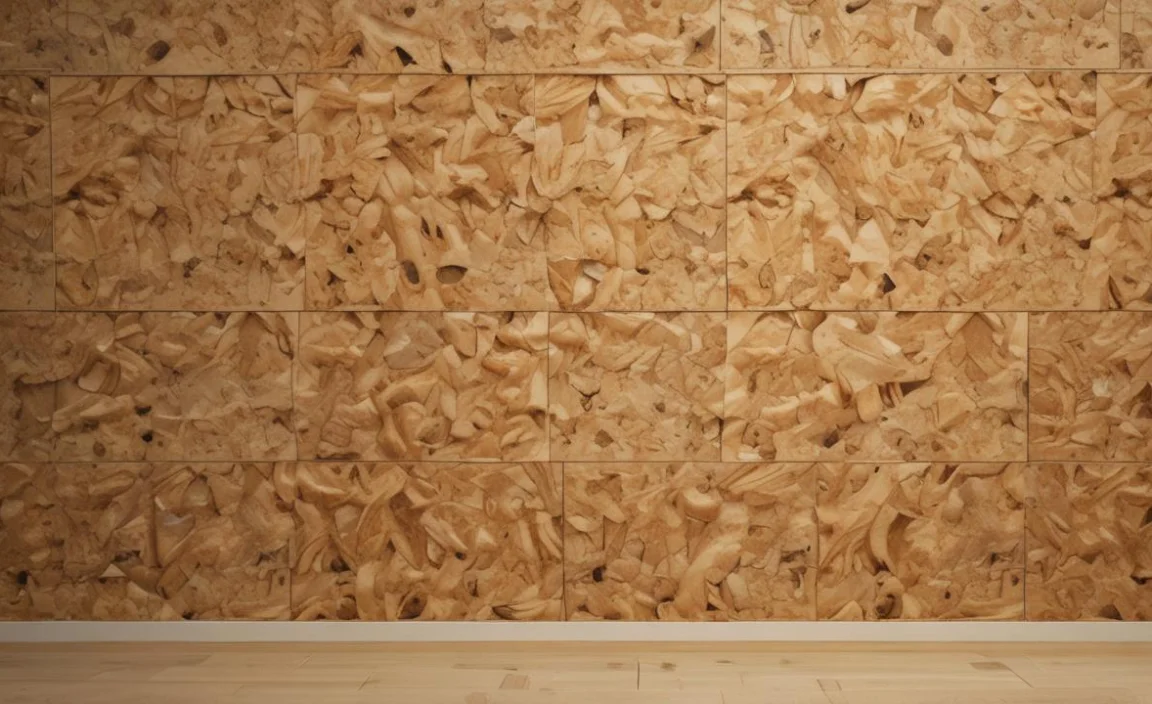
OSB stands for Oriented Strand Board and is a type of engineered wood product that is commonly used in construction. They bond strands of wood together with resin, compressing them to form a strong and durable sheet.
OSB is often used as a sheathing material for both residential and commercial buildings’ block walls, roofs, and floors. It is known for its affordability, strength, and versatility, making it a popular choice among builders and DIY enthusiasts alike.
Types Of Finishing Osb
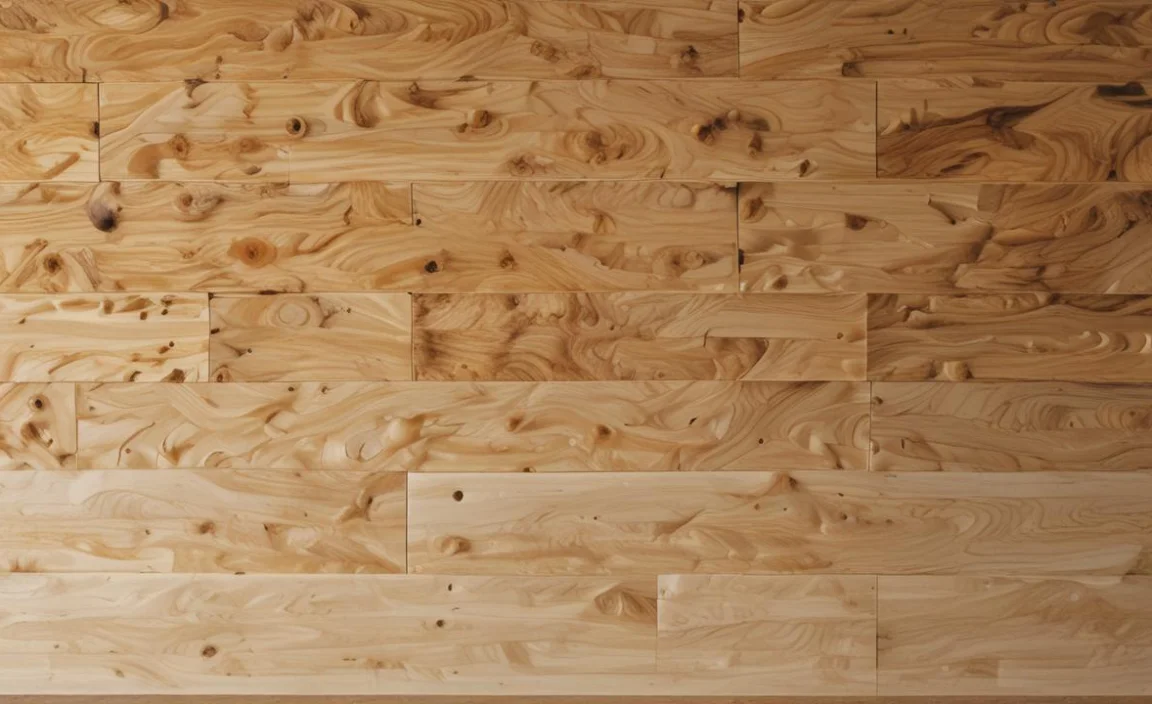
Finishing OSB walls, several options can add a personalized touch to your space. One option is painting the wall with a variety of colors and finishes that match your decor. A second option is staining the OSB panels to enhance the natural resin wood grain while providing a rustic look.
Wallpaper can be another great choice to add texture and pattern directly to the OSB walls. Textured coatings are also an option that can cover up any imperfections in the panelling while providing a unique finish.
Finally, you can cover OSB walls with various types of panelling, such as wood or tile, for a more polished look. These different types of treatments allow you to customize your space according to your preferences while still enjoying the durability and affordability of OSB wall ceiling panels.
Tools & Supplies Required
- Utility putty knife or saw
- Sandpaper
- Wood filler
- Primer
- Paint or stain
- Paintbrushes or rollers
- Drop cloths or tarps
- Safety equipment
How To Finish Osb Walls – In 4 Steps
One cannot overlook the importance of OSB walls. OSB, or oriented strand board, is a widely handy engineered wood product that is famous for its strength, durability, and versatility. It is made by compressing strands of wood with a special resin and then forming them into large panels. One of the key reasons why OSB walls are highly regarded is their structural integrity.
OSB panels have specific designs to provide exceptional load-bearing capacity, making them an ideal choice for walls in various construction projects. Whether it’s a residential building or a commercial space, OSB walls offer the strength needed to withstand the test of time. Here are 4 steps on how to finish OSB walls:
Prepping The Osb Garage Walls
It is important to ensure that the surface is properly prepared before any painting or finishing takes place. One effective tool for this task is a brush attachment, which can help in achieving a smooth and clean surface structure. Benjamin Moore, a renowned brand popular for its high-quality water-based paints, offers a range of products that can be handy for this purpose.
To start, it is crucial to thoroughly clean the OSB walls to remove any dust, dirt, or debris. This can be done using a brush attachment that can easily reach into the nooks and crannies of the surface. The brush attachment can be attached to a vacuum cleaner, allowing for efficient and effective cleaning.
Step 1. Paint Or Seal The Walls
It is important to paint or seal the OSB walls properly. This will not only enhance the overall appearance of the walls but also protect against moisture and potential damage. To begin, ensure that the OSB walls are clean and free from any dust or debris. Use a soft brush or vacuum cleaner to remove any loose particles.
Next, inspect the walls for any imperfections, such as dents or rough spots. Sand down these areas gently to create a smooth surface. If you choose to paint the walls, start by applying a high-quality primer specifically designed for OSB flat surfaces. This will help the paint adhere properly and prevent any bleeding or staining. Allow the primer to dry completely according to the manufacturer’s instructions.
Step 2. Use Polyurethane Foam For Insulation
Once the OSB walls are fully installed, it is crucial to prioritize insulation for optimal energy efficiency and comfort. One highly effective method to achieve this is by utilizing polyurethane foam insulation.
This versatile material not only provides exceptional thermal insulation but also acts as a barrier against air infiltration and moisture. To begin, ensure that the OSB walls have been properly prepped and any necessary repairs or adjustments have been made.
Then, carefully apply the polyurethane foam insulation to the designated areas, making sure to follow the manufacturer’s guidelines for application and curing time. As the foam expands, it fills every nook and cranny within the wall cavities, creating a seamless and airtight thermal barrier. This greatly reduces heat loss or gain, resulting in a more comfortable indoor environment and reduced energy consumption.
Step 3. Vinyl Or Not
Finishing OSB walls, the question of whether or not to use vinyl is common. While vinyl can provide a smooth and durable finish that is easy to clean, some DIY enthusiasts prefer a more natural look for their walls. Ultimately, the decision will depend on your personal preferences and the intended use of the space.
If you are looking for a low-maintenance option that can withstand frequent cleaning, vinyl may be the way to go. However, if you want a more rustic or textured look for your walls, leaving them unfinished or applying a coat of paint may be a better choice. Consider your budget, style preferences, and practical needs before deciding on whether or not to use vinyl when finishing your OSB walls.
Step 4. Completing The Process
After you have covered every square inch of your walls, you will need to wait at least a day. Then, use a drywall sanding block to smooth out any bumps and help prepare for painting. Finishing OSB walls can be a great way to add a unique touch to your home or office.
Once you have installed the OSB panels, the next step is to complete the process by adding a protective coating or finish. One popular option is to use a clear sealer or varnish to protect the wood and enhance its natural beauty.
Another option is to paint the walls with a primer and then apply a top coat of paint in the color of your choice. This can help to create a smooth, finished look that will complement any decor style.
Whichever method you choose, make sure to follow all manufacturer instructions and take proper safety precautions when working with chemicals or tools. With a little patience and attention to detail, you can create stunning finished OSB walls that will last for years to come.
The Benefits Of Finishing Osb Walls
OSB (Oriented Strand Board) walls are a popular choice for their durability and cost-effectiveness. However, to truly maximize the potential of these walls, finishing them is essential. There are numerous benefits to finishing OSB walls that every homeowner or contractor should consider. Here are the Benefits of Finishing OSB Walls:
- Improved Aesthetics: Finishing OSB walls can greatly enhance the overall appearance of a space. By applying a coat of paint, stain, or a decorative finish, you can achieve a more polished and professional look.
- Increased Durability: OSB (Oriented Strand Board) is already a durable material, but finishing the walls with a protective coating can provide an additional layer of strength and resistance to wear and tear. This makes the walls more resistant to scratches, dents, and moisture damage.
- Enhanced Insulation: Applying a finishing layer to OSB walls can help improve insulation properties. This can contribute to better temperature regulation and energy efficiency in the room.
- Improved Acoustics: OSB walls can sometimes create a hollow or echoing sound due to their construction. However, by finishing the walls with materials that have sound-absorbing properties, such as acoustic panels or fabric-covered panels, you can help reduce noise and create a more pleasant and peaceful environment.
- Easy Maintenance: Finishing OSB walls can make them easier to clean and maintain. A well-sealed and finished surface is less likely to accumulate dirt, dust, or stains, making it simpler to keep the walls looking clean and fresh.
- Increased Resale Value: If you are planning to sell your property in the future, finished OSB walls can be an attractive selling point. Potential buyers will appreciate the added visual appeal and the benefits of having already finished
How Many Coats Of Primer Do You Need For Osb Walls?
To properly prime OSB (Oriented Strand Board) walls, it is recommended to apply at least one coat of primer. However, depending on the condition of the walls and the type of primer being handy, you may need to apply multiple coats for optimal coverage and surface preparation.
It is important to follow the manufacturer’s instructions on the primer label for the specific number of coats recommended. Additionally, suppose you notice any areas that are not adequately covered after the initial coat. In that case, you may need to apply an additional coat to ensure proper adhesion and protection for your OSB walls.
Suggestions For Finishing Osb Floor And Walls
Various suggestions can help achieve a polished and professional look. OSB, a widely handy material in construction and remodelling projects, can be transformed into a visually appealing surface with the right techniques and products. To finish OSB walls, you have a few options. Here are some suggestions:
- Sanding And Painting: Start by sanding the surface of the OSB walls to smooth out any rough spots. Then, apply a primer specifically designed for OSB. Once the primer is dry, you can paint the walls with your desired colour.
- Staining: If you prefer a more natural look, you can stain the OSB walls. First, clean the surface and remove any dust or debris. Apply a wood conditioner to help the stain penetrate evenly. Then, apply the stain using a brush or cloth, following the manufacturer’s instructions. Once the stain is dry, you can seal it with a clear topcoat for added protection.
- Wallpaper Or Wall Coverings: Another option is to cover the OSB walls with wallpaper or wall coverings. Make sure the surface is clean and smooth before applying the adhesive. Measure and cut the wallpaper or wall covering to fit the walls, and carefully apply it according to the manufacturer’s instructions.
- Panelling: Installing panelling over the OSB walls is another popular choice. You can choose from a variety of panelling options, such as wood, laminate, or PVC. Follow the manufacturer’s instructions for installation, which typically involve attaching the panels directly to the OSB using adhesive or nails.
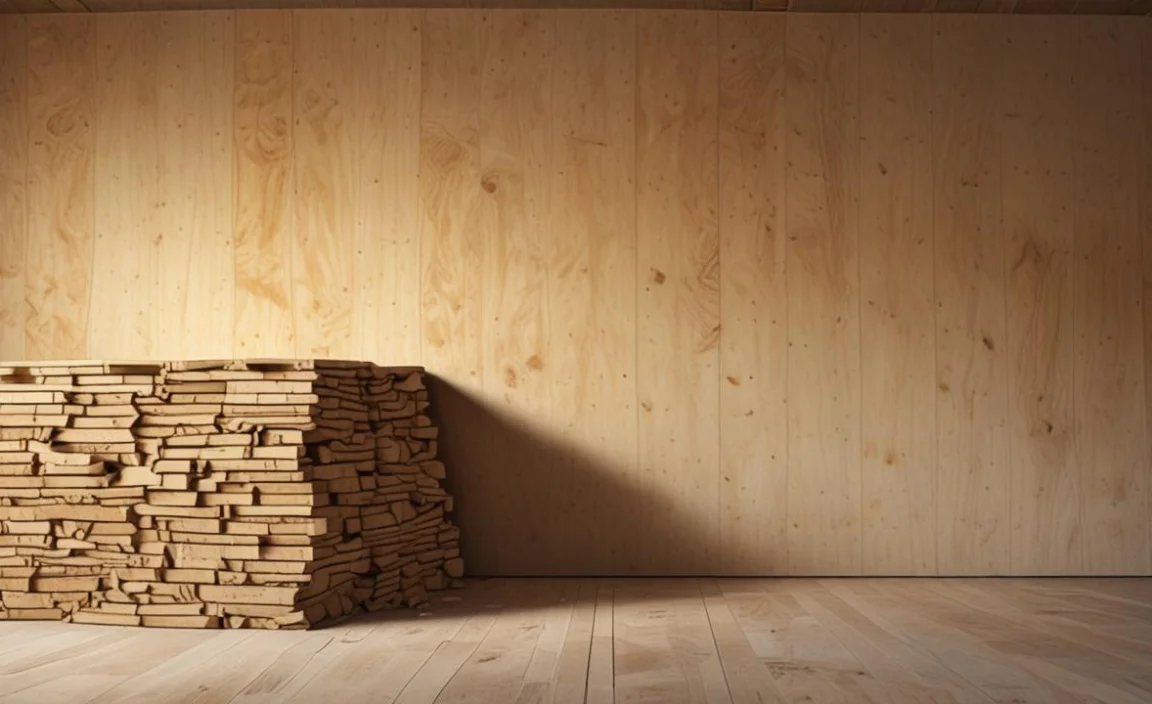
Types Of Osb Wall Panels
OSB wall panels are a widely used building material that offers several benefits and advantages in construction projects. OSB, which stands for Oriented Strand Board, is a type of engineered wood product that is made by compressing and glueing together strands of wood in specific orientations.
Types of OSB (Oriented Strand Board) Wall Panels are a popular choice for finishing walls in construction projects. OSB is a manufactured wood panel that comes from compressing layers of wood strands with adhesive. Here are some commonly handy types of OSB wall panels:
- Standard OSB: This is the most basic type of OSB panel, suitable for general construction purposes. It is available in various thicknesses and can be handy for sheathing, subflooring, and wall applications.
- Tongue And Groove OSB: These panels have interlocking edges, allowing for a tight fit and added stability. They are commonly handy for flooring and wall applications where a seamless appearance is desired.
- Fire-Rated Osb: These panels are treated with fire-resistant chemicals, making them suitable for applications where fire safety is a concern. They are often handy in commercial buildings or areas with strict fire code regulations.
- Moisture-Resistant Osb: This type of OSB is specially designed to withstand moisture and humidity. It is often handy in areas prone to moisture exposure, such as bathrooms or basements.
- Structural Insulated Osb: These panels have built-in insulation, providing both structural support and thermal insulation. They are commonly handy in energy-efficient construction projects, such as in walls and roofs.
Techniques For Optimizing Strength And Durability
It is crucial to implement strategic measures that enhance the longevity and resilience of any given product or system. By focusing on key factors such as material selection, design considerations, and manufacturing processes, businesses can ensure that their products are aching to withstand the test of time. Techniques for Optimizing Strength and Durability in Finishing OSB Walls:
- Proper Installation: Ensure that the OSB panels are properly installed and secured to the wall frame. Use the appropriate fasteners and follow the manufacturer’s guidelines for installation.
- Seal The Edges: Apply a waterproof sealant or caulk to the edges of the OSB panels to protect them from moisture and prevent swelling or warping.
- Prime And Paint: Applying primer and paint to the OSB walls can help protect them from moisture and improve their durability. Choose a high-quality exterior paint for better results.
- Use Protective Coatings: Consider using protective coatings, such as polyurethane or epoxy, to enhance the strength and durability of the OSB walls. These coatings can provide an extra layer of protection against moisture, impact, and wear.
- Reinforce Weak Areas: Identify any weak areas on the OSB walls, such as corners or seams, and reinforce them with additional materials, such as metal corner brackets or fibreglass mesh tape, to improve their strength and durability.
- Regular Maintenance: Perform regular inspections and maintenance to identify and address any signs of damage or wear on the OSB walls. Repair or replace any damaged sections promptly to prevent further deterioration.
Conclusion
It would be best if you now had a good understanding of how to finish OSB walls. It is important to fully understand the process before attempting it. If you do it incorrectly, you could end up with an unfinished wall that needs to be removed and repaired.
Although it is better for outdoor use, many people have had good luck with installing OSB walls inside their homes. Just make sure that you take into account how moisture can enter your walls in this case. And seal up all problematic areas. If you do this step properly, you will be able to enjoy having a homemade OSB.
Choosing the right finish that aligns with your aesthetic vision and provides adequate protection against weathering is essential. In addition to sealing and insulating your walls, it’s important to maintain them by cleaning and repairing them regularly.
