Quick Summary: Adding sealant to tubeless tires is easy! First, remove the tire from your bike. Take out the valve core, then inject the sealant using a syringe or bottle. Reinstall the valve core and tire. Inflate the tire until it sets on the rim. Spin the wheel to distribute the sealant and check for leaks. Top off the air as needed. You’re ready to ride!
Tubeless tires offer a smoother ride and fewer flats. But to keep them working well, you need sealant. Over time, sealant dries out or gets used up sealing small punctures. Don’t worry, adding more is a simple task. This guide will walk you through each step. You’ll learn how to add sealant quickly and easily. Get ready to enjoy worry-free rides again!
What You’ll Need
Before you start, gather these items:
- Tubeless tire sealant
- Valve core removal tool
- Sealant injector or bottle with a nozzle
- Bike pump or compressor
- Rag or paper towels
Step-by-Step Guide to Adding Sealant to Tubeless Tires
Step 1: Prepare Your Bike and Wheel
First, turn your bike upside down or put it on a bike stand. This makes it easier to work on the wheel. Remove the wheel from the bike frame.
Step 2: Deflate the Tire
If there’s any air in the tire, release it completely. Press on the valve core to let the air out. Make sure the tire is fully deflated before moving on.
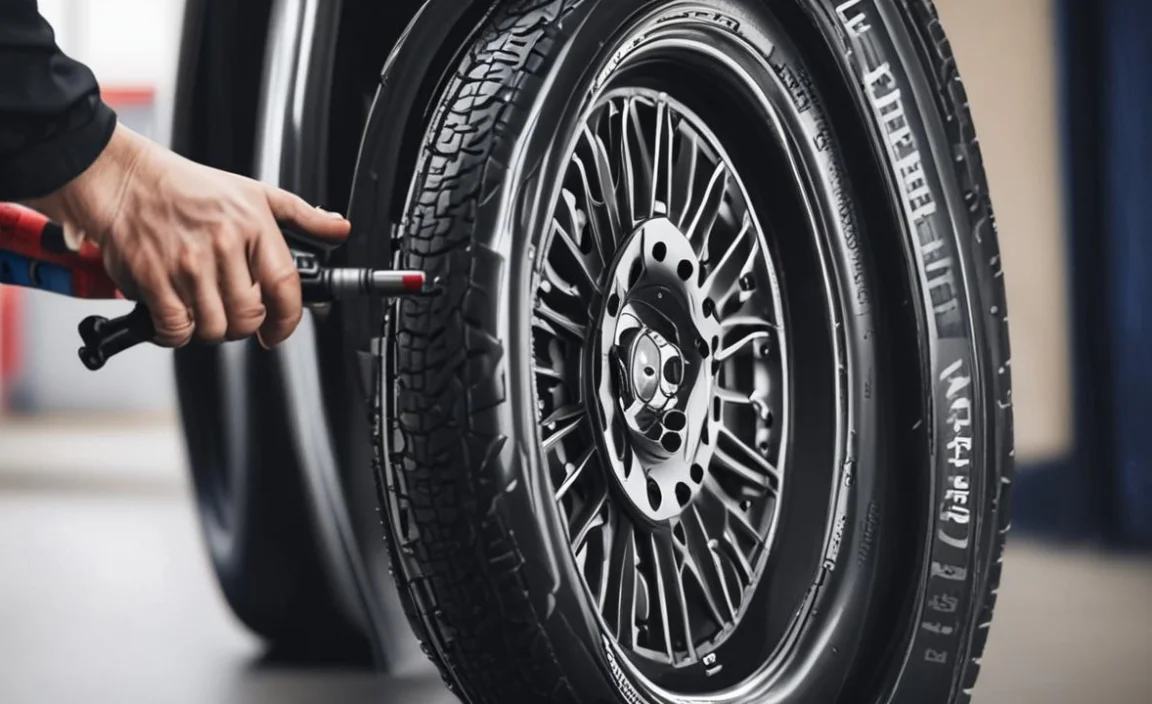
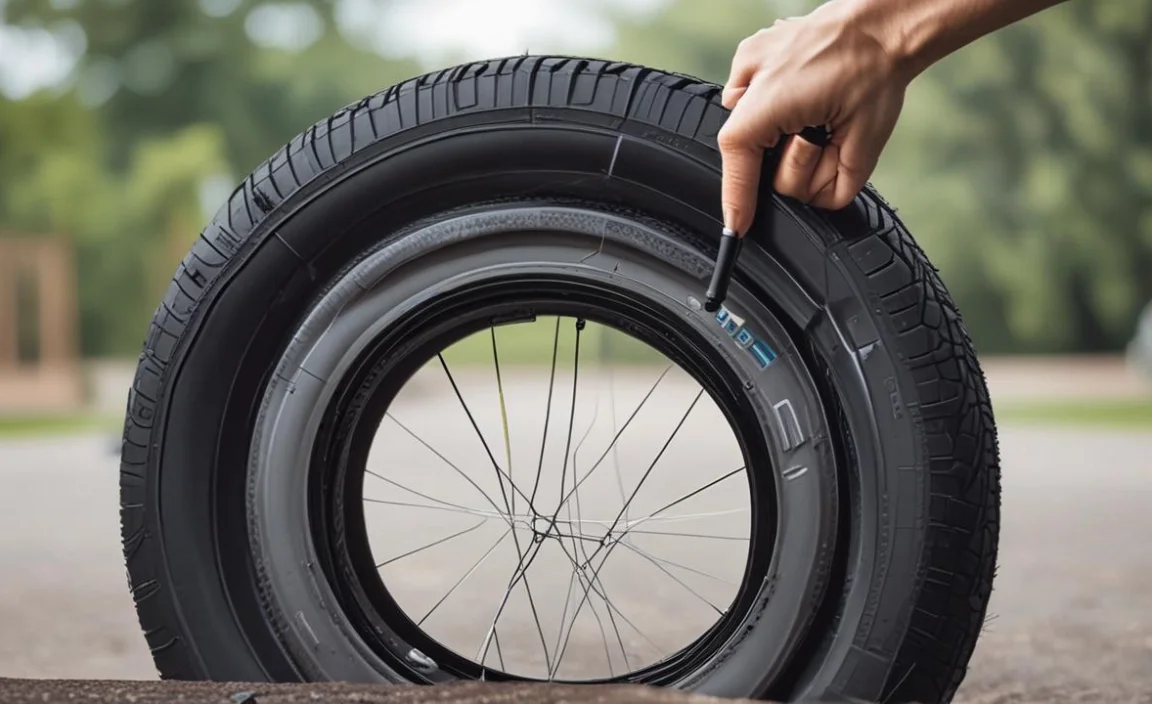
Step 3: Remove the Valve Core
Use the valve core removal tool to unscrew the valve core from the valve stem. Turn the tool counterclockwise. Keep the valve core in a safe place. You’ll need it later.
Step 4: Check the Existing Sealant (Optional)
If you want, check the old sealant. See how much is left and its condition. If it’s dried up and clumpy, clean it out. This isn’t always needed, but it can help.
Step 5: Add the New Sealant
Now, it’s time to add the new sealant. There are two main methods:
Method 1: Using a Sealant Injector
- Attach the sealant injector to the valve stem.
- Draw the correct amount of sealant into the injector. Check the sealant bottle for recommended amounts.
- Slowly push the sealant into the tire through the valve stem.
- Remove the injector.
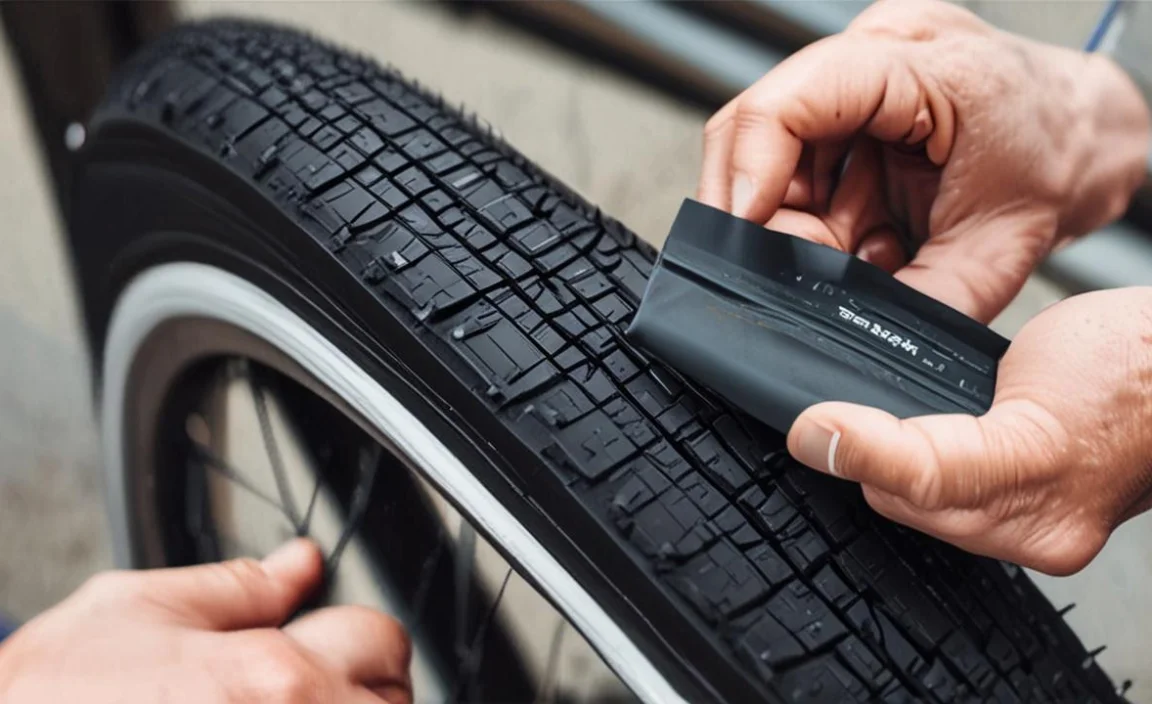
Method 2: Using a Sealant Bottle
- If your sealant bottle has a nozzle, attach it.
- Position the valve stem at the bottom.
- Squeeze the sealant into the tire. Again, follow the recommended amount on the bottle.
- Carefully remove the bottle.
Here’s a general guideline for sealant amounts based on tire size:
| Tire Size | Sealant Amount |
|---|---|
| Road Tires (23-28mm) | 30-40ml |
| Gravel Tires (30-45mm) | 40-60ml |
| Mountain Bike Tires (2.0-2.5″) | 60-80ml |
| Plus Size Tires (2.6-3.0″) | 80-100ml |
Tip: Always check the sealant manufacturer’s recommendations for the best amount for your tire size.
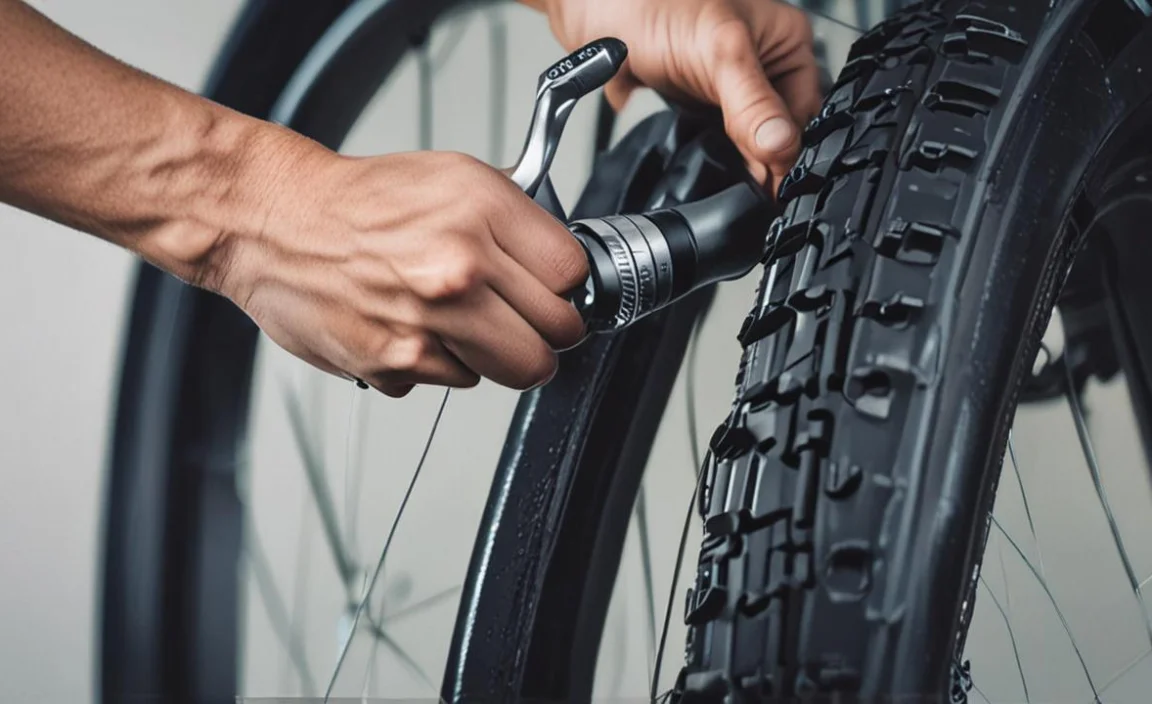
Step 6: Reinstall the Valve Core
Put the valve core back into the valve stem. Use the valve core removal tool to tighten it. Make sure it’s snug, but don’t overtighten.
Step 7: Inflate the Tire
Use a bike pump or compressor to inflate the tire. Inflate it to the recommended pressure on the tire sidewall. You might hear some popping sounds as the tire seats on the rim. This is normal.
Step 8: Distribute the Sealant
Spin the wheel and bounce it gently. This helps distribute the sealant evenly inside the tire. Make sure the sealant coats the entire inner surface.
Step 9: Check for Leaks
Look closely at the tire for any leaks. Pay special attention to the valve stem and the tire bead. If you see sealant seeping out, spin the wheel so the sealant covers the leak. Let it sit for a few minutes.
Step 10: Adjust Tire Pressure
After checking for leaks, adjust the tire pressure as needed. Use a tire pressure gauge to get it just right. Proper tire pressure improves your ride.
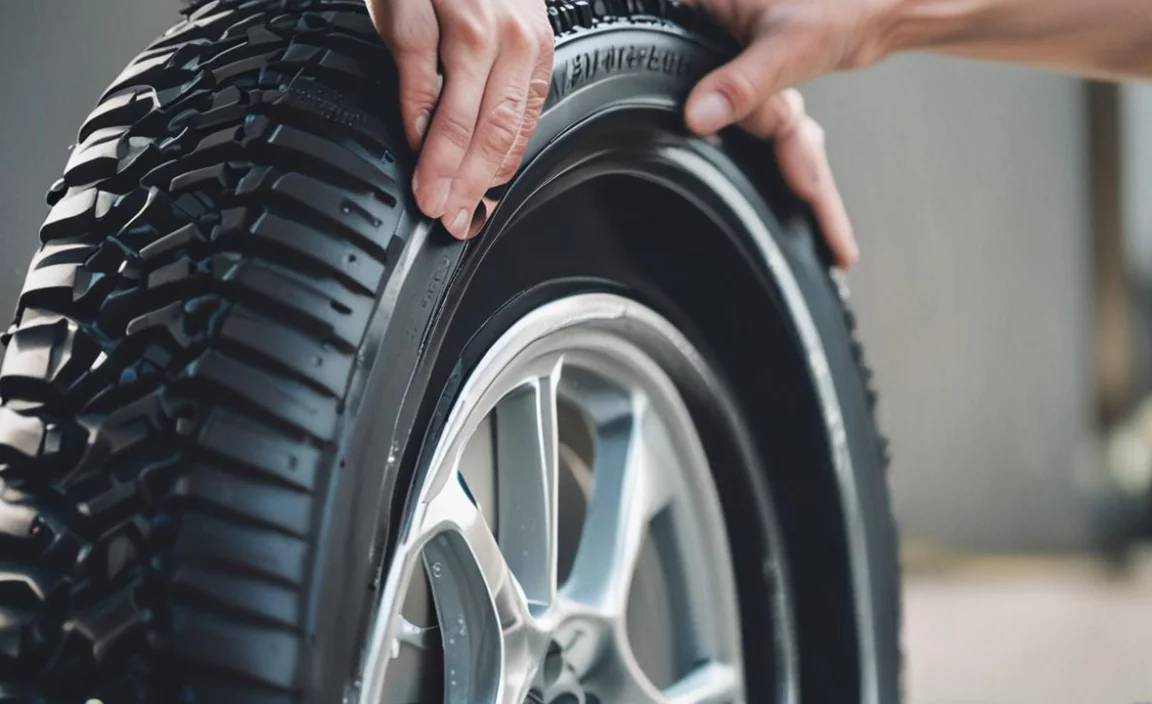
Step 11: Reinstall the Wheel
Put the wheel back on your bike. Make sure it’s secure before riding. Double-check that the brakes are working correctly.
Tips for Success
- Use Fresh Sealant: Old sealant doesn’t work as well. Buy a new bottle if yours is more than a year old.
- Clean the Valve Core: A dirty valve core can leak. Clean it with a small brush or cloth.
- Check Tire Pressure Regularly: Tubeless tires can lose air over time. Check the pressure before each ride.
- Store Sealant Properly: Keep your sealant in a cool, dark place. This helps it last longer.
- Consider a Tire Insert: For aggressive riding, tire inserts add extra protection against punctures and rim damage.
Troubleshooting
Problem: Tire Won’t Inflate
Solution: Make sure the tire bead is seated on the rim. Add more air quickly with a compressor. Sometimes, wiggling the tire helps it seat.
Problem: Sealant Leaks from the Valve Stem
Solution: Tighten the valve core. If it still leaks, replace the valve core. Make sure it’s compatible with tubeless systems.
Problem: Sealant Leaks from the Tire Bead
Solution: Spin the wheel to coat the area with sealant. If the leak persists, add more sealant. Sometimes, the tire needs to be reseated on the rim.
Safety First
- Wear Gloves: Sealant can irritate your skin. Wear gloves to protect your hands.
- Protect Your Eyes: Wear safety glasses to keep sealant out of your eyes.
- Work in a Well-Ventilated Area: Some sealants have strong odors. Work in a place with good airflow.
- Clean Up Spills: Wipe up any spilled sealant right away. It can be slippery.
- Dispose of Old Sealant Properly: Check your local regulations for how to dispose of sealant.
Why Choose Tubeless Tires?
Tubeless tires offer several benefits over traditional tube-type tires:
- Fewer Flats: Sealant automatically seals small punctures.
- Lower Tire Pressure: Run lower pressure for better grip and comfort.
- Improved Rolling Resistance: Tubeless tires can roll faster than tube-type tires.
- Better Traction: Lower pressure increases the contact patch with the ground.
Here’s a comparison table highlighting the key differences:
| Feature | Tubeless Tires | Tube-Type Tires |
|---|---|---|
| Puncture Resistance | Higher (sealant seals small punctures) | Lower (prone to pinch flats and punctures) |
| Tire Pressure | Lower (can run lower pressures) | Higher (requires higher pressures to avoid pinch flats) |
| Rolling Resistance | Lower (can roll faster) | Higher (more friction between tube and tire) |
| Maintenance | Requires occasional sealant top-up | Requires tube replacement after punctures |
| Weight | Can be lighter (no tube) or heavier (with sealant) | Lighter (without sealant) |
FAQ: Adding Sealant to Tubeless Tires
1. How often should I add sealant to my tubeless tires?
It’s best to add sealant every 3-6 months. This keeps your tires protected. Check the sealant level regularly.
2. Can I mix different brands of sealant?
It’s not recommended to mix different brands. They may not be compatible. This could cause the sealant to clump up.
3. What happens if I use too much sealant?
Using too much sealant can add extra weight. It can also make a mess inside the tire. Follow the recommended amount on the bottle.
4. Can I use tubeless sealant in tube-type tires?
No, tubeless sealant is designed for tubeless tires. It won’t work well in tube-type tires. Use a sealant specifically made for tubes.
5. What do I do if the sealant dries up completely?
If the sealant dries up, remove the tire. Clean out the old sealant. Then, add fresh sealant. This restores the tire’s puncture protection.
6. How do I know if my tubeless tire needs more sealant?
If you’re getting more flats, it’s time to add sealant. Also, if the tire loses air quickly, check the sealant level.
7. Can I add sealant without removing the tire from the rim?
Yes, you can add sealant without removing the tire. Use a sealant injector. This injects the sealant through the valve stem.
Choosing the Right Sealant
There are many tubeless tire sealants on the market. Here are some factors to consider:
- Type of Riding: Some sealants are better for road bikes. Others are better for mountain bikes. Choose one that matches your riding style.
- Puncture Sealing Ability: Look for sealants that can seal larger punctures quickly.
- Longevity: Some sealants last longer than others. Check the manufacturer’s claims.
- Environmental Impact: Consider sealants that are environmentally friendly.
- Price: Sealants vary in price. Find one that fits your budget.
Popular sealant brands include:
- Stan’s NoTubes
- Orange Seal
- Finish Line
- Muc-Off
- Continental
Maintaining Your Tubeless Setup
Regular maintenance keeps your tubeless tires working well:
- Check Tire Pressure: Check the pressure before each ride.
- Inspect Tires: Look for cuts, cracks, or wear.
- Add Sealant Regularly: Top off the sealant every few months.
- Clean the Valve Core: Keep the valve core clean and free of debris.
- Store Your Bike Properly: Store your bike in a cool, dry place.
Conclusion
Adding sealant to tubeless tires is a simple way to keep your bike running smoothly. By following these steps, you can maintain your tires and enjoy fewer flats. Remember to use fresh sealant, check your tire pressure, and inspect your tires regularly. With a little practice, you’ll become a pro at tubeless tire maintenance. Now you can hit the road or trail with confidence, knowing your tires are ready for anything!
