Quick Summary: Got a Korky toilet valve that’s running or not filling properly? No worries! Adjusting it is usually a breeze. You can tweak the float height to control the water level, ensuring your toilet fills correctly and stops wasting water. This guide will walk you through each step, so you can fix it yourself in no time!
Is your toilet constantly running, or does it take forever to fill? A Korky toilet valve is a common and reliable solution, but like any mechanical part, it sometimes needs a little adjustment. Don’t stress! Adjusting a Korky valve is simpler than you might think, and it can save you water and money. No need to call a plumber just yet.
This guide will walk you through the process step-by-step. We’ll cover everything from identifying the valve to making the necessary adjustments. Ready to get started? Let’s dive in!
Understanding Your Korky Toilet Valve
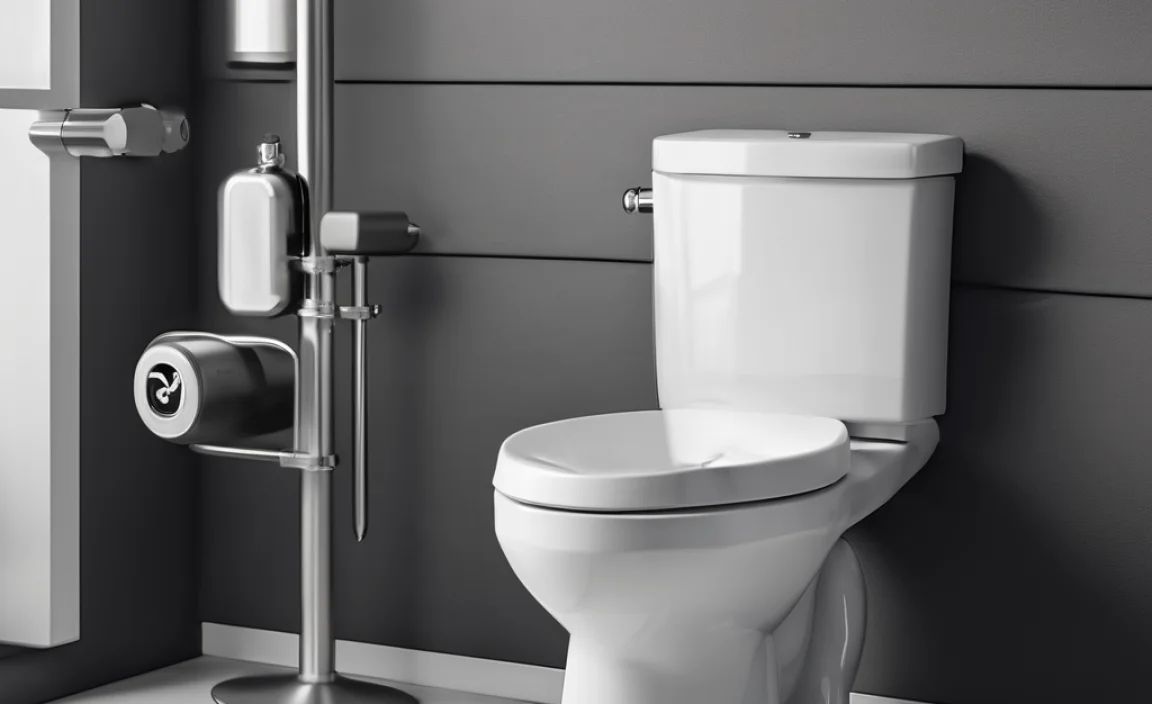
Before we start adjusting, let’s understand what a Korky toilet valve does and why it might need adjustment.
What is a Korky Toilet Valve?
A toilet fill valve, like the Korky, controls the water that refills the toilet bowl after a flush. It’s a crucial part of your toilet’s mechanism, ensuring the right amount of water is in the tank for the next flush.
Why Adjust a Korky Valve?
There are a few common reasons why you might need to adjust your Korky toilet valve:
- Running Toilet: If the water keeps running after the tank is full, the valve might be set too high.
- Slow Filling: If the tank fills slowly or not completely, the valve might be set too low, or there might be an obstruction.
- No Water: In some cases, the valve might completely fail to fill the tank. While adjustment might help, it could also indicate the need for replacement.
- To prevent “ghost flushing”: This happens when the water level drops slightly, triggering the fill valve for a few seconds.
Tools You’ll Need
The good news is you probably already have everything you need for this simple task.
- Your Hands: Most Korky valve adjustments can be made by hand.
- Screwdriver (Optional): Depending on the specific model, you might need a flathead screwdriver.
- Small pliers (Optional): Useful for gripping small parts, if needed.
- Towel: To wipe up any drips.
- Bucket (Optional): To drain excess water if needed.
Step-by-Step Guide: Adjusting Your Korky Toilet Valve
Follow these steps to adjust your Korky toilet valve and get your toilet working perfectly again.
Step 1: Turn Off the Water Supply
Before you do anything, turn off the water supply to your toilet. You’ll find a shut-off valve behind the toilet, usually near the floor. Turn it clockwise until it’s completely closed. This prevents any accidental flooding while you’re working.
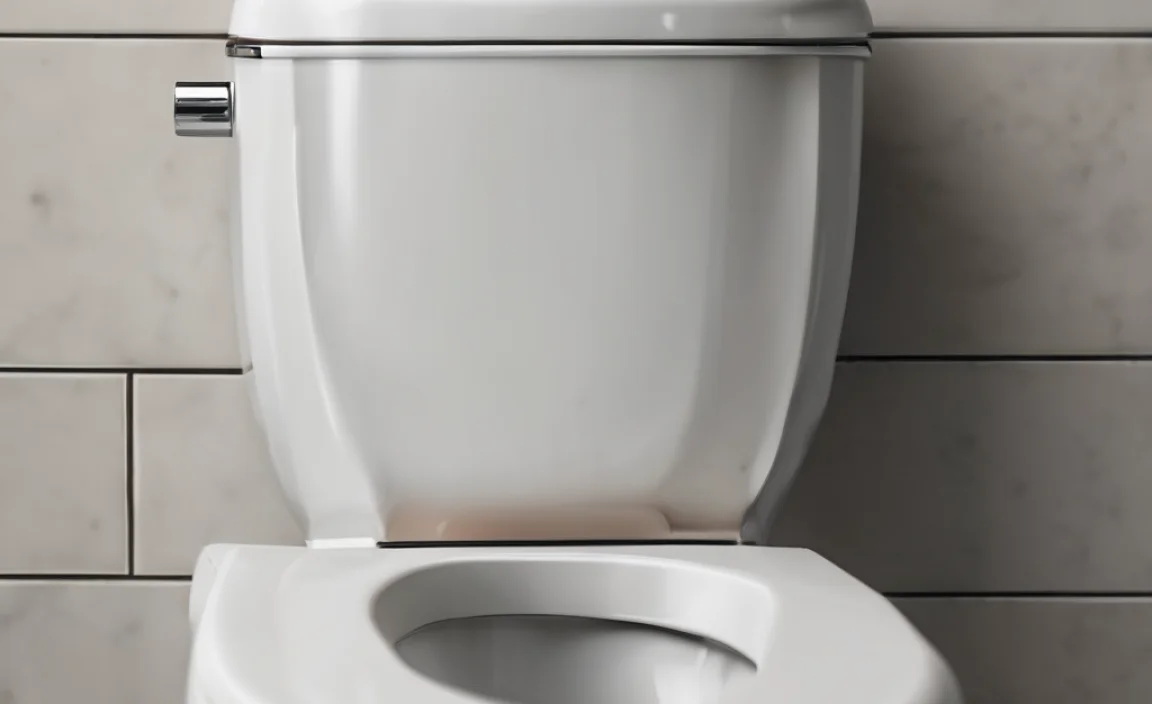
Step 2: Remove the Toilet Tank Lid
Carefully lift the lid off the toilet tank and set it aside on a towel-protected surface. Be careful; these lids can be fragile.
Step 3: Identify Your Korky Valve Model
Korky makes several types of fill valves. While the adjustment process is similar, knowing your model can help. Look for a model number on the valve itself. Common models include the Korky QuietFILL and the Korky Platinum.
Step 4: Locate the Float
The float is the part of the valve that senses the water level in the tank. It’s usually a cylindrical or cup-shaped piece that moves up and down as the water level changes.
Step 5: Adjust the Float Height (Most Common Adjustment)
This is the most common adjustment you’ll make. The float height determines how high the water level rises in the tank. Here’s how to adjust it, depending on the type of float:
Adjusting a Float Cup
Many Korky valves use a float cup that slides up and down the fill valve shaft.
- Locate the Adjustment Clip or Screw: Look for a plastic clip or screw on the side of the float cup.
- Loosen the Clip or Screw: If it’s a clip, gently squeeze it to release the float cup. If it’s a screw, loosen it slightly with a screwdriver.
- Adjust the Float Cup: Slide the float cup up to lower the water level or down to raise it. A small adjustment can make a big difference.
- Tighten the Clip or Screw: Once you’ve adjusted the float cup to the desired height, tighten the clip or screw to secure it in place.
Adjusting a Float Arm
Some older Korky models have a float arm connected to a float ball or cylinder.
- Locate the Adjustment Screw or Clip: Look for a screw or clip where the float arm connects to the valve.
- Adjust the Screw or Bend the Arm: Depending on the design, you might be able to turn a screw to adjust the float arm’s angle. Alternatively, you can gently bend the float arm itself. Bend it upwards to lower the water level and downwards to raise it.
Step 6: Fine-Tuning with the Water Level Adjustment Screw
Some Korky valves also have a separate water level adjustment screw. This screw allows you to fine-tune the water level without significantly changing the float height.
- Locate the Adjustment Screw: Look for a small screw, often marked with “+” and “-” signs, on the top of the valve.
- Adjust the Screw: Turn the screw clockwise to lower the water level and counterclockwise to raise it. Make small adjustments and test the flush after each adjustment.
Step 7: Test the Flush
After making your adjustments, it’s time to test the flush.
- Turn the Water Supply Back On: Slowly turn the shut-off valve counterclockwise to turn the water supply back on.
- Watch the Tank Fill: Observe the water level as the tank fills. Make sure the water stops flowing before it reaches the overflow tube (the vertical tube in the center of the tank).
- Flush the Toilet: Flush the toilet and watch how it refills. Does the water stop running? Does it fill to the correct level?
Step 8: Repeat Adjustments if Necessary
If the toilet is still running or not filling correctly, repeat steps 5-7 until you achieve the desired water level and flush performance. Small adjustments can make a big difference, so be patient.
Step 9: Replace the Tank Lid
Once you’re satisfied with the adjustments, carefully replace the toilet tank lid.
Troubleshooting Common Problems
Sometimes, adjustments alone aren’t enough. Here’s how to troubleshoot some common issues.
Toilet Still Running After Adjustment
If your toilet is still running after adjusting the float, here are a few things to check:
- Chain Obstruction: Make sure the flapper chain isn’t caught or tangled.
- Flapper Seal: The flapper (the rubber piece that seals the flush valve) might be worn or damaged. Replace it if necessary.
- Valve Seat: The valve seat (where the flapper sits) might be corroded or damaged. Clean it or replace the entire flush valve.
Toilet Not Filling at All
If your toilet isn’t filling at all, consider these possibilities:
- Water Supply: Double-check that the water supply valve is fully open.
- Clogged Valve: The fill valve might be clogged with debris. Clean or replace the valve.
- Kinked Supply Line: Inspect the water supply line for kinks or bends that could be restricting water flow.
Toilet Fills Slowly
A slow-filling toilet can be frustrating. Here’s what to investigate:
- Low Water Pressure: Check the water pressure in your home. Low pressure can cause slow filling.
- Partially Closed Valve: Ensure the water supply valve is fully open.
- Clogged Valve: As with a toilet that doesn’t fill at all, a clogged valve can restrict water flow.
When to Replace the Korky Valve
While adjustments can often fix minor issues, sometimes the valve is simply worn out and needs to be replaced. Here are some signs that it’s time for a new Korky toilet valve:
- Visible Damage: Cracks, breaks, or corrosion on the valve body.
- Constant Leaks: If the valve continues to leak despite adjustments and troubleshooting.
- Age: If the valve is more than 5-10 years old, it might be nearing the end of its lifespan.
Choosing the Right Replacement Valve
If you need to replace your Korky valve, here’s what to consider:
- Model Compatibility: Choose a replacement valve that’s compatible with your toilet model. Korky offers universal valves that fit most toilets.
- Features: Consider features like adjustable fill rate, anti-siphon design, and quiet operation.
- Reviews: Read online reviews to get feedback from other users.
Safety Tips
While adjusting a Korky toilet valve is a simple task, it’s important to follow these safety tips:
- Turn Off the Water: Always turn off the water supply before working on your toilet.
- Handle with Care: Be careful when handling the toilet tank lid, as it can be fragile.
- Avoid Over-Tightening: When tightening screws or clips, avoid over-tightening, as this can damage the valve.
- Wear Gloves: Consider wearing gloves to protect your hands from dirt and bacteria.
Cost Savings
Adjusting or replacing your Korky toilet valve can save you money in several ways:
- Water Bill: Fixing a running toilet can significantly reduce your water bill. A continuously running toilet can waste hundreds of gallons of water per day.
- Plumber Fees: By doing the job yourself, you can avoid costly plumber fees.
- Preventing Damage: Addressing minor issues early can prevent more serious (and expensive) problems down the road.
Korky Toilet Valve Adjustment Table
This table summarizes common issues and how to address them.
| Problem | Possible Cause | Solution |
|---|---|---|
| Toilet Running | Float set too high, flapper not sealing | Adjust float, replace flapper |
| Toilet Not Filling | Water supply off, clogged valve | Turn on water, clean or replace valve |
| Toilet Filling Slowly | Low water pressure, partially closed valve | Check water pressure, fully open valve |
| Ghost Flushing | Water level slightly low, small leak | Adjust float, inspect flapper |
Korky Valve: Pros and Cons
Here are a few pros and cons of using a Korky valve for your toilet.
| Pros | Cons |
|---|---|
| Easy to install | Plastic parts can become brittle over time |
| Affordable | May require occasional adjustment |
| Quiet operation | Not as durable as some metal alternatives |
| Universal fit options | Some models are more complex than others |
FAQ: Adjusting a Korky Toilet Valve
Here are some frequently asked questions about adjusting Korky toilet valves.
Q: How do I know if my Korky toilet valve needs adjusting?
A: Common signs include a running toilet, slow filling, or the toilet not filling at all. If you notice any of these issues, it’s time to check your Korky valve.
Q: Can I adjust a Korky toilet valve without turning off the water?
A: No, it’s essential to turn off the water supply before making any adjustments to your toilet valve. This prevents accidental flooding and makes the job much easier.
Q: What if I adjust the float and the toilet still runs?
A: If adjusting the float doesn’t solve the problem, check the flapper for wear or damage. A worn flapper won’t seal properly, causing the toilet to run continuously.
Q: How high should the water level be in my toilet tank?
A: The water level should be about an inch below the top of the overflow tube. This ensures the toilet flushes properly without wasting water.
Q: Is it difficult to replace a Korky toilet valve?
A: No, replacing a Korky toilet valve is a relatively simple DIY project. Most valves come with clear instructions, and you can find helpful videos online.
Q: What tools do I need to replace a Korky toilet valve?
A: You’ll typically need an adjustable wrench, a pair of pliers, a screwdriver, and a bucket to catch any excess water. A sponge can also be helpful for cleaning up.
Q: Where can I buy a replacement Korky toilet valve?
A: You can find Korky toilet valves at most hardware stores, home improvement centers, and online retailers like Amazon and Home Depot.
Conclusion
Adjusting a Korky toilet valve is a simple and effective way to fix common toilet problems like running water and slow filling. By following these step-by-step instructions, you can save water, money, and the hassle of calling a plumber. Remember to take your time, be patient, and don’t be afraid to experiment with small adjustments until you achieve the desired results. With a little effort, you can keep your toilet working smoothly and efficiently for years to come!