Have you ever thought about how a simple pedestal sink can transform your bathroom? Imagine replacing an old sink with a stylish new one. It not only looks nice, but it can also give your bathroom a fresh feel. One big question pops up: how to attach a pedestal sink to the wall safely?
Many people struggle with this task and end up calling for help. But did you know that you can do it yourself? By learning how to secure the sink properly, you can save time and money. Plus, it can be a fun weekend project!
In this article, you will discover easy steps to attach a pedestal sink to the wall. You will learn about the tools you need, the steps to follow, and some helpful tips. So, are you ready to give your bathroom that new look? Let’s get started!
How To Attach A Pedestal Sink To The Wall Properly
How to Attach a Pedestal Sink to the Wall
Attaching a pedestal sink to the wall can seem tricky, but it’s doable! First, ensure you have the right tools like a level, drill, and wall anchors. Secure the sink’s brackets to the wall for stability. A strong connection keeps the sink steady and prevents accidents. Did you know that many people choose pedestal sinks for their stylish look and space-saving features? Following simple steps will make your bathroom both beautiful and functional.
Understanding Pedestal Sink Components
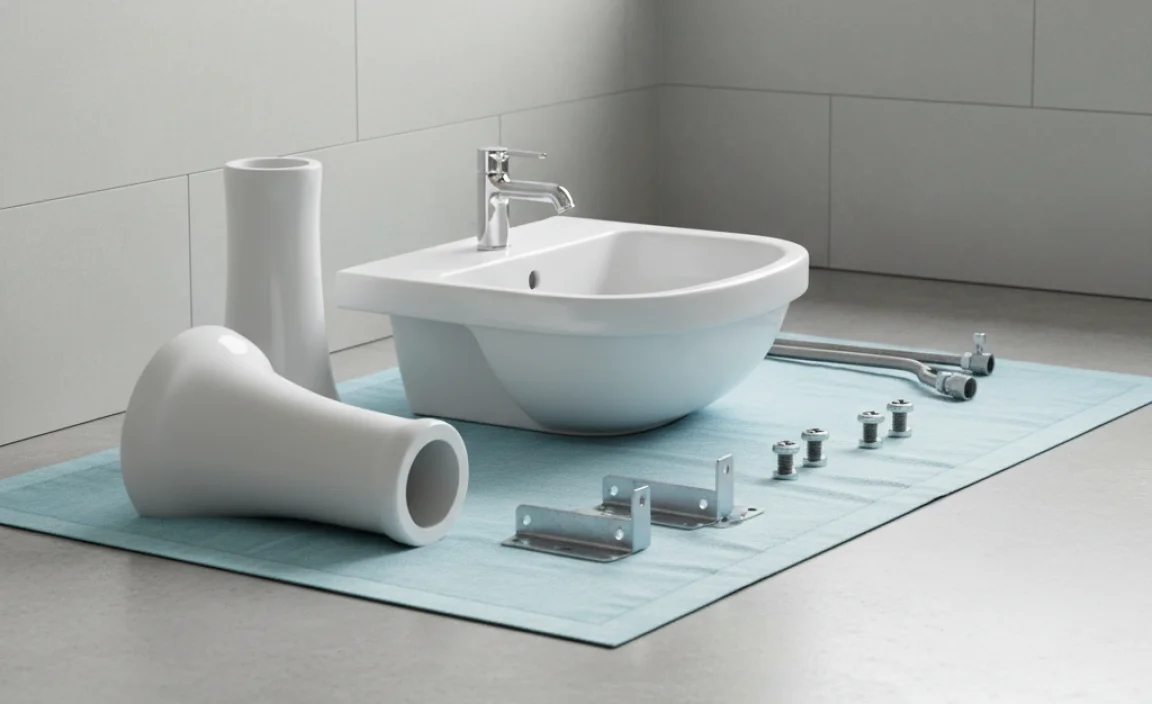
Description of pedestal sink parts: basin, pedestal, and mounting bracket. Importance of knowing the dimensions and weight for proper installation.
A pedestal sink has three main parts: the basin, pedestal, and mounting bracket. The basin holds water for washing hands or face. The pedestal supports the basin and gives it style. The mounting bracket ensures the sink is secure on the wall. Knowing the dimensions and weight of these parts helps in proper installation. A secure sink avoids accidents and makes your bathroom safe.
What are the parts of a pedestal sink?
The parts of a pedestal sink include:
- Basin: The top part where you wash.
- Pedestal: The bottom support that adds style.
- Mounting Bracket: Keeps the sink attached to the wall.
Tools and Materials Required
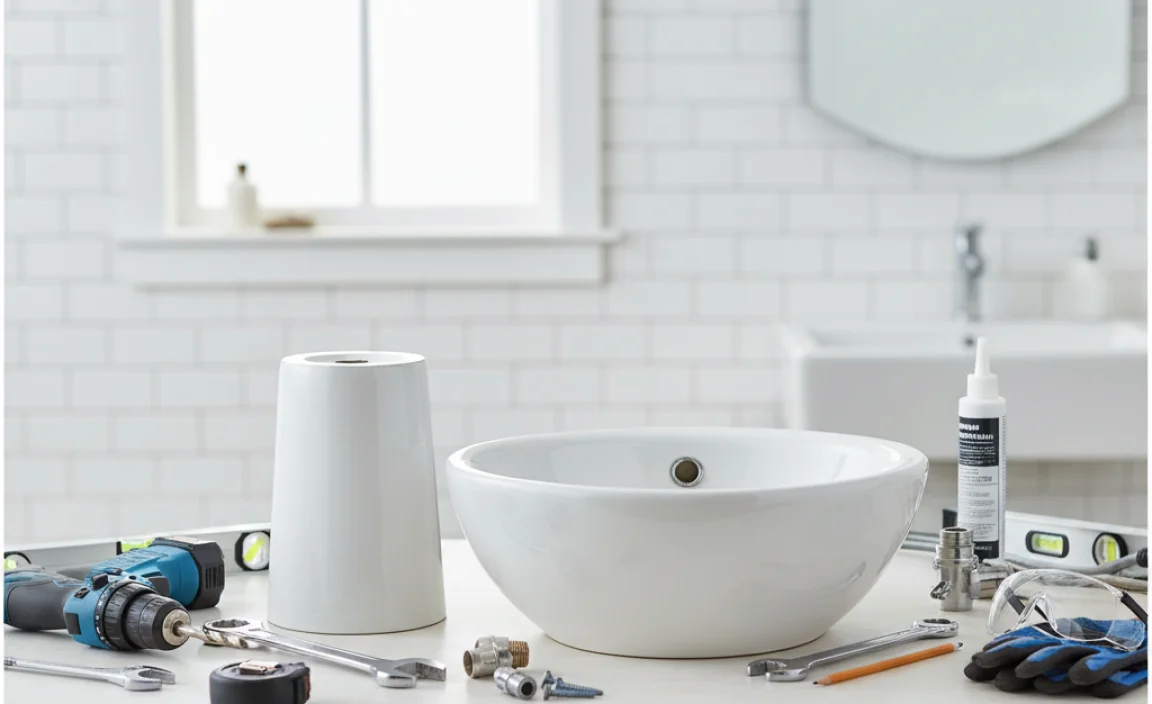
List of necessary tools: wrenches, level, drill, etc.. Materials needed: wall anchors, silicone caulk, plumber’s tape.
Before you start, grab the right tools and materials! You’ll need a few handy gadgets to attach that beautiful pedestal sink to the wall. Here’s a quick list:
| Tools | Materials |
|---|---|
| Wrench | Wall anchors |
| Level | Silicone caulk |
| Drill | Plumber’s tape |
With these items in hand, you’ll be more ready than a cat with a laser pointer! Don’t forget your sense of humor—it helps when things get a bit wobbly!
Preparing the Wall for Installation
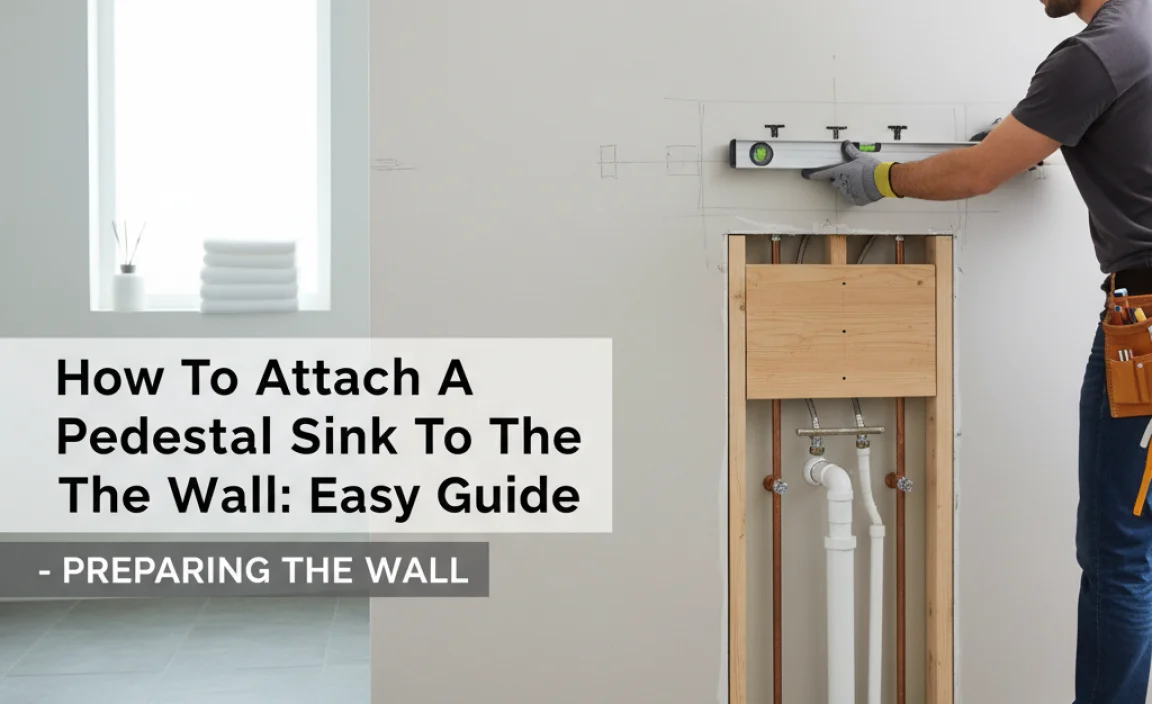
How to locate and mark wall studs for mounting. Tips on clearing space and ensuring plumbing access.
To make sure your pedestal sink is secure, you need to check your wall first. Start by finding the wall studs. Use a stud finder to locate them. Once you find the studs, mark their positions with a pencil. This shows you where to attach the sink.
Next, make space for the sink. Remove anything close to the installation area. This gives you clear access to plumbing. Ensure pipes and connections are easy to reach. Keeping everything tidy helps a lot!
- Use a stud finder for accuracy.
- Mark stud locations for mounting.
- Clear the area around the sink.
- Check plumbing access before installation.
How do you find wall studs?
Use a stud finder to easily locate wall studs. You can also knock on the wall. If you hear a solid sound, there’s a stud behind it!
Securing the Pedestal Sink Base
Stepbystep guide on positioning the pedestal securely. Importance of leveling the base for stability.
Start by placing the sink base against the wall. Use a level to ensure it sits flat—no one wants a wobbly sink, or your toothpaste might perform its own dance! Next, mark where you’ll attach the brackets on the wall. Drill the holes, and secure those brackets like they’re holding your favorite snack. Lastly, double-check the balance. A solid base means your sink will stay put, and that’s no laughing matter!
| Step | Action |
|---|---|
| 1 | Position the sink against the wall |
| 2 | Use a level for stability |
| 3 | Mark and drill for brackets |
| 4 | Secure brackets firmly |
| 5 | Double-check the balance |
Mounting the Sink to the Wall
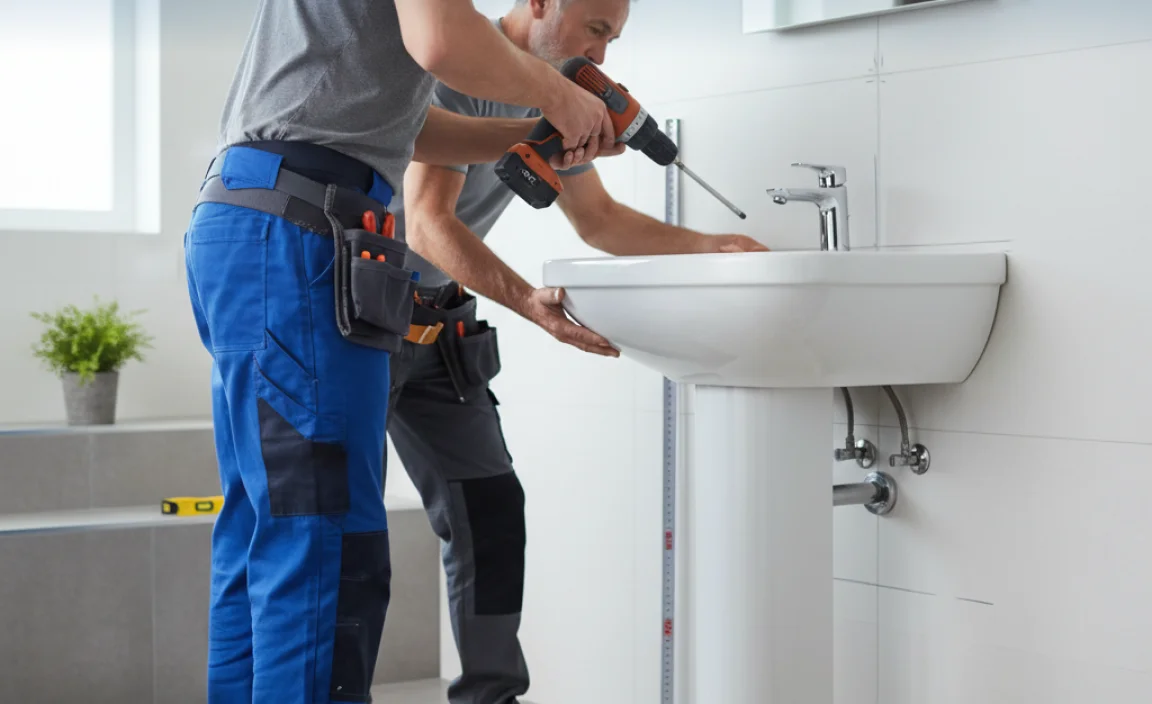
Detailed instructions on attaching the sink to the wall using the mounting bracket. How to ensure sink is level and properly aligned with the pedestal.
First, grab your mounting bracket. You’ll want to hold the sink in place while you mark where the screws go. Use a level; nobody likes a sink that leans! Next, drill holes for the screws. Make sure your sink matches up with the pedestal below. It’s like a dance—everything must be in sync! Finally, tighten the screws and stand back to admire your work. Voila! Your sink is now ready to make washing hands fun.
| Step | Action |
|---|---|
| 1 | Hold the mounting bracket against the wall |
| 2 | Mark the screw holes |
| 3 | Drill holes for screws |
| 4 | Attach the sink to the wall |
| 5 | Ensure alignment with the pedestal |
Now you can wash those dirty hands with style and a smile!
Connecting Water Supply Lines
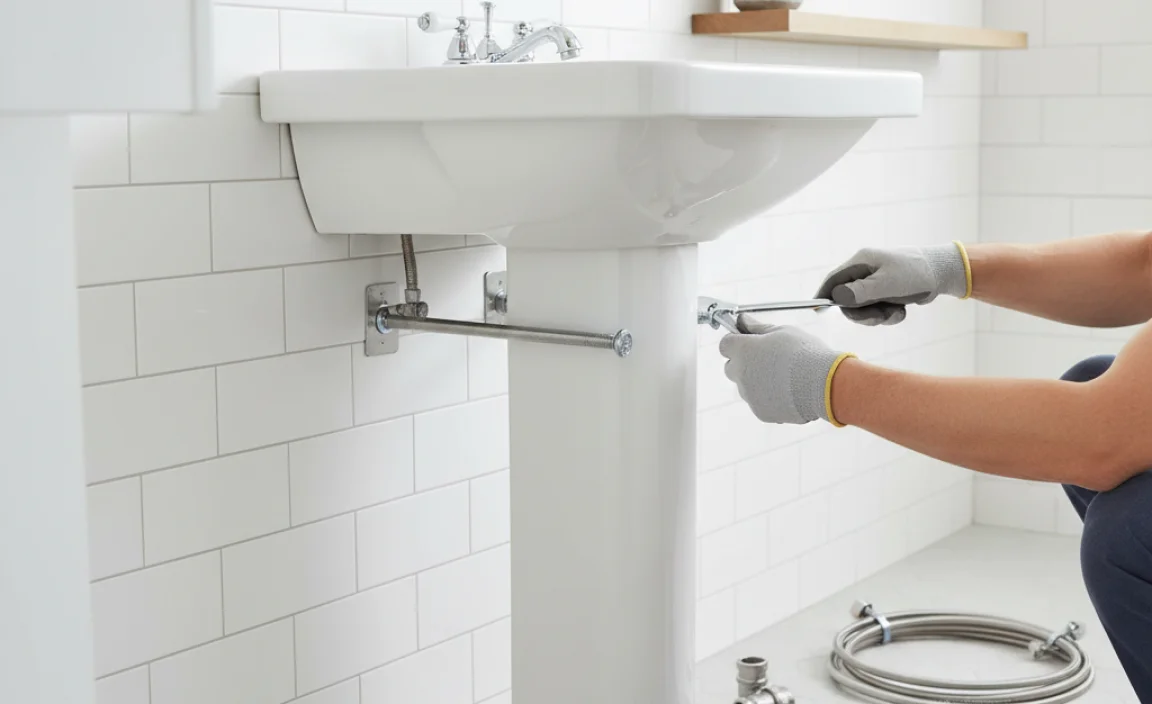
Explanation of how to attach faucets and connect supply lines. Ensuring proper fittings and avoiding leaks.
First, grab your faucet and line it up to the sink holes. Secure it snugly, or it could start a water ballet on your bathroom floor! Next, connect the supply lines. Remember, red for hot and blue for cold—no one wants a surprise shower of ice water!
Make sure all the fittings are tight. If they are too loose, leaks could make your sink a little fountain. Check with a towel; it’ll help catch any drips. A dry bathroom is a happy bathroom!
| Step | Action | Tip |
|---|---|---|
| 1 | Attach Faucet | Secure it tightly! |
| 2 | Connect Supply Lines | Red for hot, blue for cold! |
| 3 | Check for Leaks | Use a towel to check. |
Sealing and Finishing Touches
Instructions on applying silicone caulk around the base and wall joints. Final inspection tips to ensure everything is secure and functioning.
After your pedestal sink is set up, it’s time for the finishing touches! First, grab some silicone caulk. Apply it smoothly around the base and at the wall joints. This helps keep water where it belongs… in the sink! You don’t want a splash party on your floor, right?
Next, take a moment for a final inspection. Check if everything is secure and matches up nicely. Give the sink a little shake—nothing too wild, like a dance-off! If it stays put, you’re good to go!
| Steps | Actions |
|---|---|
| Apply Caulk | Seal around the base and wall joints |
| Final Inspection | Ensure it’s secure and functioning properly |
Troubleshooting Common Issues
Common installation problems and solutions. Tips for adjusting or modifying the setup if needed.
Sometimes, setting up a pedestal sink can be tricky. Here are a few common problems and how to fix them:
- Sink wobbling: Make sure it’s level. You might need to add adjusting screws or shims.
- Pipes leaking: Check all connections. Tighten them and use new washers if needed.
- Wall brackets not holding: Ensure they are securely anchored. Use wall studs for better support.
If things don’t seem right, try adjusting the brackets or repositioning the sink. Making small changes can lead to better stability and a cleaner look.
What should I do if my sink is unstable?
If your sink is unstable, you should check the level and adjust the feet or brackets. This often solves the problem quickly.
Conclusion
In conclusion, attaching a pedestal sink to the wall is straightforward. First, gather your tools and read the instructions carefully. Then, ensure the sink is level and securely fastened. Always check that the plumbing is properly connected. Feel free to reach out for help or explore more guides for tips. Happy DIY-ing!
FAQs
What Tools And Materials Are Needed To Install A Pedestal Sink Securely To The Wall?
To install a pedestal sink, you need some tools and materials. First, gather a drill, screws, and a level. You should also have a wrench for tightening things. Don’t forget the wall anchors. These will help keep the sink secure.
How Do I Locate And Mark The Wall Studs For Proper Support When Attaching A Pedestal Sink?
To find the wall studs, tap on the wall lightly. You will hear a difference in sound when you hit a stud. Next, use a stud finder if you have one; it can help you. Once you find the stud, mark the spots lightly with a pencil. This will help you know where to attach the sink.
What Is The Recommended Height For Installing A Pedestal Sink, And How Do I Ensure It Is Level?
You should install a pedestal sink so that the top is about 32 to 36 inches high. This height works for most people. To make sure it is level, use a tool called a level. Place it on top of the sink and adjust it until the bubble is in the middle.
How Can I Properly Seal And Finish The Edges Around The Sink After Installation?
To seal and finish the edges around your sink, start by cleaning the area. Use a cloth to remove dust and water. Next, use caulk to fill any gaps where the sink meets the countertop. Follow the caulk instructions to squeeze it out smoothly. Finally, use your finger to smooth the caulk and make it look nice.
What Common Mistakes Should I Avoid When Attaching A Pedestal Sink To The Wall?
When you attach a pedestal sink to the wall, avoid using the wrong screws. Make sure to use strong, sturdy screws that fit well. Don’t forget to level the sink; it should be straight so water won’t spill. Be careful not to skip the wall bracket; it helps hold the sink up. Lastly, make sure the pipes are connected tightly to avoid leaks.