Quick Summary: Cutting the caulk tip correctly is key to a smooth, professional-looking seal around your bathtub. Use a utility knife to slice the tip at a 45-degree angle. The size of the opening determines the bead width. Practice on cardboard first to get the hang of it. A steady hand and the right angle will prevent messes and ensure a watertight seal.
Ever tried caulking around your bathtub and ended up with a mess? It happens to the best of us! The secret to a clean, professional-looking caulk line isn’t just the caulk itself, but how you cut the tip. Cut it wrong, and you’ll get globs and uneven lines. But don’t worry, it’s an easy fix! I’m Troy D Harn, and I’ll show you how to cut the caulk tip perfectly every time. Follow these simple steps, and you’ll be caulking like a pro in no time! We’ll cover everything from the right angle to the best tools, so let’s get started!
What You’ll Need

Before diving in, gather these essentials. Having everything on hand will make the job smoother and faster:
- Caulk Gun: A good quality caulk gun makes application easier.
- Caulk Tube: Choose a caulk specifically designed for bathrooms.
- Utility Knife: A sharp blade is crucial for clean cuts.
- Cutting Surface: A piece of cardboard protects your work area.
- Rags or Paper Towels: For wiping away excess caulk.
- Safety Glasses: Protect your eyes from splashes.
- Gloves: Keep your hands clean.
Step-by-Step Guide to Cutting a Caulk Tip

Ready to get started? Follow these steps to cut your caulk tip like a pro:
Step 1: Prepare the Caulk Tube
Before you even think about cutting, make sure your caulk tube is ready to go. Remove the cap and, using the puncture wire or a long nail (often attached to the caulk gun), puncture the inner foil seal. This allows the caulk to flow freely when you squeeze the trigger.
Step 2: Choose Your Bead Size
The size of the opening you cut determines the width of the caulk bead. For bathtubs, a medium-sized bead usually works best. Think about the gap you need to fill. A wider gap requires a larger opening.
| Bead Size | Typical Use | Opening Diameter (approximate) |
|---|---|---|
| Small | Sealing narrow gaps, trim work | 1/8 inch |
| Medium | Bathtubs, sinks, countertops | 1/4 inch |
| Large | Filling wide gaps, expansion joints | 3/8 inch or larger |
Step 3: Make the First Cut
This is where the magic happens! Hold the caulk tube at a 45-degree angle over your cutting surface. Start with a small cut; you can always make it bigger. Use a sharp utility knife to slice the tip. Remember, safety first! Keep your fingers away from the blade.
Step 4: Test the Bead
Before applying caulk to your bathtub, test the bead on a piece of cardboard. Squeeze the caulk gun trigger gently and observe the flow. Is the bead too thin? Too thick? Adjust your cut accordingly. It’s better to start small and increase the opening as needed.
Step 5: Adjust if Necessary
If the bead is too small, make another cut at the same 45-degree angle, slightly increasing the opening. If it’s too large, well, you’ll need a new tube (or be very careful with your application!). Practice makes perfect, so don’t be afraid to experiment on your cardboard until you get the desired bead size.
Step 6: Load the Caulk Gun
Now that your tip is perfectly cut, load the caulk tube into the caulk gun. Make sure it’s securely in place. Squeeze the trigger a few times until the caulk starts to flow. You’re now ready to caulk your bathtub!
Tips for a Perfect Caulk Line

Cutting the tip is just the first step. Here are some extra tips to ensure a flawless caulk line around your bathtub:
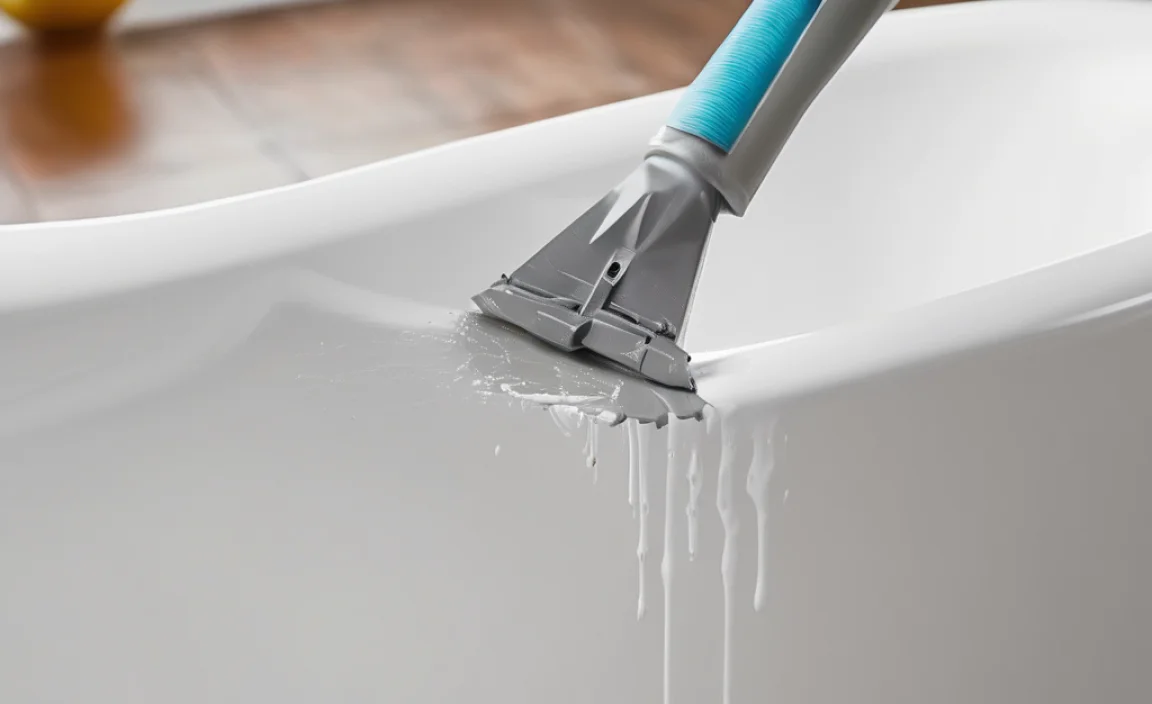
- Clean the Surface: Remove old caulk, dirt, and mildew before applying new caulk. A clean surface ensures better adhesion.
- Apply Even Pressure: Keep a steady hand and apply even pressure to the caulk gun trigger for a consistent bead.
- Smooth the Caulk: Use a wet finger or a caulk smoothing tool to create a smooth, professional finish.
- Work in Sections: Don’t try to caulk the entire bathtub in one go. Work in manageable sections to maintain control.
- Clean Up Quickly: Wipe away excess caulk immediately with a damp cloth or paper towel.
Choosing the Right Caulk
Not all caulk is created equal. For bathtubs, you’ll want a caulk that’s specifically designed for wet environments. Look for these features:
- Waterproof: Essential for preventing leaks and water damage.
- Mildew-Resistant: Prevents mold and mildew growth, keeping your bathroom clean and healthy.
- Flexible: Allows for movement and expansion without cracking.
- Paintable: If you want to paint over the caulk to match your bathroom decor.
Here’s a quick comparison of common caulk types:
| Caulk Type | Pros | Cons | Best For |
|---|---|---|---|
| Silicone Caulk | Excellent waterproof seal, flexible, mildew-resistant | Can be difficult to paint, strong odor | Bathtubs, showers, sinks |
| Acrylic Latex Caulk | Easy to apply, paintable, low odor | Less flexible than silicone, not as waterproof | Baseboards, trim, general sealing |
| Acrylic Silicone Blend | Combines benefits of both, good adhesion, paintable | May not be as durable as pure silicone in high-moisture areas | Versatile, can be used in bathrooms and kitchens |
Common Mistakes to Avoid
Even with the best instructions, mistakes can happen. Here’s what to watch out for:
- Cutting the Tip Straight Across: This creates a flat bead that’s difficult to smooth. Always cut at a 45-degree angle.
- Cutting the Opening Too Large: You can always make it bigger, but you can’t make it smaller! Start with a small cut and adjust as needed.
- Applying Caulk to a Dirty Surface: Caulk won’t adhere properly to dirt, dust, or old caulk. Clean the surface thoroughly before applying.
- Using the Wrong Type of Caulk: Use a caulk specifically designed for bathrooms to ensure a waterproof and mildew-resistant seal.
- Not Smoothing the Caulk: Smoothing the caulk creates a professional finish and helps to seal the gap effectively.
Advanced Techniques
Want to take your caulking skills to the next level? Here are some advanced techniques to try:
- Backer Rod: For wide gaps, use a backer rod to fill the space before applying caulk. This saves caulk and creates a better seal.
- Caulk Smoothing Tools: These tools come in various shapes and sizes to create perfectly smooth caulk lines.
- Masking Tape: Apply masking tape along the edges of the area you’re caulking for a clean, professional look. Remove the tape immediately after smoothing the caulk.
- Colored Caulk: Match the caulk color to your tile or fixtures for a seamless look.
Safety First
Caulking is generally a safe DIY project, but it’s important to take precautions:
- Wear Safety Glasses: Protect your eyes from splashes of caulk.
- Wear Gloves: Caulk can be messy and irritating to the skin.
- Work in a Well-Ventilated Area: Some caulks have a strong odor.
- Dispose of Caulk Tubes Properly: Check local regulations for proper disposal of empty caulk tubes.
- Keep Caulk Away from Children and Pets: Caulk is not edible and can be harmful if ingested.
Cost Considerations
Caulking is a relatively inexpensive DIY project. Here’s a breakdown of the costs:
| Item | Approximate Cost |
|---|---|
| Caulk Tube | $5 – $15 |
| Caulk Gun | $10 – $30 |
| Utility Knife | $5 – $20 |
| Safety Glasses | $5 – $15 |
| Gloves | $5 – $10 |
As you can see, you can caulk your bathtub for under $50. This is a fraction of the cost of hiring a professional.
FAQ: Cutting Caulk Tip for Bathtub
Got questions? Here are some common ones:
What angle should I cut the caulk tip?
A 45-degree angle is best for creating a smooth, even bead. This allows you to apply the caulk at a consistent angle.
How big should I cut the opening?
Start small! You can always make the opening bigger, but you can’t make it smaller. Test the bead on cardboard to see if it’s the right size.
What if I cut the tip too big?
Unfortunately, there’s no going back. You’ll need to use a new tube of caulk with a fresh tip.
Can I use scissors to cut the caulk tip?
While possible, it’s not recommended. A utility knife provides a cleaner, more precise cut.
What’s the best way to smooth caulk?
A wet finger works well, but you can also use a caulk smoothing tool for a more professional finish. Dip your finger or tool in water with a drop of dish soap to prevent the caulk from sticking.
How long does caulk take to dry?
Drying time varies depending on the type of caulk and the humidity. Check the manufacturer’s instructions, but typically it takes 24-48 hours for caulk to fully cure.
How do I remove old caulk?
Use a caulk removal tool or a utility knife to carefully cut along the edges of the old caulk. Then, peel it away. A caulk softener can help to loosen stubborn caulk.
Conclusion
Cutting a caulk tip for your bathtub might seem like a small detail, but it makes a huge difference in the final result. With the right tools, a steady hand, and these simple steps, you’ll achieve a professional-looking caulk line that’s both waterproof and aesthetically pleasing. Don’t be discouraged if your first attempt isn’t perfect. Like any DIY skill, caulking gets easier with practice. So grab your caulk gun and get ready to transform your bathroom! You’ve got this!


