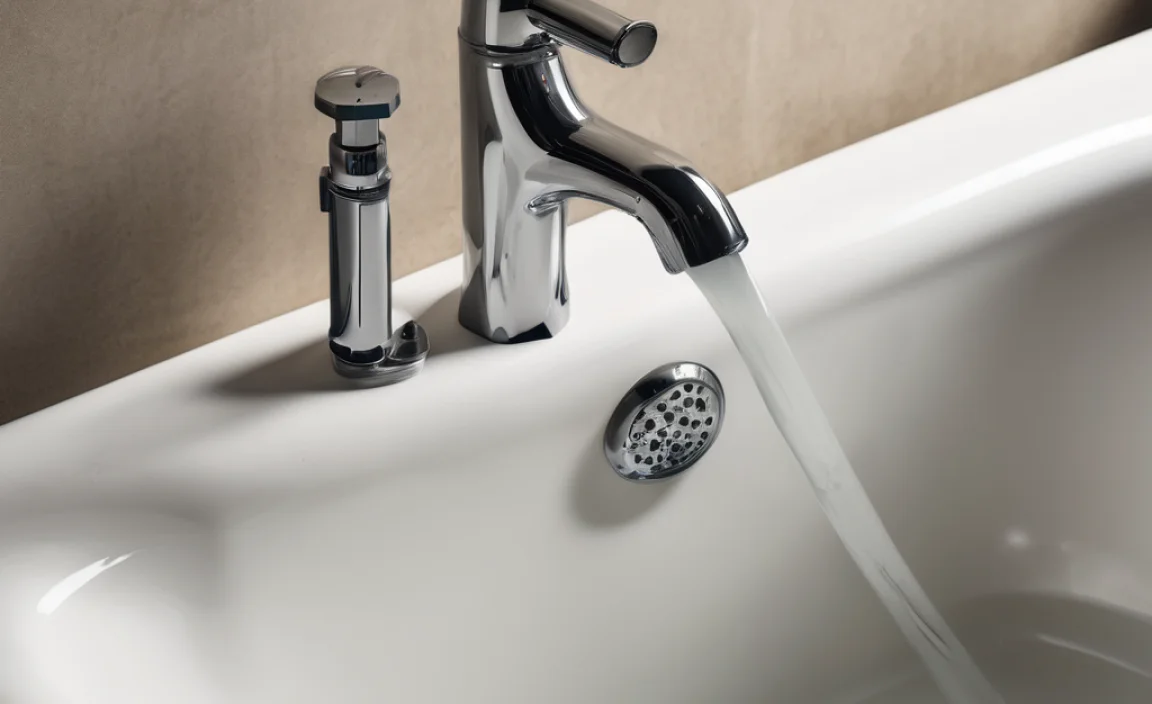
Have you ever wondered how water flows down the drain in your bathtub? It’s a simple thing we often take for granted. But what happens when it gets stuck? This can lead to big problems! Knowing how to disassemble a bathtub drain can save you from a messy situation.
Imagine launching a mini adventure in your bathroom. You grab some tools and get ready to uncover the mystery below the tub. Sounds exciting, right? Disassembling a bathtub drain isn’t just for experts. With a little guide, you can master this task yourself.
In this article, you’ll learn how to disassemble a bathtub drain step by step. Whether you want to clear a clog or replace old parts, we have you covered. All you need is a few tools, some patience, and a willingness to get started. So, let’s dive in and discover the secrets hiding under your bathtub!
How To Disassemble Bathtub Drain: A Step-By-Step Guide
How to Disassemble Bathtub Drain
Disassembling a bathtub drain may seem tricky, but it’s easier than you think. First, gather the right tools like a wrench and pliers. Carefully remove the drain cover by unscrewing or prying it off. Next, loosen the drain assembly. Remember, some drains may have a hidden retaining nut. If you encounter stubborn parts, don’t get frustrated—patience is key! This simple DIY task can save you money and give you a sense of accomplishment. Ready to tackle it?
Tools You Will Need
List of essential tools (e.g., pliers, screwdriver, drain key). Safety equipment to consider (e.g., gloves, goggles).
Ready to tackle that bathtub drain? You’ll need a few handy tools. Grab pliers to twist and turn, and a screwdriver for those pesky screws. A drain key will be your best buddy for lifting the drain too. Don’t forget safety! Wear gloves to keep your hands clean and goggles to protect your eyes from surprises—like a rubber ducky that went on an adventure! Here’s a quick list:
| Tool | Purpose |
|---|---|
| Pliers | To grip and turn |
| Screwdriver | To unscrew |
| Drain Key | To lift the drain |
| Gloves | To keep hands clean |
| Goggles | To protect your eyes |
Preparation Steps Before Disassembly

How to clear the area around the bathtub. Importance of turning off water supply and draining the tub.
Before you start, make the area around your bathtub clear. Remove any items like towels, soap, or toys. This helps you move freely. Next, it is important to turn off the water supply to avoid any spills. Then, drain the tub. This makes sure no water is left inside, keeping the work area dry and safe.
- Clear the space: Keep the area around the tub neat.
- Turn off the water supply: Switch off the main valve.
- Drain the tub: Let all the water out.
Why is it important to prepare before disassembly?
Preparing the space helps you work better and prevents accidents. Safety is key while handling tools. A clear area lets you focus on your task without distraction.
Steps to Disassemble the Bathtub Drain
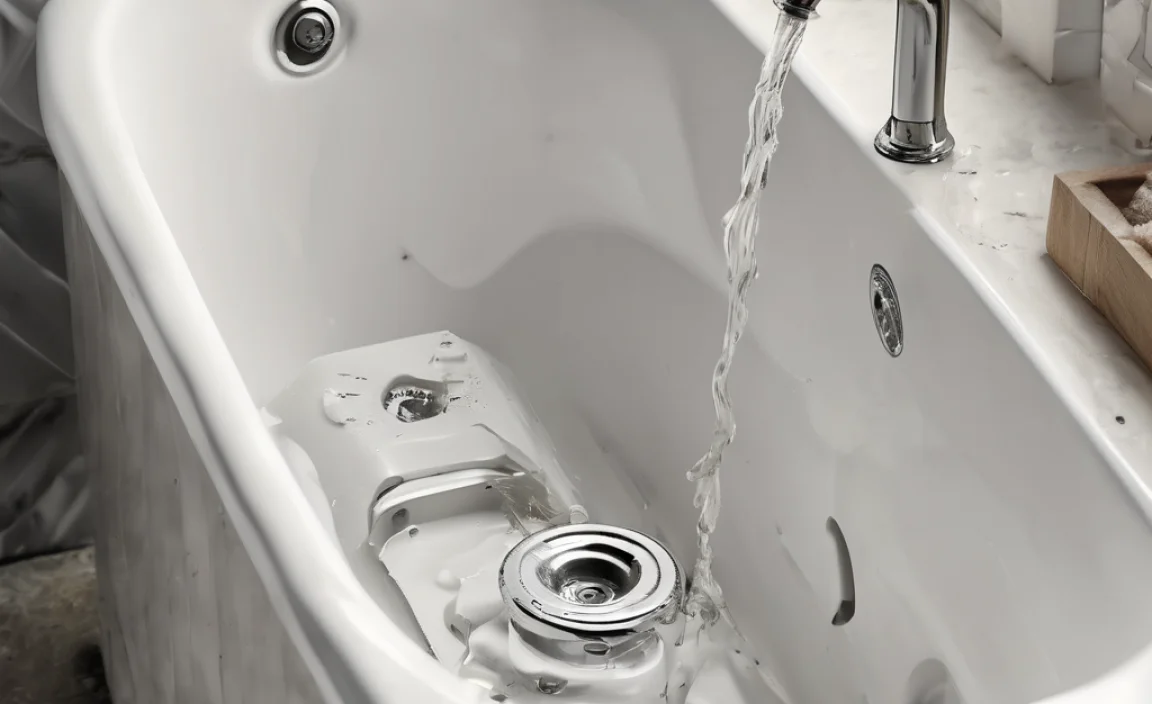
Detailed stepbystep instructions for removing the drain cover. Techniques for unscrewing and detaching the drain body.
First, you need to remove the drain cover. Use a screwdriver to unscrew the screws by turning them counterclockwise. Be gentle to avoid stripping the screws. Once the screws are off, lift the cover straight up. Next, locate the drain body. Use a wrench to unscrew it by turning it to the left. Ensure the wrench grips tightly to prevent slipping. Keep turning until it loosens completely. Finally, lift out the entire drain body.
How do I remove the tub drain without damaging it?
To remove the tub drain gently: Use the right tools and avoid excessive force. Carefully unscrew and keep all parts safe for reassembly.
Troubleshooting Common Issues
How to handle rusted or stuck components. What to do if you encounter leaks or damage.
Encountering rusted or stuck parts can be frustrating. Try soaking them in a mixture of vinegar and baking soda. This combo works like magic and might just make them loosen up. If you spot leaks or damage, don’t panic! First, check the connections. Tightening a loose screw might fix it faster than a superhero in a tight suit! Lastly, keep a towel handy; a tiny splash can turn into a mini water park in your bathroom.
| Issue | Solution |
|---|---|
| Rusted Components | Soak in vinegar and baking soda. |
| Stuck Components | Use a bit of elbow grease. |
| Leaks | Tighten connections or replace seals. |
| Damage | Assess and patch up as needed. |
Maintaining Your Bathtub Drain After Disassembly
Tips for cleaning components for better maintenance. Recommended products for drain upkeep.
After you take apart your bathtub drain, keeping it clean is key. Regular cleaning helps parts last longer and work better. Here are some tips:
- Use warm, soapy water to wash metal parts.
- Clear away any hair or gunk from the drain.
- Dry all components completely before reassembling.
For best results, choose these products:
- Baking soda – It’s a gentle cleaner.
- Vinegar – It helps dissolve build-up.
- Dish soap – Perfect for loosening tough grime.
Keep these tips in mind. Your bathtub will thank you!
What should be used to clean a bathtub drain?
Use baking soda and vinegar for natural cleaning. They’re safe and effective!
When to Call a Professional
Signs that indicate the need for expert help. Cost considerations for hiring a plumber vs. DIY approaches.
Sometimes, using your trusty toolbox isn’t enough. Watch for signs like slow drains or a funny smell. These could mean it’s time to call the expert squad! Hiring a plumber can cost between $100-$200, but it saves you from DIY disasters. Remember, fixing a leaky mess can be messier! If you’re unsure, bring in the pros. They might charge a bit, but they come with skills that ensure your bathtub will be leak-free and drama-free!
| Signs You Need a Pro | Cost Considerations |
|---|---|
| Slow draining water | $100 – $200 for a plumber |
| Foul odors | DIY can lead to costly mistakes! |
| Visible leaks | Pro skills save stress! |
Conclusion
In conclusion, disassembling a bathtub drain is simple when you follow the right steps. Start by gathering your tools, then carefully remove the parts. Be patient and take notes as you work. If you need more help, check online guides or videos. Now you’re ready to tackle your drain project with confidence!
FAQs
What Tools Are Needed To Disassemble A Bathtub Drain Effectively?
To take apart a bathtub drain, you’ll need a few tools. Grab some channel lock pliers to grip the parts. You might also use a screwdriver to remove screws. A bucket is helpful for catching any water. Finally, a flashlight can help you see better in dark spaces.
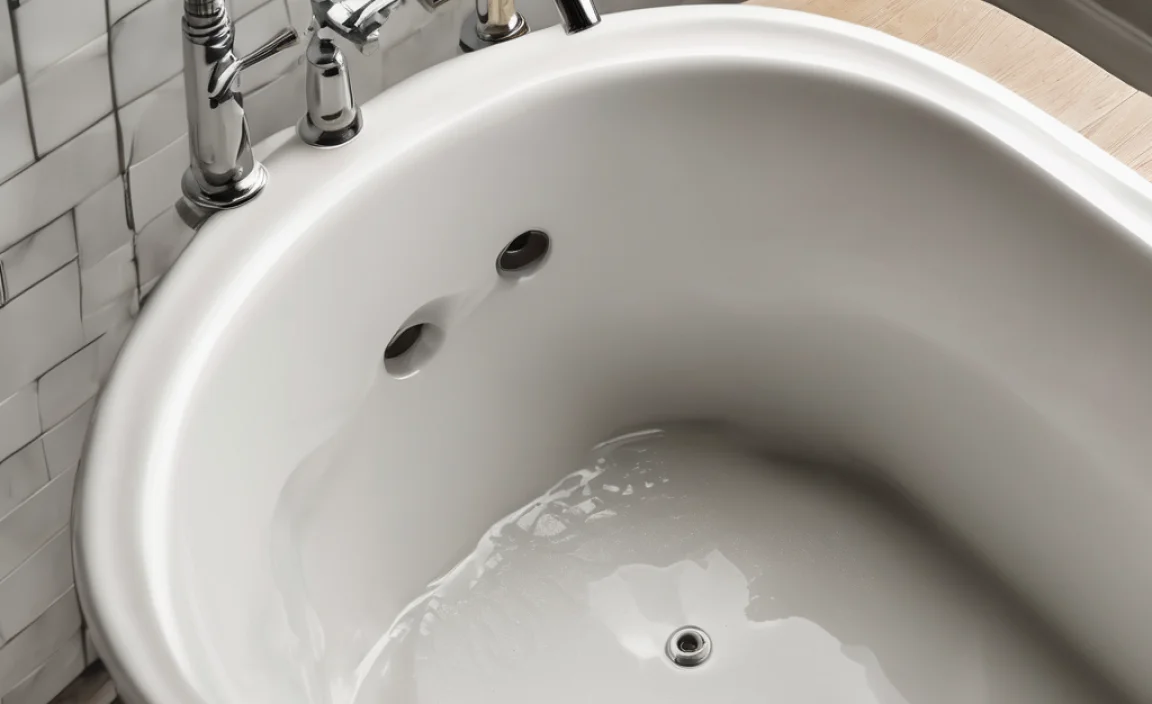
How Do You Identify The Type Of Drain Assembly In Your Bathtub Before Disassembling It?
To identify your bathtub drain assembly, look closely at the drain cover. Is it flat, or does it have a knob? Check if you can twist the knob or pull it up and down. If you see a lever or a chain, that helps too. These parts tell you what type you have.
What Are The Common Problems That Necessitate Disassembling A Bathtub Drain?
You might need to take apart a bathtub drain if it’s clogged. This means water won’t go down. Sometimes, you might hear weird sounds when water tries to drain. You might also find leaks. If you see any rust or dirt buildup, that’s another reason to check inside.
What Step-By-Step Process Should Be Followed To Safely Remove A Bathtub Drain?
To safely remove a bathtub drain, follow these steps:
1. First, turn off the water supply.
2. Next, use a screwdriver to take out the screws around the drain.
3. Then, carefully twist and pull the drain up to remove it.
4. If it’s stuck, use some pliers to help loosen it.
5. Finally, clean up any leftover pieces and check for leaks before using the tub again.
How Can You Avoid Damaging The Bathtub Or Drain Components While Disassembling?
To avoid damaging the bathtub or drain parts, first, make sure to turn off the water. Use the right tools, like a wrench or screwdriver, to loosen parts gently. Don’t use too much force; if something is stuck, check if you missed a screw. Be careful when handling all pieces; they can break easily. Finally, keep everything organized so you know where each part goes when putting it back together.