Quick Summary: Drilling a hole in a stainless steel sink is easier than you think! You’ll need a center punch, a step drill bit (also called a UniBit), cutting oil, and a steady hand. Mark your spot, create a pilot divot with the punch, apply cutting oil, and slowly drill through the sink. Remember to go slow, use consistent pressure, and let the drill bit do the work. This will give you a clean, professional-looking hole every time!
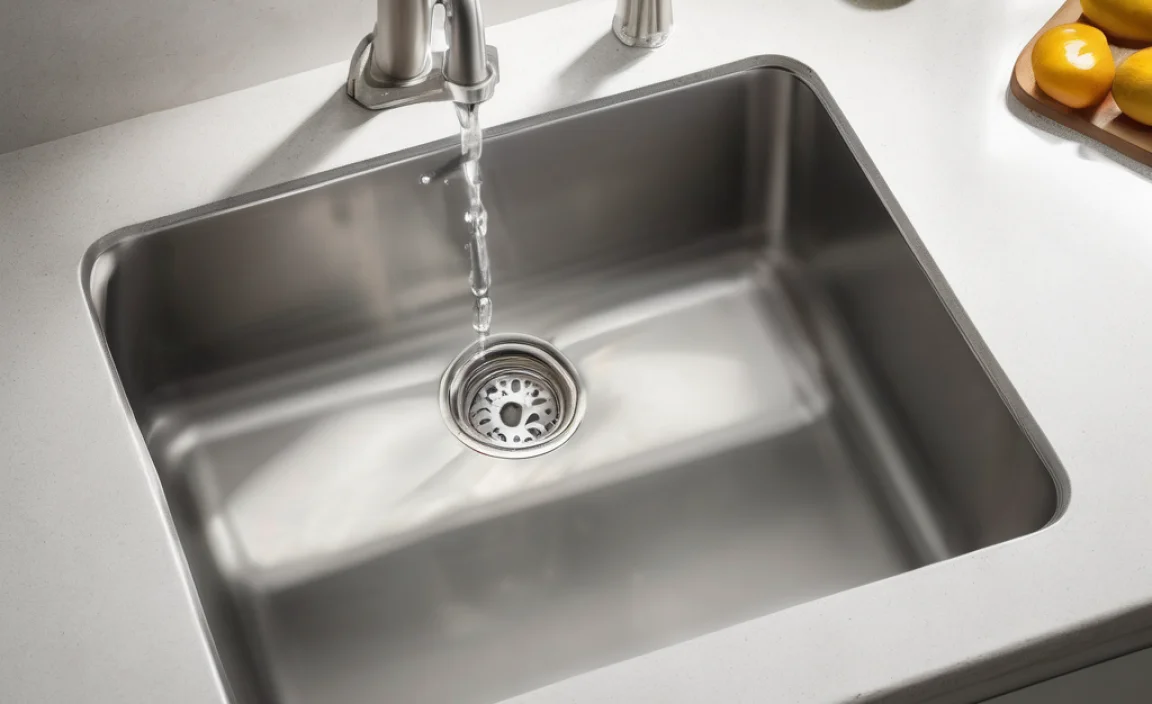
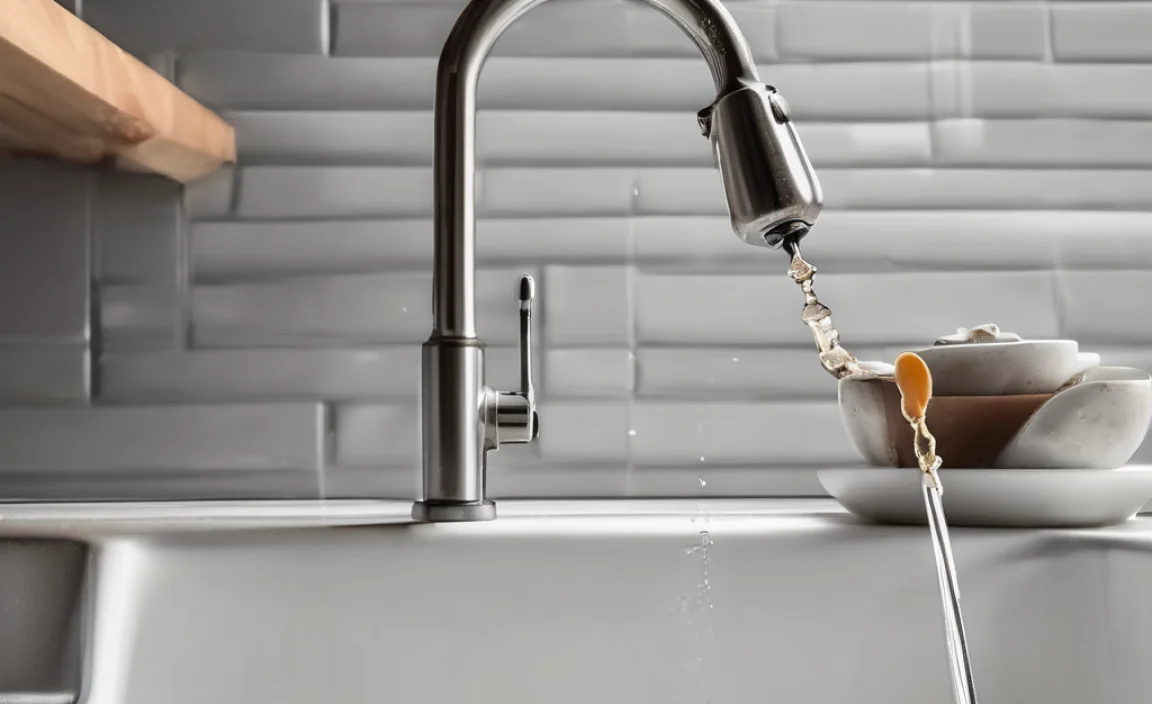
Want to add a new faucet, soap dispenser, or sprayer to your stainless steel sink? You’ll need to drill a hole. Many folks get worried about damaging their sink, but don’t sweat it! With the right tools and a bit of patience, you can drill a perfect hole without any trouble.
This guide will walk you through each step. I’ll show you exactly what you need and how to do it safely. Get ready to upgrade your kitchen sink like a pro!
What You’ll Need

Before you start, gather these supplies. Having everything ready will make the job go smoothly.
- Safety Glasses: Protect your eyes from metal shavings.
- Gloves: Keep your hands safe and provide a better grip.
- Center Punch: Creates a starting point for the drill bit.
- Hammer: To tap the center punch.
- Step Drill Bit (UniBit): Makes clean, round holes in metal.
- Drill: Cordless or corded drill, with a variable speed setting.
- Cutting Oil: Lubricates the drill bit and keeps the metal cool.
- Marker: To mark the location of the hole.
- Measuring Tape: For accurate placement.
- Rags or Paper Towels: To clean up any mess.
Step-by-Step Guide to Drilling a Hole in a Stainless Steel Sink
Follow these steps carefully, and you’ll have a perfectly drilled hole in no time. Remember to take your time and double-check each step.
Step 1: Prepare the Sink
First, clean the area where you’ll be drilling. Remove any dirt, grease, or grime. A clean surface will help you make accurate marks and prevent the drill bit from slipping.
- Clean the Sink: Use soap and water to clean the area. Dry it thoroughly.
- Mark the Spot: Use a marker and measuring tape to mark the exact center of where you want the hole. Double-check your measurements!
Step 2: Create a Pilot Divot
A pilot divot will keep your drill bit from wandering. This is where the center punch comes in handy.
- Position the Punch: Place the tip of the center punch on the mark you made.
- Tap the Punch: Gently tap the end of the punch with a hammer. You only need a small divot, so don’t hit it too hard.
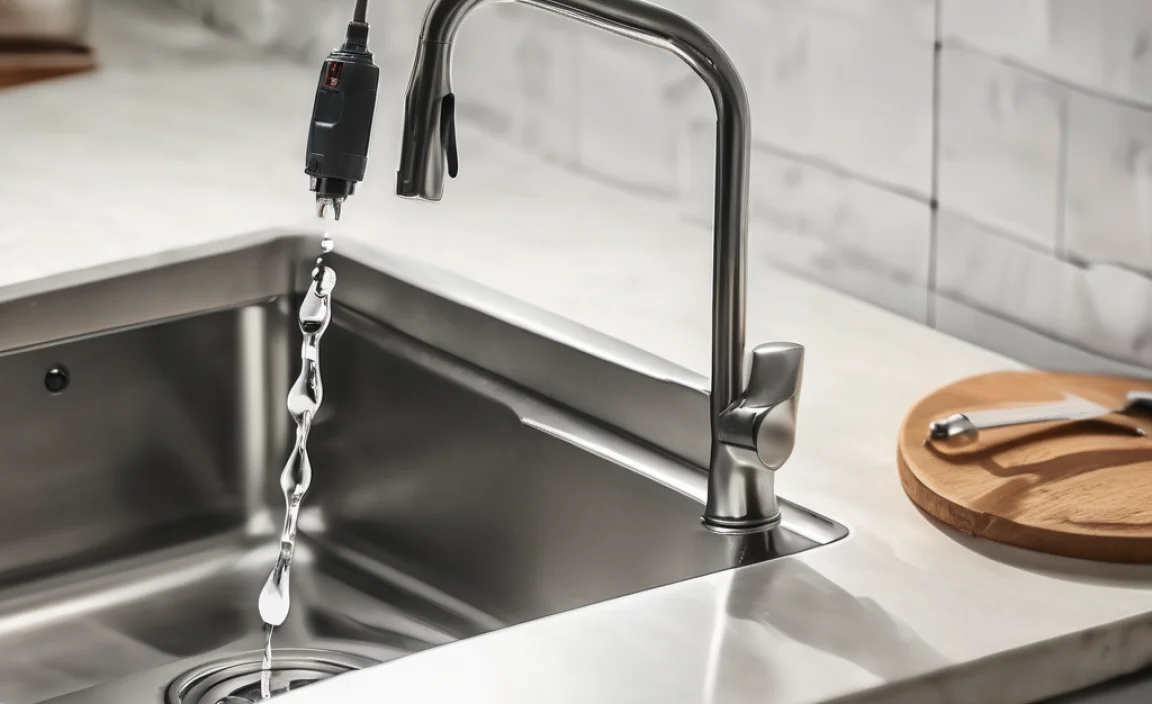
Step 3: Prepare the Drill and Bit
Now, get your drill and step drill bit ready. Make sure the bit is securely fastened in the drill.
- Insert the Bit: Insert the step drill bit into the drill chuck.
- Tighten the Chuck: Tighten the chuck securely to hold the bit in place.
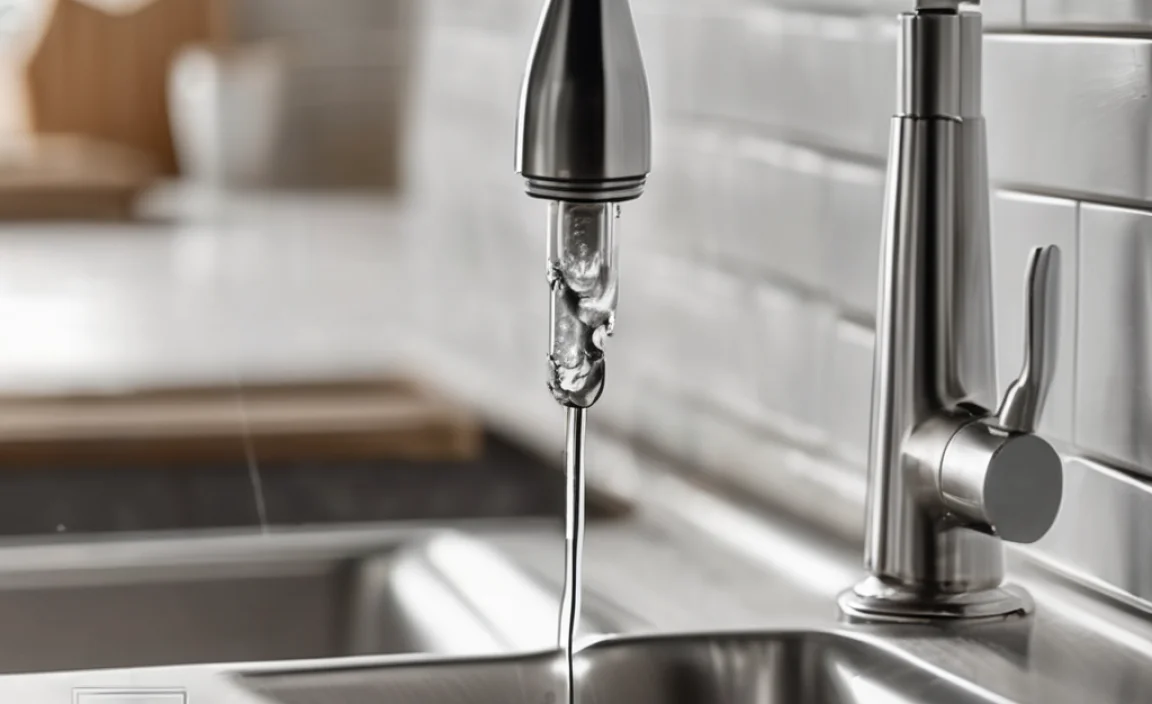
Step 4: Apply Cutting Oil
Cutting oil is essential. It keeps the drill bit cool and lubricated, which prevents overheating and extends the life of the bit. It also helps to create a cleaner hole.
- Apply the Oil: Put a few drops of cutting oil on the pilot divot.
- Reapply as Needed: Keep the area lubricated throughout the drilling process.
Step 5: Start Drilling
This is the most important step. Go slow and steady. Let the drill bit do the work. Applying too much pressure can damage the sink or break the bit.
- Position the Drill: Place the tip of the step drill bit in the pilot divot.
- Start Slowly: Begin drilling at a slow speed. Apply gentle, consistent pressure.
- Increase Speed Gradually: As the bit starts to cut through the metal, you can slowly increase the speed.
- Maintain Pressure: Keep a steady pressure on the drill. Don’t force it, but don’t let it bounce around either.
- Watch for Progress: Pay attention to the size of the hole. The step drill bit is designed to create holes of different sizes, so stop when you reach the desired diameter.
Step 6: Finishing the Hole
Once you’ve drilled through the sink, clean up any rough edges. This will prevent cuts and ensure a smooth finish.
- Deburr the Edges: Use a deburring tool or a larger drill bit to smooth any sharp edges around the hole.
- Clean the Area: Wipe away any excess cutting oil and metal shavings.
Step 7: Check the Hole
Give the hole a final inspection. Make sure it’s the right size and that there are no sharp edges or imperfections.
- Measure the Diameter: Use a measuring tape or calipers to check the size of the hole.
- Inspect the Edges: Run your finger around the edge of the hole to check for any sharp burrs.
Choosing the Right Drill Bit
Using the right drill bit is crucial for drilling into stainless steel. Here’s a comparison to help you choose the best option:
| Drill Bit Type | Pros | Cons | Best Use |
|---|---|---|---|
| Step Drill Bit (UniBit) | Creates clean, round holes of varying sizes. Reduces the risk of the bit catching and damaging the sink. | More expensive than standard drill bits. | Ideal for drilling multiple hole sizes, especially for adding accessories like soap dispensers or faucets. |
| Cobalt Drill Bit | Very hard and heat-resistant, making it suitable for stainless steel. | Can be brittle and prone to breaking if not used carefully. | Good for drilling a single, specific hole size. |
| Hole Saw | Creates large-diameter holes. | Can be difficult to control and may cause the sink to vibrate. | Best for very large holes where precision is less critical. |
| Titanium Drill Bit | Durable and versatile for various materials. | Not as effective as cobalt or step drill bits for stainless steel. | Suitable for lighter-duty drilling tasks. |
Safety Tips for Drilling Stainless Steel
Safety is always the top priority. Keep these tips in mind as you work:
- Wear Safety Glasses: Protect your eyes from flying metal shards.
- Use Gloves: Protect your hands and improve your grip.
- Go Slow: Rushing can lead to mistakes or injuries.
- Apply Cutting Oil: Keep the drill bit cool and lubricated.
- Secure the Sink: If possible, clamp the sink to a stable surface to prevent it from moving.
- Unplug the Drill: When changing bits or making adjustments, unplug the drill to prevent accidental starts.
- Deburr the Hole: Remove sharp edges to prevent cuts.
Troubleshooting Common Issues
Sometimes, things don’t go exactly as planned. Here are some common problems and how to fix them:
| Problem | Possible Cause | Solution |
|---|---|---|
| Drill bit slipping | No pilot divot or dull bit. | Use a center punch to create a divot. Replace or sharpen the drill bit. |
| Drill bit overheating | Not enough cutting oil or drilling too fast. | Apply more cutting oil. Reduce the drill speed. |
| Rough edges on the hole | Drilling too fast or dull bit. | Slow down the drilling speed. Use a deburring tool to smooth the edges. |
| Sink vibrating | Not secured properly. | Clamp the sink to a stable surface. |
| Drill bit getting stuck | Too much pressure or incorrect bit. | Reduce pressure and use a step drill bit designed for metal. |
Alternatives to Drilling
If you’re not comfortable drilling, there are a few alternatives to consider.
- Use Existing Holes: See if you can use an existing hole for your new accessory.
- Hire a Professional: A plumber or handyman can drill the hole for you.
- Use a Self-Adhesive Mount: Some accessories can be mounted with strong adhesive pads.
Cost Considerations
Here’s a breakdown of the costs involved in drilling a hole in a stainless steel sink:
| Item | Estimated Cost |
|---|---|
| Step Drill Bit | $20 – $50 |
| Center Punch | $10 – $20 |
| Cutting Oil | $5 – $10 |
| Safety Glasses | $5 – $15 |
| Gloves | $5 – $10 |
| Deburring Tool (Optional) | $10 – $20 |
| Professional Installation | $50 – $150 |
Maintenance and Care
After drilling the hole, proper maintenance will keep your sink looking great for years to come.
- Clean Regularly: Wipe down the sink regularly with a mild detergent and water.
- Avoid Abrasive Cleaners: These can scratch the surface of the stainless steel.
- Dry the Sink: After cleaning, dry the sink to prevent water spots.
- Apply Stainless Steel Polish: Use a stainless steel polish to keep the sink shiny and protect it from corrosion.
External Resources
For more information and resources, check out these helpful links:
- Occupational Safety and Health Administration (OSHA): Provides safety guidelines for working with power tools.
- The Family Handyman: Offers DIY tips and tutorials for home improvement projects.
- Bob Vila: Features expert advice on home renovation and maintenance.
FAQ: Drilling a Hole in a Stainless Steel Sink
Is it hard to drill a hole in a stainless steel sink?
Not really! With the right tools (like a step drill bit) and a slow, steady approach, it’s a manageable DIY task. Just remember to use cutting oil and take your time.
What kind of drill bit do I need for stainless steel?
A step drill bit (UniBit) is your best bet. It makes clean, round holes and reduces the risk of the bit catching. Cobalt drill bits are also a good option.
Do I need cutting oil to drill stainless steel?
Absolutely! Cutting oil keeps the drill bit cool and lubricated, preventing overheating and extending the life of the bit. It also helps create a cleaner hole.
Can I use a regular drill bit for stainless steel?
While you *can* use a regular drill bit, it’s not recommended. Step drill bits and cobalt bits are designed for hard metals like stainless steel and will give you much better results.
What if the drill bit slips when I start drilling?
Make sure you’ve created a pilot divot with a center punch. This gives the drill bit a starting point and prevents it from wandering. Also, start drilling at a very slow speed.
How do I prevent the stainless steel from denting when drilling?
Use a step drill bit, apply gentle pressure, and go slow. Avoid forcing the drill bit. You can also place a piece of wood or rubber on the underside of the sink to provide extra support.
What should I do after drilling the hole?
Deburr the edges of the hole to remove any sharp burrs. Clean the area with a damp cloth to remove any metal shavings or cutting oil.
Conclusion
There you have it! Drilling a hole in your stainless steel sink doesn’t have to be scary. By following these steps, you can add that new faucet, soap dispenser, or sprayer with confidence. Remember to take your time, use the right tools, and prioritize safety. With a little patience, you’ll have a professional-looking result that enhances your kitchen’s functionality and style. Now, go ahead and tackle that project – you’ve got this!