Picture this: You walk into your favorite diner, and the neon sign is flickering. It’s supposed to shine bright, but instead, it looks sad and dim. Have you ever wondered how to fix a neon sign so it can glow again? Neon signs add fun and charm to places, but they can break. Knowing how to fix a neon sign can not only save it but also keep the atmosphere lively.
Maybe you received an old neon sign as a gift. Or perhaps you want to repair one you found at a garage sale. It’s exciting to think you can bring it back to life! Learning how to fix a neon sign is easier than you think. In this article, we will explore simple steps and tips to make your sign shine brightly once more. Ready to dive in? Let’s get started!
How To Fix A Neon Sign: Troubleshooting Tips And Tricks
How to Fix a Neon Sign
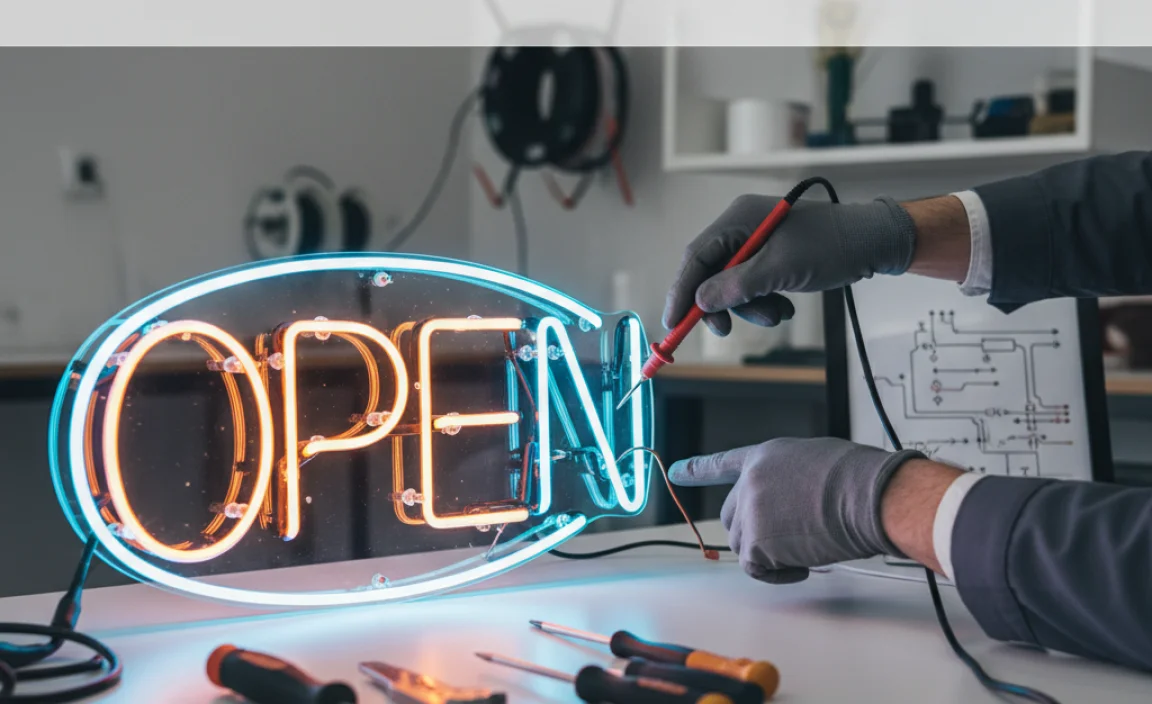
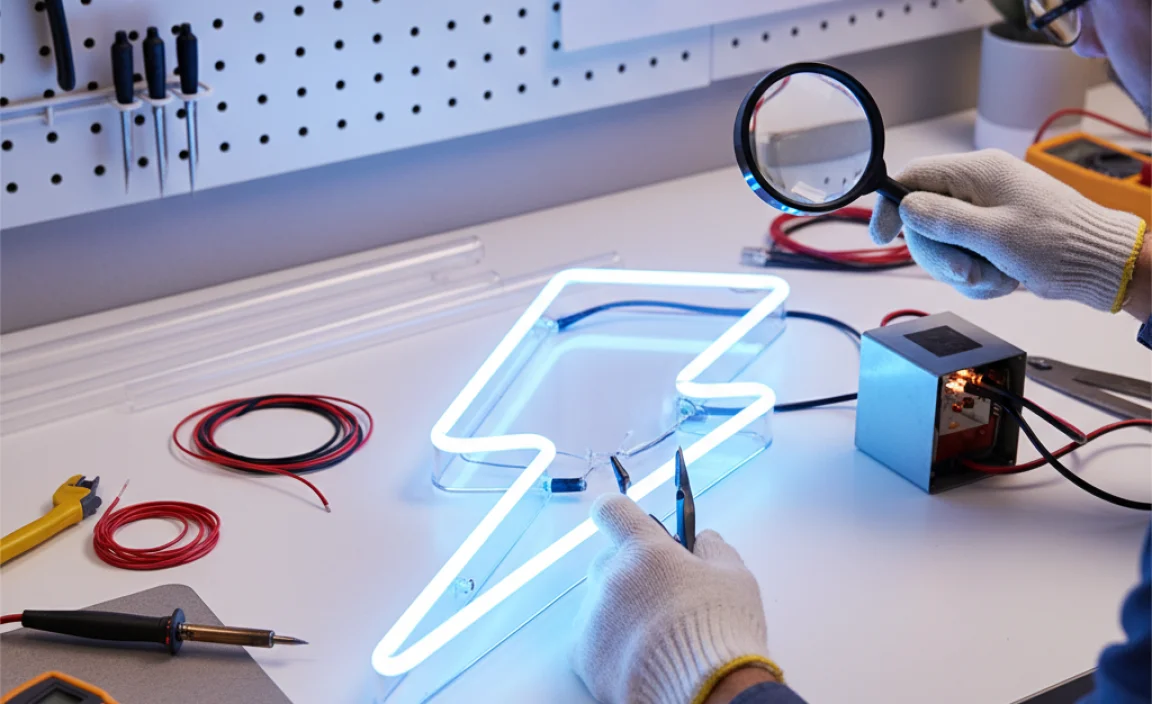
Learning how to fix a neon sign can be exciting and rewarding. Start by unplugging the sign for safety. Inspect the glass tubes for cracks and breaks. Did you know that sometimes, simply re-seating the tubes can fix flickering lights? Use a multimeter to check electrical connections. Once repairs are made, reassemble and plug it in. You’ll love seeing your neon sign shine bright again. What a fun way to add character to your space!
Understanding Neon Signs
Explanation of how neon signs work. Common components of neon signs.
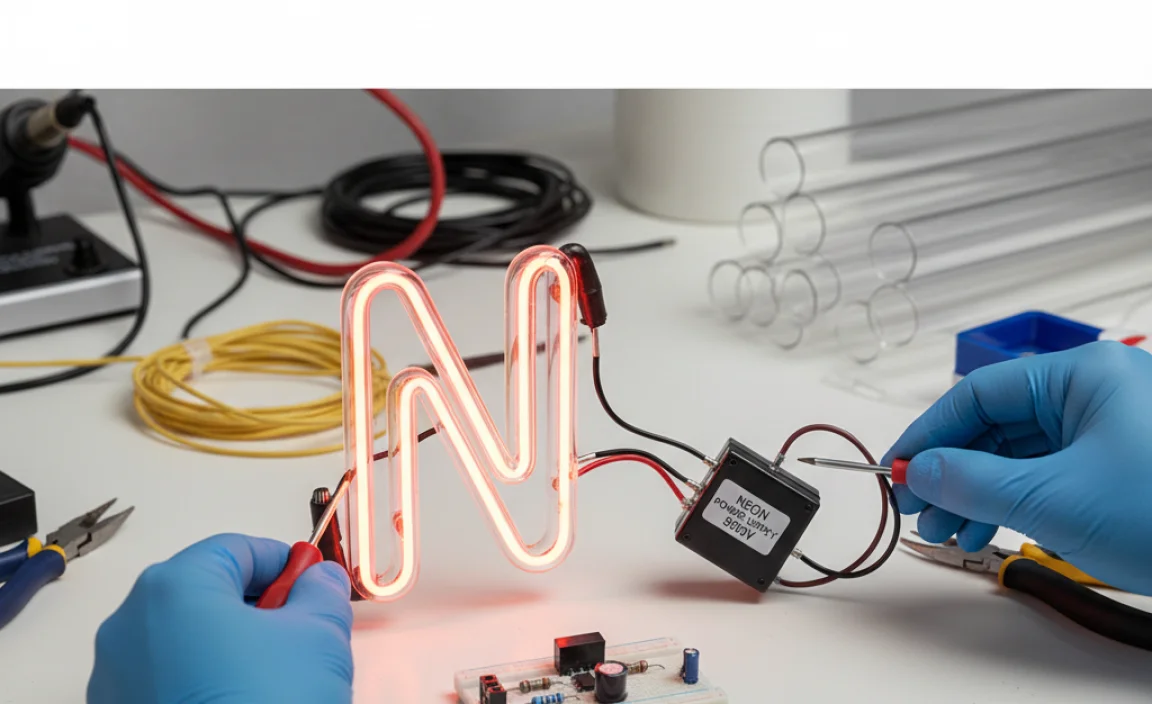
Neon signs are bright, eye-catching lights made from glass tubes filled with gas. When electricity flows through these tubes, the gas glows, creating beautiful colors. The main parts of a neon sign include neon gas, the glass tubes, electrodes, and a power supply to keep the magic going. Think of it like a glow stick but on a larger scale! The neon gas is shy, but with a little zap, it shines like a star. Sometimes, these signs need a little TLC to keep glowing bright.
| Component | Function |
|---|---|
| Neon Gas | Glows when electrified |
| Glass Tubes | Holds the neon gas |
| Electrodes | Send electric current |
| Power Supply | Powers the sign |
Identifying Common Issues
signs. Diagnostic steps to identify specific problems.
Neon signs can be as temperamental as a cat in a bath! To spot problems, look for flickering lights or dead sections. These signs often signal a malfunction. Start by checking the power source. Ensure it’s plugged in and the outlet is working. If all seems fine, peek at the bulbs and tubes for cracks or discoloration. Remember, a neon sign should glow bright like your future!
| Common Issues | Diagnostic Steps |
|---|---|
| Flickering Lights | Check power supply; inspect bulbs. |
| Dead Sections | Look for broken tubes; test connections. |
Taking these steps can help you troubleshoot issues and bring your neon back to life. Don’t worry; even the brightest stars have their off days!
Safety Precautions Before Repairing
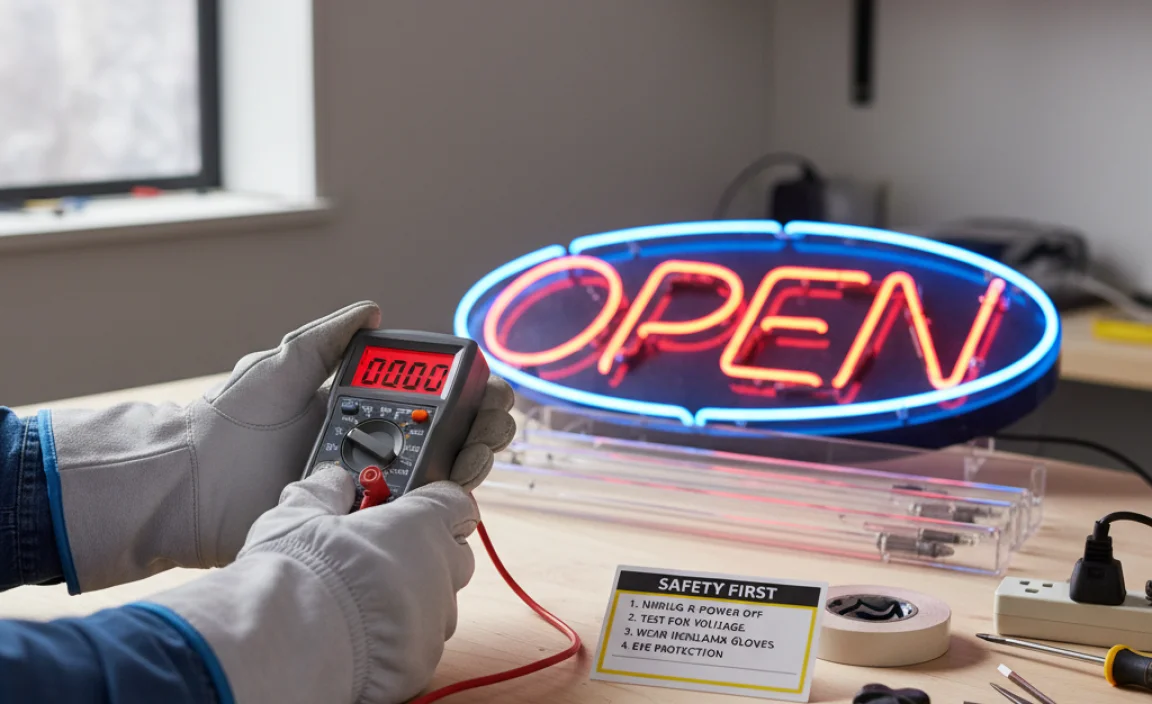
Essential safety gear and tools needed. Importance of power disconnection and handling gas with care.
Before diving into the exciting world of neon sign repairs, let’s make sure you’re safe. First, wear essential gear like gloves and safety goggles. You wouldn’t want sparks flying into your eyes, right? Next, always unplug the sign before starting work. This is crucial! Power disconnection keeps you safe from electric shocks. Also, be careful with any gas involved—just like how you wouldn’t tease a bear, don’t mess with gases! Handle them gently.
| Essential Gear | Purpose |
|---|---|
| Gloves | Keep your hands safe. |
| Safety Goggles | Protect your eyes. |
Tools Required for Repair
List of essential tools for neon sign repair. Description of specialized equipment for neon work.
Fixing a neon sign can be a fun adventure! Before diving in, you’ll need a few important tools. Grab some neon gas to refill the tubes and a transformer to send that shocking energy through. Don’t forget a trusty glass cutter for any glass work and a heat source to help bend the tubes. Safety goggles are a must—after all, we want to keep your eyes safe while you tackle this glowing challenge!
| Tool | Description |
|---|---|
| Neon Gas | Essential for refilling empty tubes. |
| Transformer | Powers your sign, giving it that brilliant glow. |
| Glass Cutter | Helps shape the glass tubes just right. |
| Heat Source | Used to bend glass tubes safely. |
| Safety Goggles | Protect those eyes while you work! |
Repairing a Leaking Neon Tube
Stepbystep procedure to locate and fix leaks. Techniques for resealing and refilling neon gas.
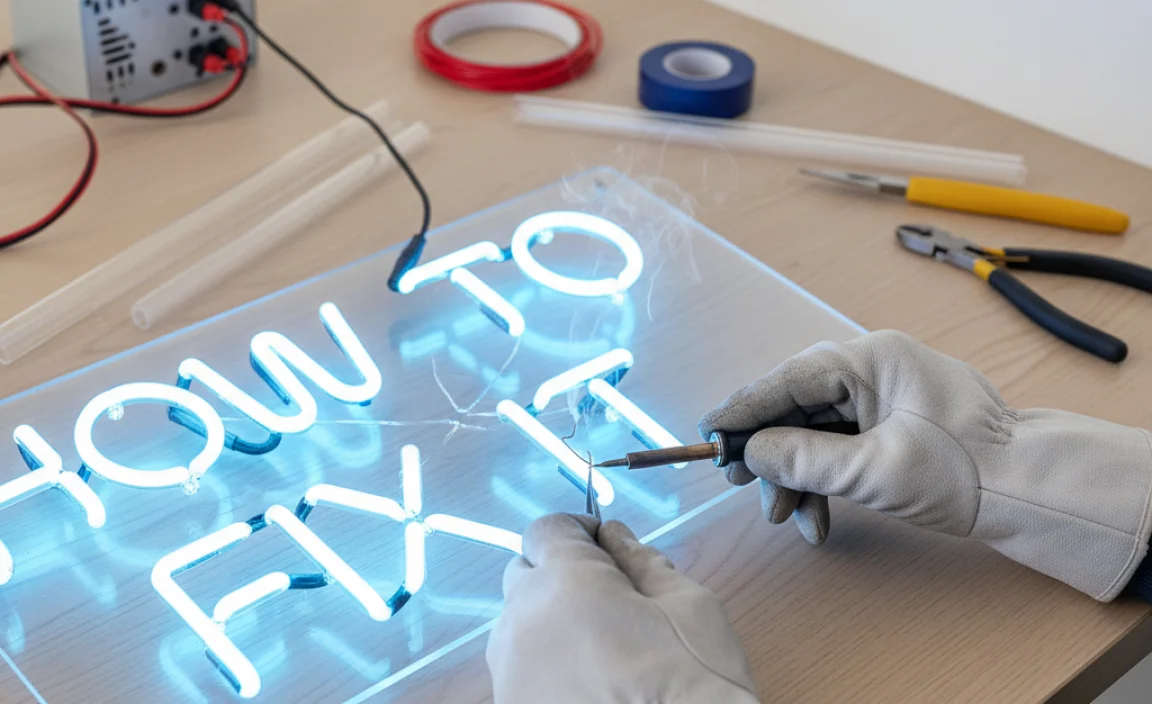
Finding a leak in your neon tube can feel like a treasure hunt. Start by inspecting the tube carefully for any cracks or holes. You might need a flashlight to spot the sneaky leaks. Once you find the problem, you can patch it up! Use special sealant to cover the gap. After that, you’ll need to refill the tube with neon gas. It’s like giving your sign a breath of fresh air! Now, just sit back and watch it glow like a superstar again.
| Step | Action |
|---|---|
| 1 | Inspect the neon tube for cracks. |
| 2 | Apply sealant to the leak. |
| 3 | Refill the tube with neon gas. |
| 4 | Check if the sign lights up! |
A little practice can turn you into a neon sign doctor! Remember, a glowing sign brings joy to everyone, and a working one can even spark joy in you! Why did the neon sign feel stressed? Because it had too many flashing thoughts!
Replacing Broken or Burnt-Out Parts
Guide to identifying broken electrodes or tubing. Instructions on sourcing and replacing components.
To fix a neon sign, check for broken electrodes or tubes. Look closely at the glass. Is there a crack or missing part? Broken electrodes can cause the light to not work. Here’s how to source and replace them:
- Check local hardware stores or online suppliers.
- Look for replacement tubes that match your sign’s color and size.
- Use safety gear, like gloves, when handling glass.
- Follow instructions carefully to avoid further damage.
Replacing these parts can bring your neon sign back to life!
How do I know if my neon sign needs repair?
Look for flickering lights or dark spots. These signs often mean parts are burnt out or broken. Repairing them can save your sign!
Rewiring Electrical Connections
Explanation of how electrical connections fail. Detailed steps for rewiring neon signs safely.
Electrical connections in neon signs can fail due to wear and tear or moisture absorption. When connections get loose or corroded, the light can flicker or stop working completely. Don’t worry! Rewiring this lighting treasure is simple. Here’s how:
| Step | Action |
|---|---|
| 1 | Unplug the sign from the power source. Safety first! |
| 2 | Check for broken wires. A “shocking” discovery! |
| 3 | Strip the ends of the wires carefully. |
| 4 | Connect the wires with wire nuts. Twist them tightly! |
| 5 | Test the sign by plugging it back in. Fingers crossed! |
With these easy steps, you can breathe new light into your neon sign! Remember, if it still doesn’t shine, it might be time to ask a pro! After all, nobody wants a grumpy neon sign around.
Testing Your Repair
How to conduct a thorough final check. Proper procedures for reenergizing and testing the sign.
After making repairs, it’s time to check your neon sign carefully. Start by inspecting all parts to ensure everything is firmly connected and looks right. Next, follow these steps for a safe test:
- Plug in the neon sign securely.
- Turn on the power switch slowly.
- Watch for flickers or unusual sounds.
- Look for any dark spots or breaks in the light.
- Turn it off if something seems wrong.
This quick test helps you catch any issues before your sign goes back up. Remember, taking your time now can save you a lot of work later!
How can I check if my neon sign is working?
Check for glowing sections and listen for a humming sound. Fix any flickering lights and ensure there are no dark spots. This means your repairs worked well!
Preventive Maintenance Tips
Best practices to extend the lifespan of neon signs. Regular maintenance tasks to look out for.
To keep neon signs glowing brightly, regular care is key. Simple tasks can help extend their life.
- Check for cracks or damage.
- Dust and clean the glass often.
- Look for flickering lights.
- Inspect the connections for rust.
- Turn them off during storms.
These habits make a big difference. Remember, happy neon signs shine longer!
How can you maintain a neon sign?
Regular checks, cleaning, and prompt repairs can help maintain a neon sign’s brightness and lifespan.
Conclusion
In conclusion, fixing a neon sign involves checking for power, inspecting tubes, and replacing broken parts. First, ensure it’s unplugged for safety. Then, look for visible damage or burnt-out sections. If you feel unsure, it’s best to call a professional. You can learn more about repairs in guides or videos. Enjoy restoring your neon sign to bright glory!
FAQs
What Are The Common Issues That Can Cause A Neon Sign To Stop Working?
Neon signs can stop working for a few reasons. First, there might be a power failure. If the wires are broken, the sign won’t light up. Sometimes, the glass tubes can crack or get damaged. Finally, old signs may just quit working after a long time.
How Can I Identify If A Neon Sign Gas Leak Is Present And What Should I Do About It?
To check for a gas leak in a neon sign, look for any hissing sounds or strange smells. You might also see bubbles in the glass. If you notice any of these signs, turn off the sign immediately and do not touch it. Leave the area and tell an adult to call a professional to fix it. Stay safe!
What Tools And Materials Are Needed For Repairing A Neon Sign?
To fix a neon sign, you need a few tools and materials. First, you’ll need a glass tube to replace broken parts. A soldering iron helps to join wires together. You also need neon gas to fill the tubes. Finally, safety goggles are important to protect your eyes while you work.
Is It Safe To Attempt To Fix A Neon Sign Myself, Or Should I Hire A Professional?
It’s not safe to fix a neon sign by yourself. Neon signs have glass tubes and high voltage electricity, which can be very dangerous. If you try to fix it, you could get hurt. It’s best to hire a professional who knows how to do it safely. They can make sure the sign works well and is safe for you.
How Do I Properly Handle And Dispose Of Broken Neon Tubes To Ensure Safety?
To handle broken neon tubes safely, first, wear thick gloves to protect your hands. Carefully pick up the pieces using a stiff paper or cardboard. Put the glass bits in a strong, sealed bag. Do not throw them in the regular trash. Instead, take the bag to a special waste drop-off place that accepts broken glass.