Have you ever flicked a switch and nothing happened? That can be frustrating, right? One common reason for this is a faulty ballast in your light fixture. You might be surprised to learn how simple it is to install a ballast yourself.
Imagine transforming your dark room into a bright space with just a few tools. Many people don’t realize that changing a ballast can be a quick fix. With a little guidance, you can tackle this task in no time.
So, are you ready to dive into the world of home lighting? Installing a ballast might sound tricky, but it doesn’t have to be. By following clear steps, you can make your light fixture work again. Let’s explore how to install a ballast and bring light back into your life!
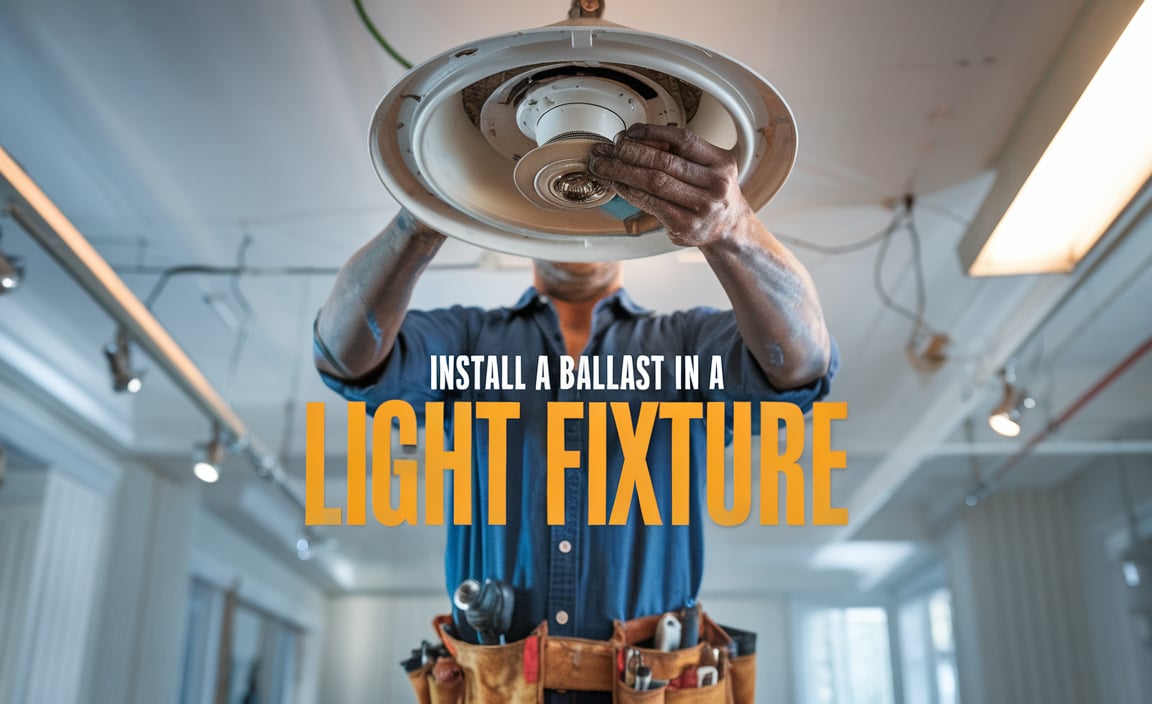
How To Install A Ballast In A Light Fixture: A Step-By-Step Guide
Installing a ballast in a light fixture isn’t as tricky as it seems. First, always turn off the power to stay safe. Next, remove the old ballast if necessary. You will need to connect wires in the correct order to the new ballast. Did you know that a good ballast helps your lights shine brighter and last longer? Check that everything is secure before turning the power back on. Enjoy your bright new lights!
Understanding Ballasts
Definition and function of a ballast. Types of ballasts (electronic vs. magnetic).
A ballast is an important part of a light fixture. It helps control the electricity flowing to the light. This keeps the light safe and functioning properly. There are two main types of ballasts: electronic and magnetic.
- Electronic Ballasts: They are small and energy-efficient. They turn on lights quickly and reduce flickering.
- Magnetic Ballasts: These are bigger and heavier. They use coils and transformers to control the electricity.
By choosing the right ballast, you can make your lights brighter and save energy.
What does a ballast do?
A ballast regulates voltage and current in a light fixture. It ensures lights stay bright and safe to use.
Tools and Materials Needed
List of essential tools for installation. Recommended types of ballasts for various fixtures.
Getting ready to install a new ballast? You’ll need a few handy tools and materials! Here’s a quick checklist:
| Tool/Material | Description |
|---|---|
| Wire Strippers | Perfect for removing insulation from wires—like peeling a banana without munching! |
| Screwdriver | To tighten screws and keep everything snug, like a warm hug! |
| Replacement Ballast | Choose electronic ballasts for energy savings and a quieter operation. |
| Voltage Tester | To check if the power’s off, ensuring you don’t end up with a shocking surprise! |
Now that you know what tools to grab, you’re one step closer to brightening up your space. Remember, a little preparation goes a long way—just like a good joke, it’s all about timing!
Safety Precautions
Importance of turning off power before installation. Protective gear and safety measures to consider.
Before diving into your light fixture adventure, power down! This step is crucial. Picture this: you step up to install the ballast, and—zap!—you become a human lightning rod! Trust me, nobody wants that. Put on some snug gloves and goggles, too. Safety first, fun later! And hey, why not use a buddy system? It’s always good to have someone nearby in case things go bump in the night!
| Safety Gear | Description |
|---|---|
| Gloves | Protects hands from sharp edges and electric shocks. |
| Goggles | Shields your eyes from debris or sparks. |
| Hard Hat | Good for avoiding any accidental bumps on the head! |
Being safe can save you from costly mistakes. Take these precautions, and you’ll be well on your way to lighting up your space without any shocking surprises!
Step-by-Step Installation Process
Removing the light fixture and old ballast. Wiring the new ballast correctly.
First, let’s get that old light fixture down. Carefully turn off the power. Then, unscrew the fixture and remove it. Don’t let it fall! That’s one heavy load off your head. Next, take out the old ballast. Check the wires and remember where they go—it’s like a light puzzle! Now, grab your new ballast and read the wiring guidelines carefully. Connect the wires. Follow color codes—red to red, black to black. It’s simple! But if you need help, don’t hesitate to ask an adult.
| Wire Color | Connection |
|---|---|
| Red | To Red Wire |
| Black | To Black Wire |
| White | To White Wire |
Troubleshooting Common Issues
Diagnosing flickering lights or ballast failure. Tips for fixing wiring mistakes or compatibility issues.
Flickering lights can be annoying. This often happens due to a faulty ballast or wiring problems. Here’s how to diagnose and fix these issues:
- Check the wiring connections. Loose wires can cause flickering.
- Inspect the ballast. If it’s old or damaged, replacing it may help.
- Test the bulb compatibility. Wrong types can cause issues too.
Using the right tools and methods makes fixing these problems easy. If problems persist, consult a professional for help.
What are the signs of ballast failure?
Common signs include flickering lights, humming noises, or the bulb not lighting up. Identifying these can save time and effort in repairs.
Maintaining Your Ballast and Fixture
Routine checks and maintenance tips. Signs that your ballast may need replacement.
Keeping your ballast and light fixture in great shape is key! Check your ballast regularly. Look for flickering lights or strange noises. Those are signs it might be time to replace it. Routine maintenance can save you from unexpected darkness! Regularly clean dust and debris off your fixtures. If bulbs burn out too quickly, there may be a problem. Keep an eye out—your lights will thank you!
| Signs of Trouble | What to Do |
|---|---|
| Flickering Lights | Check or replace the ballast |
| Strange Noises | Inspect for damage |
| Frequent Bulb Burnouts | Consider a ballast replacement |
When to Seek Professional Help
Criteria for determining when to call an electrician. Benefits of professional installation versus DIY.
Sometimes, tackling light fixture issues can feel like a game of whack-a-mole—just when you think you’ve solved one problem, another pops up. If you’re not sure what to do, it’s best to call an electrician. Signs to consider include persistent flickering lights or if you feel a bit scared handling wires, like they’re tiny snakes! Hiring a pro can save you time, headaches, and maybe a surprise visit from your local fire department. Plus, professional installation often comes with a warranty. Who doesn’t love peace of mind?
| Made the Right Call? | Why Get a Pro? |
|---|---|
| Confused about wiring? | Electricians are trained to handle it safely! |
| Wires looking like spaghetti? | Pros can tidy it up in no time! |
| Heard a strange noise? | Don’t ignore that! Get a pro for safety. |
Conclusion
In conclusion, installing a ballast in a light fixture can improve lighting quality. Start by turning off the power and removing the old ballast. Then, connect the new ballast following the instructions. We encourage you to read the manual carefully and take your time. With practice, you’ll become an expert in light fixture upgrades. Happy installing!
FAQs
What Tools And Materials Are Required For Installing A Ballast In A Light Fixture?
To install a ballast in a light fixture, you need a few tools and materials. You’ll need a screwdriver to open the light fixture. A wire cutter helps cut and strip the wires. You must also have the new ballast and some electrical tape. Lastly, safety glasses will protect your eyes while you work.
How Do You Safely Disconnect The Power Supply Before Beginning The Ballast Installation?
To safely disconnect power, first, find the main switch for your lights. Turn it off to cut the electricity. Next, check if the lights are off so you know it’s safe. If there are fuses, take them out too. Always be careful when working with electricity!
What Are The Steps To Remove The Old Ballast From The Light Fixture?
To remove the old ballast from the light fixture, first, turn off the power to the light. Then, take off the cover of the fixture. Next, look for the ballast, which is a small box attached to the wires. Carefully disconnect the wires by unscrewing or unplugging them. Finally, remove the ballast from the fixture.
How Do You Properly Connect The New Ballast To The Existing Wiring?
To connect the new ballast to the existing wiring, first, turn off the power. Then, take the wires from the ballast and match them with the wires from the light fixture. Connect the black wire from the ballast to the black wire from the fixture. Do the same with the white wire. Lastly, make sure all connections are tight and safe, then turn the power back on.
What Are The Common Mistakes To Avoid When Installing A Ballast In A Light Fixture?
When installing a ballast, make sure to turn off the power first. Check that you have the right type of ballast for your light. Don’t forget to connect the wires properly; mismatched wires cause problems. Also, be careful not to let the ballast touch anything metal. Finally, always double-check your work before turning the power back on.