Have you ever thought about how many times you use the toilet in a day? It’s more than we realize! Installing a new toilet might seem tough, but it can be a fun DIY project. Imagine transforming your bathroom with your own hands. What if I told you that installing a toilet is easier than it sounds?
Many homeowners choose to do it themselves. It’s not just about saving money; it’s also about gaining new skills. Plus, you can impress your friends and family with your handiwork. Did you know that a typical toilet can last over 50 years? Choosing to install one yourself can make it feel even more special.
This guide will show you **how to install a toilet** step-by-step. You don’t need to be a plumber. With a bit of patience and the right tools, you can do this! Get ready to take on the challenge and see the difference you can make in your home.
How To Install A Toilet: A Step-By-Step Guide
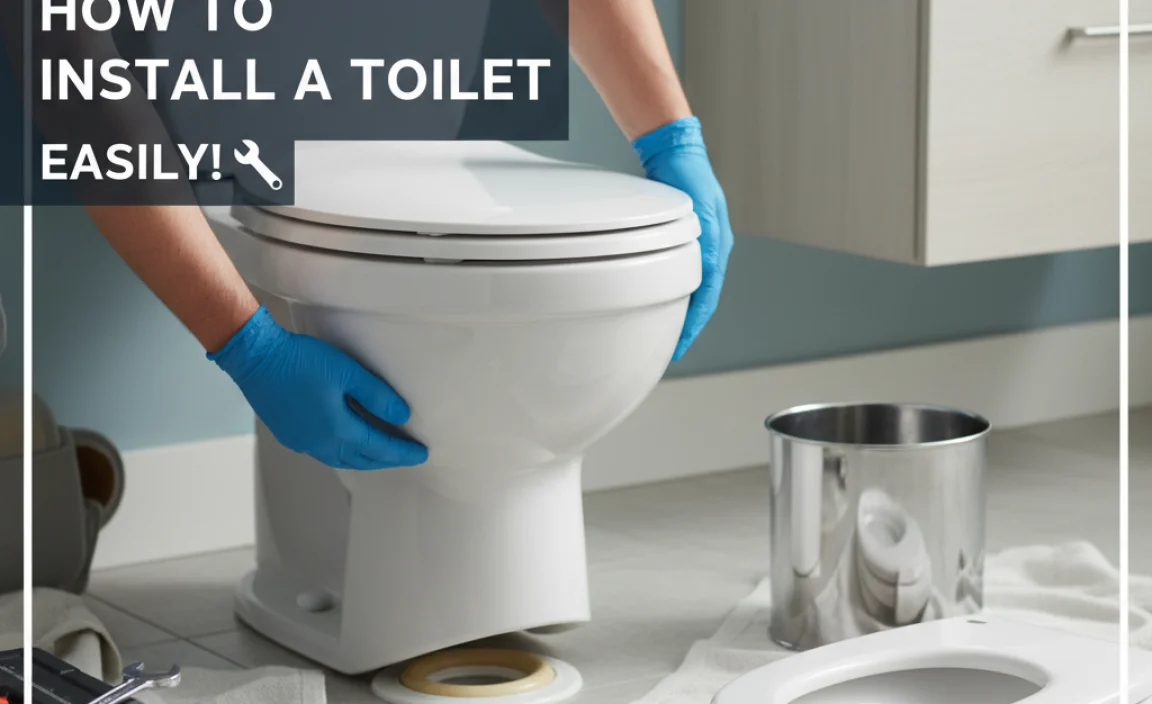
How to Install a Toilet
Installing a toilet can be a fun DIY project. First, gather your tools: a wrench, plumber’s tape, and a level. Did you know that a toilet can use up to 27 gallons of water daily? Choose your new model wisely to save water. Start by turning off the water supply. Then, remove the old toilet, ensuring you follow safety steps. Finally, secure the new toilet and connect the water. Enjoy your sparkling bathroom!
Preparing the Installation Site
Steps to remove the old toilet safely. Tips for cleaning and inspecting the area for damage.
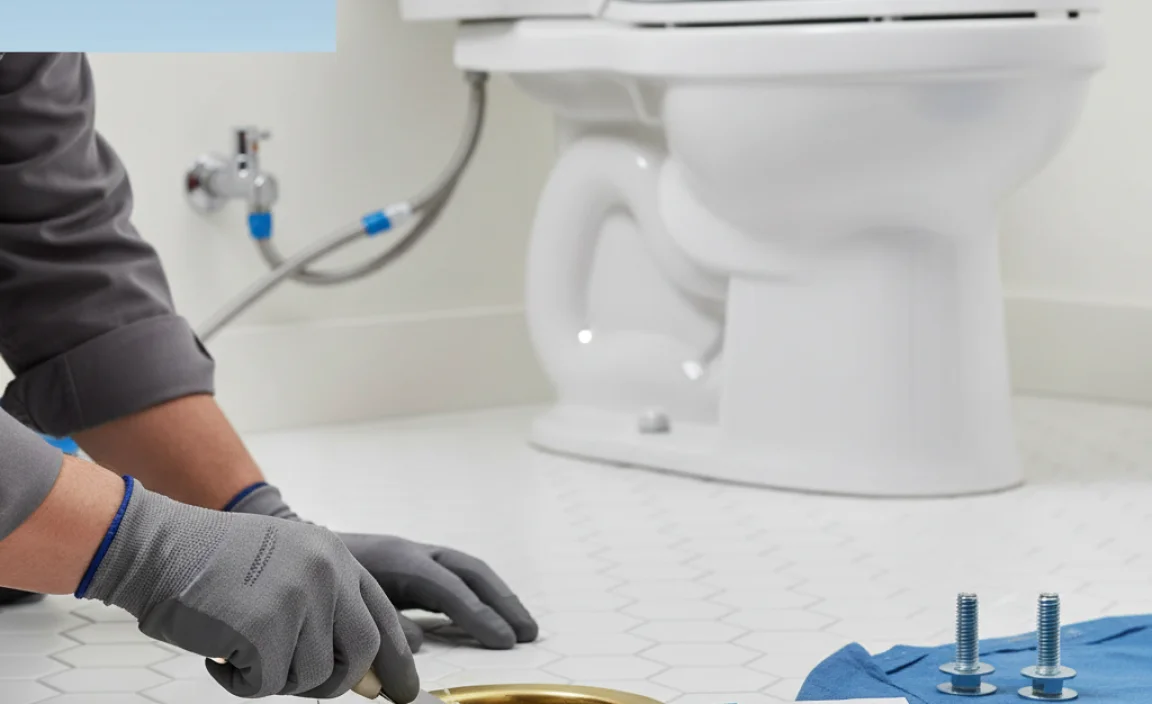
First, let’s say goodbye to your old toilet. Turn off the water supply. Then, flush it to drain the tank. Now, get ready to unscrew it. Use a wrench to take off the bolts holding it down. Be careful; it might be stuck like an old shoe! Next, lift it straight off and place it aside gently. Check for any damage. You want a safe spot for the new throne! Clean the area well, because nobody likes a dirty bathroom. And remember, a squeaky clean floor is a happy floor!
| Step | Action |
|---|---|
| 1 | Turn off water supply |
| 2 | Flush to drain tank |
| 3 | Unscrew bolts |
| 4 | Lift and safely remove old toilet |
| 5 | Inspect for damage |
| 6 | Clean the area |
Understanding the Toilet Components
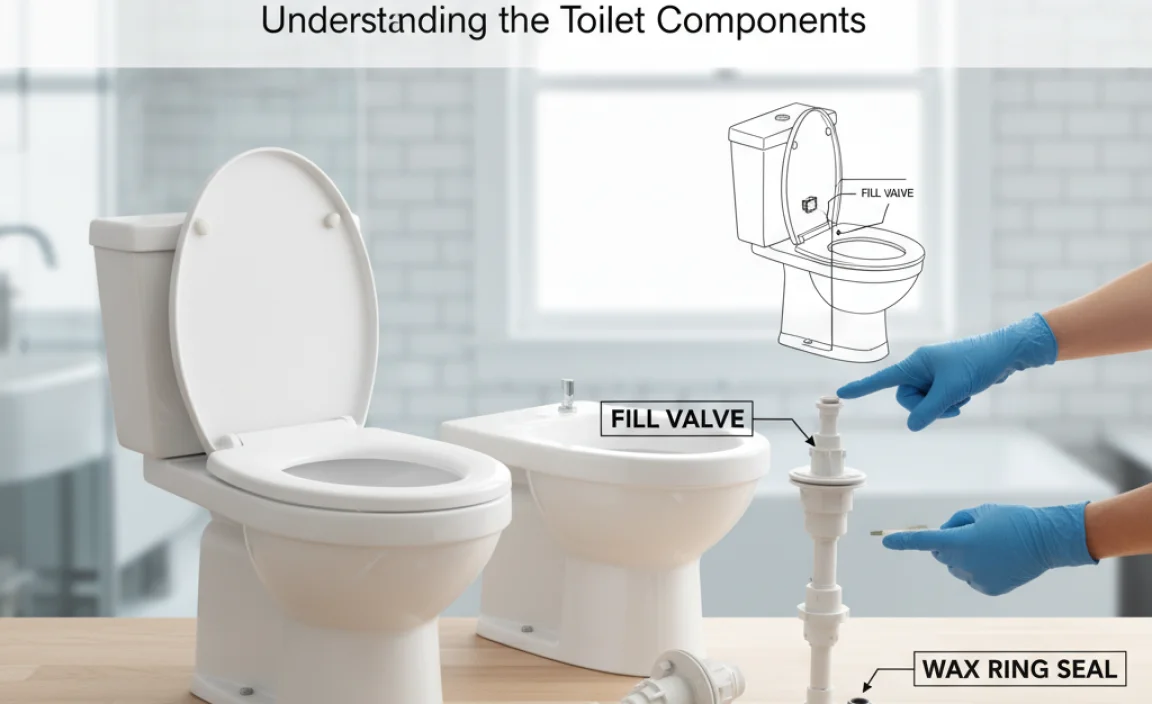
Explanation of toilet parts (tank, bowl, flange, etc.). Importance of each component in the installation process.
Every toilet has important parts that work together. Here’s a quick look at these components:
- Tank: This holds water for flushing.
- Bowl: This is where you sit. It collects waste.
- Flange: This connects the toilet to the floor and prevents leaks.
- Wax Ring: Seals the flange and toilet for no leaks.
Each part plays a key role in the toilet’s function. Knowing these parts helps you during installation and keeps everything running smoothly.
What are the main parts of a toilet?
The main parts of a toilet include the tank, bowl, flange, and wax ring. Understanding these helps with installation and maintenance.
Installing the Toilet Flange
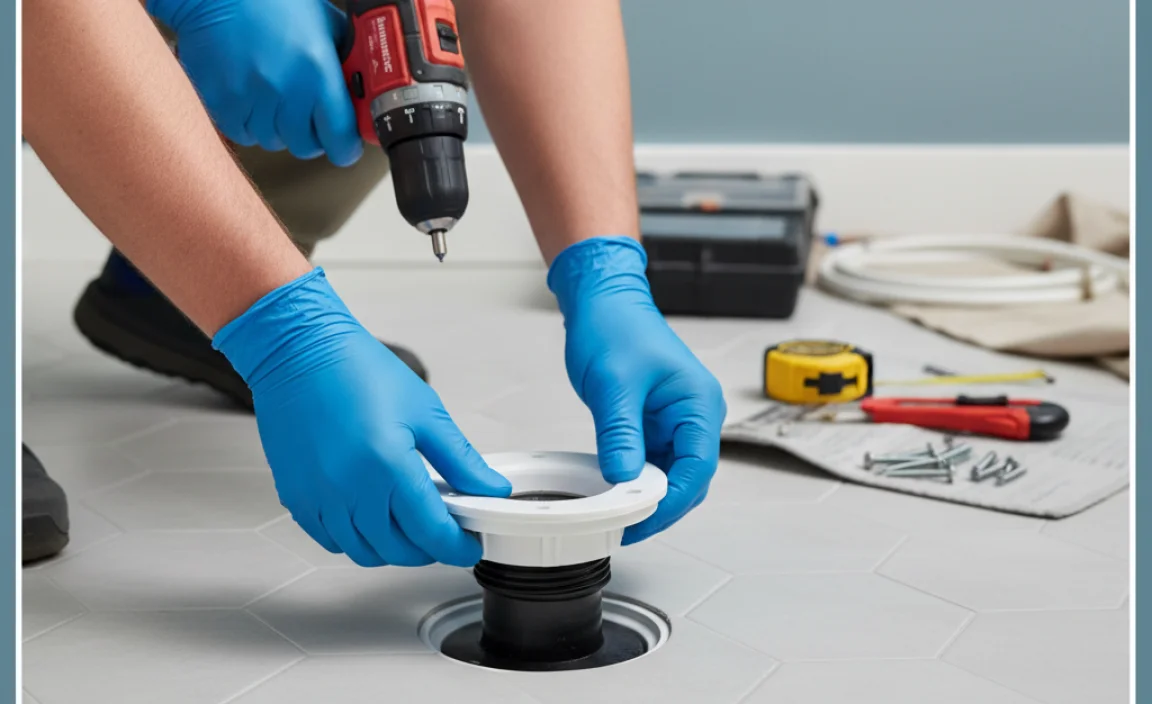
Proper positioning and securing of the toilet flange. Tips for ensuring a watertight seal.
First, you need to set the toilet flange right above the drain pipe. Make sure it’s flat and snug against the floor. It can get wobbly otherwise, and we don’t want any toilet dances! Secure it using screws—four should do the job. To ensure a watertight seal, use a wax ring. It’s like a cozy blanket for your toilet! No leaks mean no mess. Remember, happy toilets make happy homes!
| Tip | Description |
|---|---|
| Positioning | Ensure the flange is level and tight against the floor. |
| Securing | Use four screws for a sturdy hold. |
| Seal | Use a wax ring for leak-proofing. |
Setting the Wax Ring
How to properly place and align the wax ring on the flange. Common mistakes to avoid during this step.
First, place the wax ring on the toilet flange. Make sure the flat side faces down. Align the ring with the bolts on the flange. Press it gently to create a seal. Avoid these common mistakes:
- Don’t stretch the wax ring too much.
- Ensure it sits evenly; otherwise, the toilet may leak.
- Check for any debris on the flange before placing the ring.
By following these steps, you make a firm base for your toilet.
What is the best way to place the wax ring?
Make sure it fits snugly and is aligned with the bolts. Press it down evenly for a good seal. Double-check for leaks!
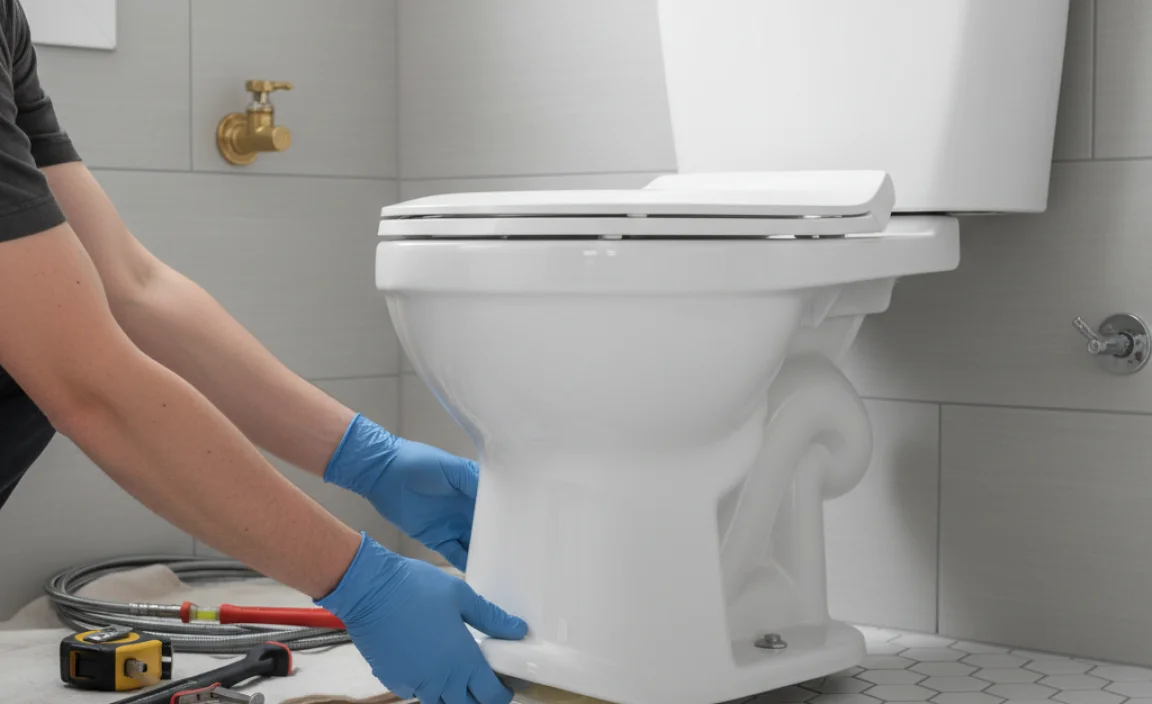
Mounting the Toilet Bowl
Stepbystep process for positioning the toilet bowl. Ensuring the bowl is level and securely anchored.
Start by placing the toilet bowl over the wax ring. Make sure the holes at the base of the bowl line up with the floor bolts. Press down gently to seal the wax. Then, check if the bowl is level using a level tool. If it isn’t, adjust it by adding shims under the base. Finally, secure the bowl by tightening the nuts onto the bolts. This keeps your toilet steady.
How do I know if my toilet bowl is secure?
You can check if your toilet bowl is secure by gently pushing it. If it moves at all, it is not tight enough. Always make sure it feels solid before you use it.
Steps to ensure stability:
- Use a level to check balance.
- Add shims under the bowl if needed.
- Tighten bolts firmly, but don’t overdo it.
Connecting the Tank
Detailed instructions for attaching the tank to the bowl. Importance of proper tightening and leak checks.
To attach the tank to the bowl, follow these simple steps. First, place the tank on top of the bowl. Make sure the holes align. Use the washers and nuts provided. Hand-tighten the nuts first to hold everything in place. Then, use a wrench for a proper tightening. Don’t overtighten, as this can cause cracks. After that, check for leaks by turning the water on and looking or feeling for drips. Make sure everything is secure!
How do I know if my toilet tank is securely attached?
Your toilet tank is securely attached if:
- It feels stable when you gently shake it.
- No water leaks appear when you fill it.
- All nuts are tight but not overly so.
Connecting the Water Supply
Steps to connect the water supply line to the toilet. Tips for checking for leaks and proper functioning.
To connect the water supply line to your new toilet, follow these steps:
- First, find the shut-off valve near the wall.
- Next, attach the water supply line to the valve. Tighten it by hand.
- Then, fasten the other end to the fill valve on the toilet.
- Turn on the water supply and check for leaks.
If you see water, tighten the connections carefully. A good tip is to listen for any sounds of running water. Check every few minutes. This helps ensure everything is working right!
How do I know if there’s a leak?
Look for water spots or puddles around the toilet. If you see any, check the connections again!
Final Adjustments and Testing
Instructions for adjusting the flush mechanism and seat. How to test the toilet for leaks and functionality before concluding the installation.
After connecting everything, it’s time for final touches. Start by adjusting the flush mechanism. Make sure the water level is right. You can adjust the float arm for better flushing. Next, check the toilet seat. Tighten it so it doesn’t wobble.
Now, it’s time for some testing. Flush the toilet a few times. Check for leaks around the base and connections. Look for any cracks or drips. Take care of issues right away, to avoid bigger problems later.
How do I check for leaks after installation?
To check for leaks, observe water around the base and pipes. If water gathers, you need to tighten connections. Run a dry cloth around the edges to spot any moisture. This ensures your toilet works properly.
Conclusion
To install a toilet, start by gathering tools and supplies. Next, remove the old toilet and prepare the new one. Follow clear steps to connect and secure it. Don’t forget to check for leaks. By doing it yourself, you save money and learn something new. For more tips, consider reading guides or watching videos for a helpful visual approach.
FAQs
What Tools And Materials Are Needed For Installing A Toilet?
To install a toilet, you need a few tools and materials. First, you will need a wrench to tighten bolts. You also need a screwdriver to help with screws. Don’t forget a new toilet, a wax ring, and some bolts to hold it down. Finally, have a towel ready to clean up any water spills!
How Do You Properly Prepare The Area Before Installing A New Toilet?
To prepare the area for a new toilet, start by turning off the water supply. Then, flush the old toilet to empty the tank and bowl. Next, remove the old toilet by unscrewing it from the floor. Clean the floor and the area where the new toilet will go. This makes sure everything is ready for the new toilet!
What Steps Should Be Followed To Remove An Old Toilet Before Installing A New One?
To remove an old toilet, first, turn off the water by finding the valve behind the toilet. Next, flush the toilet to empty the tank. Then, use a sponge to soak up any water left in the bowl. After that, unscrew the bolts at the base and carefully lift the toilet off. Finally, place the old toilet aside and clean the area before putting in the new one.
How Can You Ensure A Proper Seal When Installing The Toilet To Prevent Leaks?
To make sure your toilet doesn’t leak, first, clean the area where it will sit. Then, put a new wax ring on the toilet base. Next, carefully lower the toilet onto the wax ring. Press down gently to make a good seal. Finally, tighten the bolts evenly so the toilet stays secure.
What Are Some Common Troubleshooting Tips For Issues That May Arise After Installing A Toilet?
If your toilet is leaking, check the water connections and tightness of the bolts. Tighten any loose parts carefully. If it keeps running, the flapper might not be sealing well. You can replace it easily. If the toilet wobbles, add shims under the base to keep it steady. Always remember to turn off the water before making changes!