Have you ever looked under your bathroom sink and wondered what all those pipes do? Installing pex pipe to your bathroom sink might seem tricky, but it can be done with a bit of guidance. Imagine saving money by doing it yourself instead of hiring a plumber!
Pex pipes are flexible, easy to install, and great for changing your plumbing setup. Plus, they don’t need special tools. That sounds like a win, right?
In this article, we will break down how to install pex pipe to your bathroom sink step by step. You’ll learn how to measure, cut, and connect the pipes like a pro. How cool would it feel to show off your DIY skills to family and friends?
Let’s dive in and make your bathroom sink renovation a fun project!
How To Install Pex Pipe To Bathroom Sink: A Step-By-Step Guide

How to Install PEX Pipe to Bathroom Sink
Installing PEX pipe to a bathroom sink can be easy and fun. First, gather your tools like a pipe cutter and PEX fittings. Next, cut the PEX pipe to the desired length. Make sure to measure carefully to avoid mistakes. Did you know PEX is flexible? This means it can fit in tight spaces without leaking. Once connected, use a wrench to tighten the fittings. Your sink should be ready to use in no time!
Understanding PEX Pipe
Definition and benefits of PEX pipe in plumbing. Comparison with traditional piping materials.
Pex pipe is a flexible plumbing material. It’s made from cross-linked polyethylene. This type of pipe is easier to work with than traditional materials like copper or PVC. Here are some benefits of using PEX:
- Flexibility: PEX bends easily around corners.
- Durability: It resists corrosion and scaling.
- Cost-effective: Installing PEX is often cheaper.
Unlike traditional piping, PEX doesn’t need as many fittings. This means fewer leaks. Many plumbers prefer PEX for its quick installation. Overall, PEX is a strong choice for modern plumbing needs.
Why is PEX better than copper?
PEX is lighter, more flexible, and doesn’t corrode. This makes it easier to install and safer for long-term use.
Tools and Materials Needed
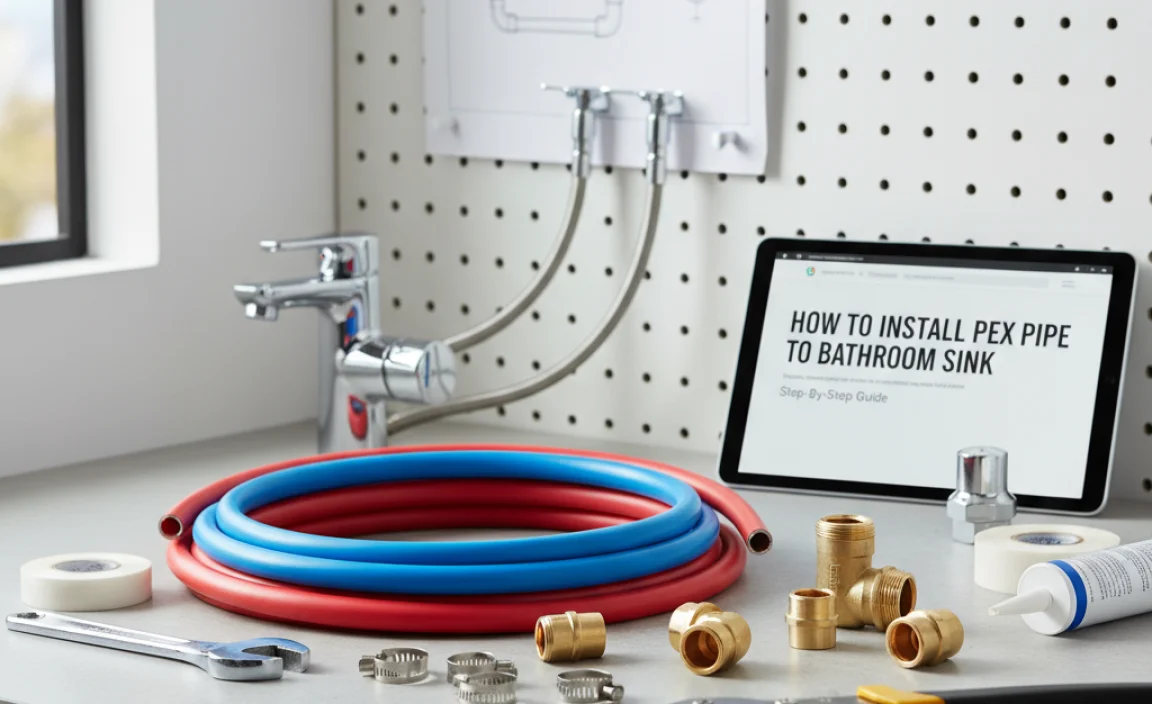
List of essential tools required for installation. Types of PEX pipe and fittings for bathroom sink.
To install PEX pipe for your bathroom sink, gather these tools and materials first:
- PEX pipe
- PEX fittings
- Pipe cutter
- Measuring tape
- Pencil for marking
- Adjustable wrench
- Pipe support clamps
For the PEX pipe, choose either red for hot water or blue for cold. Fittings connect the pipes, ensuring a secure flow. With these items ready, you are set to start your project!
What tools do I need to install PEX pipe?
You’ll need basic tools like a pipe cutter and adjustable wrench for the installation.
Preparing for Installation

Steps for shutting off water supply. Importance of measuring and planning the layout.
First things first, you need to turn off the water supply. Look for the valves under your sink; it’s like finding hidden treasure! Turn them clockwise to stop the flow. Next, planning is key. Measure your bathroom sink area carefully. It’s like playing a game of Tetris—everything needs to fit just right. A little prep can save you a soggy mess later!
| Step | Action |
|---|---|
| 1 | Turn off water valves |
| 2 | Measure your space |
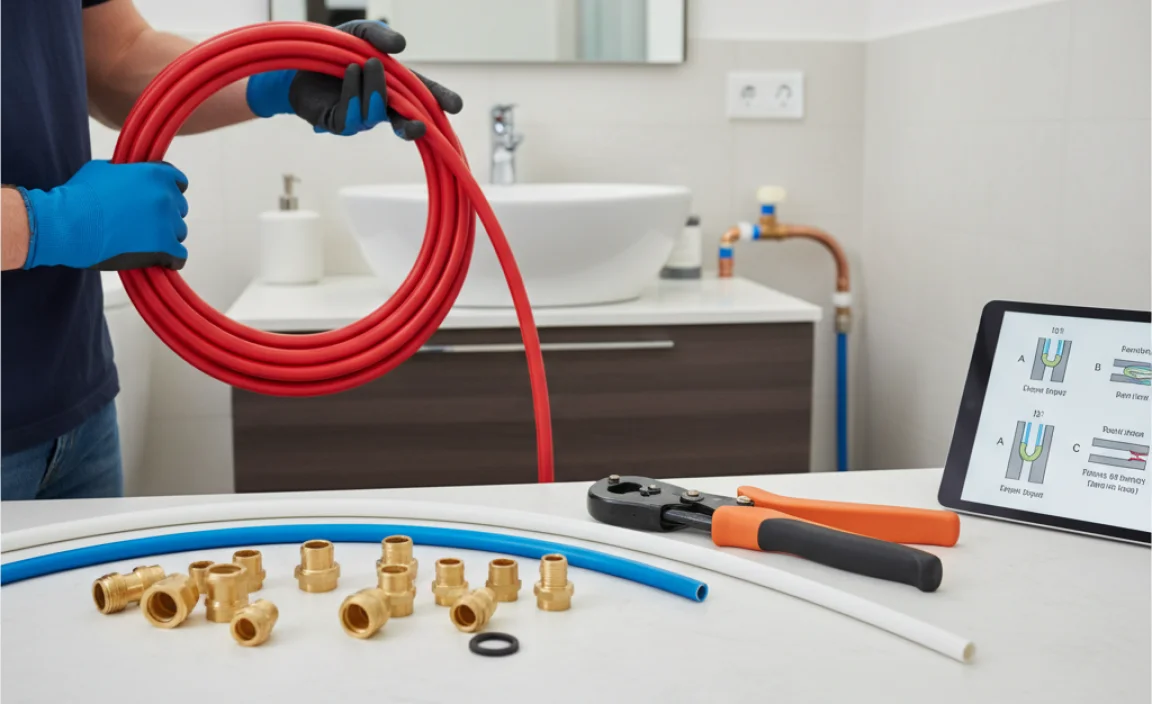
Cutting and Joining PEX Pipe
Techniques for cutting PEX pipe accurately. Methods for joining PEX fittings securely.
To cut PEX pipe accurately, use a pipe cutter for a clean edge; it’s like giving your pipe a haircut! Make sure to measure twice and cut once, or you might end up with a mini pipe for your dollhouse! When it comes to joining PEX fittings, you have options. Use crimp rings or push-fit connectors. These are like little hugs for your pipes, keeping them snug. Don’t forget to check for leaks—nobody likes an unexpected indoor fountain!
| Technique | Description |
|---|---|
| Pipe Cutter | Easy and clean cuts. |
| Crimp Rings | Secure and reliable joins. |
| Push-fit Connectors | No extra tools needed! |
Installing the PEX Pipe under the Sink
Stepbystep guide for routing the pipe. Tips for ensuring proper sealing and support.
First, measure the space under your sink. Cut the pex pipe to size, leaving a bit extra for mistakes—everyone makes them! Next, gently push the pipe through any clamps or supports without forcing it. Ensure it’s snug but not too tight; you’re not giving it a hug!
For sealing, use Teflon tape around threaded joints to prevent leaks. Last but not least, check that everything is connected properly. Once done, give it a little tug. If it stays put, you’re golden! Now, if only installing your dishwasher was as easy!
| Tip | Description |
|---|---|
| Measure twice | Don’t cut until you’re sure! |
| Seal well | Use Teflon tape for leak-free joy. |
| Support | Use clamps to keep the pipe in place. |
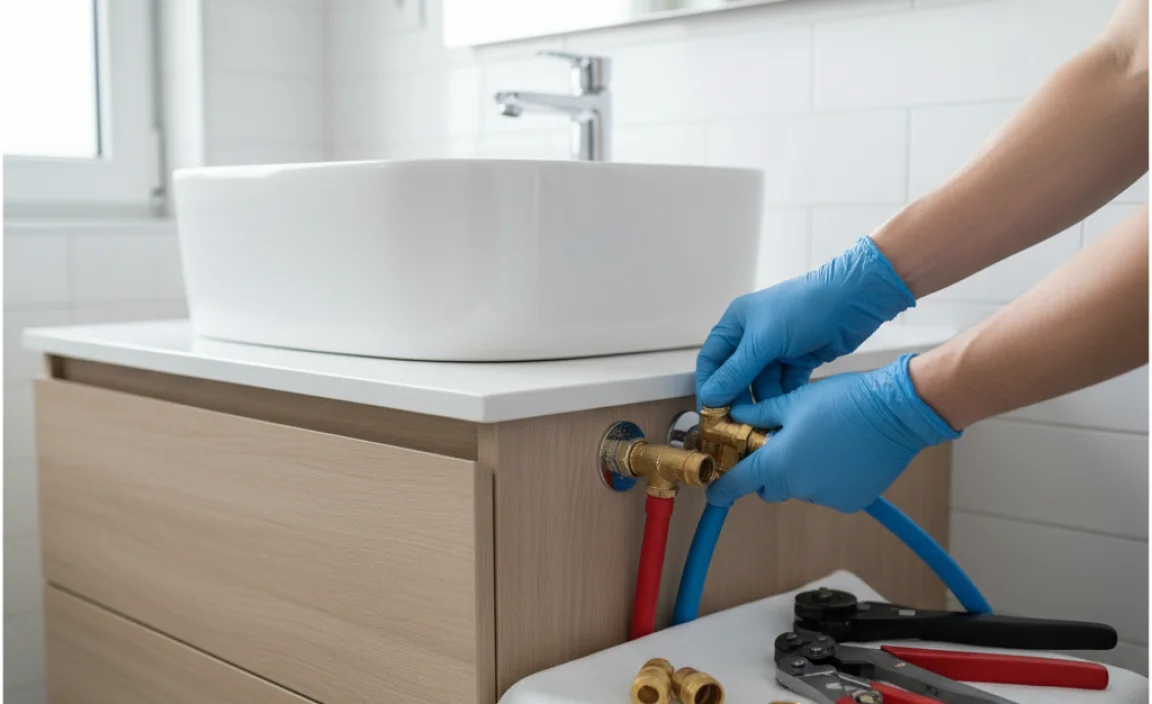
Connecting to the Faucet and Drainage
Instructions for attaching PEX to the faucet. How to connect the PEX to drain systems effectively.
Start by attaching the PEX pipe to the faucet. Use a PEX connector for a secure fit. Tighten each connection carefully. Next, connect the PEX to your drainage system. Make sure the pipes align well. Use a drain adapter if needed. This helps water flow smoothly down the drain. Check all connections for leaks.
How do I attach PEX to a faucet?
To attach PEX to a faucet, use a PEX connector, tighten securely, and ensure no leaks.
What is the best way to connect PEX to drainage?
- Align pipes well.
- Use a drain adapter if necessary.
- Check for any leaks after connecting.
Testing the Installation
Procedures for checking for leaks. Importance of pressure testing the system.
After your pipes are in place, it’s time for a little detective work! First, check for leaks. Turn on the water and look for drips or puddles. If you see anything suspicious, tighten those connections like a pro. Next, pressure test the system. This means checking how well your pipes hold water under pressure. If they pass, your plumbing is ready for action! Remember, a leaky sink can be a sneaky culprit for big water bills!
| Step | Action |
|---|---|
| 1 | Turn on the water. |
| 2 | Look for leaks. |
| 3 | Tighten connections if needed. |
| 4 | Pressure test the system. |
Maintenance Tips for PEX Installations
Recommendations for ongoing care. Signs of potential issues to watch for.
Taking care of your PEX installations can save you future headaches. Regularly check for any leaks or cracks—those little drips can turn into big puddles! Inspect the fittings and joints too, especially after heavy use. If you see any funky colors or strange noises, you might have a problem brewing. Remember, if your pipes start to sound like a symphony, it’s time to call a plumber! Here’s a handy table for quick reference:
| Maintenance Tip | Signs of Trouble |
|---|---|
| Inspect regularly | Leaks or discoloration |
| Check fittings | Strange noises |
| Keep pipes clean | Low water pressure |
Common Mistakes to Avoid
List of frequent errors in PEX installation. Solutions and best practices to ensure proper setup.
Installing PEX pipe can be tricky. A few mistakes can cause big problems. Common errors include:
- Not measuring correctly: Always double-check measurements before cutting.
- Using the wrong connectors: Make sure to use connectors specifically made for PEX.
- Ignoring bends: Avoid sharp bends; they can slow water flow.
- Forgetting to support pipes: Provide the right support to prevent sagging.
To avoid issues, always plan your layout ahead. Follow guides or ask for help if needed. A little care can lead to a successful installation.
What are the best practices for installing PEX pipe?
Ensure a good fit. Always use the right tools. Make sure to use a PEX cutter. Double-check connections to avoid leaks. Lastly, keep pipes insulated to prevent freezing in cold weather.
Conclusion
To install PEX pipe to your bathroom sink, start by measuring and cutting the right lengths. Connect the pipes securely with fittings. Don’t forget to turn off the water before you begin. Check for leaks after installation. Now you’re ready to enjoy your new plumbing! For more tips, consider reading additional guides or watching online tutorials.
FAQs
What Tools And Materials Are Needed To Install Pex Pipe For A Bathroom Sink?
To install PEX pipe for a bathroom sink, you need a few tools and materials. First, get PEX pipes, which are flexible plastic tubes. You will also need PEX fittings to connect the pipes. A pipe cutter will help you cut the PEX to the right lengths. Don’t forget a wrench to tighten the connections securely!
How Do You Properly Measure And Cut Pex Pipe For A Bathroom Sink Installation?
To measure PEX pipe, first, see how far it needs to go from the wall to the sink. Use a tape measure to find the length. Then, mark that length on the pipe with a marker. To cut the pipe, you can use special PEX cutters or sharp scissors. Make sure the cut is straight to help it connect well.
What Are The Steps To Connect Pex Pipe To The Sink’S Faucet And Supply Lines?
First, turn off the water supply to the sink. Next, use a special tool to cut the PEX pipe to the right length. Then, slide a fitting onto each end of the pipe. After that, push the pipe onto the faucet and the supply lines until it fits snugly. Finally, turn the water back on and check for leaks.
Are There Any Specific Fittings Or Connectors Required For Pex Pipe When Installing A Bathroom Sink?
Yes, when you use PEX pipe for a bathroom sink, you need special fittings. These can be connectors that fit onto the ends of the PEX pipe. You might need a conversion fitting to connect the PEX to the sink’s water lines. Make sure to grab the right size for a good fit!
How Do You Ensure That The Pex Pipe Installation Is Leak-Free After Connecting To The Bathroom Sink?
To make sure the PEX pipe is leak-free, you should check all the connections. First, turn on the water slowly. Look for any drips or wet spots. If you see any, tighten the connections. Finally, keep an eye on it for a few hours to catch any leaks early.