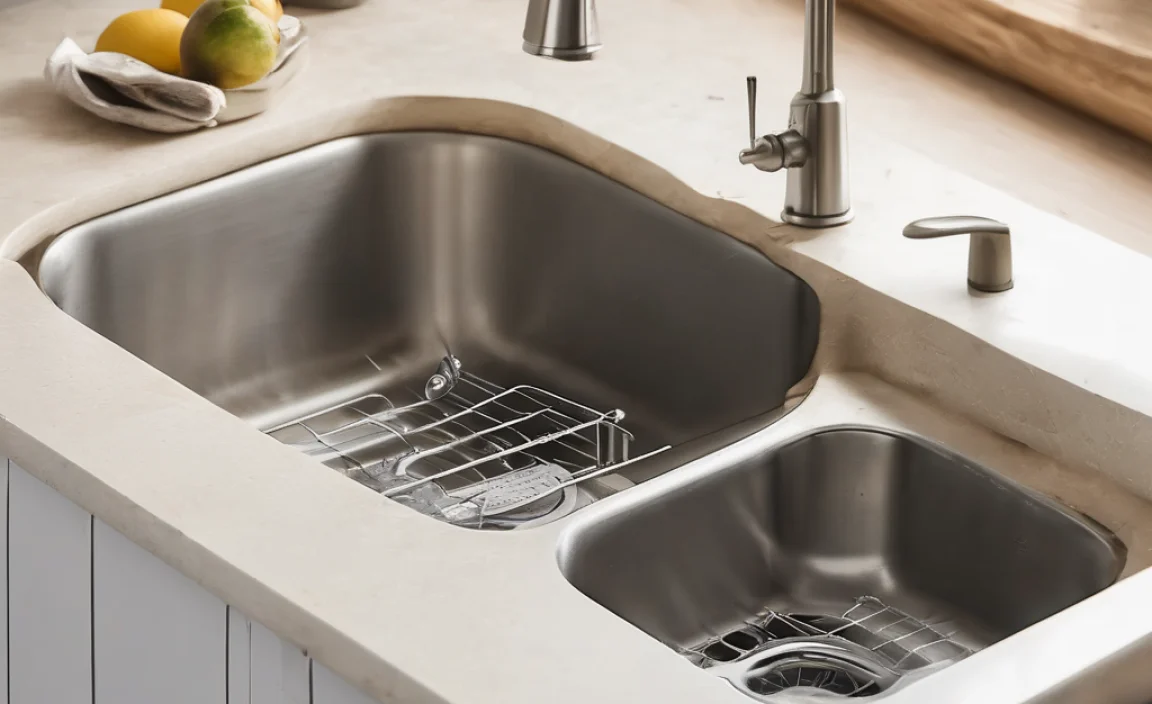
Removing a P-trap under your kitchen sink is usually a quick job. First, put a bucket under the P-trap to catch water. Then, loosen the slip nuts by hand or with pliers. Gently remove the P-trap, clean the pipes, and check for damage. You can easily put it back together or replace it if needed.
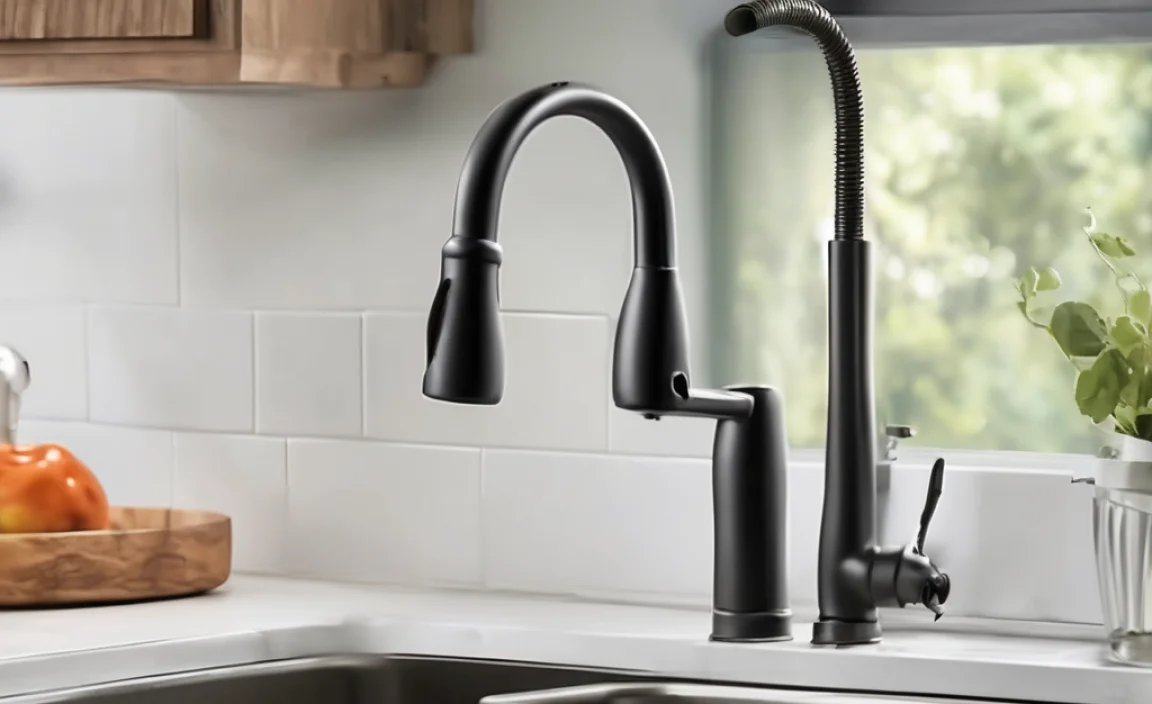
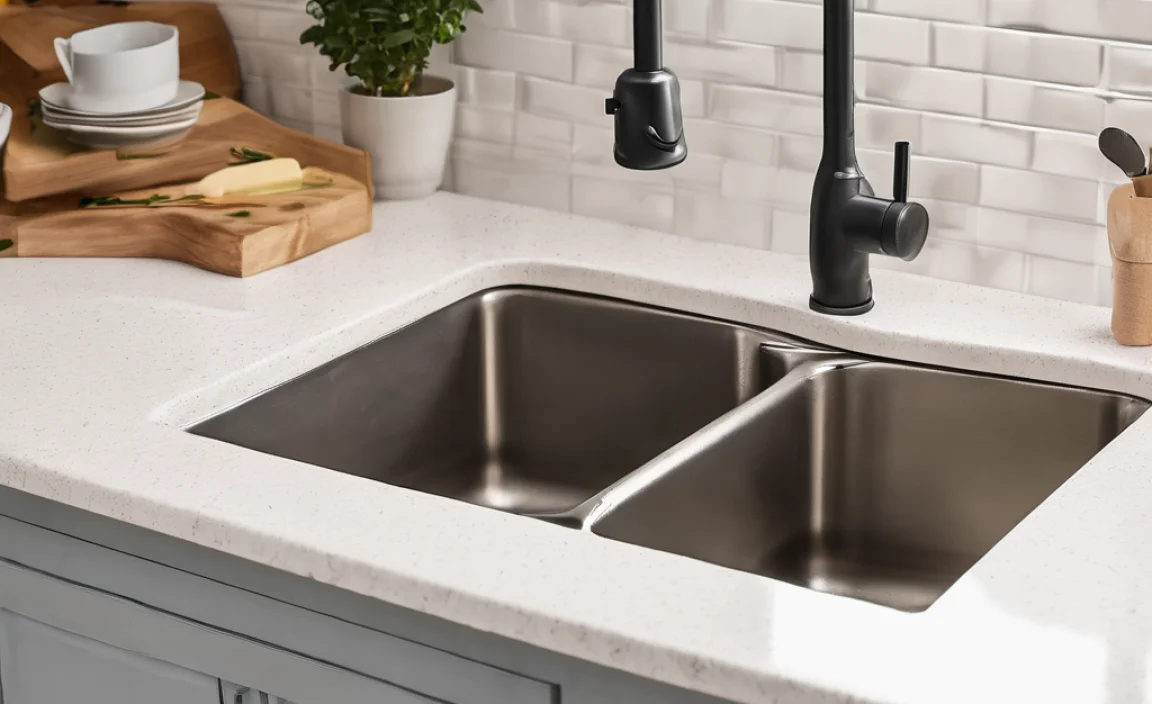
Is your kitchen sink draining slowly? Or maybe it’s smelling a bit funky? Chances are, your P-trap is the culprit. The P-trap is that U-shaped pipe under your sink. It’s designed to trap debris and stop sewer gases from coming up into your house. Over time, it can get clogged with food, hair, and gunk. Don’t worry, you don’t need to call a plumber! Removing and cleaning a P-trap is a simple DIY task. I’ll walk you through each step. We’ll get your sink draining like new in no time!
What You’ll Need
Before we get started, let’s gather the necessary tools. This will make the process smoother and prevent any unexpected trips to the hardware store.
- Bucket
- Plumber’s pliers (or regular pliers)
- Old rags or towels
- Screwdriver (optional, for removing stubborn debris)
- Rubber gloves (optional, but recommended)
Step-by-Step Guide to Removing a P-Trap
Alright, let’s get to work! Follow these simple steps to safely remove and clean your P-trap.
Step 1: Prepare the Area
First, clear the space under your sink. Remove any cleaning supplies or items that might get in the way. This will give you plenty of room to work.
Step 2: Position the Bucket
Place a bucket directly under the P-trap. This will catch any water and debris that’s trapped inside the pipes. Trust me, there will be some! Use an old bucket you don’t mind getting dirty.
Step 3: Loosen the Slip Nuts
Locate the slip nuts on either side of the P-trap. These nuts connect the P-trap to the drain pipes. Try to loosen them by hand first. If they’re too tight, use your plumber’s pliers. Be gentle! You don’t want to crack the nuts. Turn the nuts counterclockwise to loosen them.
Step 4: Carefully Remove the P-Trap
Once the slip nuts are loose, carefully detach the P-trap from the drain pipes. Angle it downward to allow any remaining water to drain into the bucket. Be prepared for some gunk to come out!
Step 5: Inspect the P-Trap and Pipes
Now that the P-trap is removed, take a good look at it and the drain pipes. Check for any cracks, damage, or excessive buildup. If you spot any damage, it’s a good idea to replace the P-trap. You can find a replacement at any hardware store. They’re usually inexpensive. If the pipes are damaged, it is best to call a plumber for further repair.
Step 6: Clean the P-Trap
Time to clean that P-trap! Rinse it thoroughly with water. Use a screwdriver or a small brush to remove any stubborn debris. Make sure to get rid of all the gunk. A clean P-trap will work much better.
Step 7: Clean the Drain Pipes
While you have the P-trap removed, it’s a good idea to clean the drain pipes as well. Use your fingers or a tool to remove any buildup inside the pipes. This will help improve drainage and prevent future clogs.
Step 8: Reassemble the P-Trap
Now it’s time to put everything back together. Align the P-trap with the drain pipes. Tighten the slip nuts by hand until they’re snug. Then, use the pliers to give them a little extra turn. Don’t overtighten! You could crack the nuts.
Step 9: Test for Leaks
Turn on the water and let it run for a few minutes. Check for any leaks around the slip nuts and connections. If you see any leaks, tighten the nuts a little more. If the leak persists, you may need to replace the slip nuts or the P-trap.
Troubleshooting Common Issues
Sometimes, things don’t go exactly as planned. Here are some common issues you might encounter and how to solve them.
Problem: The Slip Nuts are Stuck
If the slip nuts are stuck, don’t force them. Apply some penetrating oil or lubricant to the threads. Let it sit for a few minutes, then try again. You can also try using a rubber strap wrench for better grip.
Problem: The P-Trap is Cracked
If you notice any cracks in the P-trap, it’s best to replace it. A cracked P-trap can leak and cause water damage. Replacement P-traps are available at most hardware stores.
Problem: The Drain Pipes are Clogged
If the drain pipes are severely clogged, you may need to use a drain snake or auger to clear them. Insert the snake into the pipe and twist it to break up the clog. Flush the pipes with water to remove the debris.
Safety Tips
Safety first! Keep these tips in mind to protect yourself during the process.
- Wear rubber gloves to protect your hands from bacteria and chemicals.
- Avoid getting drain cleaner in your eyes or on your skin.
- If you’re not comfortable working with plumbing, call a professional.
- Keep children and pets away from the work area.
Choosing the Right Replacement P-Trap
If you need to replace your P-trap, here’s what to consider.
- Material: P-traps are typically made of PVC or metal. PVC is more affordable and easier to work with, while metal is more durable.
- Size: Make sure the replacement P-trap is the same size as your existing one. Measure the diameter of the pipes to ensure a proper fit.
- Type: There are different types of P-traps, such as tubular and bottle traps. Choose the type that matches your existing setup.
P-Trap Materials: A Quick Comparison
| Material | Pros | Cons | Typical Lifespan |
|---|---|---|---|
| PVC (Polyvinyl Chloride) |
|
|
15-20 years |
| Metal (Brass, Chrome-plated) |
|
|
25-50 years |
Maintaining Your P-Trap
Regular maintenance can prevent clogs and keep your P-trap working efficiently.
- Flush with Hot Water: Periodically flush your sink with hot water to dissolve grease and buildup.
- Use a Strainer: Place a strainer in your sink to catch food particles and hair.
- Avoid Harsh Chemicals: Avoid using harsh drain cleaners, as they can damage your pipes.
- Regular Cleaning: Remove and clean your P-trap every few months to prevent clogs.
Common Causes of P-Trap Clogs
Understanding why P-traps clog can help you prevent future issues.
- Food Waste: Food scraps are a common cause of clogs. Always use a strainer to catch food particles.
- Grease and Oil: Grease and oil solidify in the pipes, leading to clogs. Avoid pouring grease down the drain.
- Hair: Hair can accumulate in the P-trap and cause blockages. Use a hair strainer in your sink.
- Soap Scum: Soap scum can build up over time and restrict water flow. Flush with hot water regularly.
- Mineral Buildup: Hard water can cause mineral deposits to form in the pipes. Consider installing a water softener.
Benefits of a Clean P-Trap
Keeping your P-trap clean offers several benefits.
- Improved Drainage: A clean P-trap allows water to drain quickly and efficiently.
- Odor Prevention: A clean P-trap prevents sewer gases from entering your home.
- Extended Pipe Life: Regular cleaning can extend the life of your pipes.
- Cost Savings: Preventing clogs can save you money on plumbing repairs.
When to Call a Plumber
While removing and cleaning a P-trap is a simple DIY task, there are times when it’s best to call a professional plumber. Consider calling a plumber if:
- You’re not comfortable working with plumbing.
- You’ve tried to unclog the drain yourself, but it’s still blocked.
- You suspect there’s a more serious plumbing problem.
- You notice any leaks or damage to the pipes.
Tools & Materials Cost Breakdown
| Item | Estimated Cost | Notes |
|---|---|---|
| Bucket | $5 – $15 | Any old bucket will do |
| Plumber’s Pliers | $15 – $30 | Adjustable pliers for gripping |
| Old Rags/Towels | Free (recycled) | For cleaning up spills |
| Screwdriver | $5 – $10 | For removing stubborn debris (optional) |
| Rubber Gloves | $5 – $10 | Protect hands from bacteria (optional) |
| Replacement P-Trap (if needed) | $10 – $30 | PVC or metal, depending on preference |
| Penetrating Oil | $5 – $10 | For loosening stuck nuts (optional) |
FAQ: Removing a P-Trap Under the Kitchen Sink
Q: What is a P-trap, and why is it important?
A: A P-trap is the U-shaped pipe under your sink that traps debris and prevents sewer gases from entering your home. It’s important for maintaining a sanitary and odor-free environment.
Q: How often should I clean my P-trap?
A: It’s a good idea to clean your P-trap every few months, or more often if you notice slow drainage or unpleasant odors.
Q: Can I use drain cleaner to unclog my P-trap?
A: It’s best to avoid harsh chemical drain cleaners, as they can damage your pipes. Try removing and cleaning the P-trap manually first.
Q: What do I do if the slip nuts are too tight to loosen?
A: Apply some penetrating oil or lubricant to the threads and let it sit for a few minutes. Then, try loosening the nuts again with pliers.
Q: How do I know if my P-trap needs to be replaced?
A: If you notice any cracks, leaks, or significant damage to the P-trap, it’s best to replace it.
Q: What type of P-trap should I buy as a replacement?
A: Choose a P-trap made of PVC or metal, depending on your preference. Make sure it’s the same size and type as your existing one.
Q: Is it safe to remove a P-trap myself, or should I call a plumber?
A: Removing a P-trap is generally a simple DIY task. However, if you’re not comfortable working with plumbing or encounter any difficulties, it’s best to call a professional plumber.
Conclusion
And there you have it! Removing and cleaning a P-trap is a straightforward task that anyone can do. By following these simple steps, you can keep your kitchen sink draining smoothly and prevent unpleasant odors. Remember to take your time, be careful, and don’t be afraid to get your hands dirty. With a little effort, you can save money on plumbing repairs and keep your home in top shape. So, grab your tools, put on your gloves, and get ready to tackle that P-trap! You’ve got this!
