Picture this: You walk into a room, and your old ceiling fan catches your eye. It looks tired and bland. What if you could give it new life with just a bit of paint? Repainting a ceiling fan is a fun and creative project. It can change the feel of your whole room without spending a lot of money.
Many people don’t realize how easy it is to repaint a ceiling fan. You can choose bright colors or soft pastels. Imagine a vibrant red or a calming blue spinning above you. Doesn’t that sound exciting? With some simple steps, you can turn your ceiling fan from plain to fabulous.
Ready to learn how to repaint a ceiling fan? This article will guide you through every step. Soon enough, you’ll have a stylish fan that makes you proud. Let’s dive in and get started!
How To Repaint A Ceiling Fan: Step-By-Step Guide
How to Repaint a Ceiling Fan
Repainting a ceiling fan can breathe new life into your space. First, gather your supplies: spray paint, drop cloths, and a screw driver. Have you thought about choosing a bold color? It could make a big difference. Carefully take down the fan and clean it well. After painting, allow it to dry completely before reassembling. Did you know a fresh-looking fan can change the entire vibe of a room? Enjoy your stunning, newly painted ceiling fan!
Choosing the Right Paint
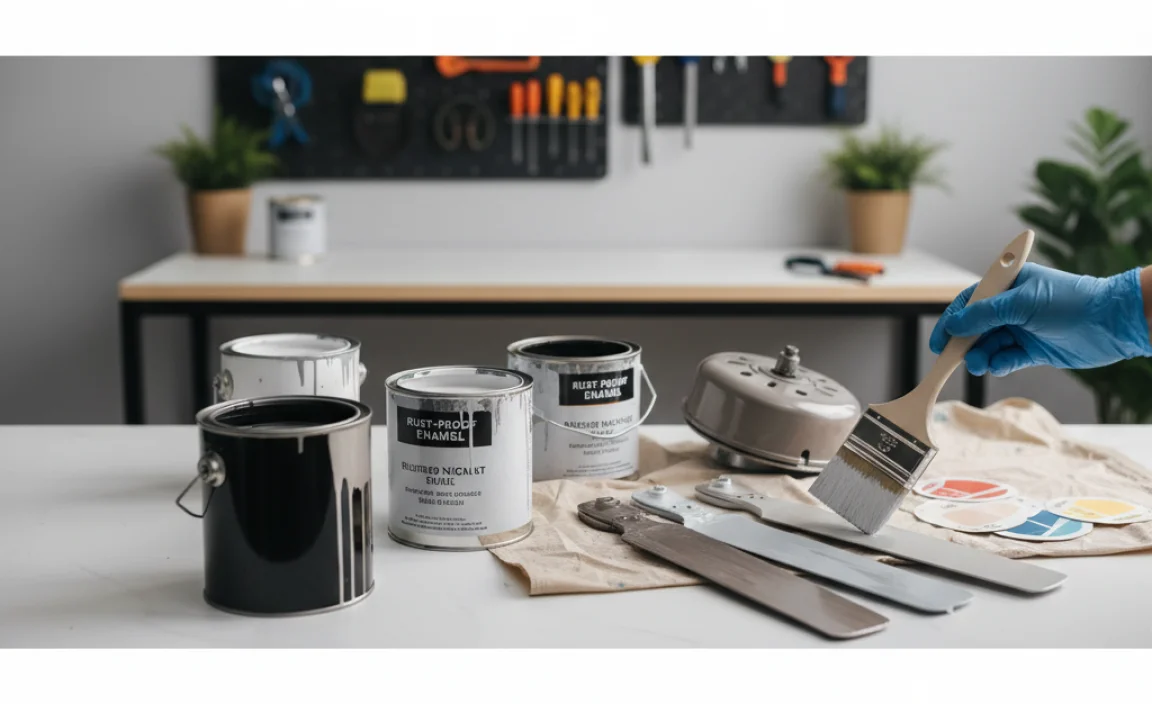
Discuss various types of paint suitable for ceiling fans (e.g., spray paint, acrylic).. Explore color options and finishes that complement different room styles..
Picking the right paint for your ceiling fan is like choosing toppings for a pizza—lots of fun, but you want it to taste great! Spray paint works wonders; it’s quick and gives a smooth finish. Acrylic paint is another solid choice and is super easy to clean up—like wiping away crumbs after snack time!
When it comes to colors, think about your room’s vibe. Soft pastels can make a room feel cozy, while bold colors can add energy. If you’re unsure, here’s a handy table to guide you:
| Type of Paint | Best Use | Finish |
|---|---|---|
| Spray Paint | Quick and easy | Satin or Glossy |
| Acrylic | Easy to clean | Matte or Semi-gloss |
Remember, it’s not just a fan; it’s a part of your room’s style! Choose wisely, and you’ll have a fan that even your friends will say, “Wow, that looks amazing!”
Preparing the Ceiling Fan for Repainting
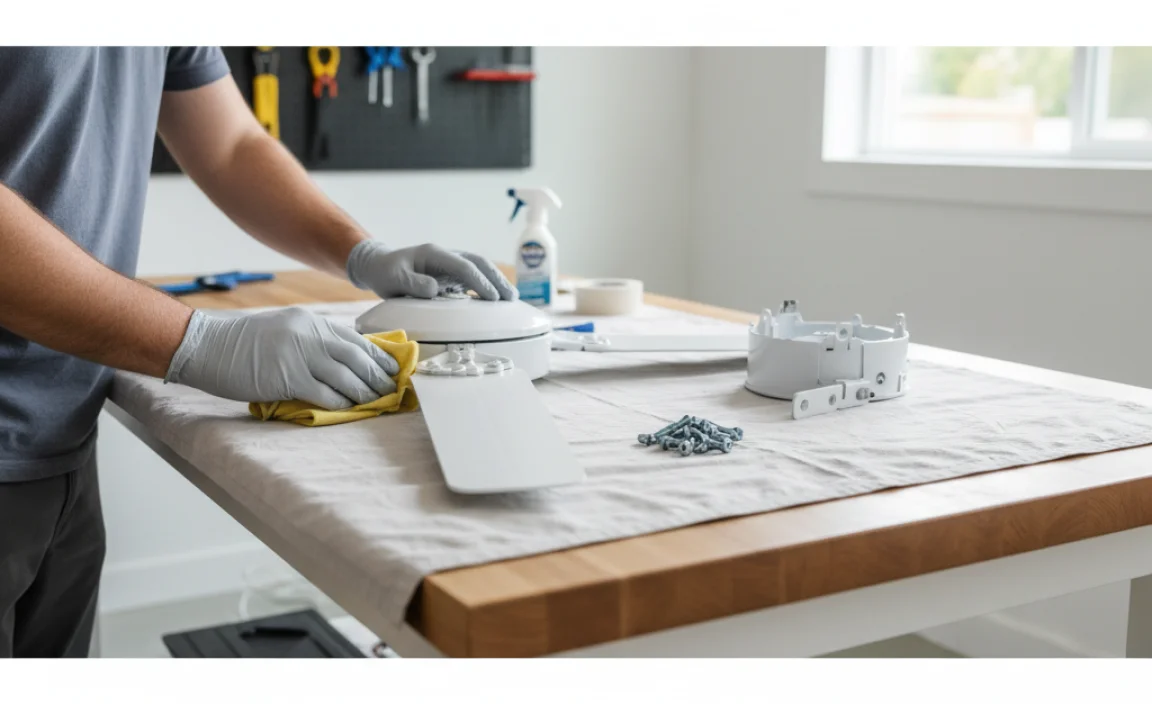
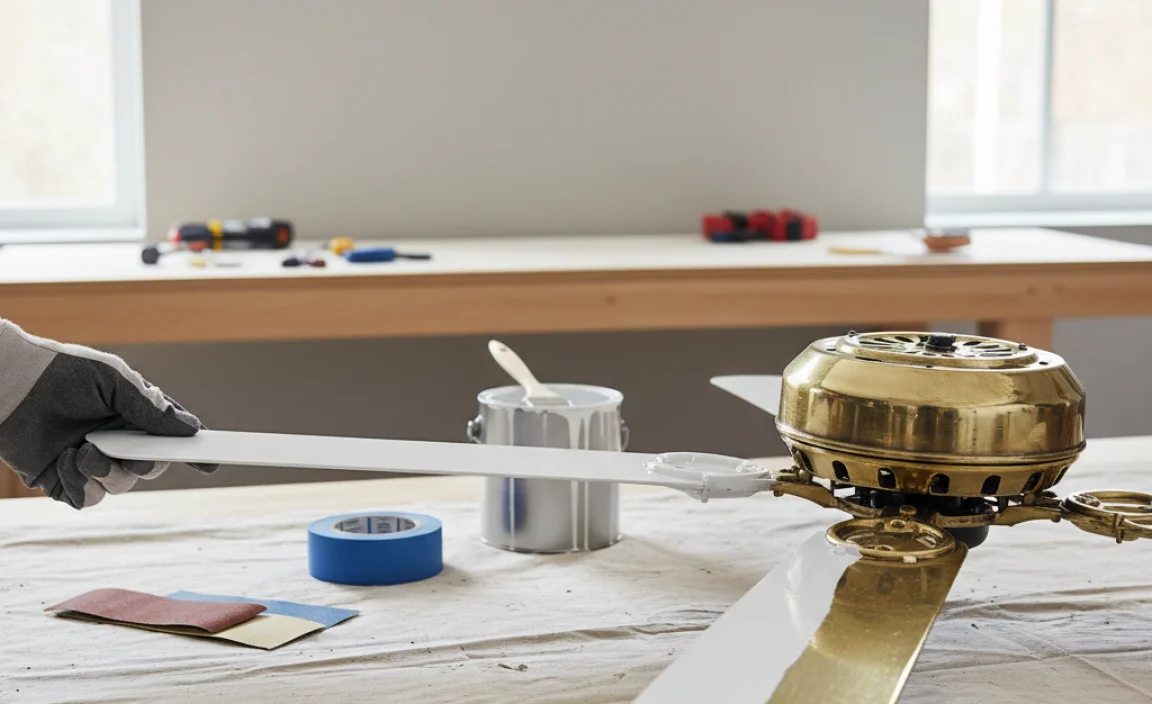
Outline steps for safely removing the fan blades and other components.. Explain cleaning methods to ensure proper paint adhesion..
Start by turning off the power to your ceiling fan. Safety first! Next, remove the fan blades using a screwdriver. Place them somewhere safe, or they might become your next footstool. Clean each blade with soapy water to remove dust and grease; they need to be squeaky clean for the paint to stick. You don’t want your new color to flake off like an old sandwich! Use a dry cloth afterward to avoid drips. Below is a quick checklist:
| Step | Action |
|---|---|
| 1 | Turn off power |
| 2 | Unscrew fan blades |
| 3 | Wash blades with soapy water |
| 4 | Wipe dry |
Following these steps will make your repainting job easier and more fun, like a dance party without the music! Get ready to transform your fan!
Safety Precautions
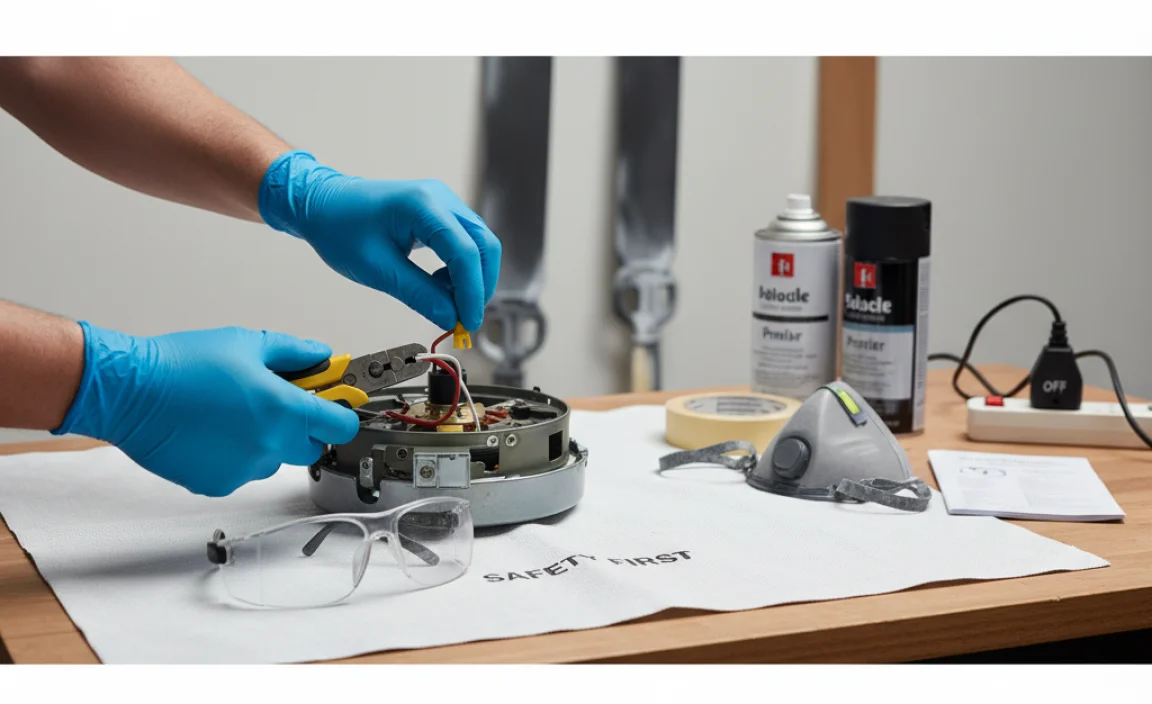
List necessary safety gear (e.g., masks, goggles).. Highlight the importance of working in a wellventilated area..
Before starting your ceiling fan painting adventure, gear up! Safety should be your first brushstroke. Always wear goggles to protect those peepers from paint splatters. A mask is a must to keep your lungs happy. Also, don’t forget gloves! You don’t want to look like a rainbow exploded on your hands.
Oh, and here’s a pro tip: choose a well-ventilated area. Fresh air makes for a happy painter. And trust me, no one enjoys the smell of paint lingering like an unexpected guest. Your brain will thank you!
| Safety Gear | Purpose |
|---|---|
| Goggles | Protect eyes from paint splashes |
| Mask | Keep out harmful fumes |
| Gloves | Protect skin from paint |
Techniques for Painting Ceiling Fan Blades
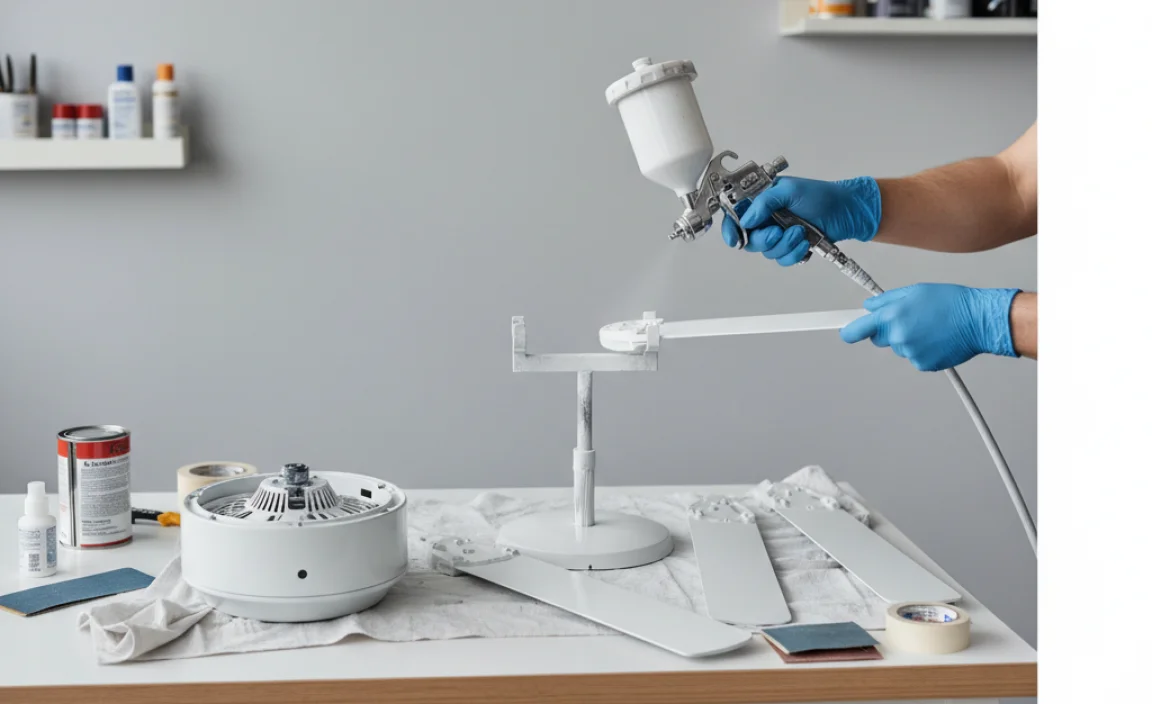
Describe different techniques for even painting, including spray vs. brush application.. Provide tips for achieving a smooth finish and avoiding drips..
| Technique | Pros | Cons |
|---|---|---|
| Spray Application | Fast coverage | Overspray risk |
| Brush Application | Control on details | Time-consuming |
Two popular painting methods for ceiling fan blades are using a spray can or a brush. With spray paint, you can cover a large area quickly. But beware of overspray! A brush gives you more control for detailed work but takes longer. Want a smooth finish? Remember to hold the spray can about a foot away and use light coats. Avoid drips by painting in thin layers. No one likes a lumpy fan! Happy painting!
Reassembling the Ceiling Fan
Detail the process of reattaching painted components.. Discuss checking functionality and ensuring the fan operates smoothly postrepainting..
Once your ceiling fan’s components are painted and dry, it’s time for the fun part: reassembling! Start by carefully putting back the blades. Make sure they are secure—if they’re loose, they might spin off like a superhero on roller skates! Next, reattach the light kit and any other decorations. Don’t forget to check the screws!
Lastly, plug the fan back in and flip the switch. It should spin smoothly—no wobbles, please! If it’s not working, check the wiring or the settings. You want your fan to be a breeze, not a headache!
| Step | Action |
|---|---|
| 1 | Reattach the blades securely |
| 2 | Connect the light kit and other parts |
| 3 | Check the screws and connections |
| 4 | Test the fan for smooth operation |
Maintenance Tips for Painted Ceiling Fans
Suggest ways to maintain the paint finish and extend longevity.. Provide cleaning tips to avoid damage to the painted surfaces..
To keep your painted ceiling fan looking new, follow these tips. Maintain that fresh paint by avoiding harsh chemicals. Use a soft cloth for cleaning. Regular dusting helps too. This prevents dirt buildup, which can scratch the paint.
- Clean with mild soap and warm water.
- Use a soft fan duster or microfiber cloth.
- Avoid abrasive cleaners and scrubbers.
- Check for chips and touch them up quickly.
Proper care means your fan will last longer and stay beautiful!
How should I clean my ceiling fan?
Use a soft cloth with mild soap and warm water. Avoid rough materials to prevent damage.
Conclusion
In conclusion, repainting a ceiling fan is easy and fun! First, gather your tools and choose safe, durable paint. Next, clean and prep the fan well. Then, apply thin coats and let them dry completely. Lastly, reassemble the fan carefully. With these steps, you can freshen up your space. Ready to try it? You’ll love the results!
FAQs
Sure! Here Are Five Related Questions On The Topic Of Repainting A Ceiling Fan:
Sure! Here are some things you might want to know about repainting a ceiling fan. First, you should clean the fan well before painting. Next, use special spray paint for metal or plastic. Be careful when you take the fan apart. Finally, let it dry completely before putting it back up!
Sure! Please provide the question you would like me to answer.
What Materials And Tools Do I Need To Repaint A Ceiling Fan?
To repaint a ceiling fan, you need a few materials and tools. Get some sandpaper to smooth the fan’s surface. Buy paint that works for metal or wood, depending on your fan. You will also need a paintbrush or a small roller to apply the paint. Lastly, have a drop cloth to catch any paint drips.
How Do I Safely Disassemble A Ceiling Fan For Repainting?
First, turn off the power to the fan at the wall switch. Next, use a ladder to reach the fan. Carefully remove the light bulbs and glass covers, if there are any. Then, take off the fan blades by unscrewing them. Finally, unscrew the fan from the ceiling and carefully lower it down. Now you’re ready to repaint! Remember to keep all the small parts together.
What Type Of Paint Is Best For A Ceiling Fan, And Should I Use Spray Paint Or A Brush?
The best paint for a ceiling fan is a spray paint that is made for metal. It helps the fan look nice and doesn’t chip easily. You can also use a brush with regular paint, but it might take longer. Spray paint is easier and faster, so that’s a good choice!
How Can I Ensure A Smooth And Even Finish When Repainting The Fan Blades?
To get a smooth and even finish on your fan blades, start by cleaning them well. Use soap and water to remove dust and grease. Next, sand the blades lightly to help the paint stick better. When you paint, use thin coats and let each coat dry before adding more. This way, your fan blades will look nice and even!
What Safety Precautions Should I Take When Repainting A Ceiling Fan?
When you repaint a ceiling fan, wear safety goggles to protect your eyes. You should also put on a mask to avoid breathing in paint fumes. Cover the floor and furniture with a cloth to catch any drops of paint. Make sure the fan is turned off, and unplug it if you can. Lastly, work in a well-ventilated area to get fresh air.