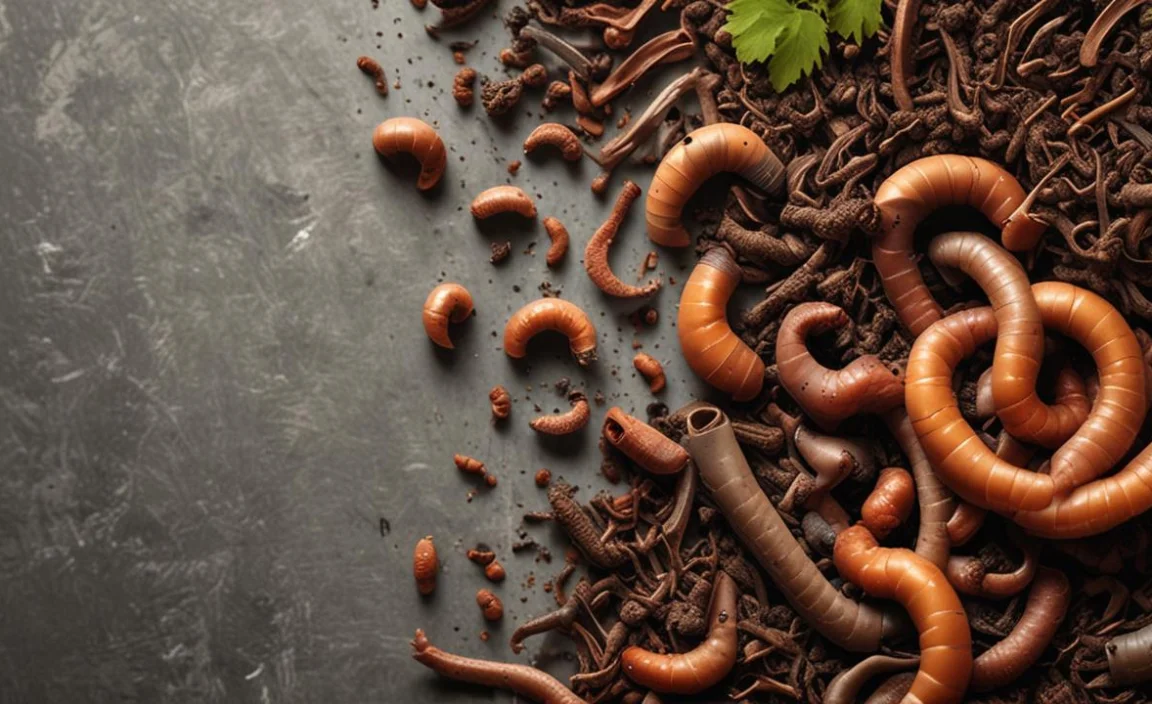
Composting is a crucial process in sustainable living, allowing us to turn our organic waste into nutrient-rich soil. However, traditional composting methods can be slow and cumbersome, requiring much space and effort to maintain.
Enter vermicomposting or composting with worms. This method speeds up the composting process and produces a superior end product. The benefits of vermicomposting are not just limited to the quality of the soil it has; it is also a great way to reduce landfill waste and greenhouse gas emissions.
The science behind vermicomposting is fascinating, as it involves the symbiotic relationship between worms and microorganisms that break down organic matter. But vermicomposting is not just about science; it is also an art.
The art of vermicomposting involves understanding the needs and behavior of worms, creating the right environment for them to thrive, and knowing when and how to harvest the compost.
Understanding The Science Of Vermicomposting
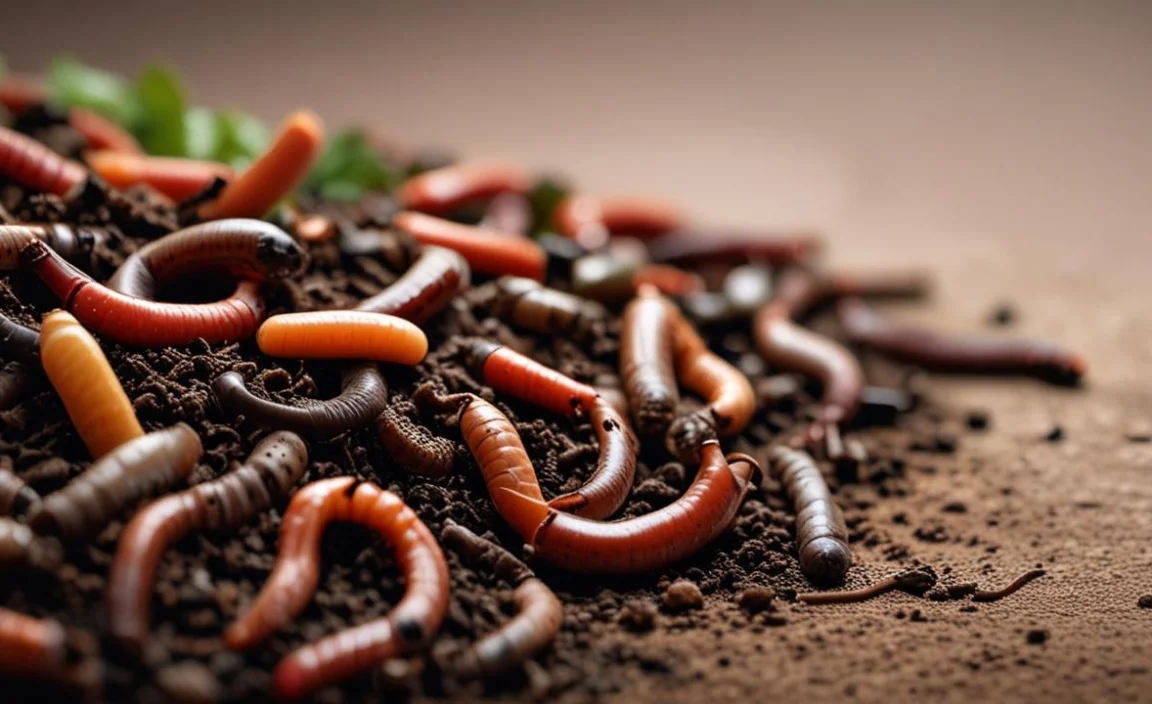
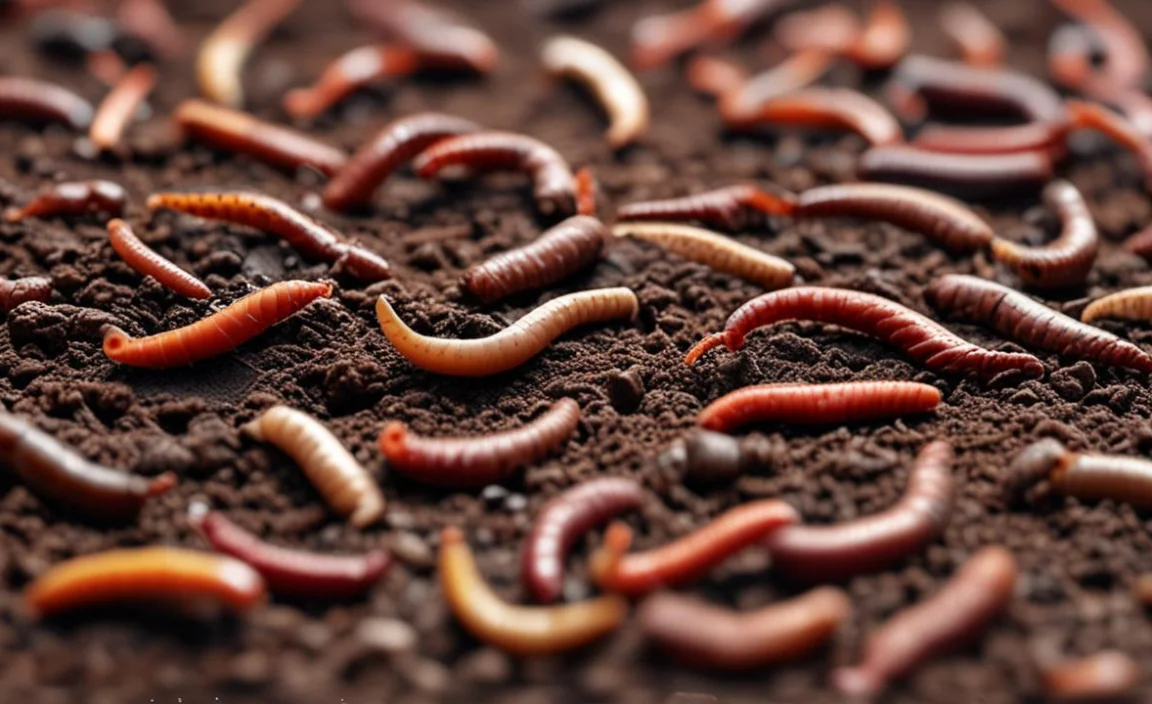
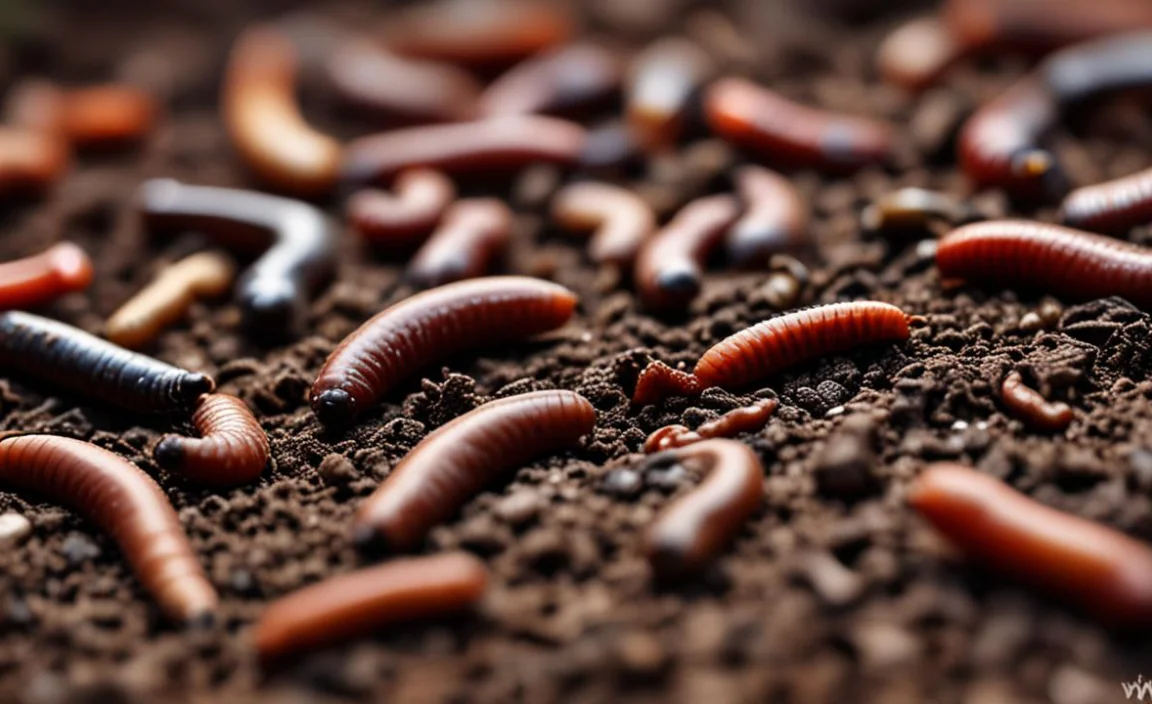
Vermicomposting is the process of using earthworms to break down organic materials into nutrient-rich compost. Understanding the science behind this method is essential in creating a successful and effective composting system.
The key to vermicomposting is the earthworms themselves, specifically the species Eisenia fetida, also known as red wigglers. These worms have a high reproductive rate and a voracious appetite, allowing them to break down organic matter quickly and efficiently.
As they consume the organic waste, they excrete castings, which are rich in nutrients such as nitrogen, phosphorus, and potassium, making them an excellent fertilizer for plants.
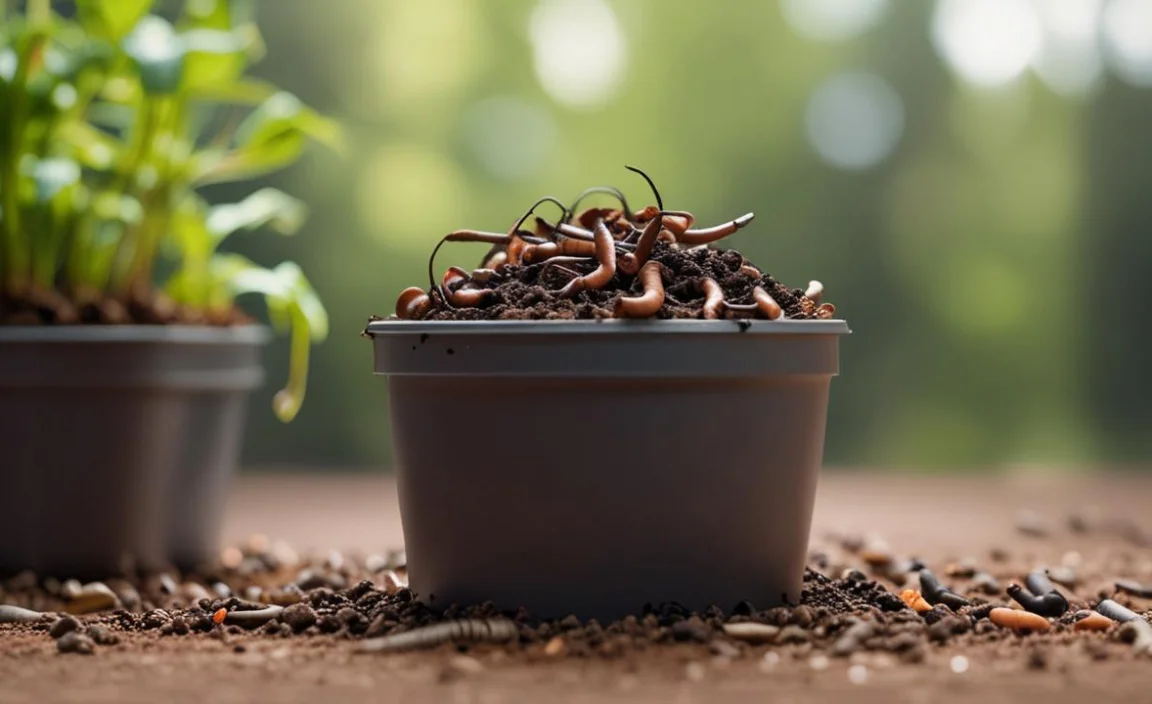
The process of vermicomposting requires a few key components to be successful. First, a suitable container, such as a bin, is needed to house the worms and organic matter. The container should have adequate drainage to prevent water buildup and allow airflow.
Getting Started With Vermicomposting
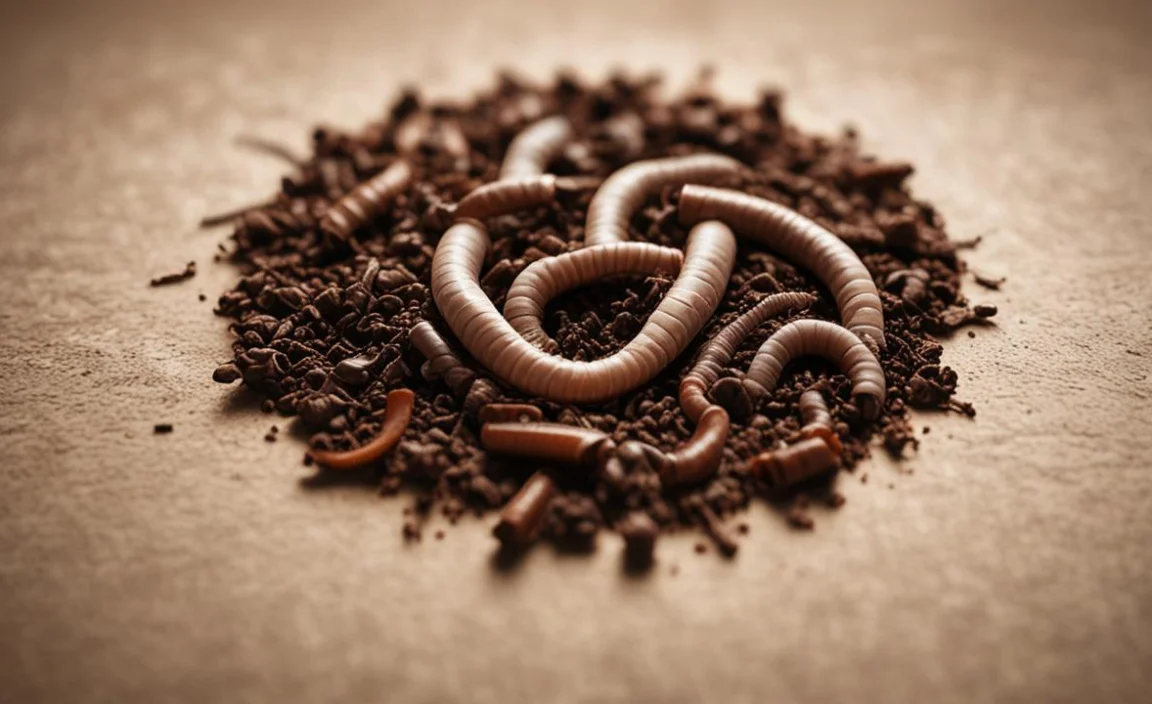
Getting started with vermicomposting is a great way to reduce household waste while creating nutrient-rich soil for your plants. Vermicomposting uses red wiggler worms to break down organic material like food scraps and paper waste into compost.
To begin, you will need a worm bin, which can purchase or made from a plastic container with a lid and small holes for ventilation. Next, add a layer of bedding material like shredded newspaper or leaves and moisten it with water. Then, add your red wiggler worms and a small amount of food scraps.
Avoid adding meat, dairy, or oily foods to the bin, as they can attract pests and create odors. As the worms work magic, the compost will break down and become more nutrient-rich. Monitor the moisture level in your bin and add water as needed to keep it moist but not wet.
Composting With Worms – Fabulous Steps
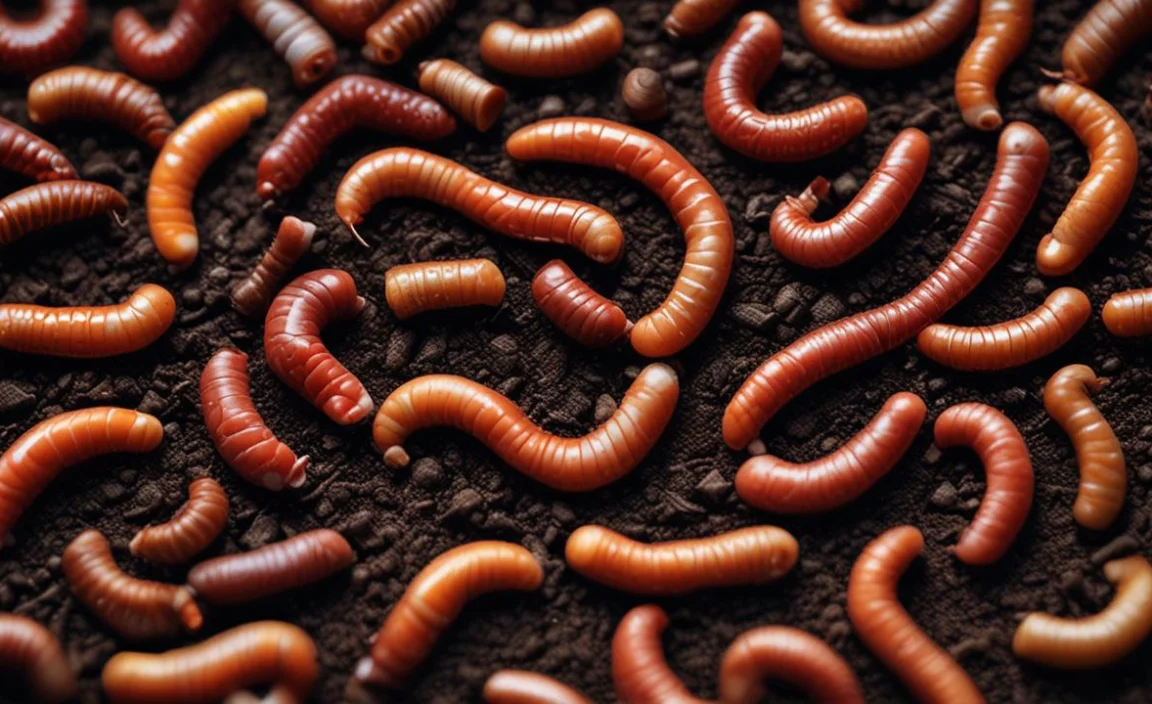
Composting with worms, also known as vermicomposting, is an excellent way to transform organic waste into nutrient-rich compost using the help of specific worm species, such as red wigglers (Eisenia fetida). Here’s how to compost with worms:
Choose A Suitable Worm Bin
Select a container that suits your needs and available space. It can be a commercial worm bin, a homemade wooden or plastic bin, or a repurposed container like a plastic storage bin with ventilation holes. Ensure the bin has a lid to regulate moisture and prevent pests.
Create A Bedding Layer
Add a layer of bedding material to the bottom of the worm bin. Bedding provides a comfortable environment for the worms and helps retain moisture. Suitable bedding options include shredded newspaper, cardboard, coconut coir, or a mixture of these materials.
Add Worms:
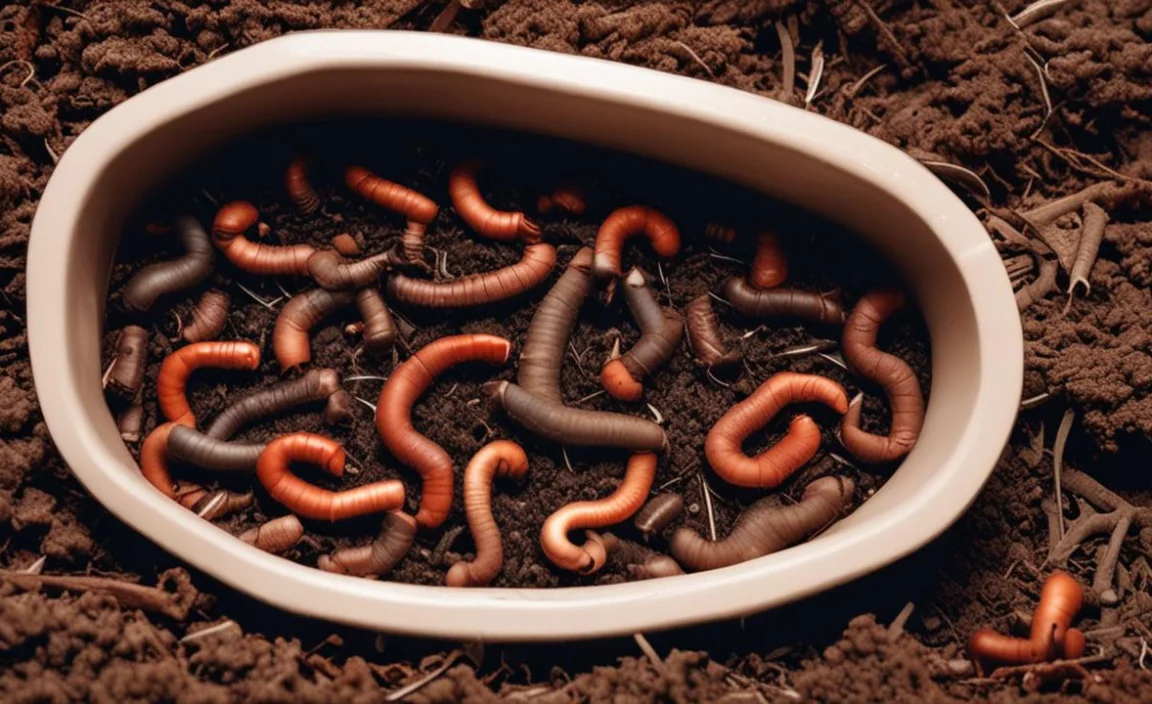
Introduce the worms to the bedding layer. Start with a population of red wigglers, typically around 1,000 worms for a standard-sized bin. Gently place them on top of the bedding and let them burrow in.
Add Organic Waste:
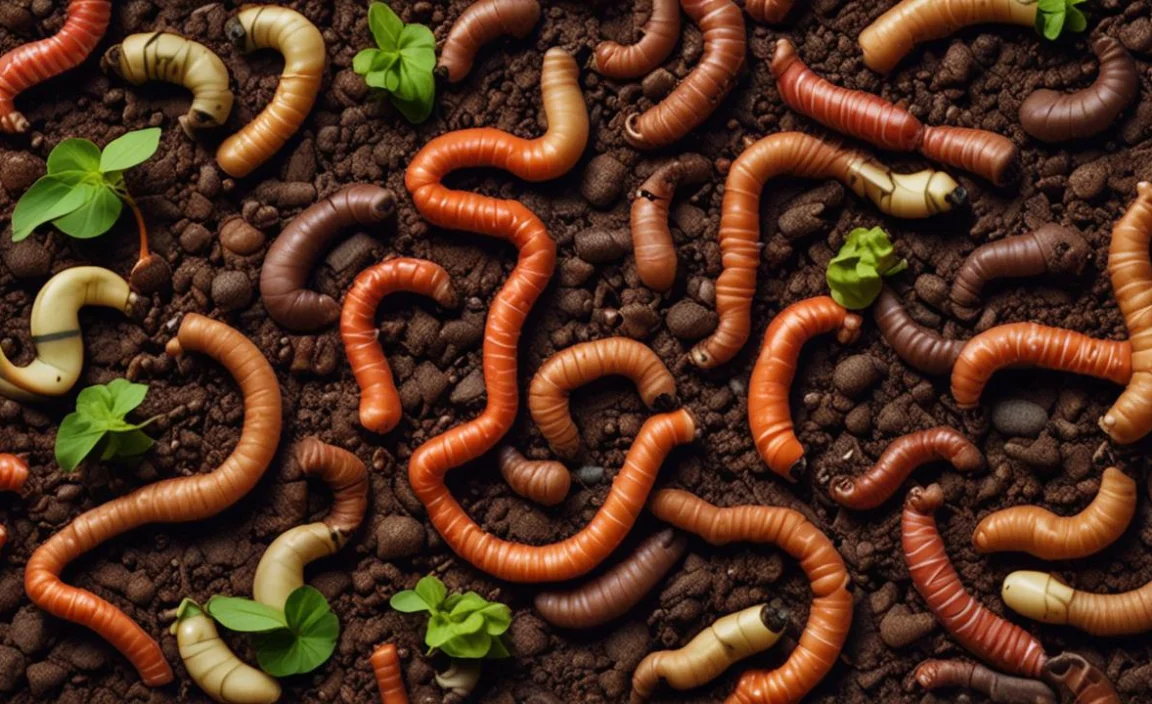
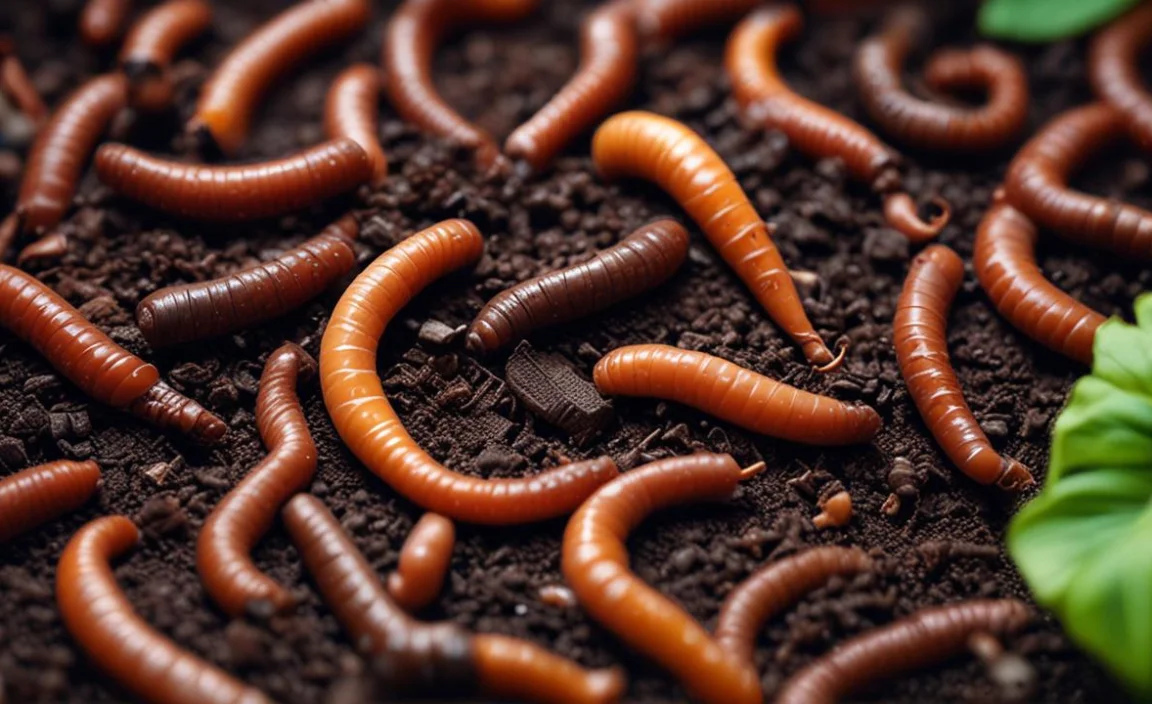
Feed the worms with appropriate organic waste. Worms thrive on a balanced diet of kitchen scraps, vegetable peelings, coffee grounds, tea bags, crushed eggshells, and organic materials. Avoid adding meat, dairy, oily foods, and excessively acidic or citrus-based materials.
Cover The Waste:
Once you’ve added the organic waste, cover it with a layer of bedding or moist newspaper to maintain moisture levels and prevent fruit flies or odors. Worms will gradually consume the waste, breaking it down into nutrient-rich castings (worm manure).
Maintain Optimal Conditions
To ensure successful vermicomposting, monitor and maintain the following conditions: Moisture: Keep the bedding moist, resembling a wrung-out sponge. Sprinkle water if it becomes too dry, or add dry bedding if it’s too wet.
Temperature: Worms prefer temperatures between 55-77°F (13-25°C). Keep the bin in a cool, shaded area or provide insulation during extreme temperatures. pH balance: Worms thrive in a near-neutral pH. Avoid adding highly acidic or alkaline materials that can disturb the pH balance.
Harvest The Compost
Over time, the worms will process the organic waste, converting it into vermicompost. To harvest the compost, push the bin’s contents to one side and add fresh bedding and food to the empty side. The worms will migrate to the new area, allowing you to collect the finished compost from their vacated side.
Use The Vermicompost
The resulting vermicompost is a nutrient-rich soil amendment that can be used in gardens, potted plants, or as a top dressing for houseplants. It improves soil fertility, enhances plant growth, and helps retain moisture.
Troubleshooting Common Vermicomposting Issues
Vermicomposting, also known as worm composting, is a popular method of composting that uses special worms to break down organic waste into nutrient-rich soil.
While it is an effective and eco-friendly way to dispose of food scraps and other organic materials, some common issues can arise. One of the most common issues is a foul odor, which can cause by too much moisture in the compost bin or by adding materials unsuitable for vermicomposting.
To troubleshoot this issue, it is essential to ensure that the compost bin has adequate drainage and to avoid adding certain materials, such as meats, dairy, and oily foods.
Improperly covered compost bins or excessive fruit scraps attract fruit flies, causing another common issue.
To address this issue, it is important to cover the compost bin with a tight-fitting lid and bury fruit scraps deep within it.
How To Store Worms Vermicompos
To store vermicompost and preserve its quality, follow these guidelines:
- Harvest the vermicompost: Once the vermicompost is mature and fully processed by the worms, it’s time to harvest it. Separate the worms from the compost by using methods like the “light method” or “worm migration.” Move the worms to a new bin or bedding while collecting the finished vermicompost.
- Allow the vermicompost to cure: After harvesting, let the vermicompost cure for a few weeks. Place it in a well-ventilated container, such as a breathable fabric bag or a plastic bin with ventilation holes. This curing period allows any remaining organic matter to decompose further, resulting in a more stable and nutrient-rich product.
- Maintain proper moisture levels: Ensure the vermicompost remains slightly moist during storage. Avoid excessive dryness or moisture, as it can affect the compost’s quality. If the vermicompost feels dry, lightly mist it with water, and if it becomes too wet, allow it to dry out slightly before sealing the container.
- Protect from extreme temperatures: Vermicompost should be stored in a cool, dry place to prevent microbial activity and moisture buildup. Avoid exposing it to direct sunlight or extreme temperatures, as they can degrade the compost quality.
- Seal the container: Use airtight containers or bags to store the vermicompost. This helps maintain its moisture content and prevents odors. If using a plastic bag, puncture a few small holes for air circulation.
- Label and date: To keep track of the storage duration and ensure proper usage, label the containers with the harvest date. This lets you rotate your vermicompost stock and use the oldest batch first.
- Check periodically: Occasionally check the stored vermicompost for moisture levels, pests, or any signs of spoilage. Adjust the moisture if necessary and address any issues promptly to maintain the compost’s quality.
- Use within a reasonable timeframe: While vermicompost can retain its nutrient content for an extended period, it’s best to use it within one to two years of storage for optimal results. Regularly incorporating it into your gardening or planting activities helps maximize its benefits.
How To Use Worms Vermicompos
To use vermicompost in your gardening or planting activities, follow these steps:
- Determine the application rate: Consider the type of plants you’ll fertilize and the nutrient requirements for optimal growth. Generally, vermicompost can be applied at 10-20% by volume, meaning you can mix it with your existing soil or potting mix.
- Prepare the planting area or containers: Whether working in a garden bed, raised beds, or containers, ensure the planting area is ready to add vermicompost. Clear away weeds, loosen the soil, and create appropriate planting holes or furrows.
- Incorporate vermicompost into the soil: Mix the vermicompost into the existing soil or potting mix. If you’re working with a garden bed, spread a layer of vermicompost over the top and gently incorporate it into the soil using a garden fork or tiller. For potted plants, mix the vermicompost into the potting mix before placing it in the container.
- Plant your desired plants: Once the vermicompost is incorporated, plant your seeds, seedlings, or transplants according to their specific requirements. Place them in the prepared holes or furrows, cover them with soil, and gently firm the soil around the plants.
- Water and maintenance: After planting, water the area thoroughly to help settle the soil and ensure good contact between the roots and vermicompost. Continue to water the plants as needed, taking care not to overwater. Regularly monitor the moisture levels and adjust irrigation accordingly.
- Additional top dressing: As plants grow, you can use vermicompost as a top dressing around the base of established plants. Spread a thin layer of vermicompost around the plants, taking care not to touch the stems directly. Lightly incorporate it into the top layer of soil without disturbing the plant roots.
- Repeat applications: Vermicompost can be applied multiple times throughout the growing season to provide a consistent source of nutrients. Consider reapplying vermicompost every 4-6 weeks or as needed based on the plant’s requirements and soil conditions.
- Monitor plant growth: Regularly observe the growth and health of your plants. Vermicompost provides a slow-release source of nutrients, improves soil structure, and enhances moisture retention. Watch for improved plant vigor, increased flowering or fruiting, and healthier plants.
Vermicomposting In Different Environments
Vermicomposting is a process that involves the use of worms to convert organic waste into nutrient-rich soil. This technique can use in different environments, including urban and rural areas, and it can adapt to suit the specific needs of each location.
In urban environments, vermicomposting can do in small spaces such as balconies, rooftops, and even inside the house. This is a great way to reduce waste and produce healthy soil to grow plants and vegetables. In rural areas, vermicomposting can do on a larger scale and integrated into the farming system.
This can help reduce chemical fertilizers’ use and improve soil quality, leading to better crop yields. Plus, Vermicomposting can also use in schools and community gardens to teach people about the importance of composting and sustainable agriculture.
Conclusion
vermicomposting is a fascinating process that involves a delicate balance between science and art. The humble earthworm, through its natural digestive processes, transforms organic waste into a nutrient-rich soil amendment essential for healthy plant growth.
As we continue facing food waste and soil degradation challenges, vermicomposting presents an environmentally friendly and economically feasible solution. Understanding the science behind vermicomposting, such as the importance of pH balance and temperature control, is crucial for achieving optimal results.
We’ve discussed composting with worms. At the same time, there is also an art to vermicomposting, such as knowing when and how to harvest the compost, that requires hands-on experience and intuition.
Frequently Asked Questions
[rank_math_rich_snippet id=”s-12d57bf9-2ec8-41a6-bbc4-68b10c7f6627″]
