How to Repair a Door Frame with Wood Filler
Quick Summary: Repairing a damaged door frame with wood filler is a simple DIY project. First, clean the damaged area and remove loose wood. Then, apply wood filler in thin layers, letting it dry between each coat. Sand the filled area until smooth and even with the frame. Finally, paint or stain to match the existing finish. This easy fix restores your door frame’s appearance and integrity.
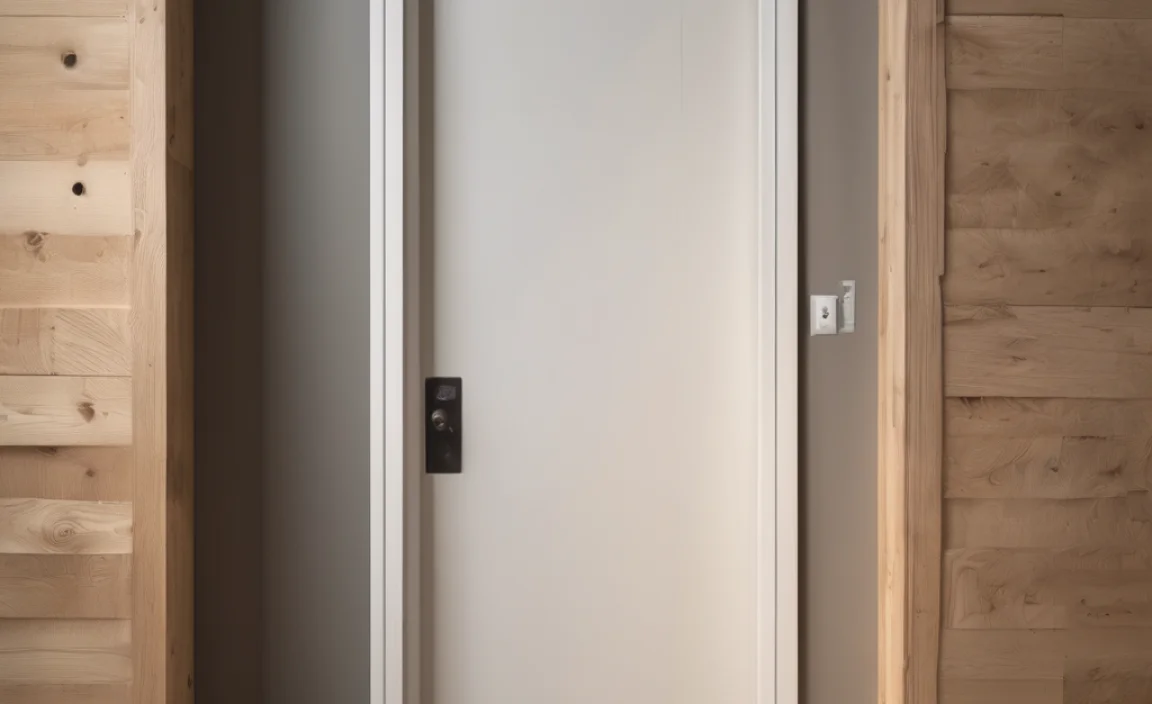
Is your door frame looking a little worse for wear? Maybe it has a few dents, cracks, or even some rot? Don’t worry, you don’t need to replace the whole thing! Repairing a door frame with wood filler is an easy and cost-effective way to restore its look and strength.
This guide will walk you through each step, making it simple for anyone to follow along. You’ll be amazed at how a little wood filler can make your door frame look brand new again! Let’s get started and bring that door frame back to life.
What You’ll Need
Before you start, gather these simple tools and materials. Having everything ready will make the job go smoothly.
- Wood filler
- Putty knife
- Sandpaper (various grits: 80, 120, 220)
- Primer
- Paint or stain (matching your door frame)
- Cleaning supplies (soap, water, sponge)
- Utility knife
- Safety glasses
- Dust mask
- Gloves
Step-by-Step Guide to Repairing a Door Frame with Wood Filler
Follow these steps to get your door frame looking as good as new. Each step is broken down to make it easy to understand and follow.
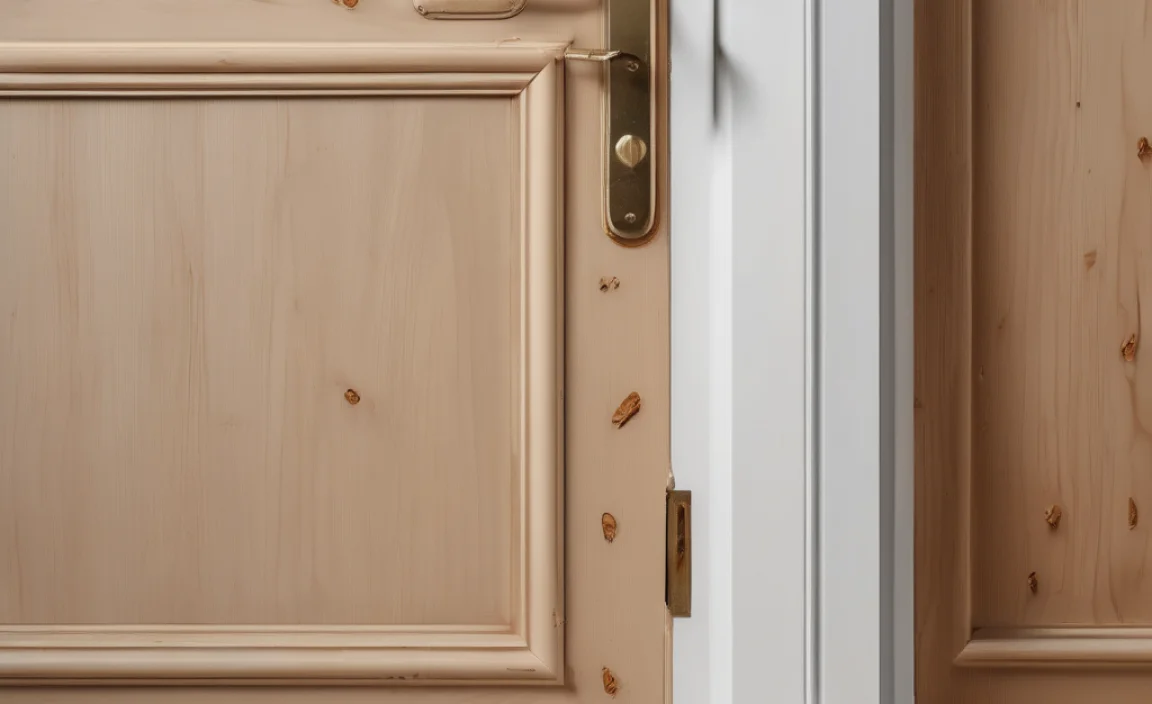
Step 1: Prepare the Area
First, clean the damaged area. Use soap, water, and a sponge to remove any dirt, dust, or loose paint. A clean surface helps the wood filler stick better.
Next, remove any loose or rotted wood. A utility knife or scraper works well for this. Be sure to wear safety glasses and gloves to protect yourself. You want to create a solid base for the wood filler to adhere to.
Let the area dry completely before moving on to the next step. Moisture can prevent the wood filler from bonding properly.
Step 2: Apply the Wood Filler
Now it’s time to apply the wood filler. Use a putty knife to scoop out a small amount of filler. Spread it evenly over the damaged area.
Apply the filler in thin layers. This prevents cracking and ensures it dries properly. Press the filler firmly into the damaged area to fill all gaps.
If the damage is deep, you may need to apply multiple layers. Let each layer dry completely before adding the next. Check the manufacturer’s instructions for drying times.
Step 3: Let It Dry
Allow the wood filler to dry completely. This usually takes 2-24 hours, depending on the product and the thickness of the application. Check the manufacturer’s instructions for the recommended drying time.
Avoid touching or disturbing the filler while it dries. This can create imperfections in the final result.
A good way to tell if it’s dry is to touch it lightly. It should feel hard and not sticky.
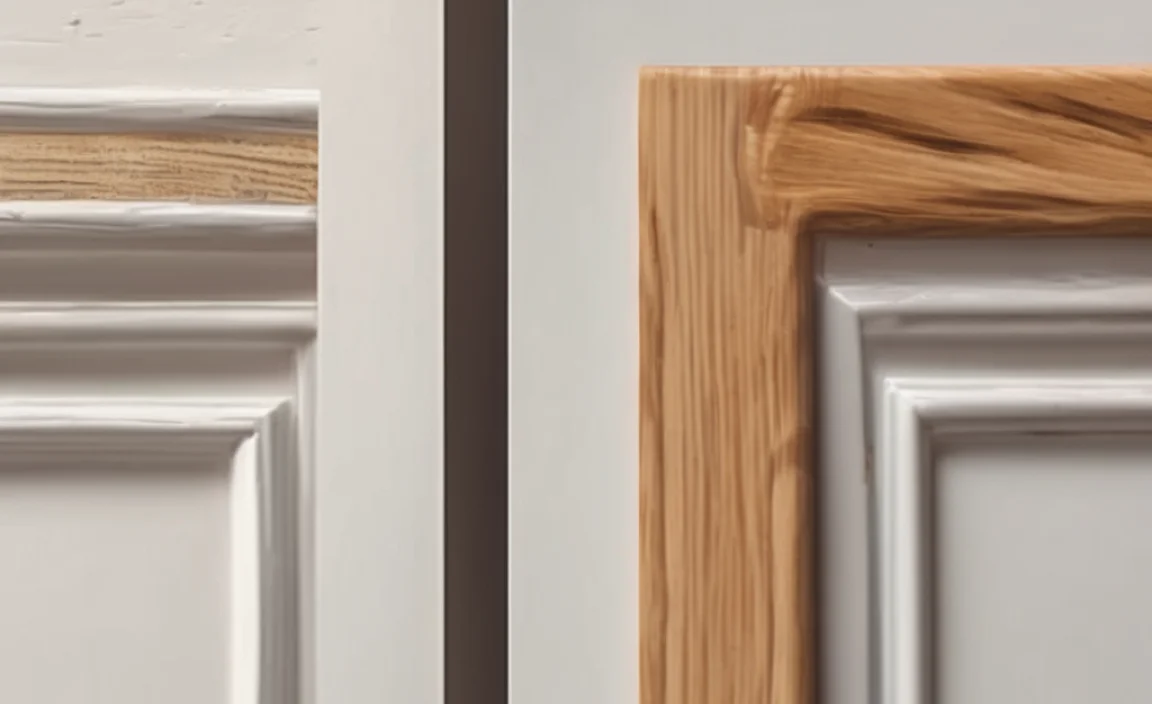
Step 4: Sand the Area
Once the wood filler is dry, it’s time to sand it smooth. Start with 80-grit sandpaper to remove any excess filler.
Then, switch to 120-grit sandpaper to smooth out the surface. Finally, use 220-grit sandpaper for a super smooth finish.
Sand in the direction of the wood grain. This helps blend the filler with the surrounding wood. Be careful not to sand too much, or you might remove filler from where you need it.
Wear a dust mask to protect yourself from the sanding dust.
Step 5: Prime and Paint
After sanding, clean the area again to remove any dust. A clean surface ensures the primer and paint adhere well.
Apply a coat of primer to the repaired area. Primer helps the paint stick and provides a uniform base. Let the primer dry completely before moving on.
Finally, paint or stain the repaired area to match your door frame. Apply thin, even coats, allowing each coat to dry before applying the next.
Consider using a high-quality paint or stain for a durable and long-lasting finish.
Choosing the Right Wood Filler

With so many options, picking the right wood filler can be tricky. Here’s a breakdown to help you decide.
Types of Wood Filler
- Water-Based Wood Filler: Easy to clean up, low odor, and good for indoor projects.
- Epoxy Wood Filler: Strong and water-resistant, ideal for outdoor repairs and high-stress areas.
- Solvent-Based Wood Filler: Durable and shrink-resistant, but has a strong odor and requires good ventilation.
- Paintable/Stainable Wood Filler: Designed to blend seamlessly with paint or stain, providing a natural look.
Factors to Consider
- Indoor vs. Outdoor: For outdoor projects, choose a water-resistant filler like epoxy.
- Project Size: For small repairs, a water-based filler might be sufficient. Larger repairs may need the strength of epoxy or solvent-based fillers.
- Desired Finish: If you plan to paint or stain, select a paintable/stainable filler for the best results.
- Odor: If you’re sensitive to smells, opt for a water-based filler, which has a low odor.
Table: Comparing Wood Filler Types
| Type | Pros | Cons | Best For |
|---|---|---|---|
| Water-Based | Easy cleanup, low odor | Less durable than others | Indoor, small repairs |
| Epoxy | Strong, water-resistant | Can be difficult to work with | Outdoor, high-stress areas |
| Solvent-Based | Durable, shrink-resistant | Strong odor, requires ventilation | Large repairs, when durability is key |
| Paintable/Stainable | Blends seamlessly with finishes | May not be as strong as others | Projects needing a natural look |
Essential Tips for a Professional Finish
Want your door frame repair to look like it was done by a pro? Here are some extra tips.
- Work in a well-ventilated area: Especially if using solvent-based fillers or paints.
- Use the right tools: A good quality putty knife and sandpaper make a big difference.
- Don’t rush: Allow each layer of filler and paint to dry completely.
- Sand carefully: Avoid sanding away the surrounding wood.
- Match the paint/stain: Bring a sample of the existing finish to the store for accurate matching.
Dealing with Common Problems
Even with careful preparation, you might run into a few snags. Here’s how to handle them.
Problem: Wood Filler Cracking
- Cause: Applying the filler too thickly or drying too quickly.
- Solution: Apply filler in thin layers, allowing each to dry thoroughly. Keep the area cool and out of direct sunlight.
Problem: Filler Not Sticking
- Cause: Dirty or oily surface, or using the wrong type of filler.
- Solution: Clean the area thoroughly before applying the filler. Choose a filler suitable for the material and environment.
Problem: Uneven Surface After Sanding
- Cause: Not sanding evenly or using the wrong grit sandpaper.
- Solution: Use a sanding block for even pressure. Start with a lower grit and gradually move to higher grits for a smooth finish.
Safety First
Safety should always be your top priority when doing DIY projects.
- Wear safety glasses: Protect your eyes from dust and debris.
- Use a dust mask: Avoid inhaling sanding dust.
- Wear gloves: Protect your hands from chemicals and rough surfaces.
- Work in a well-ventilated area: Especially when using solvent-based products.
- Follow manufacturer’s instructions: Read and understand the safety warnings on all products.
Maintaining Your Repaired Door Frame
Once you’ve repaired your door frame, proper maintenance will keep it looking great for years to come.
- Regular Cleaning: Wipe down the door frame regularly with a damp cloth to remove dirt and dust.
- Touch-Up Paint: Keep a small amount of the matching paint or stain for touch-ups.
- Inspect Regularly: Check for new cracks or damage and address them promptly.
- Protect from Moisture: Ensure the door frame is properly sealed to prevent water damage, especially in outdoor areas.
When to Call a Professional
While repairing a door frame with wood filler is a manageable DIY project, some situations require professional help.
- Extensive Rot: If the rot is widespread or deep, the structural integrity of the door frame may be compromised.
- Structural Damage: If the door frame is significantly damaged or warped, it may need to be replaced or professionally repaired.
- Lack of Confidence: If you’re uncomfortable or unsure about any part of the process, it’s best to consult a professional.
FAQ: Repairing a Door Frame with Wood Filler
1. Can I use any type of wood filler for a door frame?
Not all wood fillers are created equal. For exterior door frames, choose an epoxy-based filler because it is water-resistant. For interior door frames, a water-based filler is usually fine.
2. How long does wood filler take to dry?
Drying times vary. Usually, wood filler dries in 2 to 24 hours. Check the manufacturer’s instructions for the most accurate drying time.
3. Do I need to prime the wood filler before painting?
Yes, priming is essential. Primer helps the paint adhere better and provides a uniform finish, ensuring the repaired area blends seamlessly with the rest of the door frame.
4. What grit sandpaper should I use for wood filler?
Start with a lower grit (80-grit) to remove excess filler, then move to a medium grit (120-grit) to smooth the surface. Finish with a fine grit (220-grit) for a super smooth finish.
5. Can I stain wood filler?
Yes, but use a stainable wood filler. Some fillers are designed to accept stain evenly, providing a natural look that matches the surrounding wood.
6. What if the damage is too big for wood filler?
For large damages, consider using a wood patch or replacing the damaged section of the door frame. Wood filler is best for smaller repairs.
7. How can I prevent the wood filler from cracking?
Apply the filler in thin layers. Allow each layer to dry completely before adding another. Avoid applying too much filler at once.
Conclusion
And there you have it! Repairing a door frame with wood filler is a straightforward project that anyone can tackle. By following these simple steps, you can restore your door frame to its former glory, saving time and money.
Remember to take your time, follow safety precautions, and choose the right materials for the job. With a little patience and effort, you’ll achieve a professional-looking finish that you can be proud of. So go ahead, grab your tools, and give your door frame the makeover it deserves!