**Quick Summary:** Cleaning hockey gear in your bathtub is simple! First, gather your gear, a mild detergent, and a brush. Fill the tub with lukewarm water, add detergent, and submerge your equipment. Scrub gently, rinse thoroughly, and hang the gear to air dry. This process removes sweat, bacteria, and odors, keeping your equipment fresh and ready for the next game!
Does your hockey gear smell like a locker room nightmare? Don’t worry, you’re not alone! All that sweat and hard work can leave your equipment pretty stinky. But keeping your gear clean doesn’t have to be a huge chore. You can easily wash your hockey equipment right in your bathtub.
In this guide, I’ll walk you through each step, so you can get your gear clean and fresh without any hassle. We’ll cover everything from gathering your supplies to the best way to dry your equipment. Ready to say goodbye to that lingering odor? Let’s get started!
Why Wash Your Hockey Gear?
Before we dive into the “how,” let’s quickly cover the “why.” Washing your hockey gear regularly isn’t just about eliminating that unpleasant smell. It’s also about hygiene and the longevity of your equipment.
- Eliminate Odor: Sweat, bacteria, and mildew can cause strong, unpleasant odors.
- Prevent Bacteria Growth: Regular cleaning helps prevent the growth of harmful bacteria that can cause skin infections.
- Extend Gear Life: Dirt and grime can degrade the materials in your gear over time. Washing helps preserve them.
- Improve Comfort: Clean gear is simply more comfortable to wear.
What You’ll Need
Before you start, gather these essential items. Having everything ready will make the process smooth and efficient.
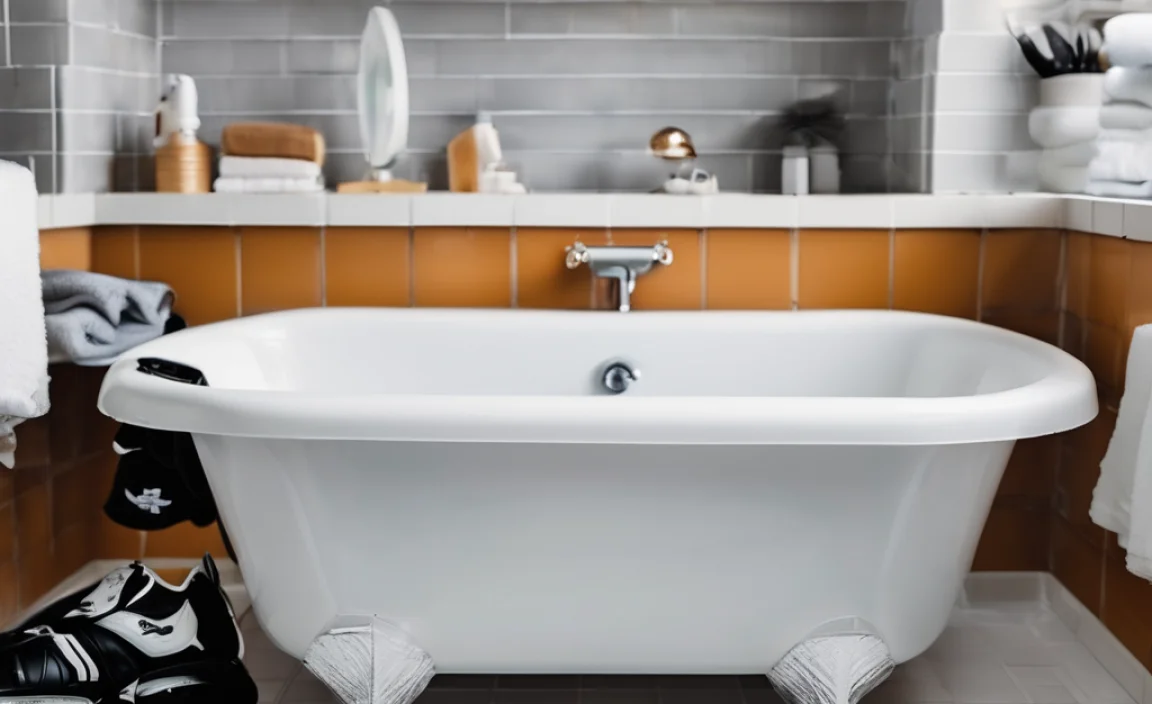
- Bathtub: A standard bathtub is perfect for this task.
- Mild Detergent: Use a gentle detergent like those designed for delicates or sports gear. Avoid harsh chemicals.
- Soft Brush: An old toothbrush or a soft-bristled brush will help you scrub away dirt.
- Towels: For drying off excess water after washing.
- Hangers or Clothesline: To hang your gear and allow it to air dry.
- Optional: Disinfectant Spray: For added hygiene, especially for areas that can’t be fully submerged.
Step-by-Step Guide: Washing Hockey Gear in Your Bathtub
Now, let’s get to the main event. Follow these steps to wash your hockey gear effectively in your bathtub.
Step 1: Prepare Your Gear
Before you start filling the tub, take a few minutes to prepare your gear. This includes removing any detachable parts and pre-treating any heavily soiled areas.
- Empty Pockets: Check all pockets and remove any items.
- Remove Detachable Parts: Take out any removable padding, liners, or straps. These can be washed separately or by hand.
- Pre-Treat Stains: If you notice any heavily soiled areas or stains, pre-treat them with a stain remover or a mixture of detergent and water. Let it sit for about 15-20 minutes.
Step 2: Fill the Bathtub
Now it’s time to get the bathtub ready. The water temperature and detergent amount are important for effective cleaning without damaging your gear.
- Clean the Bathtub: Make sure your bathtub is clean before you start. Rinse it out to remove any soap residue or dirt.
- Fill with Lukewarm Water: Fill the bathtub with lukewarm water. Avoid hot water, as it can damage some materials.
- Add Detergent: Add a small amount of mild detergent to the water. Follow the instructions on the detergent bottle. A little goes a long way!
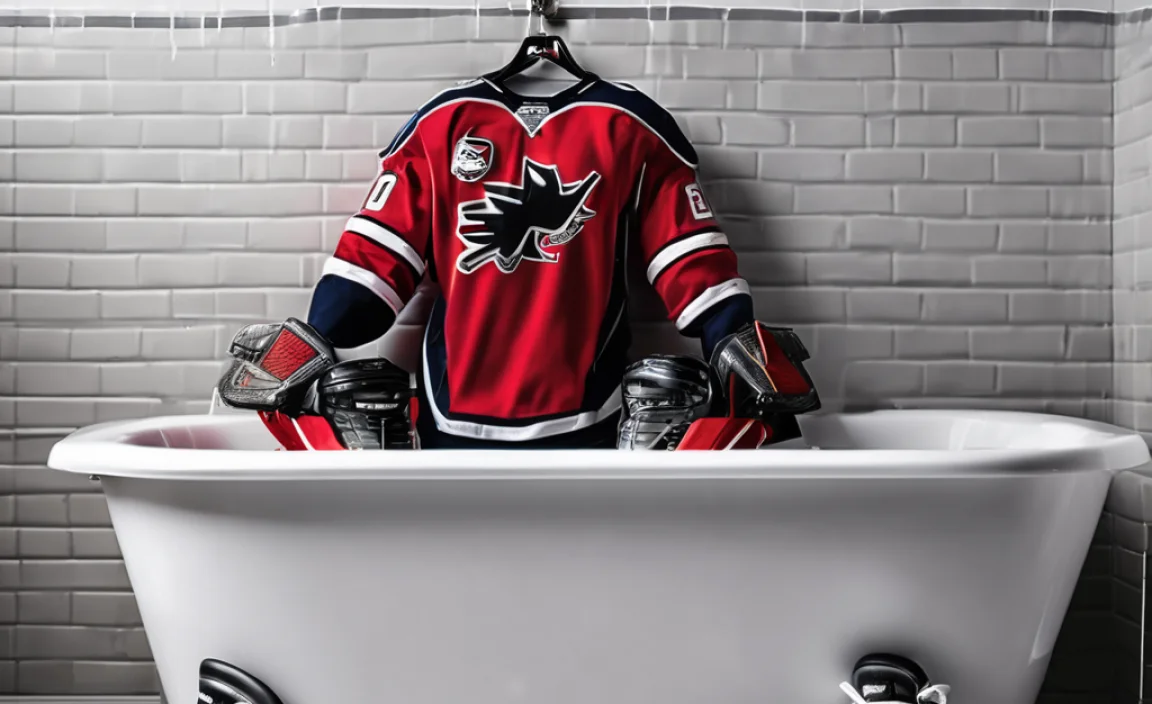
Step 3: Submerge and Soak Your Gear
Submerging your gear properly ensures that every part gets cleaned. Soaking helps loosen dirt and grime, making it easier to scrub away.
- Submerge Gear: Place your hockey gear into the bathtub, making sure everything is fully submerged in the soapy water.
- Soak for 30-60 Minutes: Let the gear soak for at least 30 minutes, or up to an hour for particularly dirty equipment. This allows the detergent to penetrate the fabric and loosen dirt.
Step 4: Scrub Your Gear
After soaking, it’s time to scrub. Focus on areas that tend to accumulate the most sweat and dirt.
- Use a Soft Brush: Use a soft brush to gently scrub your gear. Pay special attention to areas like padding, straps, and any areas with visible dirt or stains.
- Focus on Problem Areas: Spend extra time on areas that tend to get the dirtiest, such as the inside of helmets, the padding in gloves, and the shin guards.
- Rinse and Repeat: If some areas are still dirty after scrubbing, rinse them and repeat the process.
Step 5: Rinse Thoroughly
Rinsing is crucial to remove all traces of detergent. Leftover soap can attract dirt and cause skin irritation.
- Drain the Soapy Water: Drain the soapy water from the bathtub.
- Rinse with Clean Water: Refill the bathtub with clean, lukewarm water.
- Rinse Gear: Rinse each piece of gear thoroughly, making sure to remove all traces of detergent. You may need to repeat this process several times.
Step 6: Dry Your Gear
Proper drying is essential to prevent mildew and odors. Air drying is the best method, but it’s important to do it correctly.
- Remove Excess Water: Gently squeeze out excess water from each piece of gear. Avoid wringing, which can damage the materials.
- Towel Dry: Use towels to pat down the gear and absorb as much moisture as possible.
- Air Dry: Hang your gear in a well-ventilated area to air dry. Use hangers for items like shoulder pads and pants. Lay smaller items flat on a clean surface.
- Avoid Direct Sunlight: Do not dry your gear in direct sunlight, as this can fade colors and damage the materials.
- Use a Fan: If possible, use a fan to circulate air around your gear, which will help it dry faster.
Here’s a quick guide on where to dry your gear:
- Helmets: Upside down to allow airflow.
- Pads: Hung on sturdy hangers.
- Gloves: Open, allowing air inside.
- Skates: Away from direct heat or sunlight.
Pro Tip: Consider investing in a gear drying rack to streamline the process and ensure proper ventilation. These racks are designed to hold all your equipment and promote airflow for faster drying.
Additional Tips for Washing Hockey Gear

Here are some extra tips to help you keep your hockey gear in top shape.
- Wash Regularly: Aim to wash your gear every 2-4 weeks, depending on how often you play.
- Use a Deodorizing Spray: In between washes, use a deodorizing spray to help keep odors at bay.
- Store Gear Properly: Store your gear in a well-ventilated area to prevent moisture buildup. Avoid storing it in a closed bag or trunk.
- Check for Damage: While washing your gear, take the opportunity to inspect it for any signs of damage, such as tears or broken straps. Repair or replace damaged gear as needed.
Dealing with Specific Types of Gear
Some pieces of hockey gear require special attention. Here’s how to handle them:
Helmets
Helmets should be cleaned carefully to avoid damaging the protective foam. Wipe down the exterior with a damp cloth and mild detergent. Remove the padding if possible and wash it separately. Use a disinfectant spray on the inside of the helmet to kill bacteria.
Skates
Skates should not be fully submerged in water. Instead, wipe down the exterior with a damp cloth and mild detergent. Remove the insoles and wash them separately. Allow the skates to air dry completely before storing them.
Gloves
Gloves can be tricky to clean because they tend to trap moisture. After washing, stuff them with newspaper to help absorb moisture and maintain their shape. Make sure they are completely dry before storing them.
Pads
Pads, including shoulder pads, elbow pads, and shin guards, should be washed thoroughly to remove sweat and bacteria. Pay special attention to the straps and closures, as these areas can accumulate dirt. Ensure they are completely dry before storing them to prevent mildew.
Alternative Cleaning Methods
While washing your gear in the bathtub is effective, here are a few alternative methods you might consider:
- Washing Machine: Some gear can be washed in a washing machine on a gentle cycle. Place the gear in a mesh laundry bag to protect it from damage. Always check the manufacturer’s instructions before machine washing.
- Commercial Gear Washers: Some sports equipment retailers offer commercial gear washing services. These machines are specifically designed to clean and sanitize hockey gear.
- Hand Washing: For delicate items or items that cannot be submerged, hand washing is a good option. Use a mild detergent and lukewarm water to gently clean the gear.
Table: Comparing Cleaning Methods
| Method | Pros | Cons | Best For |
|---|---|---|---|
| Bathtub Washing | Effective, affordable, easy to do at home | Time-consuming, requires manual scrubbing | Most hockey gear |
| Washing Machine | Convenient, good for some types of gear | Can damage delicate items, not suitable for all gear | Some pads and soft gear |
| Commercial Gear Washers | Thorough cleaning, sanitizes gear | More expensive, requires a trip to the retailer | All gear, especially after heavy use |
| Hand Washing | Gentle, good for delicate items | Time-consuming, requires more effort | Helmets, skates, and delicate pads |
Table: Recommended Cleaning Frequency
| Gear Type | Recommended Cleaning Frequency | Additional Notes |
|---|---|---|
| Helmets | Every 2-4 weeks | Wipe down after each use, disinfect regularly |
| Skates | As needed | Wipe down after each use, dry thoroughly |
| Gloves | Every 2-4 weeks | Stuff with newspaper to absorb moisture |
| Pads | Every 2-4 weeks | Pay special attention to straps and closures |
| Jerseys and Pants | After each use | Wash in a washing machine on a gentle cycle |
Dealing with Stubborn Odors
Sometimes, despite your best efforts, stubborn odors can linger. Here are some strategies to tackle them:
- Baking Soda: Sprinkle baking soda on your gear and let it sit for several hours or overnight before vacuuming it off. Baking soda is a natural odor absorber.
- Vinegar: Mix equal parts white vinegar and water in a spray bottle. Spray the mixture on your gear and let it air dry. Vinegar helps neutralize odors.
- Enzyme Cleaners: Use an enzyme cleaner specifically designed for sports equipment. These cleaners break down the bacteria that cause odors.
- Ozone Generators: Ozone generators can be used to eliminate odors, but they should be used with caution. Follow the manufacturer’s instructions carefully and ensure the area is well-ventilated.
Safety Precautions
When washing your hockey gear, keep these safety precautions in mind:
- Avoid Harsh Chemicals: Do not use bleach or harsh chemicals, as they can damage the materials in your gear.
- Test Detergents: Before using a new detergent, test it on a small, inconspicuous area of your gear to make sure it doesn’t cause discoloration or damage.
- Wear Gloves: If you have sensitive skin, wear gloves while washing your gear to protect your hands from irritation.
- Ventilate the Area: Make sure the area where you are washing and drying your gear is well-ventilated to prevent the buildup of moisture and odors.
External Resources
For more information on cleaning and maintaining sports equipment, check out these resources:
FAQ: Washing Hockey Gear in Bathtub
Can I wash my hockey helmet in the bathtub?
Yes, but be gentle! Remove the padding and wash it separately. Wipe the helmet’s exterior with a damp cloth and mild soap. Avoid soaking the helmet entirely to protect the inner foam.
How often should I wash my hockey gear?
Aim to wash your gear every 2-4 weeks, depending on how often you play. If you sweat a lot or play frequently, wash it more often to prevent odors and bacteria buildup.
What kind of detergent should I use?
Use a mild detergent, like one designed for delicates or sports gear. Avoid harsh chemicals like bleach, which can damage the materials.
Can I put my hockey gear in the washing machine?
Some items, like jerseys and some pads, can be machine-washed on a gentle cycle. Place them in a mesh laundry bag for protection. Always check the manufacturer’s instructions first.
How do I get rid of the smell in my hockey gloves?
After washing, stuff your gloves with newspaper to absorb moisture and help them retain their shape. Ensure they’re completely dry before storing them. You can also use a deodorizing spray in between washes.
How long does it take for hockey gear to dry?
Drying time varies depending on the gear and the environment, but it usually takes 24-48 hours. Ensure good ventilation and use a fan to speed up the process.
Is it okay to dry my gear in direct sunlight?
No, avoid drying your gear in direct sunlight. The sun can fade colors and damage the materials. Air dry your gear in a shaded, well-ventilated area instead.
Conclusion
Washing your hockey gear in the bathtub is a simple and effective way to keep it clean, fresh, and ready for the next game. By following these steps, you can eliminate odors, prevent bacteria growth, and extend the life of your equipment. Remember to wash regularly, dry thoroughly, and take care of specific gear types. With a little effort, you’ll be able to maintain your gear and enjoy your time on the ice even more. Now, go out there and play hard, knowing your gear is ready for action!