Hey there! So, you’ve been hearing about composting and how great it is for your garden, but the thought of outdoor bins and… well, potential pests has you rethinking things? Maybe you’ve seen those little critters and wondered if they’re friend or foe. You’re not alone! Many folks want to compost their kitchen scraps but prefer to keep it all neat and tidy inside.
That’s where the magic of “indoor composting bugs” comes in. They’re tiny heroes that turn your waste into garden gold, right in your home. Don’t worry, I’m here to break it all down. We’ll explore which bugs are the composting superstars, how they work, and how you can get started with your own indoor composting system. Stick around, and let’s transform that food waste together!
Indoor Composting Bugs: Your Tiny Kitchen Recycling Crew
Thinking about indoor composting often brings up images of little helpers, doesn’t it? These aren’t the creepy-crawlies you might be worried about. These are the amazing little creatures that do the heavy lifting in a compost system, breaking down your food scraps into nutrient-rich compost. They’re essential for a speedy and efficient composting process indoors. Let’s meet the main players!
Meet the Stars: Worms and Microbes
When we talk about “indoor composting bugs,” we’re primarily talking about two main groups:
- Red Wrigglers (Eisenia fetida): These are the rockstars of vermicomposting (worm composting). They are voracious eaters and reproduce quickly, making them perfect for processing kitchen waste. They’re hardy and, when kept in the right conditions, they stay right where they belong – in the compost bin!
- Microorganisms (Bacteria, Fungi, Protozoa): These are the invisible MVPs. Bacteria and fungi are the first to break down larger food scraps, making them easier for worms to consume. They’re naturally present in soil and on decaying matter. You don’t need to add them explicitly; they’ll find their way to your compost bin.
While other beneficial insects might visit an outdoor compost pile, for indoor systems, we focus on creating a habitat where these specific worms and microbes thrive. It’s a controlled environment, keeping things clean and efficient.
Why Welcome These “Bugs” into Your Home?
It might sound strange to intentionally bring bugs into your house, but these specific composting insects are incredibly beneficial and, when managed correctly, they’re not a nuisance at all. Here’s why they are a genius addition to your home:
Benefits Galore
- Waste Reduction: They help divert a significant amount of kitchen waste from landfills. This is a huge win for the environment!
- Nutrient-Rich Compost: Their work produces “worm castings” or “vermicast,” which is one of the most potent and beneficial fertilizers for your houseplants and garden.
- Reduced Odors: A well-managed worm bin actually smells earthy, not rank. The worms and microbes break down waste quickly, preventing decomposition smells.
- Educational Opportunity: It’s a fantastic way to teach kids (and adults!) about decomposition, nutrient cycles, and sustainability.
- Cost Savings: You’ll buy less fertilizer for your plants and reduce your trash output.
Are They Dangerous or Unsanitary?
This is a common concern, and it’s totally valid. The good news is that red wigglers and the necessary microbes are not pests in the traditional sense. They are specifically suited for breaking down organic matter in a contained system. When your worm bin is set up and maintained properly, it should be:
- Odor-free: A healthy bin smells like damp earth. Musty or foul smells usually indicate an imbalance (too much food, too wet, etc.).
- Contained: Red wigglers are not escape artists! They are composting machines that prefer the moist, dark environment of the bin.
- Hygienic: The composting process itself is a form of decomposition. As long as you manage food input and moisture, it’s perfectly sanitary for indoor use.
Think of it like having a small, contained ecosystem working for you. It’s far more hygienic than letting food scraps sit in a regular trash can waiting for garbage day.
Choosing Your Composting Critters: The Red Wriggler Connection
While various worms exist, not all are suited for home composting. Red wigglers are the undisputed champions. They’re different from the earthworms you find in your garden!
Red Wigglers vs. Garden Earthworms
It’s important to know the difference:
| Feature | Red Wigglers (Eisenia fetida) | Garden Earthworms (e.g., Lumbricus terrestris) |
|---|---|---|
| Habitat Preference | Surface dwellers; thrive in moist, decaying organic matter. | Dwellers of deeper soil; aerate soil. |
| Diet | Excellent scavengers, readily consume kitchen scraps. | Primarily consume soil and organic matter already in the soil. |
| Reproduction Rate | High; reproduce quickly in ideal conditions. | Lower; less suited for rapid waste processing. |
| Tolerance | Tolerant of a wide range of temperatures (within reason) and pH levels. | More sensitive to changes in environment. |
| Composting Suitability | Ideal for vermicomposting. | Not ideal for indoor composting bins. |
You’ll want to purchase red wigglers specifically for composting. They are readily available online from reputable worm farms or sometimes from local gardening centers.
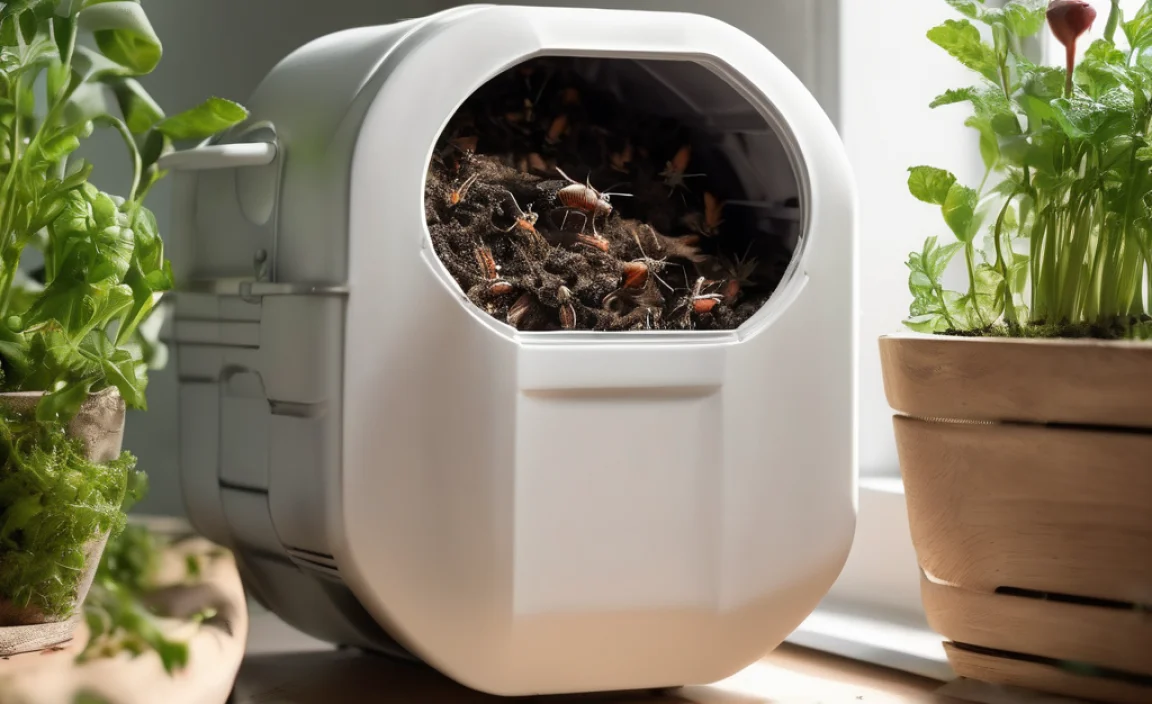
Setting Up Your Indoor Composting System: The Bin
The bin is your composting bugs’ home. It needs to be just right to keep them happy and productive. You don’t need anything fancy to start!
Types of Indoor Compost Bins
There are a few popular options:
- DIY Bins: Often made from plastic storage totes. This is a budget-friendly and highly customizable option. We’ll cover how to make one below.
- Purchased Systems: Many companies sell pre-made worm bins. They are often designed for aesthetics and ease of use, with features like multiple trays for harvesting compost.
- Multi-Tiered Systems: These are popular purchased bins. As the lower trays fill with food scraps, you add new trays on top. The worms migrate upwards towards the fresh food, leaving finished compost behind in the lower trays, making harvesting super easy.
For beginners, a simple DIY bin or a basic purchased system is perfect. The key is ensuring it has ventilation and drainage.
Building a Simple DIY Worm Bin
This is a classic and cost-effective way to start. You’ll need:
- A plastic storage tote: At least 10-gallon size is good. Opaque ones are better as worms prefer darkness.
- A drill: With various drill bit sizes (around 1/8 inch for ventilation, 1/4 inch for drainage).
- A lid for the tote.
Steps:
- Drill Ventilation Holes: Drill about 10-15 small holes (1/8 inch) around the upper sides of the tote and several in the lid. These allow air circulation, which is crucial. Too little air can lead to anaerobic conditions and bad smells.
- Drill Drainage Holes: Drill 4-6 larger holes (1/4 inch) in the very bottom of the tote. This is essential for excess moisture to drain out. Without drainage, your bin can become waterlogged, which is bad for the worms.
- Prepare the Lid: If your lid is solid, drill a few more ventilation holes in it, similar to the sides.
- Add Bedding: This is what the worms live in. Shredded newspaper (black and white print only – avoid glossy or colored inks), shredded cardboard, coconut coir, or aged leaves are excellent choices. Moisten the bedding until it’s like a wrung-out sponge. It should be damp, not soaking wet.
- Add Worms: Once your bedding is ready and in the bin, gently place your purchased red wigglers on top. They will burrow down on their own within a few minutes as they adjust.
- Add a Little Food: Give them a small handful of food scraps to get them started.
- Close the Lid: Put the lid on securely.
Place your bin in a cool, dark spot in your home. A closet, under a sink, or a corner of a room that doesn’t get too hot or cold is ideal. Temperatures between 55-77°F (13-25°C) are best for red wigglers.
Purchasing a Worm Bin System
If DIY isn’t your thing, many excellent worm composting systems are available. Popular brands include:
- Worm Factory 360
- Uncle Jim’s Worm Farm (also sells worms)
- Can-O-Worms
These typically come with instructions and are designed for efficient composting and easy harvesting. They often have built-in drainage and ventilation systems.
What Do Your Indoor Composting Bugs Eat?
Feeding your worms correctly is key to a happy, healthy compost system and avoiding pests. Worms are not scavengers of just anything; they have preferences!
Good Foods for Worms (The “Greens” and “Browns”)
Worms thrive on a diet rich in nitrogen (greens) and carbon (browns). Aim for a good balance.
What to Feed Your Worms:
- Vegetable Scraps: Most fruit and vegetable peels, cores, and scraps (avoid citrus in large quantities).
- Fruit Scraps: Similar to vegetables, but be mindful of very acidic fruits.
- Coffee Grounds and Filters: Worms love these! Paper filters are fine too.
- Tea Bags: Remove any staples or plastic tags.
- Eggshells: Rinse and crush them to help them break down faster. This also helps neutralize bin acidity.
- Crushed Cardboard and Paper: Black and white newspaper, plain cardboard (not waxed), paper towels, and paper napkins. These add carbon.
- Spent Flowers and Leaves: From your houseplants or garden.
- Bread and Pasta (in moderation): Avoid oily or heavily seasoned items.
What NOT to Feed Your Worms:
These can attract pests, create odors, or harm your worms.
- Meat and Dairy Products: These attract rodents and flies and can rot.
- Oily Foods: Including salad dressings, cooking oils, and fatty scraps.
- Citrus in Large Amounts: While a little bit is okay, too much can lower the pH of the bin and harm the worms.
- Spicy Foods: Peppers and hot sauces can be too harsh.
- Diseased Plants: You don’t want to spread plant diseases.
- Pet Waste: Cat and dog feces can contain pathogens harmful to humans.
- Glossy or Colored Paper: The inks and coatings can be problematic.
How to Feed Worms?
Start slow! When you first get your worms, give them only a little food every few days. As their population grows and they process waste, you can increase the amount. Burying food scraps under the bedding helps prevent fruit flies and odors and encourages worms to move around.
Maintaining Your Indoor Compost System: Happy Worms, Happy Home
Keeping your composting bugs happy is all about maintaining the right environment. It’s simpler than you might think!
Moisture Levels
The bedding should always be moist, like a wrung-out sponge. Not dripping wet, and not dry.
- Too Wet: If you see puddles or the bin smells sour, it’s too wet. Add more dry bedding (shredded cardboard/newspaper) to absorb excess moisture and improve aeration. Ensure drainage holes are clear.
- Too Dry: If the bedding feels dry, mist it gently with a spray bottle of water. Ensure the worms have enough moist material or a source of moisture like fruit scraps.
Temperature
Red wigglers thrive in temperatures between 55-77°F (13-25°C). Avoid placing your bin near heat sources (radiators, direct sunlight) or in freezing areas.
Aeration
Worms need oxygen!
- Ensure ventilation holes are clear.
- Gently fluff the bedding and compost material every few weeks.
- Avoid compacting the bedding too tightly.
Feeding Frequency
Feed your worms only when they have eaten most of the previous food. Overfeeding is a common mistake that can lead to anaerobic conditions, odors, and pests.
A good rule of thumb is to feed them 1-2 times a week, depending on the size of your bin and worm population. Start with small amounts and observe. If food scraps are still visible after a week, you’re feeding too much.
Troubleshooting Common Issues
Even with the best intentions, you might run into small problems. Here are a few common ones and how to fix them:
- Fruit Flies: These usually appear when food is left exposed on the surface or if meat/dairy was accidentally added.
- Solution: Bury all food scraps well under the bedding. Ensure there are no exposed scraps. You can also add a shallow layer of worm bedding on top of the food. If they persist, you can place a small cup with a bit of apple cider vinegar in the bin to acts as a trap.
- Bad Odors (Sour/Ammonia Smell): This is a sign of anaerobic conditions and too much acidic food.
- Solution: Stop feeding for a few days. Add more carbon-rich bedding (shredded cardboard/newspaper). Gently aerate the bin. Ensure drainage is working. Avoid adding citrus or large amounts of sugary foods temporarily.
- Worms Trying to Escape: They usually do this when conditions aren’t right – too wet, too dry, too acidic, or too much food.
- Solution: Check moisture, pH, and feeding levels. Ensure the bin is dark and undisturbed. Once conditions are stable, they should calm down.
- Small Mites: Red mites can appear. A few are normal and help with decomposition. Too many can indicate an imbalance or too much food for the worm population.
- Solution: Add more carbon bedding. Reduce feeding. For severe infestations, a dust bath of diatomaceous earth (food-grade) on top can help, but be cautious as it can harm worms if overused.
Remember, observation is your best tool. Get to know how your bin looks and smells so you can quickly spot when something is off.
Harvesting Your “Black Gold”
Once your worms have been happily munching away for a few months, you’ll start to see finished compost – that rich, dark, crumbly material. This is called “worm castings” or “vermicast,” and it’s pure gardening gold!
How to Harvest
There are a few ways to collect your compost:
- The Push/Migration Method:
- Stop feeding one side of the bin for a week or two.
- Add fresh bedding and food scraps only to the other side of the bin.
- The worms will migrate to the new food source, leaving the finished compost behind on the unfed side.
- Once most worms have moved, you can carefully scoop out the finished compost from the now-empty section.
- The Light Method:
- Empty the contents of your bin onto a tarp or plastic sheet under bright light (direct sunlight works too).
- Worms are photophobic (they dislike light). They will burrow down to escape it.
- Scoop off the top layer of compost. Wait a few minutes for the worms to burrow deeper, then scoop off another layer. Repeat this until you’re left with a concentrated group of worms.
- Collect the worms and return them to your clean bin with fresh bedding.
- If You Have a Multi-Tiered System:
- These systems are designed to make harvesting easy. Typically, you add fresh food scraps to the top tray. As the food is processed, the worms migrate upwards towards the fresh food.
- Once the lower trays are clear of worms and full of compost, you can simply remove them and harvest the finished vermicast.
The finished compost should be dark brown, crumbly, and smell earthy. You can sift it to remove any larger, unfinished bits, which can go back into the bin to continue breaking down.

I am passionate about home engineering. I specialize in designing, installing, and maintaining heating, ventilation, and air conditioning systems. My goal is to help people stay comfortable in their homes all year long.