Hey there, fellow home enthusiasts! Troy D Harn here. Ready to tackle a composting challenge that pops up for many of us? Indoor composting is fantastic for transforming kitchen scraps into garden gold, but sometimes, things don’t go quite as planned.
Unpleasant smells, pesky pests, or a slow (or no!) decomposition process can be frustrating. But don’t worry! We’ll walk through these common indoor composting problems together. You’ve got this, and I’ll show you exactly what to do next, step-by-step.
Quick Summary: Indoor Composting Problems and How to Fix Them
Indoor composting is a rewarding way to reduce waste and create nutrient-rich soil amendments. However, beginners often encounter issues like bad odors, fruit flies, slow decomposition, or mold. This guide provides practical, easy-to-understand solutions for these common problems, focusing on maintaining the right balance of materials, moisture, and aeration. We’ll cover everything from adjusting your “greens” and “browns” to managing pests and troubleshooting slow compost. By understanding the basics and applying these simple fixes, you can ensure your indoor compost bin is a clean, efficient, and successful addition to your home.
Indoor Composting Problems: Essential Solutions
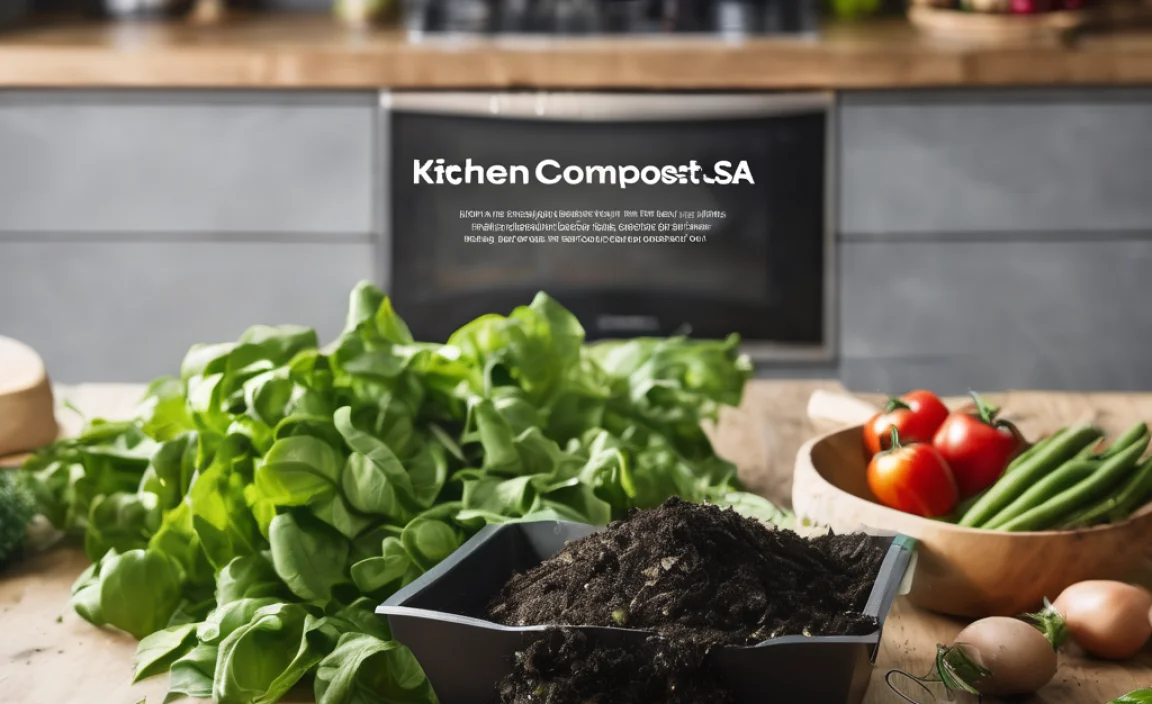
It’s exciting to start composting indoors! You’re thinking about reducing your kitchen waste, creating amazing fertilizer for your plants, and doing your bit for the planet. That’s awesome! But sometimes, your indoor compost bin might throw a curveball. Maybe it smells a bit… off. Or tiny flies start showing up. Or perhaps, nothing seems to be happening at all. These are super common issues, and the good news is, they’re totally fixable. I’ve been there, and I know how to get your compost back on track. We’ll break down the problems and give you simple, effective ways to solve them so you can get back to making that black gold for your garden.
Why Does My Indoor Compost Bin Smell? The Rotten Egg & Ammonia Attack
The most common complaint about indoor composting is the smell. A healthy compost pile should smell earthy, like a forest floor after a rain. If yours smells like rotten eggs or strong ammonia, it’s a sign that something is out of balance. Don’t let this discourage you; it’s usually an easy fix!
The Culprit: Lack of Air (Anaerobic Conditions)
When your compost bin doesn’t have enough oxygen, it creates an environment where different types of bacteria take over. These bacteria don’t need air to live, and their byproduct is that nasty sulfur smell (rotten eggs) or a sharp ammonia scent. This often happens when the pile is too wet, too dense, or has too many “green” materials.
The Solution: Let It Breathe!
The fix is all about increasing airflow and balancing your compost “ingredients.”
- Aerate, Aerate, Aerate: Grab a pitchfork, a sturdy stick, or a compost aerator tool and give your pile a good turning. Gently mix it around to introduce air into the denser parts. Do this every few days until the smell disappears.
- Dry It Out: If your compost feels soggy, it’s holding too much moisture. You need to add more “browns.”
- Balance Your Greens and Browns: This is key! “Greens” are moist, nitrogen-rich materials like fruit and vegetable scraps, coffee grounds, and grass clippings. “Browns” are dry, carbon-rich materials like shredded newspaper, cardboard, dry leaves, and sawdust. A good rule of thumb is to aim for a ratio of about 2 parts browns to 1 part greens. If it smells funky, you’ve likely added too many greens or it’s too wet.
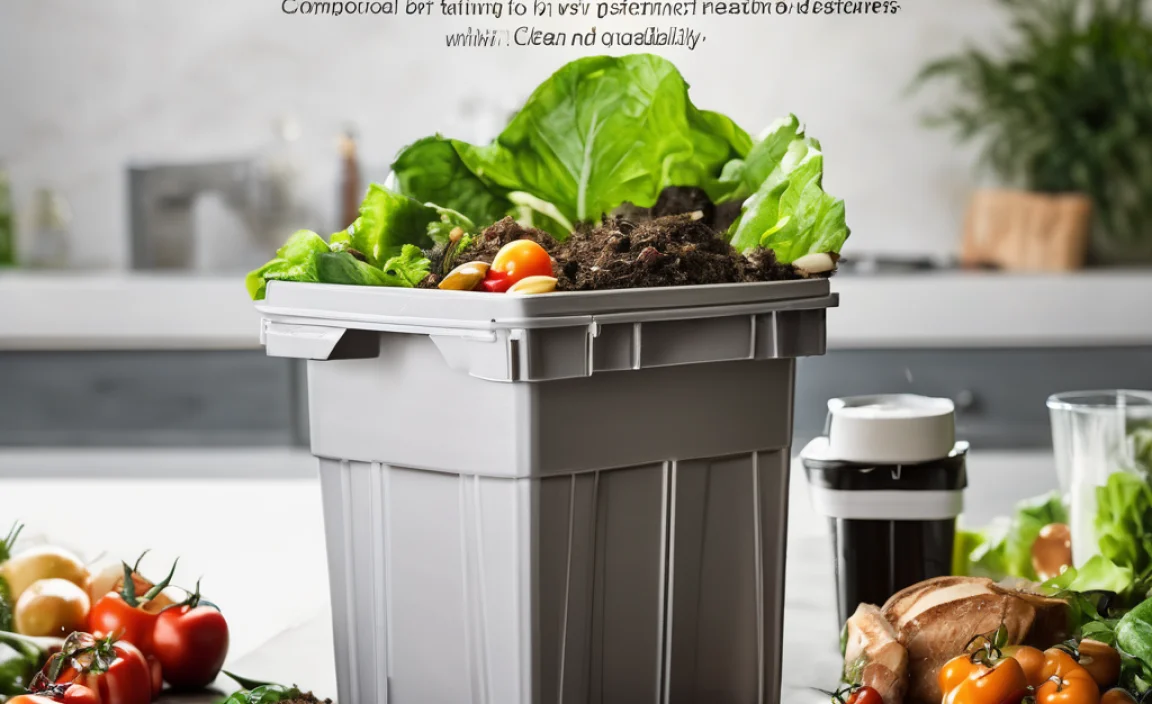
Tip: Always cover fresh kitchen scraps with a layer of browns before adding them to the bin. This helps prevent odors from escaping and keeps them from becoming a feast for pests.
When to Add More Browns
- Your compost feels slimy or wet.
- You’re adding a lot of fresh kitchen scraps (fruits, veggies).
- The bin has an ammonia or rotten egg smell.
What Counts as Browns?
| Carbon-Rich Materials (Browns) |
|---|
| Shredded newspaper (black and white ink is best) |
| Cardboard (torn into small pieces, remove tape and labels) |
| Dry leaves |
| Straw or hay |
| Wood chips or sawdust (use sparingly and avoid treated lumber) |
| Paper towels and napkins (unsoiled) |
Fruit Flies: Tiny Invaders in Your Compost
Ah, fruit flies. They seem to appear out of nowhere and can turn your composting dreams into a tiny, buzzing nightmare. Luckily, they are usually only a problem during the warm months and are quite easy to manage.
The Culprit: Exposed Food Scraps
Fruit flies are attracted to the sugars and moisture in exposed food scraps, especially fruits and vegetables. If your compost is open, or new scraps aren’t covered, these little guys will find their way in.
The Solution: Seal Them Out and Starve Them
The best way to combat fruit flies is to make your compost bin less appealing and inaccessible to them.
- Bury Your Scraps: Always bury fresh kitchen waste deep within the compost bin. Cover it with a layer of finished compost or brown materials. This acts as a physical barrier and discourages flies from laying eggs.
- Use a Lid: Ensure your compost bin has a secure-fitting lid. For added protection, you can cover the lid opening with fine mesh screening.
- Add More Browns: A dry compost pile is less attractive to fruit flies. If you see them, add more shredded newspaper or dry leaves to absorb excess moisture.
- DIY Fly Trap: If some have already gotten in, you can set a simple trap. Pour a little apple cider vinegar into a small jar or cup. Add a drop of dish soap. Cover the opening tightly with plastic wrap and poke a few small holes in it with a toothpick. The flies will be attracted to the vinegar, crawl in through the holes, and drown.
- Freeze Scraps: If you’re very concerned about pests or odors between bin emptying, consider storing your kitchen scraps in a sealed container in the freezer until you’re ready to add them to the compost.
When to worry about fruit flies: If you’re seeing them frequently, especially if they are buzzing around your kitchen bin. This is a sign that food scraps are not being buried well or the bin is too moist.
My Compost Isn’t Breaking Down: The Slowpoke Pile
You’ve diligently added your scraps, mixed it around, but… nothing. The pile looks the same weeks later. It’s frustrating when your compost seems to be in slow motion. But don’t worry, there are usually just a couple of reasons why this happens.
The Culprits: Lack of Moisture, Greens, or Surface Area
Composting is a biological process requiring the right conditions for microorganisms to do their work. If any of these are missing, decomposition stalls.
- Too Dry: Microorganisms need moisture to live and multiply. A dry pile is like a desert – nothing can thrive.
- Not Enough Greens (Nitrogen): “Greens” provide the nitrogen that “browns” need to break down. Without enough nitrogen, the microbes won’t have enough energy to speed up decomposition.
- Pieces Are Too Big: If you’re throwing in whole fruits or large vegetable chunks, they take much longer to decompose.
- Cole Weather: Microorganisms slow down in cold temperatures. Indoor composting usually avoids this, but if your bin is in a very cold corner, it might be affected.
The Solution: Add the Spark!
Let’s get that pile cooking!
- Add Water: If your compost feels dry, it’s time to add water. Moisten it until it’s like a wrung-out sponge – damp, but not dripping. You can use a watering can or spray bottle.
- Add More Greens: If you’ve been adding mostly browns, it’s time to add some nitrogen-rich “green” materials. Fresh kitchen scraps, coffee grounds, or even a handful of grass clippings (if you have access) will help.
- Chop It Up: Break down larger food scraps into smaller pieces before adding them to the bin. The more surface area exposed, the faster the microbes can get to work.
- Mix Thoroughly: Ensure your green and brown materials are well-mixed.
- Give It Time: Sometimes, it just takes a little patience. Keep maintaining the proper moisture and air levels, and it will get moving.
Mold and Unpleasant Slimy Patches: What’s Wrong?
Seeing mold can be a bit alarming, and slimy patches can make you question if your compost is healthy. While some types of mold are actually part of the decomposition process, excessive or unusual mold growth, or a slimy texture, usually points to an imbalance.
The Culprits: Too Much Moisture and Not Enough Air
Just like with odors, excessive moisture is the common factor here. When a compost bin is too wet and lacks airflow, it creates an environment where anaerobic bacteria and certain types of mold can thrive, leading to a gooey, slimy mess instead of healthy decomposition.
The Solution: De-Gunk and Rebalance
The goal is to reduce moisture and increase airflow to encourage the right kind of aerobic decomposition.
- Stop Adding Wet Materials: Temporarily halt adding overly wet kitchen scraps.
- Add Plenty of Browns: This is crucial. Mix in a generous amount of dry brown materials (shredded paper, cardboard, dry leaves) to absorb excess moisture and bulk up the mixture.
- Aerate Vigorously: Turn the pile thoroughly to introduce as much air as possible. Break up any clumps.
- Remove Excessive Slime: If there are large, unpleasant slimy patches, you can carefully remove them if they are particularly problematic, but often just adding browns and aerating is enough. The goal is to get the pile to a fluffy, crumbly texture.
- Check Your Bin Type: If you’re using a sealed plastic bin without vents, consider drilling a few small holes to improve passive airflow.
Good Mold vs. Bad Mold: You might see white, fluffy mold growth. This is generally a good sign that decomposition is happening. However, black, blue, or green molds that feel slimy or smell bad are usually indicators of too much moisture and not enough air.
What NOT to Compost Indoors
Even with ideal conditions, certain items just aren’t suited for indoor composting bins, especially for beginners. They can attract pests, create strong odors, or introduce harmful pathogens.
| Items to Avoid in Indoor Compost Bins |
|---|
| Meat, fish, and dairy products: These are high in fat and protein, which can create very strong odors and attract rodents and other unwanted pests. |
| Oily foods: Including salad dressings, cooking oils, and greasy foods. Oils can slow down decomposition and create foul smells. |
| Diseased plants: If you suspect a plant has a disease, it’s best not to add it to your compost, as the pathogens might not be killed during the composting process and could spread to your garden later. |
| Weeds that have gone to seed: The seeds may survive the composting process and sprout in your garden. |
| Pet waste (dog and cat feces): These can contain harmful pathogens that are not reliably killed in typical home compost bins. |
| Chemically treated wood or yard waste: Avoid anything treated with pesticides or preservatives. |
| Glossy or coated paper/cardboard: These often contain plastics or chemicals that won’t break down. |
Pro Tip: Research specific composting methods like vermicomposting (worm composting) which can handle some of these items with proper technique, but for a standard bin, it’s best to steer clear.
Troubleshooting Table: Quick Fixes for Common Problems
Here’s a handy reference for those common indoor composting headaches:
| Problem | Likely Cause | Solution |
|---|---|---|
| Bad Odor (Rotten Eggs/Ammonia) | Too much moisture, not enough air (anaerobic conditions), too many greens. | Aerate the pile, add dry browns (shredded paper, leaves), bury new scraps. |
| Fruit Flies/Gnats | Exposed food scraps, too much moisture. | Bury food scraps deeply, cover bin tightly, add dry browns, use a vinegar trap if needed. |
| Slow or No Decomposition | Too dry, not enough nitrogen (greens), material is too large, cold temperatures. | Add water, add more greens (kitchen scraps), chop materials smaller, mix thoroughly. |
| Slimy or Soggy Pile | Too much moisture, not enough browns, poor aeration. | Stop adding wet materials, add lots of dry browns, aerate vigorously, ensure bin has drainage. |
| Unpleasant Mold/Fungus (beyond white) | Excessive moisture, poor airflow. | Aerate well, add dry browns to absorb moisture, ensure bin ventilation. |
Keeping Up the Momentum: Best Practices for Success
Once you’ve ironed out any initial kinks, maintaining a healthy indoor compost bin becomes much simpler. It’s all about consistency and understanding the basic needs of your composting microorganisms. Think of it like tending to a pet or a plant – they need the right food, air, and moisture to thrive.
Regular Turning is Key
Aim to turn or mix your compost at least once a week, or more often if you’re actively adding materials. This ensures oxygen gets to all parts of the pile, prevents compaction, and helps regulate temperature. A simple garden fork or a compost aerator tool works wonders.
Maintain the Right Moisture Level
Your compost should feel like a wrung-out sponge: damp but not dripping when you squeeze it. Too dry? Add a little water. Too wet? Add more shredded paper, cardboard, or dry leaves. This balance is crucial for the microbes.
Layering New Materials
When adding new kitchen scraps, always try to bury them under a layer of existing compost or brown materials. This helps prevent odors and deters pests. Having a small bin of shredded paper or dry leaves near your compost station makes this easy.
Understanding the “Greens” and “Browns” Ratio
Remember the roughly 2:1 ratio of browns to greens. This provides the perfect carbon-to-nitrogen balance for efficient decomposition. Don’t stress too much about exact measurements; observe your compost. If it’s slimy and smelly, add more browns. If it’s dry and slow, add more greens.
Patience and Observation
Composting is a natural process that takes time. Don’t expect finished compost overnight. Observe your pile, smell it (it should smell earthy!), and check the moisture. Adjust as needed. Learning to read your compost is the most valuable skill you can develop.
Where to Learn More About Composting
For those who want to dive even deeper into the fascinating world of composting, there are excellent resources available. Understanding the science behind decomposition can be incredibly helpful. The U.S. Environmental Protection Agency (EPA) offers comprehensive guides on composting basics and benefits. For those interested in the biological processes, university extension programs often have in-depth horticultural and waste management fact sheets.
The EPA’s composting page is a fantastic starting point for understanding the fundamentals and different methods.
Frequently Asked Questions About Indoor Composting Problems
Q1: My compost bin smells really bad. What’s the quickest fix?
A: The quickest fix for bad smells is usually adding more “browns” (like shredded newspaper or dry leaves) and aerating the pile well with a stick or fork. This introduces air and helps balance the moisture.

I am passionate about home engineering. I specialize in designing, installing, and maintaining heating, ventilation, and air conditioning systems. My goal is to help people stay comfortable in their homes all year long.