Kitchen Compost DIY: Your Essential Guide
Ever look at your kitchen scraps—apple cores, coffee grounds, veggie peels—and wish they could be useful instead of heading to the trash bin? It’s a common feeling! Many of us want to do more for the planet and our gardens, but composting can seem a bit… messy or complicated. Don’t worry! This guide is here to make kitchen compost DIY simple and stress-free. We’ll break it down step-by-step, showing you exactly how to turn your kitchen waste into nutrient-rich treasure for your plants. Get ready to discover just how easy and rewarding composting can be!
Why Compost Your Kitchen Scraps?
Composting is like a superpower for your kitchen waste. Instead of throwing away perfectly good organic matter, you’re giving it a second life. This not only reduces the amount of trash going to landfills but also creates an amazing soil amendment that your garden will absolutely love.
Think about it: landfills are huge contributors to greenhouse gases, and organic waste makes up a significant portion of what we toss. By composting, you’re directly tackling this issue. Plus, that dark, crumbly compost you create is packed with nutrients that help your plants grow stronger and healthier. It’s a win-win for your home and the environment.
Benefits of Kitchen Composting
- Reduces Waste: Significantly cuts down on the amount of garbage you send to the landfill.
- Creates Nutrient-Rich Soil: Produces “black gold” that enriches your garden soil, improving its texture, aeration, and water retention.
- Saves Money: Reduces the need to buy fertilizers and soil conditioners.
- Supports a Healthy Ecosystem: Encourages beneficial microorganisms in the soil.
- Environmental Impact: Helps reduce methane gas emissions from landfills.
- Educational: A fantastic way to teach kids (and adults!) about natural cycles and sustainability.
Getting Started with Kitchen Compost DIY
The beauty of kitchen composting is that you don’t need a massive backyard or a fancy setup. There are several ways to do it, depending on your living situation and how much effort you want to put in. We’ll look at the most beginner-friendly methods.
Choosing Your Composting Method
Before you dive in, consider where you’ll be composting and how much space you have. The most common methods for beginners are:
- Countertop Bin: A small, easy-to-access container kept in your kitchen for collecting scraps.
- Outdoor Compost Bin (Tumbler or Stationary): A larger bin for your yard, which can be faster or require less turning.
- Worm Composting (Vermicomposting): Using special worms to break down food scraps, great for small spaces like apartments.
For this guide, we’ll focus on setting up a system that starts with a simple kitchen collection bin and then moves the scraps to an outdoor composting area. This is often the most practical approach for many households.
Essential Tools for Kitchen Composting
You don’t need a lot of fancy gear to start. Here’s a basic toolkit:
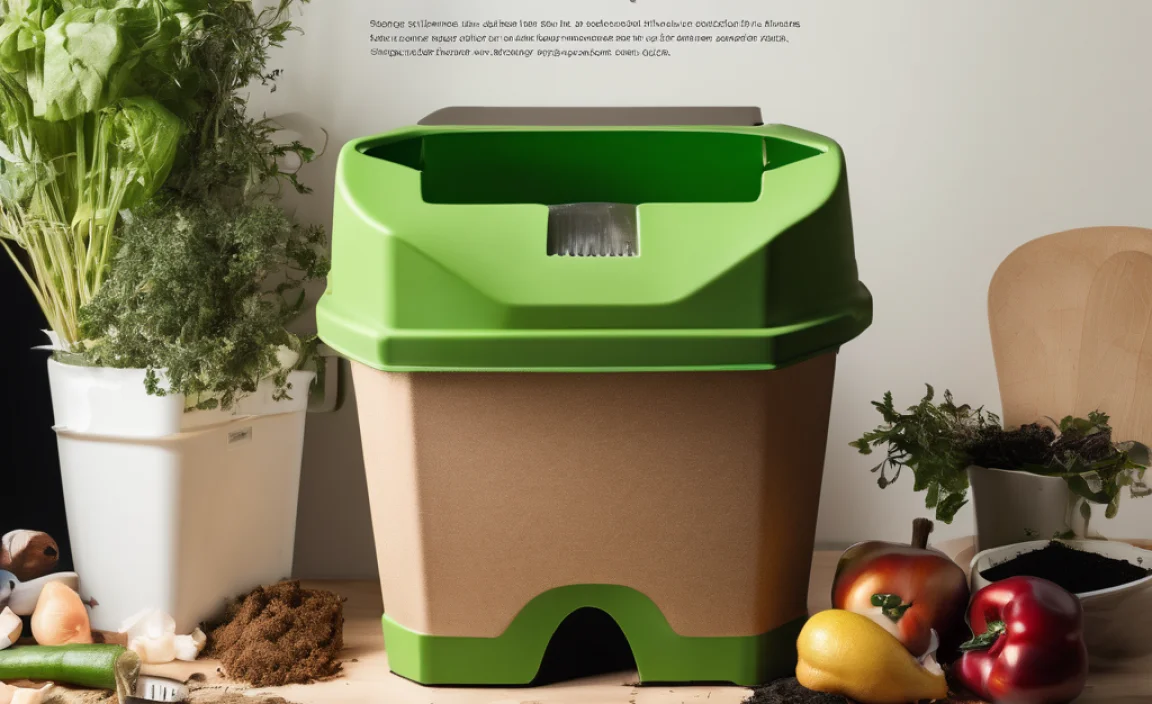
- Kitchen Compost Pail: A small container with a lid to collect scraps daily. Look for one with a charcoal filter to reduce odors.
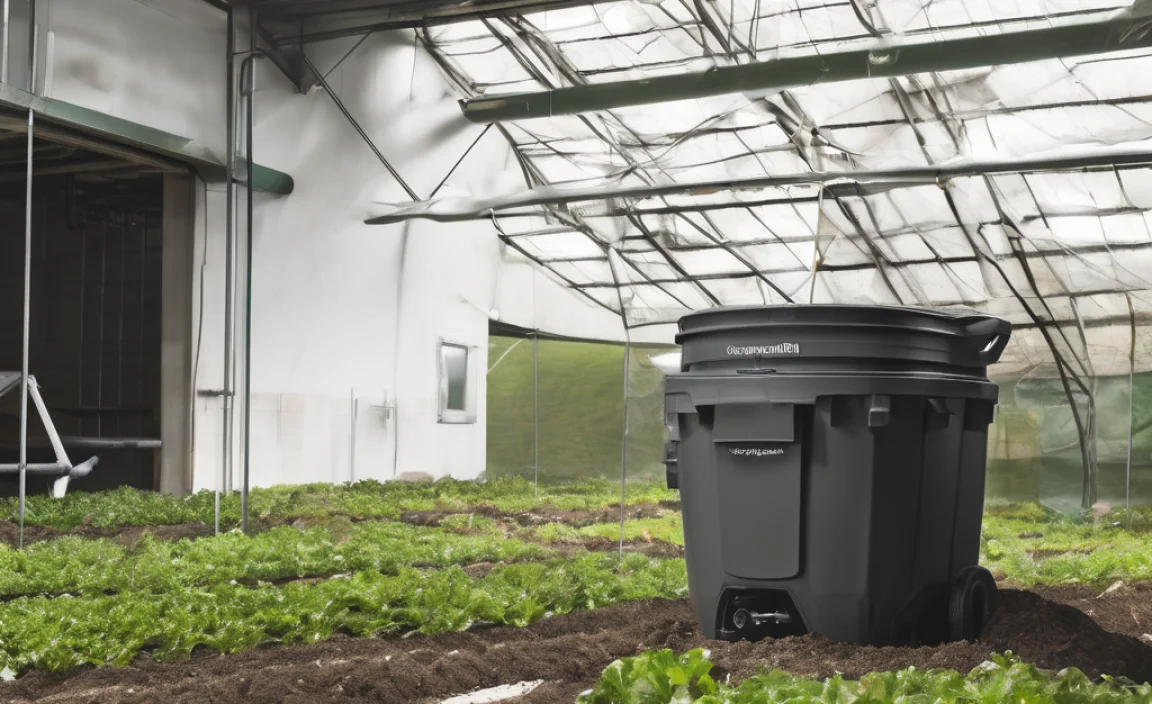
- Larger Outdoor Compost Bin: This could be a purchased tumbler, a DIY wooden bin, or even a simple pile if space allows. For beginners, a bin with a lid is often easier to manage.
- Compost Aerator Tool (Optional but Recommended): Helps turn and aerate your pile, speeding up decomposition. A pitchfork works too.
- Gloves: For handling compost materials if you prefer.
- Shovel or Pitchfork: For turning the compost pile.
- Scrap Collection Container (for outdoor bin): A bucket or bin to transport your kitchen scraps to the main compost bin.
What to Compost: The “Greens” and “Browns”
Successful composting relies on a good balance. Think of it like a recipe for healthy compost. You need “greens” (nitrogen-rich materials) and “browns” (carbon-rich materials).
The ideal ratio is generally around 2 parts browns to 1 part greens. Too many greens can lead to a slimy, smelly mess. Too many browns will slow down decomposition. Your kitchen scraps are mostly greens, so you’ll need to supplement with browns from your yard or home.
Greens (Nitrogen-Rich) – Mostly from your kitchen:
- Fruit and vegetable scraps
- Coffee grounds and filters
- Tea bags (remove staples and plastic tags)
- Eggshells (crushed)
- Grass clippings (in thin layers)
- Plant trimmings from houseplants
Browns (Carbon-Rich) – Mostly from your yard or home:
- Dry leaves
- Shredded newspaper (avoid glossy or colored ink)
- Shredded cardboard (unwaxed)
- Straw or hay
- Wood chips or sawdust (from untreated wood)
- Paper towels and napkins (unsoiled by grease or chemicals)
- Twigs and small branches
What NOT to Compost
Some items can cause problems in your compost pile, attract pests, or introduce pathogens. It’s best to keep these out:
- Meat, fish, and bones (attract pests, can smell bad)
- Dairy products (attract pests, can smell bad)
- Oily or greasy foods
- Diseased plants
- Weeds that have gone to seed (they might germinate in your compost)
- Pet waste (dog and cat feces can contain harmful pathogens)
- Coal or charcoal ash (can contain harmful substances)
- Treated wood
- Synthetic materials (plastic, foam, etc.)
- Glossy or coated paper/cardboard
Setting Up Your Kitchen Compost System
Let’s get your kitchen compost system rolling! It’s a two-part process: collecting scraps in the kitchen and then managing them in your outdoor bin.
Step 1: Choosing and Placing Your Kitchen Pail
Find a convenient spot for your kitchen compost pail. Under the sink, on the counter, or near your prep area are all good options. A pail with a comfortable handle makes transporting scraps easy.
Tip: If you don’t have a pail with a filter, you can sprinkle a little sawdust or shredded newspaper on top of your scraps each day to help absorb moisture and odors.
Step 2: Collecting Your Kitchen Scraps
As you cook or clean up, toss your approved “green” materials into the kitchen pail. Don’t worry about chopping them up finely at this stage, though smaller pieces will decompose faster.
What Goes In:
- Leftover fruit and vegetable peels
- Stale bread or pasta
- Coffee grounds and tea leaves
- Eggshells
What Stays Out: Remember the “what not to compost” list!
Step 3: Choosing and Preparing Your Outdoor Compost Bin
If you have a yard, an outdoor bin is essential. You can buy tumblers (which make turning easy) or stationary bins. A DIY bin made from pallets or lumber is also a great, budget-friendly option. Ensure it’s placed on bare soil or has drainage if it’s on concrete. This allows beneficial organisms from the soil to enter the compost and helps with drainage.
Where to Place Your Outdoor Bin:
- A somewhat sunny location helps heat the pile, but too much sun can dry it out. Partial shade is often ideal.
- Choose a spot that’s easily accessible for adding materials and turning.
- Avoid placing it too close to your house to minimize any potential for odors or pests, though a well-managed bin shouldn’t cause issues.
- Check your local regulations; some areas have rules about compost bin placement.
Step 4: Adding Kitchen Scraps to the Outdoor Bin
When your kitchen pail is full (usually every few days), take it to your outdoor compost bin. Empty the contents and then cover them with a layer of “brown” materials. This is key to preventing smells and deterring pests.
How to Add Scraps Effectively:
- Always cover fresh kitchen scraps with a layer of browns (leaves, shredded paper, etc.).
- Try to bury the kitchen scraps in the center of the pile, if possible.
- If you notice your compost is too wet, add more browns.
- If it seems too dry, add more kitchen scraps or a little water.
Step 5: Managing Your Outdoor Compost Pile
This is where the magic happens! Your compost pile needs a few things to break down effectively: air, moisture, and the right balance of materials.
Airing: Turn or aerate your compost pile regularly. Aim for once a week or every two weeks. This introduces oxygen, which is vital for the microorganisms that break down the organic matter. If you have a tumbler, give it a spin. For a stationary bin, use a pitchfork or compost aerator to mix the materials. If you’re just piling, you can fork the outer materials into the center and vice versa.
Moisture: Your compost pile should be as damp as a wrung-out sponge. If it’s too dry, decomposition will slow down significantly. If it’s too wet, it can become anaerobic (lacking oxygen) and start to smell unpleasant. Water the pile if it feels dry, and add more browns if it feels soggy.
Temperature: A healthy, active compost pile will generate heat. This is a sign that the microorganisms are hard at work. While not essential for beginners, a hot compost pile breaks down much faster. Adding materials regularly and maintaining the right moisture and aeration helps generate heat.
Step 6: Knowing When Your Compost Is Ready
Compost is ready when it’s dark brown, crumbly, smells earthy (like a forest floor after rain), and you can no longer identify the original materials you put in. This can take anywhere from a few months to a year, depending on how actively you manage your pile, the materials used, and the climate.
Signs of Finished Compost:
- Dark, rich color
- Uniform, crumbly texture
- Earthy, pleasant smell
- No discernible original food scraps or yard waste
Troubleshooting Common Kitchen Composting Issues
Even with the best intentions, you might run into a few hiccups. Here are some common problems and how to fix them:
| Problem | Cause | Solution |
|---|---|---|
| Foul Odors (Rotten Egg, Ammonia) | Too much nitrogen (greens) or not enough air (anaerobic). Pile is too wet. | Add more brown materials (leaves, shredded paper). Turn/aerate the pile to introduce oxygen. If very wet, add more browns and turn thoroughly. |
| Pile is Not Heating Up or Decomposing Properly | Too dry, not enough nitrogen (greens), or too many large pieces. Pile content is too much browns. | Add water if dry. Add more nitrogen-rich materials (e.g., fresh grass clippings, kitchen scraps). Chop materials into smaller pieces. Turn the pile to mix materials. Ensure roughly a 2:1 brown-to-green ratio. |
| Attracting Pests (Flies, Rodents) | Exposed food scraps, or including inappropriate items like meat/dairy. | Always cover fresh kitchen scraps with a thick layer of brown material. Ensure your bin has a secure lid. Avoid adding meat, dairy, fats, and oily foods. Burying scraps in the center helps. |
| Slimy or Mushy Pile | Too much moisture and not enough air. Too many greens. | Add plenty of dry brown materials (shredded cardboard, leaves, sawdust). Turn the pile thoroughly to aerate and mix. Ensure good drainage. |
| Smell of Ammonia | Too much nitrogen (e.g., grass clippings, urea). | Add more carbon-rich brown materials like dry leaves, shredded newspaper, or wood chips. |
Using Your Finished Compost
Once your compost is ready, you’ve earned bragging rights! This nutrient-rich material is fantastic for your garden.
How to Use Compost:
- Soil Amendment: Mix it into your garden beds before planting to improve soil structure, fertility, and water retention.
- Top Dressing Gardens and Lawns: Spread a thin layer around plants, trees, and shrubs, or rake it lightly into your lawn.
- Potting Mix: Combine it with other ingredients like perlite or coir to create your own custom potting soil for containers.
- Compost Tea: Steep compost in water to create a liquid fertilizer for plants.
Using your compost is one of the most rewarding parts of the process. You’re literally transforming waste into life for your plants!
Tips for Supercharging Your Compost DIY Success
Here are some extra tips to keep your kitchen compost DIY journey smooth and successful:
- Chop it Up: Smaller pieces break down faster. Take a minute to chop up those larger vegetable scraps or crush eggshells.
- Layering is Key: Alternate layers of greens and browns. This helps maintain the right balance and prevents matting.
- A Little Water Goes a Long Way: Keep your pile consistently moist but not saturated. A hose or watering can is handy.
- Be Patient: Composting is a natural process. Don’t get discouraged if it takes time.
- Location, Location, Location: Ensure your outdoor bin is accessible and has good drainage.
- Read the Label: For store-bought composters, always read the instructions provided.
- Learn from Your Environment: Observe what works in your specific climate and with your particular materials.
- Inquire Locally: Your local extension office or a master gardener program can offer region-specific advice. For instance, the EPA offers great resources on home composting.
Can I Compost Indoors?
Yes! If you don’t have yard space, indoor composting is very achievable. Options include:
- Worm Bin (Vermicomposting): Special composting worms (like red wigglers) live in a bin and process food scraps quickly. This system produces nutrient-rich worm castings. Organizations like eXtending Research & Development (eR&D) offer reliable information on worm care.
- Bokashi Composting: An anaerobic (oxygen-free) fermentation process using a special inoculant. It pickles your food waste before it can be buried in the garden or added to a traditional compost pile.

I am passionate about home engineering. I specialize in designing, installing, and maintaining heating, ventilation, and air conditioning systems. My goal is to help people stay comfortable in their homes all year long.