“`html
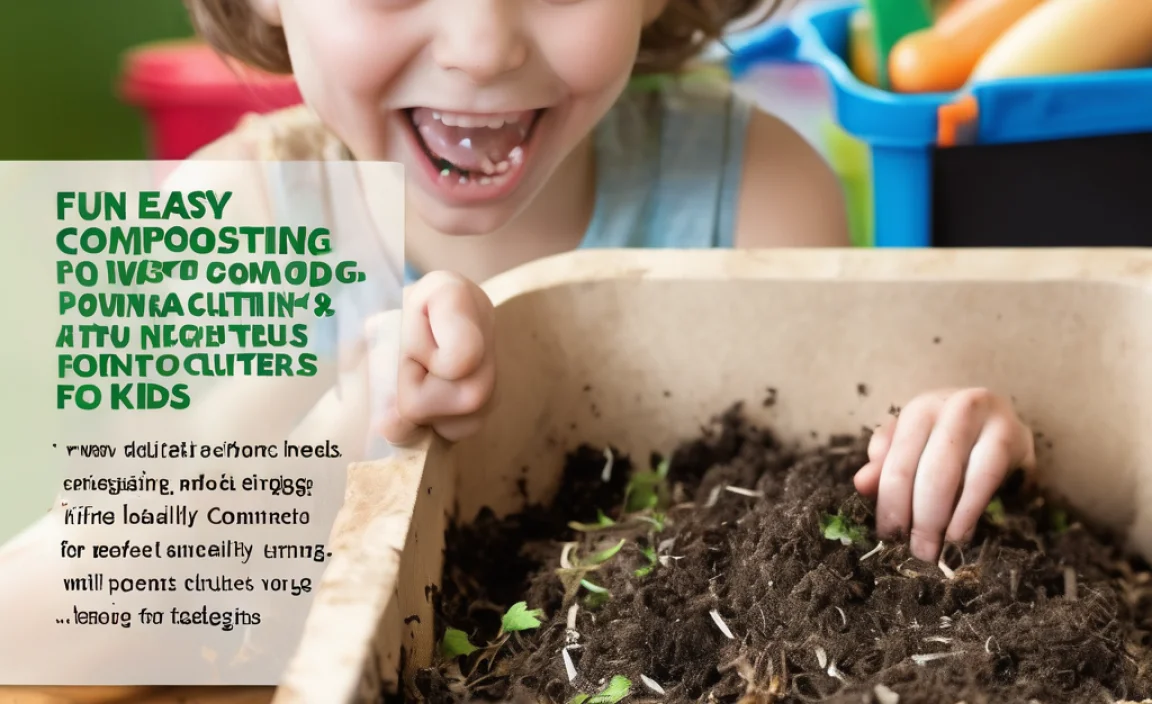
UK Kitchen Compost: Your Easy Guide to Turning Scraps into Garden Gold
Ever feel a pang of guilt tossing those vegetable peels or tea bags into the bin? You’re not alone! Kitchen waste adds up, and much of it can find a new life enriching your garden. It might seem a bit messy, but composting at home is simpler than you think. We’ll walk you through turning your kitchen scraps into nutrient-rich compost, step-by-step. Get ready to boost your soil and reduce waste!
Why Bother with Kitchen Compost in the UK?
Composting is a fantastic way to reduce the amount of waste sent to landfill. In the UK, organic waste makes up a significant portion of household refuse. When this material decomposes in landfill, it doesn’t have access to oxygen and releases methane, a powerful greenhouse gas. By composting at home, you’re turning that problem into a brilliant solution.
Here are some key benefits:
- Reduces Landfill Waste: Less stuff going to the tip means a happier planet.
- Creates Nutrient-Rich Soil: Compost is like superfood for your plants, improving soil structure and fertility.
- Saves Money: You won’t need to buy as much fertilizer or soil improver for your garden.
- Helps Soil Retain Moisture: Good compost helps your soil hold onto water, meaning less frequent watering for your plants.
- Supports Biodiversity: Healthy soil encourages a thriving ecosystem of worms and beneficial microbes.
Kitchen Compost: What Can You Actually Compost? (The ‘Greens’ and ‘Browns’)
The secret to successful composting is getting a good balance of ‘greens’ and ‘browns’. Think of it like a recipe for healthy compost. Too much of one, and things can get smelly or slow to break down.
The ‘Greens’ (Nitrogen-Rich)
These are generally wet materials that provide nitrogen. They help heat up the compost pile, speeding up decomposition. Think of them as the activators.
- Fruit and vegetable scraps (peels, cores, etc.)
- Tea bags (remove any staples or plastic tags)
- Coffee grounds and paper filters
- Grass cuttings (in moderation, as they can become a slimy mat)
- Plant trimmings (soft, green parts)
- Eggshells (crushed up)
The ‘Browns’ (Carbon-Rich)
These are dry, woody materials that provide carbon. They help aerate the pile and prevent it from becoming a soggy, smelly mess. Think of them as the structure builders.
- Cardboard (torn into small pieces, avoid glossy or heavily printed types)
- Paper (shredded newspaper, junk mail without shiny covers)
- Dry leaves
- Straw or hay
- Wood ash (in very small quantities, can make the compost too alkaline)
- Twigs and small branches (chopped up)
What NOT to Compost
Some things should be kept out of your compost bin to avoid attracting pests, spreading disease, or hindering the composting process.
- Meat, fish, and bones (attract pests and can smell foul)
- Dairy products (milk, cheese, yogurt – attract pests)
- Oily or greasy foods (can slow decomposition and smell bad)
- Diseased plants (can spread diseases to your garden)
- Weeds that have gone to seed (they might still sprout in your compost)
- Pet waste (dog or cat faeces – can contain harmful pathogens)
- Treated wood or sawdust from treated wood
- Coke bottles, plastic, metal, glass
Choosing Your Kitchen Composting Method in the UK
There are several ways to compost kitchen scraps, depending on your space and how much effort you want to put in. For those living in the UK, let’s look at the most popular and practical options.
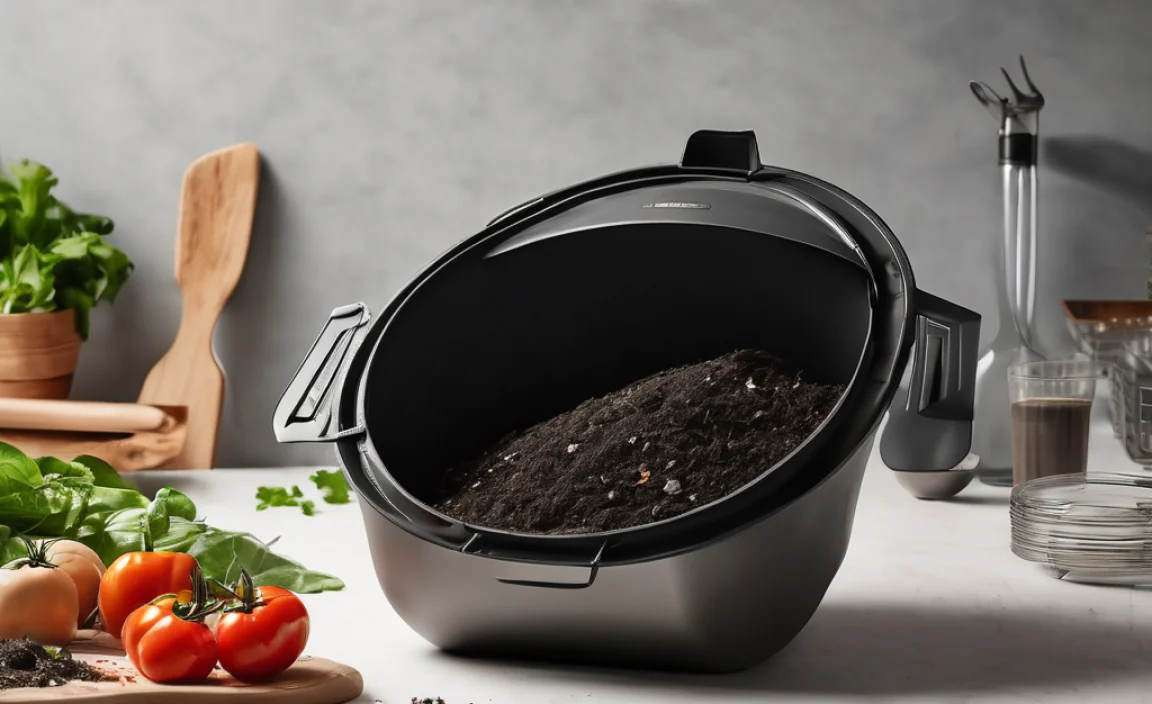
1. The Traditional Outdoor Compost Bin
This is the most common method for those with a garden. These bins are readily available from garden centres and DIY stores, or you can even build your own from wooden pallets.
- Pros: Can handle large volumes, relatively low effort once set up, good for producing bulk compost.
- Cons: Requires outdoor space, might take longer to produce compost than other methods, needs regular turning for best results.
When setting up your bin, ensure it’s on bare soil. This allows worms and microbes to enter from the ground, and excess liquid to drain away. Many councils in the UK offer subsidized compost bins, so it’s worth checking with your local authority for deals!
2. Tumbler Composters
Tumblers are sealed, rotating bins mounted on a stand. You add your kitchen scraps, and then ‘tumble’ them periodically. This easy turning action helps to mix and aerate the contents, speeding up the composting process.
- Pros: Faster composting than static bins, contained (less likely to attract pests), easy to turn, can produce compost in as little as 4-6 weeks.
- Cons: Can be more expensive, smaller capacity than large bins, some can be heavy to turn when full.
3. Worm Composting (Vermicomposting)
This is a great option for those with limited outdoor space, or even for balconies and patios. Special composting worms, like Red Wigglers (Eisenia fetida), are used to break down your kitchen waste in a ‘wormery’.
- Pros: Efficient, produces high-quality compost (worm castings) and liquid feed, ideal for small spaces, odour-free if managed correctly.
- Cons: Requires specific types of worms, cannot handle large quantities of waste, sensitive to extreme temperatures.
You can buy ready-made wormeries or build your own from stackable plastic tubs. It’s a fascinating way to see nature at work!
4. Bokashi Composting
This is a bit different as it’s technically not ‘composting’ but ‘fermentation’. You use a special airtight bin and an inoculant (a mix of effective micro-organisms) to ferment your kitchen waste. It can handle items like meat and dairy that traditional composting can’t. The end product isn’t finished compost, but a ‘pre-compost’ that needs to be buried in soil or added to a traditional compost bin to finish breaking down.
- Pros: Can break down almost all food waste (including meat and dairy), fast initial process, compact system suitable for indoors.
- Cons: Requires purchasing the Bokashi bran/inoculant, the end product still needs further decomposition, can produce a strong smell when opened if not managed properly.
For more information on Bokashi, the Royal Horticultural Society (RHS) has some excellent resources.
5. Council Food Waste Collection
Many UK local councils now provide dedicated food waste bins for household collections. While this isn’t home composting, it’s a fantastic way to divert kitchen waste from landfill. The collected waste is often processed commercially to create compost or energy.
- Pros: Easiest option for many, no effort required from you, professionally processed.
- Cons: No direct benefit to your own garden, you don’t control the process or outcome.
Check your local council’s website to see what food waste services are available in your area.
Step-by-Step Guide to Outdoor Composting (The Most Common Method)
Let’s dive into setting up a traditional outdoor compost bin. It’s a straightforward process that yields great results.
Step 1: Choose the Perfect Spot
Find a level, well-drained spot in your garden. Ideally, it should be:
- Partially shaded (full sun can dry it out too quickly, full shade might keep it too damp).
- Accessible for adding materials and turning.
- On bare soil or grass – this allows worms and beneficial organisms to enter.
Step 2: Set Up Your Bin
Assemble your compost bin according to the manufacturer’s instructions. If you’re building one, ensure there’s some airflow (gaps between pallet slats work well). Make sure the base is open to the soil.
Step 3: Start Layering (The First Fill)
Begin with a layer of bulky ‘brown’ material at the bottom. This could be twigs, straw, or crumpled cardboard. This helps with drainage and airflow.
Add your first kitchen scraps (‘greens’). Aim for a good mix from the start. Chop larger items into smaller pieces; this speeds up decomposition.
Cover your ‘greens’ with a layer of ‘browns’. This is crucial for preventing smells and deterring pests. Aim for roughly a 50:50 ratio of greens to browns over time.
Step 4: Add New Materials
As you generate kitchen waste, add it to the bin. Continue to maintain the ‘greens’ to ‘browns’ balance. If you add a lot of grass cuttings, be sure to add extra cardboard or dry leaves.
When adding kitchen scraps, try to dig them into the centre of the pile. This further helps to keep smells down and encourages effective decomposition.
Step 5: Moisture Control
Your compost pile should be about as damp as a wrung-out sponge. If it’s too dry, things will slow down. If it’s too wet, it can become anaerobic and smelly.
- Too Dry? Add water. You can do this with a watering can.
- Too Wet? Add more ‘brown’ materials like shredded cardboard or dry leaves to soak up excess moisture. Ensure good airflow.
Step 6: Aeration (Turning the Compost)
This is key to ‘hot composting’ (faster decomposition) and good quality compost. Turning introduces oxygen, which the microorganisms need. You can use a garden fork or a specific compost aerator tool.
Aim to turn your compost bin every 4-8 weeks. You don’t need to be overly precise; just mix the outer layers into the centre and vice-versa.
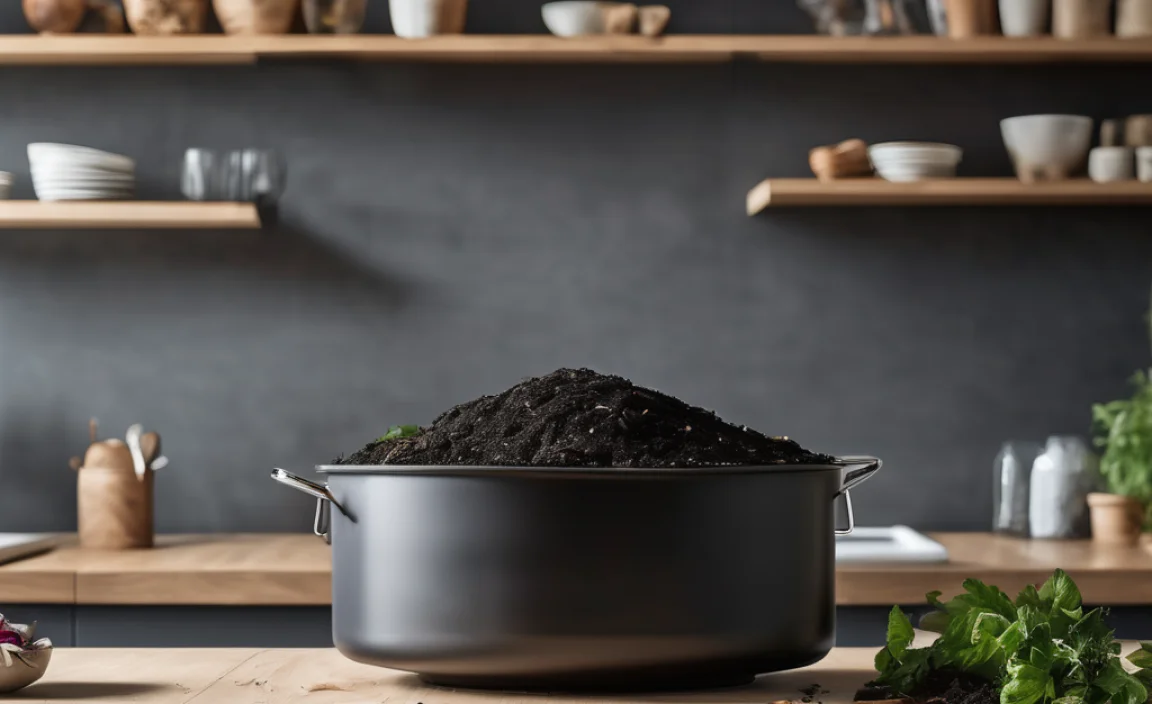
Step 7: Knowing When It’s Ready
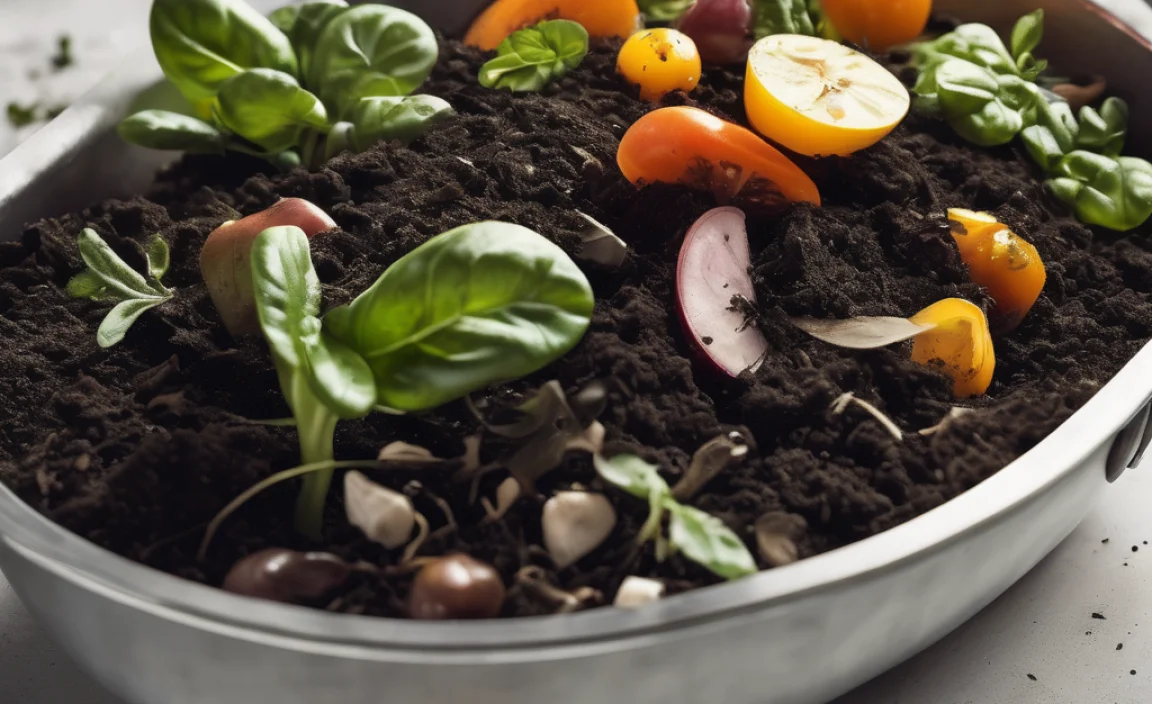
Compost is ready when it’s dark, crumbly, and smells earthy – like a forest floor. You shouldn’t be able to recognize the original materials any more.
The time it takes can vary greatly, from 6-12 months for a passively managed pile to 2-3 months for a well-managed, frequently turned hot compost system.
Step 8: Harvesting Your Compost
Once it’s ready, you can harvest it from the bottom of the bin (many bins have a hatch for this) or by turning the whole bin out onto a tarp, taking the finished compost from the bottom, and returning the unfinished material to the bin. Sift it if you want a finer texture for seed sowing.
Common Composting Problems and How to Fix Them
Don’t worry if your compost pile isn’t perfect to start with. Here are some common issues and simple fixes:
| Problem | Possible Cause | Solution |
|---|---|---|
| Smelly Compost (Ammonia or Rotten Egg Smell) | Too many ‘greens’ (nitrogen-rich materials), lack of air, too wet. | Add more ‘brown’ materials (cardboard, dry leaves). Turn the pile to aerate it. Ensure good drainage. |
| Compost is Cold and Not Breaking Down | Too many ‘browns’ (carbon-rich materials), too dry, pile too small. | Add more ‘greens’ (kitchen scraps, grass cuttings). Add water if dry. Ensure the pile is at least 1 cubic metre if possible. Chop materials smaller. |
| Attracting Pests (Flies, Rodents) | Exposed food scraps, meat/dairy in the pile. | Always cover fresh kitchen scraps with a layer of ‘brown’ material. Avoid adding meat, dairy, and oily foods to traditional compost bins. Use a lidded bin or tumbler. |
| Slimy or Soggy Pile | Too much moisture, not enough air, too many grass clippings. | Add dry ‘brown’ materials. Turn the pile regularly. Add shredded newspaper or cardboard. Ensure good airflow. |
Tools to Help You Compost
While you can compost with just a bin and your hands (or a pitchfork!), a few simple tools can make the job easier and more efficient.
- Kitchen Caddy: A small, lidded bin for your kitchen counter. It makes collecting scraps easy and is usually designed to be mostly odour-free. Many local councils offer these when you sign up for food waste collections or composting bins.
- Compost Bin: As discussed, choose from static, tumbler, or wormery. Check with your local council for potentially discounted options. For example, RecycleNow often has information on sourcing affordable bins.
- Garden Fork: Essential for turning your compost heap to introduce air.
- Compost Aerator Tool: A long, T-shaped tool designed to be inserted into the compost and pulled up to create air channels.
- Watering Can: For adding moisture if your compost gets too dry.
- Gloves: To keep your hands clean and protect them.
- Sieve/Sifter: For producing a finer, more uniform compost for delicate plants or seed starting.
Using Your Homemade Compost
Once your compost is ready, it’s time to reap the rewards! Homemade compost is incredibly versatile.
- Soil Conditioner: Dig it into your garden beds before planting. It improves drainage in clay soils and helps sandy soils retain moisture.
- Mulch: Spread a layer around the base of plants, shrubs, and trees. This suppresses weeds, retains moisture, and slowly feeds the soil as it breaks down.
- Potting Mix: Mix it with loam and grit or sand to create a rich potting mix for containers, hanging baskets, and seed starting. Sifting is recommended for this use.
- Top Dressing: Sprinkle a little on your lawn to improve its health and appearance.
Start by incorporating about 25-50% compost into your soil for established beds, or up to 75% for new planting, especially in containers. Your plants will thank you for it!
Frequently Asked Questions (FAQs) about Kitchen Compost in the UK
Q1: How quickly can I get finished compost?
It varies a lot! A traditionally managed compost bin can take 6-12 months. A well-managed, actively turned ‘hot’ compost system or a tumbler can produce compost in 2-4 months. Wormeries produce compost continuously. Speed depends on materials, moisture, aeration, and temperature.
Q2: Is it smelly to have a compost bin in my garden?
A properly managed compost bin shouldn’t smell bad. If it smells like ammonia or rotting eggs, it’s likely too wet or has too many ‘greens’. Adding ‘browns’ and turning the pile usually fixes this quickly.
Q3: What if I live in a flat or have no garden?
Don’t worry! You can still compost. Worm composting (vermicomposting) in a bin works well indoors or on a balcony. Bokashi composting is also a good indoor option. Many councils also offer kerbside food waste collections.
Q4: Can I compost citrus peels and onion skins?
Yes, you can compost citrus peels and onion skins. However, in large quantities, citrus can slightly alter the pH of your compost pile, and onion skins can take longer to decompose. Add them in moderation and balance with other materials.
Q5: Do I need to buy special worms for worm composting?
Yes. You need specific composting worms like Red Wigglers (Eisenia fetida) or Tiger Worms (Eisenia hortensis). Common garden earthworms aren’t usually as efficient for breaking down food waste in a wormery.
Q6: How often should I turn my compost?
For faster results (‘hot composting’), turning every 1-2 weeks is ideal. For slower, ‘cold composting’, turning every 4-8 weeks, or even less
Related Posts


I am passionate about home engineering. I specialize in designing, installing, and maintaining heating, ventilation, and air conditioning systems. My goal is to help people stay comfortable in their homes all year long.