Ever see those composting piles and think, “No way can I do that”? It looks complicated, right? We get it. Many folks feel the same way. But what if I told you there’s a super simple, layered method that’s almost like making a giant, healthy sandwich for your garden? It’s called lasagna composting, and it’s way easier than you might think. This guide is all about showing you how to build it, layer by layer, with zero stress. Let’s get that compost cooking!
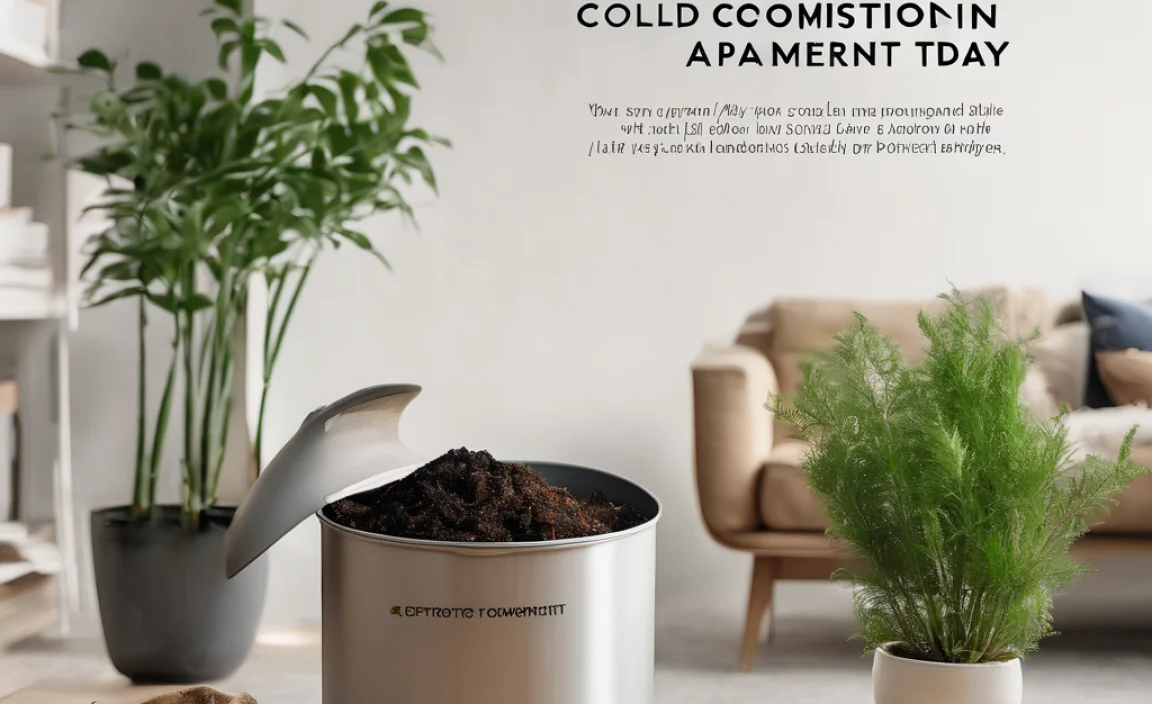
Lasagna Composting: Your Effortless Guide to Rich Soil
Hey there, it’s Troy from TopChooser! If you’re anything like me, you love the idea of turning kitchen scraps and yard waste into amazing food for your garden. But sometimes, composting can feel like a science experiment gone wrong. That’s where lasagna composting swoops in! It’s a fantastic method that’s really just about layering different organic materials. Think of it like building a delicious, soil-enriching lasagna, but for your yard.
Why lasagna composting? Well, it’s incredibly effective at breaking down materials quickly and producing some of the richest compost you can imagine. Plus, it’s beginner-friendly. You don’t need fancy equipment, just a willingness to layer a few things. We’ll walk through everything, step by step, so you can start creating your own black gold with confidence.
What Exactly is Lasagna Composting?
Lasagna composting, also known as sheet composting or no-turn composting, is a method that mimics the natural process of decomposition by layering different types of organic materials. Instead of turning a compost pile regularly, you simply stack your “greens” and “browns” in alternating layers, much like the noodles and fillings in a lasagna.
This layered approach allows air and moisture to penetrate the pile naturally, while the different materials break down from the bottom up. It’s a slow, steady process that requires minimal effort on your part once the initial layering is done. The result? A nutrient-dense, soil-amending compost that your plants will absolutely love.
Why Choose Lasagna Composting?
There are a bunch of reasons why this method is a real winner, especially for beginners:
- Simplicity: No turning required! Just layer and let nature do the work.
- Efficiency: The layered structure can speed up decomposition compared to some other methods.
- Weed Suppression: Building your compost pile directly on the ground can smother existing weeds.
- Soil Improvement: It creates incredibly fertile compost that drastically improves soil structure and health.
- Versatility: You can build it right where you want it, or even incorporate it into garden beds as you go.
The Core Components: Greens and Browns
The magic of lasagna composting, like all composting, lies in balancing two main types of materials: “greens” and “browns.” These provide the nitrogen and carbon that microorganisms need to break everything down.
Greens (Nitrogen-Rich Materials)
These are the moist, nitrogen-rich ingredients. They heat up the compost pile and get the decomposition party started.
- Fruit and vegetable scraps (uncooked)
- Coffee grounds and tea bags
- Grass clippings (in thin layers to avoid matting)
- Fresh plant trimmings
- Manure from herbivores (like rabbits, chickens, or cows – avoid pet waste)
- Seaweed
Browns (Carbon-Rich Materials)
These are the dry, carbon-rich ingredients. They provide the energy source for the microbes and help with airflow.
- Dried leaves
- Shredded newspaper or cardboard (avoid glossy or colored ink)
- Straw or hay
- Wood chips or sawdust (use sparingly, as they break down slowly)
- Pine needles
- Eggshells (crushed)
- Twigs and small branches
A good rule of thumb is to aim for roughly a 1:2 or 1:3 ratio of greens to browns by volume. Too many greens can make your pile soggy and smelly, while too many browns will slow down decomposition.
Your Lasagna Composting Recipe: What You’ll Need
Getting started is straightforward. You don’t need a fancy bin, though you can use one if you like. Here’s a breakdown of what you’ll need:
Essential Tools and Materials:
- A Location: Pick a spot in your yard that’s easily accessible, has decent drainage, and gets some sun (but not scorching all day). Aim for a spot that’s at least 3 feet by 3 feet.
- Your “Greens”: Start saving those kitchen scraps!
- Your “Browns”: Collect dried leaves, shredded paper, or cardboard.
- Water Source: A hose or watering can.
- Optional: Shovel or Pitchfork: Handy for gathering materials and leveling.
- Optional: Cardboard or Newspaper: For the very first layer.
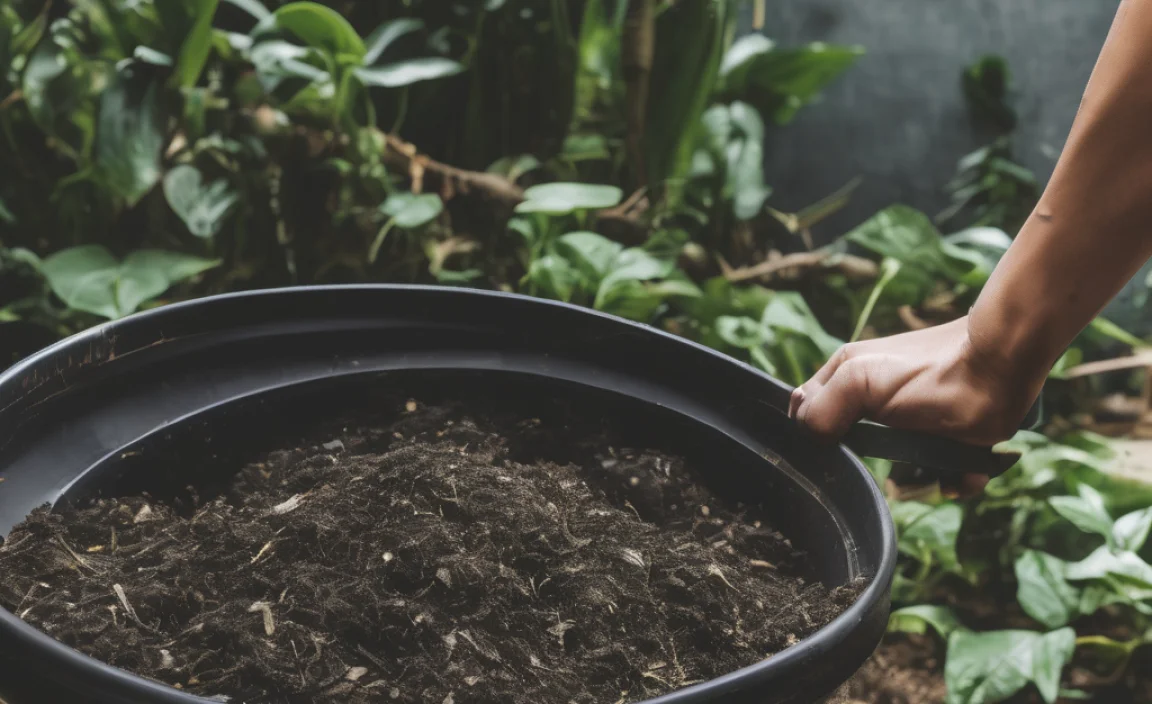
You can build your lasagna pile directly on bare earth. This is actually ideal because it allows beneficial organisms from the soil, like worms and microbes, to easily access your new compost and start working their magic. It also helps drain excess moisture.
Building Your Lasagna Compost Pile: A Step-by-Step Guide
Ready to build? It’s as easy as layering your ingredients. We’ll aim for about 6-8 inches of material per layer, repeating until your pile is about 3 feet high.
Step 1: Prepare Your Base
If you’re building directly on the ground, you can lightly loosen the top layer of soil with a shovel or pitchfork. This helps with drainage and aeration. You can also lay down a base layer of coarse brown material like small twigs or straw to create airflow at the bottom.
Optional Start: Some people like to lay down a layer of plain cardboard or several sheets of newspaper directly on the ground. This helps smother grass or weeds underneath and forms a neat, contained base for your first materials.
Step 2: Add Your First Layer of Browns
Start with a layer of your brown materials, about 4-6 inches thick. This could be dried leaves, shredded cardboard, or straw. Make sure it’s not too packed down.
Step 3: Add a Layer of Greens
Now, add a layer of your green materials on top of the browns. Aim for about 2-4 inches. This could be kitchen scraps, coffee grounds, or grass clippings. Try not to make this layer too thick, as thick layers of green material can become dense and anaerobic (lacking oxygen), leading to slimy, smelly compost.
Step 4: Moisten the Layers
Lightly water each layer as you build. The goal is for the materials to be damp, like a wrung-out sponge, not soaking wet. If you’re adding kitchen scraps, they often bring in enough moisture, but a little sprinkle never hurts.
Step 5: Repeat the Layers
Continue alternating layers of browns and greens. A good repeating pattern might look like this:
- Browns (4-6 inches)
- Greens (2-4 inches)
- Moisten
- Browns (4-6 inches)
- Greens (2-4 inches)
- Moisten
Keep building until your pile is at least 3 feet high. The height is important for insulating the center of the pile, which helps it heat up and decompose efficiently.
Step 6: The Final Layer
Finish your pile with a good layer of brown material on top. This helps to insulate the pile, retain moisture, and deter pests. Again, leaves or straw work great for this.
What Happens Next? The Waiting Game (The Easy Kind!)
Once your lasagna compost pile is built, the really easy part begins: letting it work its magic. Unlike traditional “hot composting” methods that require regular turning and monitoring of temperature, lasagna composting is a much more passive approach.
The layers will begin to break down from the bottom up. Microorganisms, fungi, and beneficial insects like earthworms will slowly work their way through the materials. The layers help create pockets of air and moisture that are perfect for this decomposition process.
How Long Does it Take?
This is the question everyone asks! Lasagna composting is generally a slower method than actively managed hot composting. Depending on the materials you use, the size of your pile, and your climate, it can take anywhere from 6 months to a year (or sometimes a bit longer) to get finished, usable compost.
The beauty of it is you don’t have to do much. A little occasional watering during dry spells is usually all that’s needed to keep the process going. You can even add new layers to the top as you generate more kitchen and yard waste. These new layers will break down, and your finished compost will be at the bottom, ready to harvest.
Maintaining Your Lasagna Compost Pile
While “effortless” is the goal, a little attention can go a long way. Here’s what to keep an eye on:
- Moisture: poke your finger into the pile. If it feels dry, water it. If it’s too wet and smells bad, add more dry brown material to the top.
- Pests: A good top layer of browns usually deters pests. If you notice critters, ensure you aren’t adding meat, dairy, or oily foods, and always cover fresh kitchen scraps with a layer of browns.
- Adding More: As you gather more materials, you can continue to add new layers to the top of your existing pile. This is often referred to as the “bio-stacking” method.
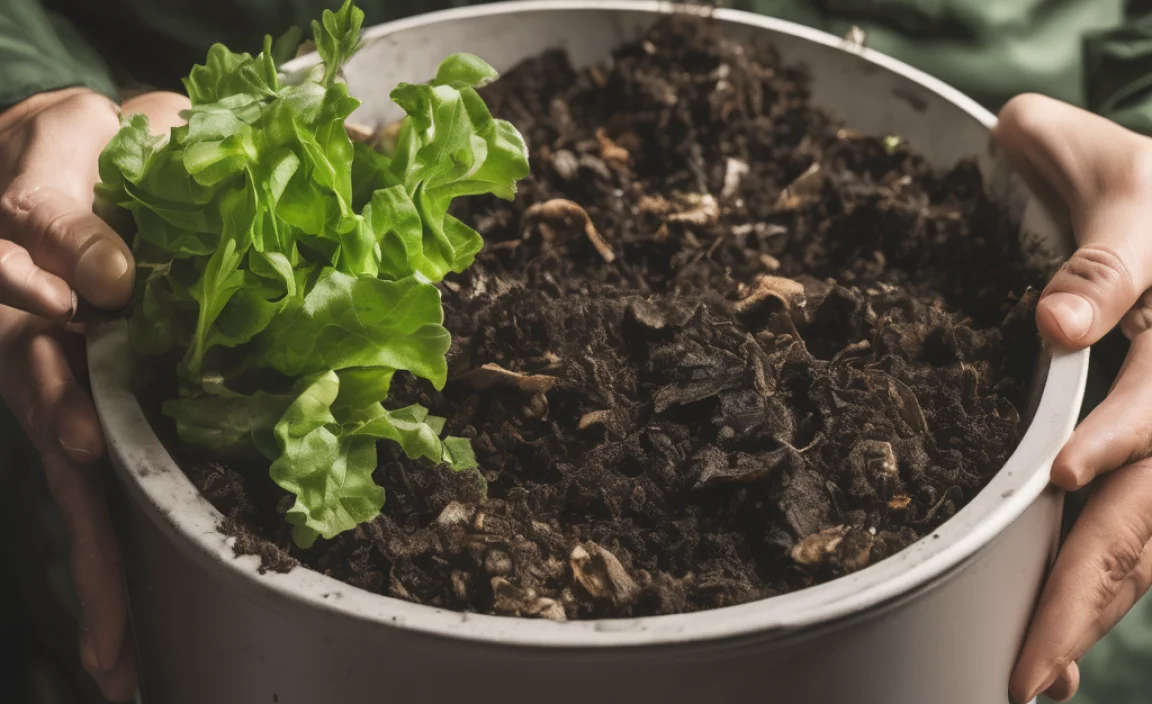
Harvesting Your Compost
Knowing when your compost is ready is key. Finished compost will be:
- Dark brown or black
- Crumbly and soil-like
- Earthy smelling (like a forest floor!)
- You won’t be able to recognize the original materials you put in.
If you built your pile directly on the ground, you can start harvesting from the bottom once it’s ready, leaving the upper layers to continue decomposing. If you have a bin, you might need to empty the whole thing to access the finished compost, or remove it from a door at the bottom.
You can use a sieve or screen to sift out any larger, undecomposed pieces, which can be added back to a new compost pile. You can learn more about composting basics and different methods from the U.S. Environmental Protection Agency (EPA), which provides excellent resources on composting.
Troubleshooting Common Lasagna Composting Issues
Even the easiest methods can have a hiccup! Here are a few common problems and how to fix them:
Problem: My pile smells bad (ammonia or rotten eggs).
Cause: Too many “greens” (nitrogen-rich materials) or not enough air. This leads to anaerobic decomposition, which smells. Also, adding meat, dairy, or fatty foods can cause foul odors.
Solution:
- Add more “browns” (carbon-rich materials) like shredded cardboard, dry leaves, or straw. This helps absorb excess moisture and balances the carbon-to-nitrogen ratio.
- Gently turn or aerate the pile if possible, by poking holes with a garden fork.
- Avoid adding meat, dairy, or oily foods.
Problem: The pile isn’t breaking down or seems too dry.
Cause: Not enough moisture. Microorganisms need moisture to thrive and do their work.
Solution:
- Water the pile thoroughly. Break up any matted layers and try to get water into the center.
- Ensure your layers aren’t too thick with dry browns.
- Add more “greens” to introduce more moisture.
Problem: The pile is too wet and soggy.
Cause: Too many “greens,” too infrequent watering (leading to dry top layers that shed water), or a location that collects standing water.
Solution:
- Add plenty of dry “browns” to absorb excess moisture.
- Ensure the pile is located in a well-drained spot.
- If building in a bin, make sure it has drainage holes.
Problem: Pests (rodents, flies) are attracted to the pile.
Cause: Exposed food scraps, or the presence of meat, dairy, or oily foods.
Solution:
- Always bury fresh kitchen scraps deep within the pile.
- Cover every layer of greens with a layer of browns.
- Ensure the top layer is thick and made of browns (leaves, straw).
- Avoid adding meat, dairy, grease, or pet waste.
The “What If” Scenarios: Customizing Your Lasagna Compost
Your compost pile is personal! You can adapt it to your space and resources.
Lasagna Gardening: Building Beds Directly
This is a fantastic variation! Instead of building a compost pile that becomes compost, you build the compost directly into a garden bed as the garden bed. You layer your “greens” and “browns” right where you plan to plant. You can plant directly into the top layer of composted material, or let it decompose over winter for planting in the spring.
This method bypasses the need for a separate compost bin and provides incredibly fertile soil from the start. For more on building garden beds this way, checking out resources from university extension offices, like those found on Michigan State University Extension, can be super helpful.
Using a Compost Bin for Lasagna Composting
If you prefer a tidier look or have space limitations, you can certainly use a compost bin. Either a store-bought tumbler (though not ideal for no-turn) or a simple wire mesh cylinder or wooden bin will work.
The layering principle remains the same. Just add your greens and browns in alternating layers inside the bin. The bin helps contain the materials and can retain heat and moisture a bit better. Remember to ensure your bin has good airflow and drainage.
The “Bio-Stacking” Approach
This is a more continuous feeding method. You start your base layers, and as you generate kitchen scraps and yard waste, you add them to the top of the pile. You can bury the scraps under a layer of browns. Periodically, all the material gets mixed and a new layer starts on top. This creates a continuous cycle where you are always adding to the top and harvesting finished compost from the bottom. This is excellent for those who compost daily!
Essential Composting Ratios Table
Getting the balance right is crucial for efficient composting. Here’s a handy table to help you visualize the “greens” to “browns” ratio:
| Material Type | Examples | Role | Volume Ratio (Approximate) | Why it Matters |
|---|---|---|---|---|
| Greens (Nitrogen) | Fruit/Veggie Scraps, Coffee Grounds, Grass Clippings, Fresh Plant Trimmings | Provides nitrogen, nutrients, moisture | 1 part Greens | Heats the pile, feeds microbes |
| Browns (Carbon) | Dried Leaves, Shredded Cardboard/Newspaper, Straw, Twigs | Provides carbon, energy, structure, airflow | 2-3 parts Browns | Prevents sogginess, smells, provides energy |
Remember, these are guidelines. Don’t stress too much about perfection. Observe your pile, and adjust your ingredients as needed.
Frequently Asked Questions about Lasagna Composting
Q1: How long until my lasagna compost is ready?
A1: It usually takes between 6 months to a year, sometimes a bit longer. It depends on the materials, pile size, and climate. The advantage is that you don’t need to constantly check or turn it.
Q2: Can I put meat, dairy, or greasy foods in my lasagna compost?
A2: It’s best to avoid these. They can attract pests, create foul odors, and slow down decomposition. Stick to plant-based kitchen scraps and yard waste

I am passionate about home engineering. I specialize in designing, installing, and maintaining heating, ventilation, and air conditioning systems. My goal is to help people stay comfortable in their homes all year long.