Hey there, neighbor! Feeling overwhelmed by all the talk about “organic compost in USA”? You’re not alone. Many folks think composting is complicated, messy, or just for expert gardeners. But guess what? Making your own organic compost is actually pretty simple and incredibly rewarding for your garden. We’re going to walk through it together, step-by-step, so you can turn your kitchen scraps and yard waste into black gold. Get ready to see your plants thrive!
Turn Your Trash into Garden Treasure: Your Easy Guide to Organic Compost in the USA
As Troy D Harn from TopChooser, my goal is to make home projects and gardening feel less like a chore and more like fun. Composting is one of those brilliant things that helps your garden, your wallet, and the planet. And when we talk about “organic compost in USA,” it’s not some fancy, unattainable thing. It’s about using natural, wholesome materials to create nutrient-rich goodness right in your own backyard. Ditch those chemical fertilizers and let’s dive into the wonderful world of DIY organic compost!
Why Bother With Organic Compost? It’s a Win-Win-Win!
You might be asking, “Why go through the trouble of making compost when I can just buy some?” Great question! Here’s the breakdown:
- Healthier Soil: Organic compost is packed with beneficial microbes and nutrients that your plants will absolutely love. It improves soil structure, drainage, and its ability to hold water. Think of it as a superfood for your garden beds!
- Waste Reduction: So much of what we throw away – vegetable peels, coffee grounds, fallen leaves – can be composted instead of ending up in a landfill. It’s a fantastic way to reduce your household waste.
- Cost Savings: Buying bags of compost or fertilizer can add up. Making your own is essentially free, using materials you’d otherwise discard. Your wallet will thank you!
- Environmentally Friendly: Composting reduces greenhouse gas emissions from landfills and decreases the need for synthetic fertilizers, which can harm waterways.
- Better for You & Your Family: Using organic compost means you’re growing your own food or flowers without introducing potentially harmful chemicals into the environment.
What Exactly IS Organic Compost?
Simply put, organic compost is decomposed organic matter. It’s created when things like food scraps, yard waste, and other natural materials break down over time, thanks to the hard work of tiny organisms like bacteria, fungi, and worms. The end result is a dark, crumbly, earthy-smelling material that’s incredibly beneficial for your soil. When we talk about “organic compost in USA,” we’re emphasizing that the materials going in are natural and free from synthetic pesticides or fertilizers.
Getting Started: Your Organic Compost Toolkit
Before you start piling stuff up, let’s gather a few essentials. The good news is, you don’t need a lot of fancy gear!
Choosing a Composting Bin or System
This is where you’ll be doing your composting. There are several popular options in the USA, each with its own pros and cons:
| Type of Bin | Pros | Cons | Best For |
|---|---|---|---|
| Open Piles | Easiest to start, no cost for a bin, can handle large volumes. | Can look messy, may attract pests if not managed well, slower decomposition without turning. | Large yards, those with plenty of yard waste. |
| Enclosed Bins (Plastic Tumblers or Stationary Bins) |
Neater appearance, helps retain moisture and heat, deters pests. Tumblers make turning easy. | Can be costly, smaller capacity, stationary bins require manual turning. | Smaller yards, urban dwellers, those concerned about pests. |
| Worm Composting (Vermicomposting) | Produces nutrient-rich worm castings, great for small spaces (even indoors), fast process for food scraps. | Requires specific setup and temperature control, can’t handle large volumes of yard waste, certain foods problematic for worms. | Apartment dwellers, small gardens, those wanting super-potent fertilizer. |
| Trench Composting | No bin needed, hides waste, simple to do. | Slower decomposition, requires digging, can’t easily access finished compost. | Those who want to compost discreetly and are okay with a slower process. |
Essential Tools (You Probably Have Most Already!)
- Pitchfork or Garden Fork: For turning and aerating your compost pile. This is crucial for speeding up decomposition!
- Shovel: To move finished compost or layer new materials.
- Watering Can or Hose: Compost needs to be about as damp as a wrung-out sponge.
- Gloves: To keep your hands clean.
- Kitchen Caddy/Container: A small bin for your kitchen to collect food scraps before heading to the compost bin.
The “Greens” and “Browns”: The Secret Recipe
Composting is all about balance. You need a good mix of nitrogen-rich materials (“greens”) and carbon-rich materials (“browns”). Think of it like following a recipe – get the ratio right, and you’ll have success!
What are “Greens”? (Nitrogen-Rich)
These add moisture and nitrogen, which helps the microorganisms in your pile multiply and get to work. They tend to break down quickly.
- Fruit and vegetable scraps
- Coffee grounds and tea bags
- Grass clippings (in thin layers to avoid matting)
- Plant trimmings (non-woody stems and leaves)
- Manure from herbivores (like rabbits, chickens, cows – avoid dog/cat waste)
What are “Browns”? (Carbon-Rich)
These provide carbon and create air pockets, preventing the pile from becoming too wet and smelly. They break down more slowly.
- Dry leaves
- Straw or hay
- Shredded newspaper or cardboard (uncoated, no glossy ads)
- Twigs and small branches (chopped or shredded)
- Sawdust (from untreated wood)
- Pine needles
The “What NOT to Compost” List
To ensure your compost is safe and effective, and to avoid attracting pests or creating smells, steer clear of these:
- Meat, fish, and bones
- Dairy products
- Oily or greasy foods
- Diseased plants or weeds that have gone to seed
- Pet waste (dog and cat feces)
- Treated wood
- Coal or charcoal ash
- Synthetic materials
Step-by-Step: Building Your Organic Compost Pile
Ready to get your hands dirty (but not too dirty!)? Here’s how to build your compost pile the right way:
Step 1: Choose Your Location
Find a convenient spot for your bin or pile. It should be:
- Accessible: Easy to get to from your kitchen and garden.
- Well-drained: You don’t want it sitting in a puddle.
- Partially Shaded: Full sun can dry it out too quickly, while deep shade might keep it too wet.
- On Bare Earth (if possible): This allows beneficial soil organisms and worms to easily access the pile and helps with drainage.
Step 2: Start with a Base Layer of Browns
Begin by adding a layer (about 4-6 inches) of coarser brown materials at the bottom. This helps with aeration and drainage.
Think twigs, straw, or shredded cardboard.
Step 3: Alternate Layers of Greens and Browns
Now, start adding your materials, aiming for a ratio of roughly 2-3 parts Browns to 1 part Greens. You don’t need to be perfectly precise, just aim for a good mix.
Add a layer of greens (like kitchen scraps or grass clippings), then cover it with a layer of browns (like dry leaves or shredded paper). Continue alternating.
Step 4: Add Water
As you build your layers, lightly water each one. The goal is for the compost to be moist, like a wrung-out sponge. Not soggy, not dry. Squeeze a handful – if a few drops of water come out, it’s just right.
Step 5: Turn Your Compost Regularly
This is where the magic happens faster! Turning introduces oxygen, which is essential for the decomposition process and prevents your pile from getting stinky.
- Frequency: Aim to turn your pile every 1-2 weeks. If you have a tumbler, give it a few spins. For an open pile or stationary bin, use your pitchfork to mix the materials, bringing the outside bits to the inside and vice versa.
- What to Look For: When you turn, you should see steam rising if the pile is hot and actively decomposing.
Step 6: Be Patient!
Composting takes time. Depending on the size of your pile, the materials you use, and how often you turn it, it can take anywhere from a couple of months to a year to produce finished compost.
The “Hot” vs. “Cold” Composting Debate
There are two main ways to compost:
Hot Composting
- This method aims to heat the pile up (ideally to 130-160°F or 55-70°C), which significantly speeds up decomposition and kills weed seeds and pathogens.
- It requires the right mix of greens and browns, consistent moisture, and frequent turning to keep it aerated.
- You’ll typically get finished compost in 1-3 months.
Cold Composting
- This is also known as passive composting. You just pile materials up and let nature do its thing with minimal intervention.
- It’s much slower, and weed seeds or pathogens may survive because the pile doesn’t get hot enough.
- It can take 6 months to 2 years to get usable compost.
- It’s easier and requires less effort, making it a good choice if time isn’t a concern.
For most home gardeners in the USA, a moderate approach between hot and cold composting works best – regular layering and occasional turning will yield great results without requiring constant attention.
Troubleshooting Common Compost Problems
Got a stinky pile or a pile that’s not breaking down? Don’t worry, these are common issues beginners face. Here’s how to fix them:
Problem: The Pile Smells Bad (Like Ammonia or Rotten Eggs)
- Cause: Too much nitrogen (greens) or not enough air (anaerobic conditions).
- Solution: Add more brown materials (leaves, shredded cardboard) to absorb excess moisture and nitrogen. Turn the pile thoroughly to aerate it.
Problem: The Pile is Not Heating Up or Decomposing
- Cause: Not enough nitrogen (greens), or the pile is too dry.
- Solution: Add more green materials. If it’s dry, add water and mix it in. Ensure you have a good balance of materials.
Problem: The Pile is Too Wet and Soggy
Cause: Too many greens, not enough browns, or poor drainage.
- Solution: Add plenty of brown materials to absorb moisture. Ensure your bin has drainage holes or is on well-drained ground. Turn the pile to help it dry out.
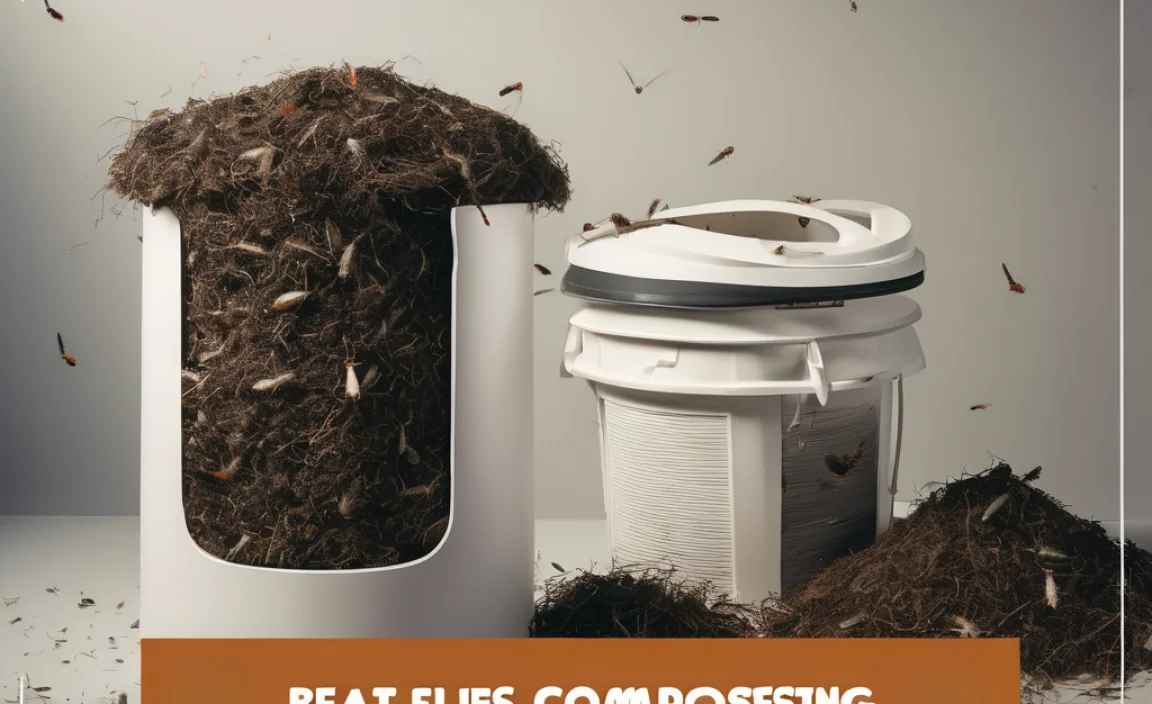
Problem: Pests (Rodents, Flies)
Cause: Composting meat, dairy, or greasy foods; pile is too wet or exposed.
- Solution: Stick to the “What NOT to Compost” list. Bury food scraps deeply within the pile and cover them with browns. Consider an enclosed bin or tumbler, which are more pest-resistant.
Knowing When Your Organic Compost is Ready
Your compost is ready when it looks and smells like rich, dark earth. You shouldn’t be able to identify the original materials (no more recognizable banana peels or coffee grounds!). It will be crumbly and smell pleasantly earthy. This finished product is often called “humus.”
- Appearance: Dark brown, crumbly texture.
- Smell: Earthy, like a forest floor after rain.
- Temperature: It should be cool or at ambient temperature.
Using Your Homemade Organic Compost
Once your compost is ready, get it into your garden! Here are some popular ways to use it:
- Soil Amendment: Mix 1-3 inches of compost into your garden beds before planting. This improves soil structure, fertility, and water retention.
- Top Dressing: Spread a 1-2 inch layer of compost around existing plants. It acts as a natural mulch, retaining moisture and feeding the plants as it slowly breaks down.
- Container Gardening: Mix compost with potting soil to create a rich, nutrient-dense medium for your potted plants. A common mix is 1/3 compost, 1/3 peat moss or coconut coir, and 1/3 perlite or vermiculite.
- Lawn Care: Rake a thin layer (about 1/2 inch) of compost over your lawn in the spring or fall. It helps feed the grass and improve soil health.
Composting Resources in the USA
If you want to learn more or find resources specific to your region, here are some great places to start:
- EPA (Environmental Protection Agency): The EPA website has comprehensive guides on composting basics, benefits, and methods.
- University Extension Offices: Many universities have Cooperative Extension programs that offer free gardening advice, including composting tips tailored to your local climate and soil conditions. Just search for “[Your State] Extension Office Composting.”
- Local Master Gardener Programs: These volunteer programs often offer workshops and resources on composting.
Frequently Asked Questions About Organic Compost in the USA
Q1: How long does it take to make organic compost?
It varies! Hot composting, with regular turning and the right mix, can yield finished compost in as little as 4-8 weeks. Cold composting, with little intervention, can take 6 months to 2 years.
Q2: What’s the best kind of bin for organic compost in the USA?
The “best” depends on your space and needs. Enclosed bins or tumblers are great for smaller yards or pest concerns, while open piles are good for larger areas. Worm bins are excellent for apartment dwellers.

I am passionate about home engineering. I specialize in designing, installing, and maintaining heating, ventilation, and air conditioning systems. My goal is to help people stay comfortable in their homes all year long.