Hey there, neighbor! Ever look at your kitchen scraps and think, “There’s got to be a better way than the trash can”? You’re not alone. Many city dwellers feel the same. It’s a common frustration trying to be a good environmental steward when space is tight. But what if I told you that even in a small urban yard, you can turn that waste into something amazing for your plants? With a little guidance, pit composting is totally doable, and I’m here to walk you through it, step-by-step. Get ready to transform your food scraps into garden gold!
Pit Composting in the City: Your Essential Guide
Living in the city doesn’t mean you have to miss out on the incredible benefits of composting. Pit composting, also known as in-ground composting, is a fantastic solution for urban dwellers with a small yard. It’s simple, effective, and surprisingly low-maintenance. Forget fancy bins or complicated systems; this is about working with the earth in your own backyard.
As Troy D Harn from TopChooser, my goal is to make DIY and home projects easy for everyone. Pit composting is one of those projects that feels like magic but is actually just good old-fashioned science. We’ll cover everything from choosing the right spot to what to do with your finished compost. Ready to get your hands a little dirty and give back to your garden?
What Exactly Is Pit Composting?
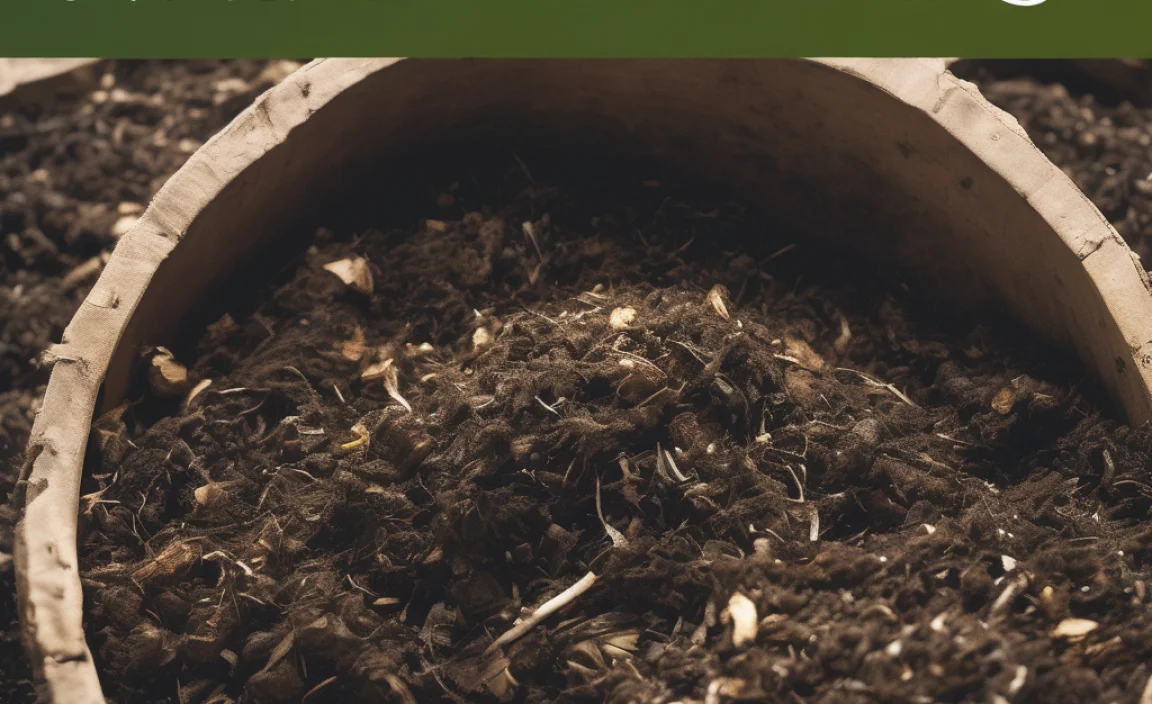
Pit composting is a straightforward method where organic materials are buried directly into the ground. Instead of piling materials above ground in a bin, you dig a hole, fill it with your compostable items, and let nature do the rest. The soil acts as your compost bin, helping to break down the waste efficiently and discreetly. This method is perfect for small spaces because it doesn’t take up much visual room, and it utilizes the existing soil in your yard.
Why is this different and great for urban settings? Well, for starters, it’s less likely to attract pests when done correctly, as the materials are underground. It also adds nutrients directly to your soil, improving its health and structure over time. Think of it as feeding your soil directly!
Why Choose Pit Composting for Your Urban Garden?
Pit composting offers a unique set of advantages, especially for those living in more populated areas. Let’s break down why it’s such a smart choice:
- Space-Saving: The biggest win for urbanites is that it doesn’t require a large footprint. Your compostable materials are hidden beneath the surface.
- Cost-Effective: You don’t need to buy expensive composting bins. All you really need is a shovel and some organic materials.
- Pest Deterrence: When properly buried, food scraps are less accessible to critters than in an open-top bin.
- Soil Improvement: As the materials decompose underground, they directly enrich the soil in that area, creating a nutrient-rich pocket.
- Discreet Appearance: No unsightly compost piles or bins cluttering your small yard. It’s practically invisible!
- Simplicity: It’s one of the easiest composting methods to get started with, requiring minimal effort and knowledge.
Getting Started: What You’ll Need
The beauty of pit composting is its simplicity. You probably already have most of what you need. But let’s make sure:
- A Sturdy Shovel: For digging your compost pit. A garden spade or a good digging shovel will work perfectly.
- Compostable Materials: This is the fun part! We’ll get into the details of what you can and can’t compost shortly.
- Water: Essential for the decomposition process.
- Optional: A Pitchfork or Garden Fork: Useful for aerating the pile if it becomes too dense, though less critical with pit composting.
- Optional: Lime (a small amount): Can help neutralize odors if needed, but usually not necessary if balanced.
Choosing the Perfect Spot for Your Pit
Location, location, location! Even for a compost pit, picking the right spot in your urban yard is key to success. You want a place that’s:
- Out of the Way: Choose a corner of your yard or a less-trafficked area. You don’t want to be tripping over it, and it keeps things looking tidy.
- Accessible: Make sure you can easily get to it with your kitchen scraps and your shovel.
- Away from Water Sources: Avoid placing it too close to wells or natural water bodies to prevent potential contamination. Regulations like those from the U.S. Environmental Protection Agency (EPA) emphasize protecting water quality.
- Sun and Shade: A mix is ideal. Too much sun can dry out the pit, while too much shade might keep it too wet. A spot that gets some sun and some shade throughout the day is perfect.
- Consider Your Neighbors: While pit composting is discreet, it’s always good to be mindful of where you place it relative to property lines or shared fences.
Step-by-Step: How to Dig and Fill Your Compost Pit
Alright, let’s get down to business. Digging and filling your pit is the core of this method. It’s not complicated at all!
- Dig the Pit: Aim for a hole that’s about 2-3 feet deep and 2-3 feet wide. The exact size isn’t critical, but this gives you enough space to bury your materials and for the composting process to occur effectively. You can make it round, square, or rectangular – whatever fits your space and digging style best.
- Start Adding Materials: Begin layering your compostable materials into the pit. Alternate between “greens” and “browns” (more on this below).
- Bury as You Go: This is the crucial part for pit composting. Once you’ve added a layer of scraps (especially kitchen waste), cover them with at least 6 inches of soil. This helps deter pests and reduces any potential odors.
- Keep it Moist: The microbes that break down your waste need moisture. The pit should be as damp as a wrung-out sponge. If it feels dry, add a little water. If it’s too wet (which can happen if it’s in a very soggy area), introduce more “brown” carbon-rich materials to absorb excess moisture.
- Continue Layering: Keep adding your kitchen scraps and yard waste, always remembering to cover them with soil. You can dig multiple pits if you generate a lot of material, or you can have one pit that you fill over time.
- Allow Time to Decompose: Once you’ve filled a pit, or if you’re filling one over several months, let nature take its course. Decomposition can take anywhere from a few months to a year, depending on what you put in, the moisture levels, and the temperature.
- Harvesting (Eventually!): After the materials have broken down into dark, crumbly compost, you can dig it up and use it in your garden beds, containers, or for top-dressing plants. If you’re using the same pit continuously, you can often start using the compost from the bottom while still adding new materials to the top, though this requires careful management. A simpler approach for beginners is to fill one pit, let it decompose, harvest it, and then start a new one.
The Magic Ingredients: What to Compost and What to Avoid
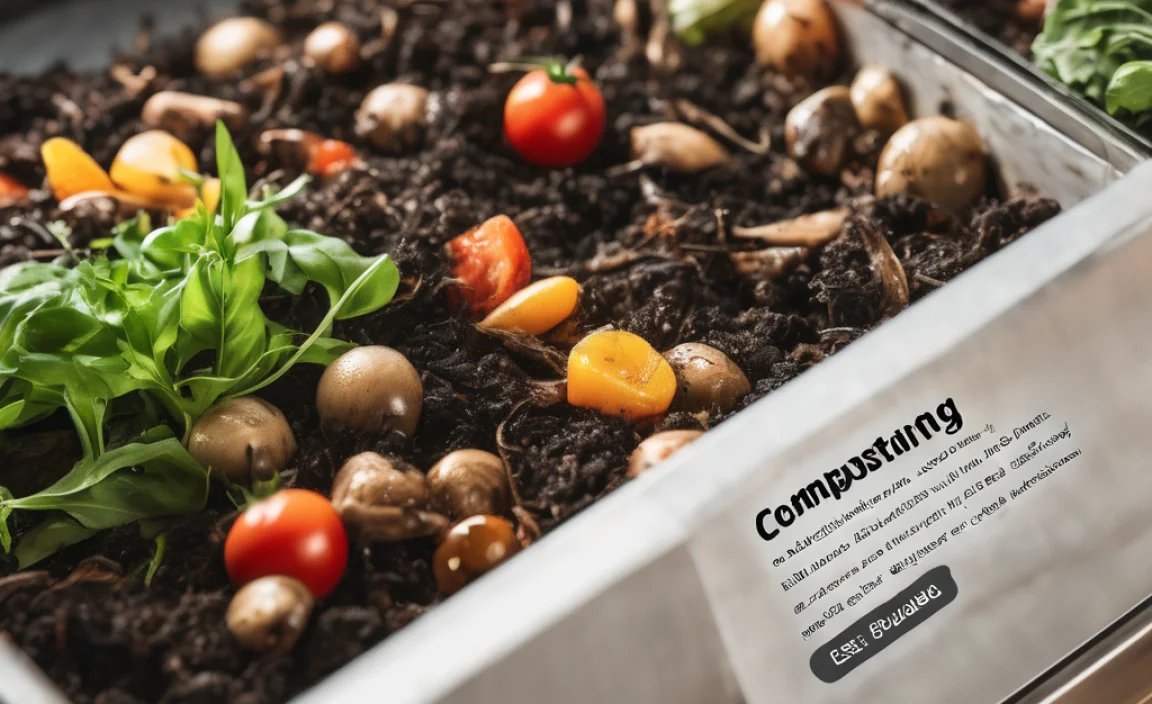
To get the best compost, you need a good mix of nitrogen-rich “greens” and carbon-rich “browns.” Think of it like a balanced diet for your compost pile. Here’s a simple breakdown:
What You CAN Compost (Greens & Browns):
- Greens (Nitrogen-rich):
- Fruit and vegetable scraps
- Coffee grounds and filters
- Tea bags (remove staples)
- Grass clippings (in moderation to avoid matting)
- Plant trimmings from the garden
- Eggshells (crushed)
- Browns (Carbon-rich):
- Dry leaves
- Shredded newspaper or plain cardboard (avoid glossy or colored inks)
- Straw or hay
- Wood chips or sawdust (use sparingly, especially from treated wood)
- Paper towels and napkins (if not soiled with grease or chemicals)
- Small twigs and yard debris
What to AVOID Composting:
These items can cause problems like attracting pests, creating odors, or containing harmful pathogens.
- Meat, fish, and bones
- Dairy products (cheese, yogurt, milk)
- Oily or greasy foods
- Diseased plants
- Weeds that have gone to seed (they might survive the composting process)
- Pet waste (dog or cat feces)
- Treated wood or sawdust from treated wood
- Coal ash or charcoal briquettes
- Synthetic materials
For more in-depth information, the University of New Hampshire Extension provides excellent resources on composting basics.
Balancing Your Pit: The Green-to-Brown Ratio
The secret to fast, odor-free composting is getting the right balance between your green and brown materials. A good starting ratio is about two parts browns to one part greens by volume.
Why this ratio? Greens provide the nitrogen that microorganisms need to live and multiply. Browns provide the carbon, which is their energy source, and they also help with aeration and prevent the pile from becoming a soggy, smelly mess. If your pit starts to smell, it’s usually a sign that you have too many greens or it’s too wet. Adding more browns and turning (if you can access it) helps.
Here’s a quick reference:
| Category | Role in Composting | Examples | Common Issues if Imbalanced |
|---|---|---|---|
| Greens (Nitrogen) | Provide moisture and essential nutrients for microbes. | Fruit/veg scraps, coffee grounds, grass clippings. | Too many greens can lead to a wet, slimy, smelly pile. |
| Browns (Carbon) | Provide energy for microbes, add bulk, and improve airflow. | Dry leaves, shredded paper, twigs, cardboard. | Too many browns can slow down decomposition. |
Troubleshooting Common Pit Composting Problems
Even the simplest methods can sometimes hit a snag. Don’t worry; most composting issues are easy to fix!
- Bad Smells (Ammonia or Rotten Egg Smell): This usually means your pit is too wet or has too many nitrogen-rich “greens.”
- Solution: Add more carbon-rich “brown” materials like shredded newspaper, dry leaves, or sawdust. Bury any smelly materials thoroughly with soil.
- Attracting Pests: While pit composting is better than open bins, pests can still be an issue if materials aren’t buried properly.
- Solution: Always ensure kitchen scraps are covered with at least 6 inches of soil. Avoid adding meat, dairy, or oily foods, which are more attractive to pests.
- Slow Decomposition: Your compost isn’t breaking down very quickly.
- Solution: Check moisture levels – it might be too dry. Add some water. Ensure you have a good mix of greens and browns. Smaller pieces of material also break down faster. If you can, try to aerate the pile a bit (though this is harder with a pit).
- Too Wet: The pit is consistently soggy.
- Solution: Add more dry, bulky “browns” like shredded cardboard or dry leaves to absorb excess moisture. Ensure the pit isn’t in an area that naturally stays waterlogged.
Using Your Finished Compost
The reward for your efforts is rich, dark compost. It’s often called “black gold” by gardeners for good reason! Finished compost will:
- Have an earthy smell.
- Be crumbly and dark brown, with no recognizable original materials (except maybe a few persistent eggshells or twigs).
- Be a suitable temperature – not hot or steaming.
Once your compost is ready, you can:
- Amend Garden Beds: Dig it into your vegetable plots or flower beds to improve soil structure, water retention, and nutrient content.
- Top-Dress Plants: Spread a layer around the base of established trees, shrubs, or perennial plants.
- Potting Mix: Mix it with soil or perlite to create a nutrient-rich potting mix for containers and houseplants.
- Lawn Care: Spread a thin layer over your lawn in the spring or fall to improve its health.
Using compost is a fantastic way to close the loop on waste and create a healthier environment for your plants, reducing the need for synthetic fertilizers. For more on the benefits and uses of compost, the Garden Myths website offers practical advice.
Pit Composting vs. Other Urban Composting Methods
For city living, pit composting isn’t the only game in town. Let’s quickly compare it to other popular methods:
| Method | Pros | Cons | Best For |
|---|---|---|---|
| Pit Composting | Space-efficient, discreet, low cost, good for soil. | Requires digging, can be slow, harder to manage layers. | Small yards, beginners, those wanting minimal visual impact. |
| Tumbler Composter | Fast, contained, good aeration, pest-resistant. | Can be expensive, requires turning, needs specific size. | Those wanting faster compost, limited space, willing to invest. |
| Worm Composting (Vermicomposting) | Excellent for apartment dwellers, fast for food scraps, high-quality compost. | Requires specific worms, sensitive to temperature, can’t handle large volumes or certain items. | Apartments, small households, people with mostly kitchen scraps. |
| Traditional Bin Composting | Widely understood, can handle large volumes, relatively fast. | Requires space for a bin, can attract pests if not managed, can be unsightly. | Larger yards, households with significant yard waste and kitchen scraps. |
Pit composting shines for its simplicity and integration with the ground, making it a great entry point for many urban gardeners.
Making Pit Composting a Habit
The key to successful composting, no matter the method, is consistency. Here are some tips to make pit composting a seamless part of your routine:
- Keep a Kitchen Caddy: Have a small container with a lid in your kitchen to collect food scraps throughout the day. Empty it into your compost pit once a day or every few days.
- Store Browns Nearby: Keep a bag or bin of dry leaves or shredded cardboard near your compost pit. This makes it easy to add a layer of browns whenever you add kitchen scraps.
- Educate the Household: Make sure everyone in your home knows what can and cannot be composted. A small posted list can be very helpful!
- Don’t Overthink It: Composting is a natural process. While the “rules” help, nature is resilient. If it’s not perfect, it will likely still work.
Embracing pit composting is a fantastic way to reduce your household waste, improve your soil health, and contribute to a more sustainable lifestyle, all from your own small urban oasis. It’s one of those projects that makes you feel good about what you’re doing for your home and the planet.
Frequently Asked Questions about Urban Pit Composting
Q1: Can I really do this in a small city yard?
Absolutely! Pit composting is ideal for small spaces because the compostable materials are buried, taking up no more visual room than a small patch of ground. You don’t need a large area, just enough space to dig a modest pit.

I am passionate about home engineering. I specialize in designing, installing, and maintaining heating, ventilation, and air conditioning systems. My goal is to help people stay comfortable in their homes all year long.