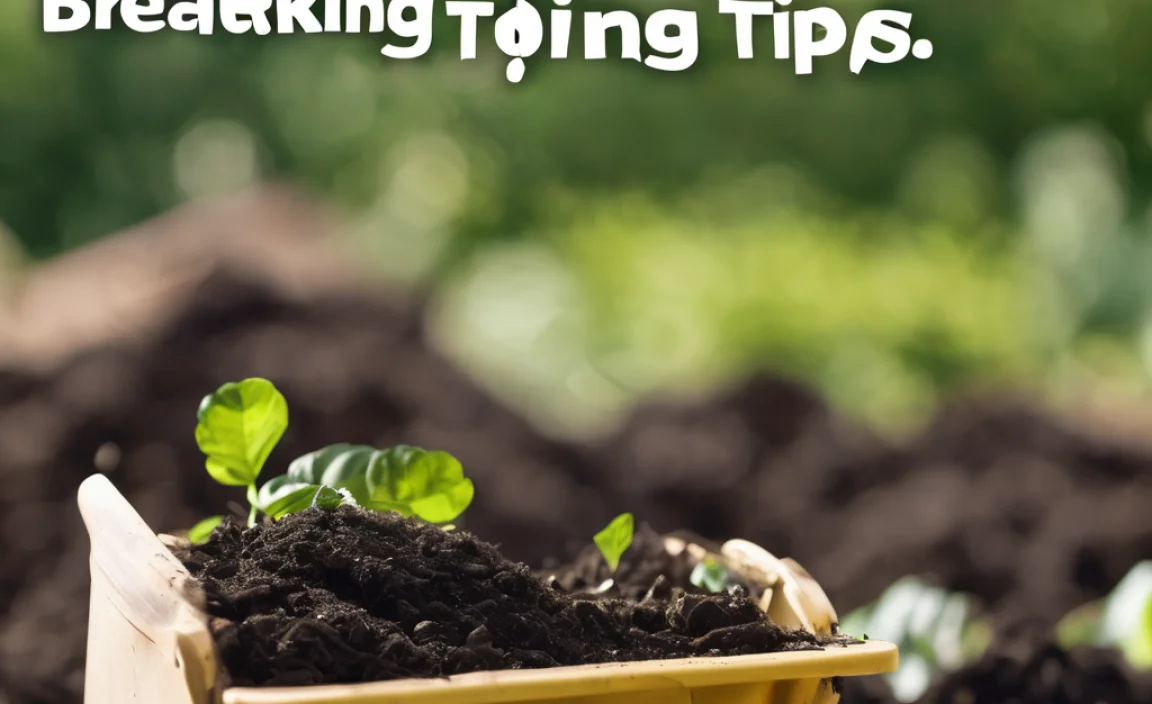
Did you know you can turn trash into treasures? Yes, kitchen scraps and yard waste can become rich soil. This magical process is called composting. Have you ever seen a rotating bin? It’s like a barrel that spins! Rotating bin composting is an easy way to make compost. Let’s explore rotating bin composting step by step. You’ll discover how fun and simple it is to help the earth!
Key Takeaways
- Rotating bins make composting easy and fast.
- Use kitchen scraps and yard waste for compost.
- Follow rotating bin composting step by step for best results.
- Turning the bin mixes and aerates the compost.
- Finished compost enriches your garden soil.
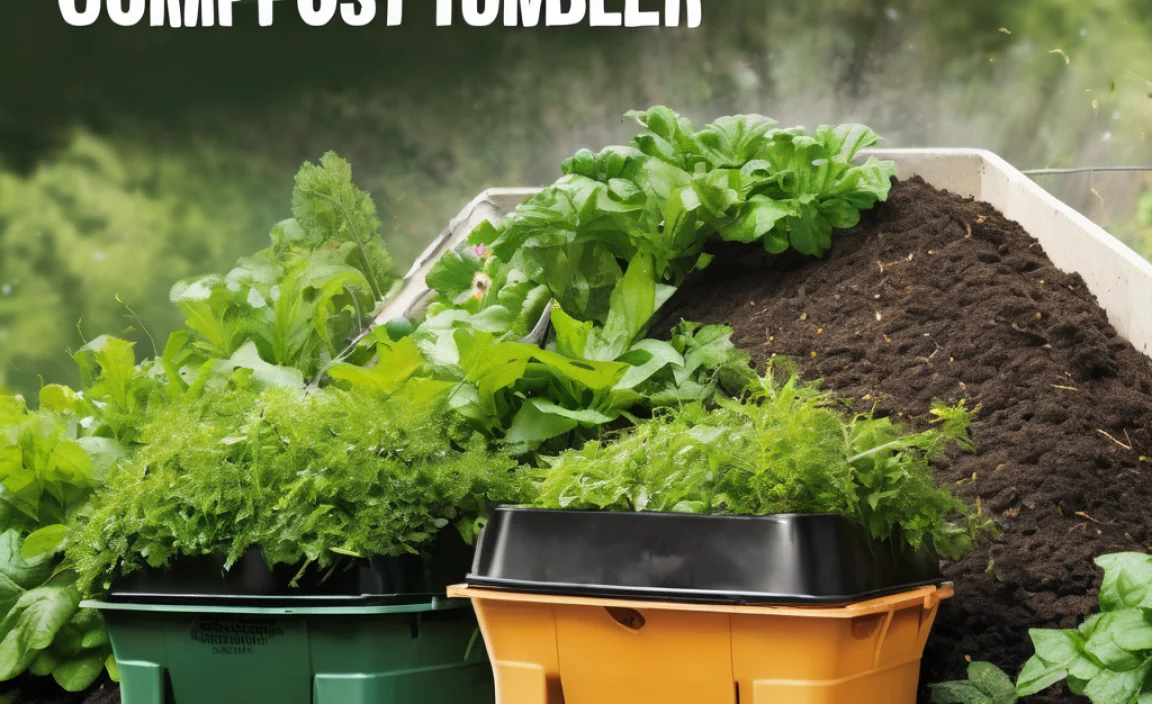
Choosing the Right Rotating Bin
Choosing the right rotating bin is the first step in composting. There are many bins to pick from. They come in different sizes and shapes. Some are big for large families; others are small for tiny yards. Look for a bin that fits your yard and needs. Some bins even have wheels for easy moving. Check for features like a secure lid to keep pests away. Sturdy materials ensure the bin lasts long. Consider your space and how much compost you plan to make. Having the right bin sets you up for success.
- Choose a bin that suits your yard size.
- Make sure the bin is easy to turn.
- Pick a sturdy and durable material.
- Look for a secure lid to keep pests out.
- Consider bins with wheels for easy moving.
- Check if the bin has air vents.
Once you pick the right bin, place it in a sunny spot. Sun helps the compost heat up and break down faster. A good location is key to healthy composting. Your bin should also be easy to access. This way, you can add materials and turn it often. Remember, the right spot helps your compost thrive.
Fun Fact or Stats : Did you know that using a rotating bin can speed up composting by 50%?
Why Size Matters in a Compost Bin
Have you ever tried fitting a puzzle piece where it doesn’t belong? That’s like using a small bin for a big yard. The size of your compost bin matters a lot. If it’s too small, it can’t hold all your scraps. If it’s too big, it may not heat properly. A right-sized bin balances the amount of waste. It allows air to flow, helping microbes break down waste. The right size ensures your composting is efficient.
Durability and Material Choices
Imagine building a treehouse from paper. It would blow away in the wind! That’s why durability in a compost bin is vital. Metal and plastic are common choices. Metal bins are strong but can rust. Plastic is light and weather-resistant. Choose a material that fits your climate. A durable bin lasts for years, ensuring you can compost season after season.
Importance of Secure Lids
Have you ever left a door open and let in bugs? That’s what happens with bins without lids. A secure lid keeps pests out of your compost. It also contains the smell, so your yard stays fresh. Critters like raccoons and rats can’t get in if the lid is tight. Look for locks or clasps to keep the lid secure. This small feature makes a big difference in your composting success.
Gathering Compost Materials
Gathering the right materials is crucial for composting. Think about what you throw away daily. Kitchen scraps and yard waste are perfect for composting. Common items include fruit peels, veggie scraps, and grass clippings. Avoid meats, oils, and dairy as they attract pests. Balance green and brown materials. Greens add nitrogen, while browns add carbon. This balance helps the compost break down properly.
- Use fruit peels and veggie scraps.
- Grass clippings are great for compost.
- Don’t add meat or dairy products.
- Balance greens and browns for best results.
- Add dry leaves and small branches.
- Avoid adding weeds with seeds.
- Shred larger pieces to speed up composting.
Once you gather materials, start layering them in your bin. Alternate green and brown layers. This helps maintain the right moisture level. Too much green can make the compost wet and smelly. Too much brown makes it dry and slow to decompose. The right mix ensures your compost is rich in nutrients for your garden.
Fun Fact or Stats : Did you know composting can reduce household waste by up to 30%?
Understanding the Green Materials
What makes green materials so special? Green materials are rich in nitrogen. They play a crucial role in composting. Nitrogen helps feed the microbes that break down waste. Think of it as a power boost for your compost. Common green materials include fruit scraps, veggie peelings, and coffee grounds. These items break down quickly, providing energy for the composting process.
The Role of Brown Materials
Brown materials are like the backbone of compost. They provide carbon, which adds structure. Carbon helps create air pockets in the compost. This is essential for airflow, allowing microbes to breathe. Items like dry leaves, straw, and cardboard are great browns. Mixing them with greens keeps your compost balanced and healthy.
Avoiding Harmful Additions
Did you know some items can harm your compost? Meat, bones, and dairy should stay out. They attract pests and create odors. Also, avoid oily and greasy foods. These can slow down the composting process. Pet waste is another no-no. It can contain harmful bacteria. Stick to safe materials for the best compost results.
Layering and Filling the Bin
Layering is like making a delicious sandwich. You need the right layers for tasty results. Start with a layer of browns, like dry leaves. Next, add a layer of greens, like veggie scraps. Continue layering until the bin is full. Each layer should be a few inches thick. This helps create a balance of moisture and air. The layers break down into rich compost over time.
- Start with a layer of brown materials.
- Add a layer of green materials next.
- Continue alternating layers.
- Each layer should be a few inches thick.
- Ensure good air circulation in the bin.
- Keep the bin moist but not soggy.
- Check the compost regularly.
Once filled, let the magic of composting begin. Check the bin every few days. If it’s too dry, add water. If too wet, add more browns. Turning the bin every few days helps speed up the process. This mixes materials and adds air. Soon, you’ll have dark, crumbly compost ready for the garden.
Fun Fact or Stats : Compost piles can reach temperatures of 140-160°F, killing harmful pathogens.
Signs of Proper Layering
How do you know if your layers are right? A good compost pile smells earthy. It shouldn’t have a bad odor. If it smells, adjust the layers. A healthy pile also feels warm. Heat means the microbes are working hard. Lastly, a balanced pile has no large chunks. This ensures even breakdown of materials.
Importance of Air and Moisture
Why do air and moisture matter in composting? Air helps microbes breathe, speeding the process. Without air, the compost smells bad. Moisture is also key. It helps break materials down quickly. Too much moisture causes rot, while too little slows decay. Keep the compost as moist as a damp sponge.
Monitoring the Composting Process
Have you ever watched a seed grow into a plant? Monitoring compost is similar. Check it weekly for signs of progress. Look for warmth and changes in texture. If it’s cold, turn the bin to add air. If it’s dry, add water. These small adjustments ensure the compost turns out great.
Turning and Aerating the Bin
Turning the bin is like stirring a big soup pot. It mixes everything together. This step is vital for composting. Turn the bin every three days for best results. This adds air, helping microbes work faster. It also ensures even decomposition. A well-aerated bin produces compost in weeks, not months. Watch the compost change from waste to rich soil. It’s exciting to see the transformation!
- Turn the bin every 3-4 days.
- Ensure air flows through the compost.
- Mix materials for even breakdown.
- Turning speeds up composting.
- Check moisture levels while turning.
- Keep the compost warm for fast results.
- Adjust layers if needed.
Turning and aerating is easy with a rotating bin. The handle makes it simple to spin. This action mixes the contents, adding oxygen. It’s like giving your compost a breath of fresh air. Regular turning produces rich soil quicker. Enjoy the process and watch your compost flourish.
Fun Fact or Stats : Turning compost can reduce the time to finish by half!
Benefits of Regular Turning
Why is turning the bin regularly important? Turning speeds up composting. It helps prevent smelly odors by adding air. Regular turning also ensures all materials break down evenly. This creates uniform compost, rich in nutrients. It’s like stirring a soup for better flavor.
Signs It’s Time to Turn
How do you know when to turn the bin? If the compost is cool, it needs turning. Lack of heat means microbes need air. If it’s too smelly, turning helps reduce odors. A good rule is to turn every few days. Regular turning keeps your compost healthy and active.
Tools for Easy Turning
Have you ever used a spatula to flip a pancake? Tools make tasks easier. A rotating bin has built-in handles. This makes turning simple and fun. You can also use a shovel if needed. These tools ensure you can mix the compost without hassle.
Harvesting and Using Finished Compost
When is compost ready for use? Finished compost is dark and crumbly. It looks like rich soil. The compost should smell earthy, not rotten. It takes 6-8 weeks in a well-managed bin. Once ready, open the bin and scoop out the compost. Spread it in your garden or flower beds. It enriches the soil, helping plants grow strong and healthy. Composting reduces waste and improves your garden. It’s a win-win!
- Check if compost is dark and crumbly.
- It should have an earthy smell.
- Compost is ready in 6-8 weeks.
- Use finished compost in gardens and pots.
- Spread it around plants for rich soil.
- Improves plant growth and soil health.
- Reduces the need for chemical fertilizers.
Using finished compost is rewarding. It gives back to the earth. Composting closes the loop of waste. It turns trash into a valuable resource. By using compost, you help the environment. Your garden will flourish with healthy plants and vibrant blooms.
Fun Fact or Stats : Compost can hold up to 20 times its weight in water.
Recognizing Ready Compost
How do you know when compost is ready? Look for a dark, even color. The texture should be crumbly. Smell it; it should be earthy, not foul. If large pieces remain, let it decompose longer. Ready compost is nutrient-rich and perfect for gardens.
Ways to Use Compost in the Garden
Did you know compost is like a superfood for plants? Sprinkle it around flower beds. Mix it into the soil before planting. Use it as a top dressing for lawns. Compost improves soil structure and fertility. It also helps retain moisture, reducing the need for watering.
Benefits of Compost Over Fertilizer
What’s better: compost or fertilizer? Compost is natural and sustainable. It enriches the soil with organic matter. Unlike chemical fertilizers, compost releases nutrients slowly. This reduces the risk of over-fertilizing. Compost is eco-friendly and beneficial for all gardens.
Conclusion
Rotating bin composting step by step is a fun way to help the earth. It turns waste into rich soil for your garden. By following these steps, you make a positive impact. Choose the right bin, gather materials, and let nature do the work. Happy composting!
FAQs
Question: What is rotating bin composting?
Answer: Rotating bin composting uses a barrel that you spin. It speeds up composting by mixing and aerating the waste. This method is easy and efficient, making rich compost for your garden.
Question: How often should I turn the compost bin?
Answer: For best results, turn the compost bin every three to four days. This keeps it aerated and speeds up the decomposition process. Regular turning ensures even breakdown of materials.
Question: What can I put in my rotating compost bin?
Answer: Use kitchen scraps like fruit and veggie peels. Add yard waste such as grass clippings and dry leaves. Avoid meat, dairy, and oily foods. Balance greens and browns for optimal composting.
Question: How long does it take to make compost?
Answer: With a rotating bin, composting takes about six to eight weeks. This depends on how often you turn the bin and the materials used. Regular turning and a good balance speed up the process.
Question: Why is my compost pile not heating up?
Answer: If your compost isn’t heating, it may lack air or moisture. Ensure you turn the bin regularly for aeration. Check moisture levels and add water if too dry. A well-balanced bin heats up efficiently.
Question: Can rotating bin composting reduce household waste?
Answer: Yes, rotating bin composting step by step can reduce household waste by up to 30%. It turns organic waste into valuable compost, reducing landfill contribution and enriching your garden soil.