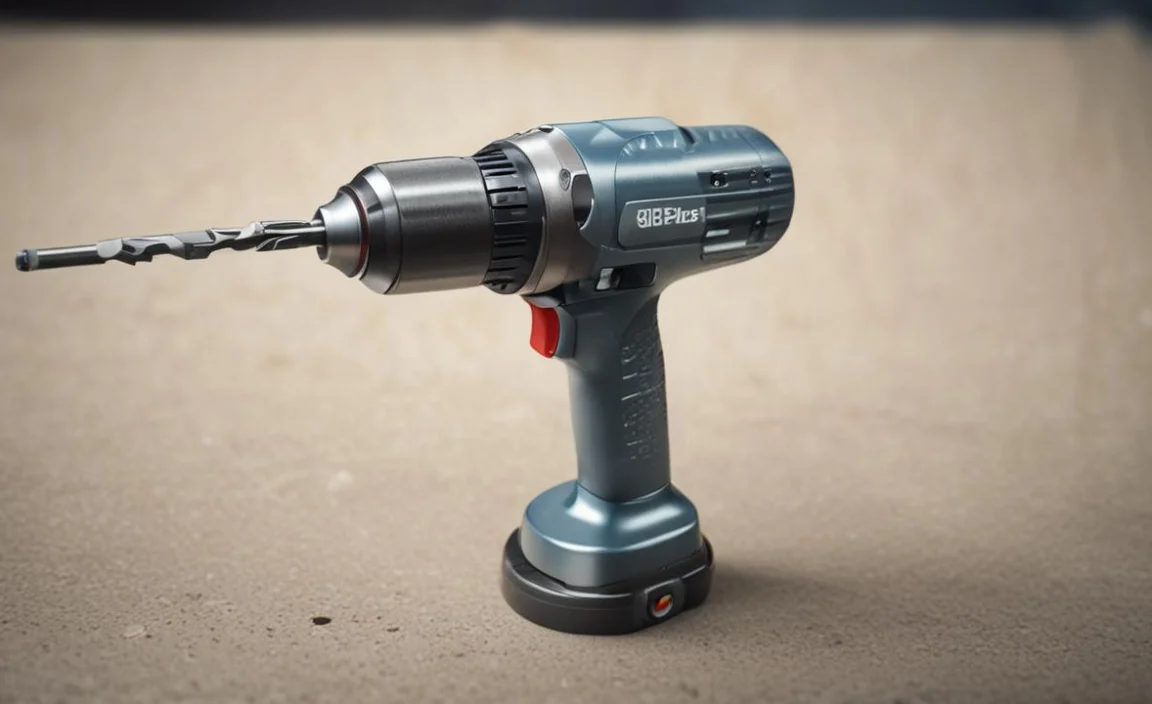
Many people use power tools for home projects. One tool many rely on is the drill. But what happens when the drill bit gets stuck? It can be a frustrating problem. An example is when an sds plus drill bit stuck in chuck causes delays. Have you ever faced this issue?
It’s surprising how often this happens. It can happen to anyone, even experts. Knowing how to fix it can save a lot of time. Let’s explore this problem and how to solve it.
Key Takeaways
- Check the drill settings before use.
- Lubricate the chuck for easier removal.
- Don’t force the bit; it may break.
- Use proper tools to remove the stuck bit.
- Many face the sds plus drill bit stuck in chuck issue.
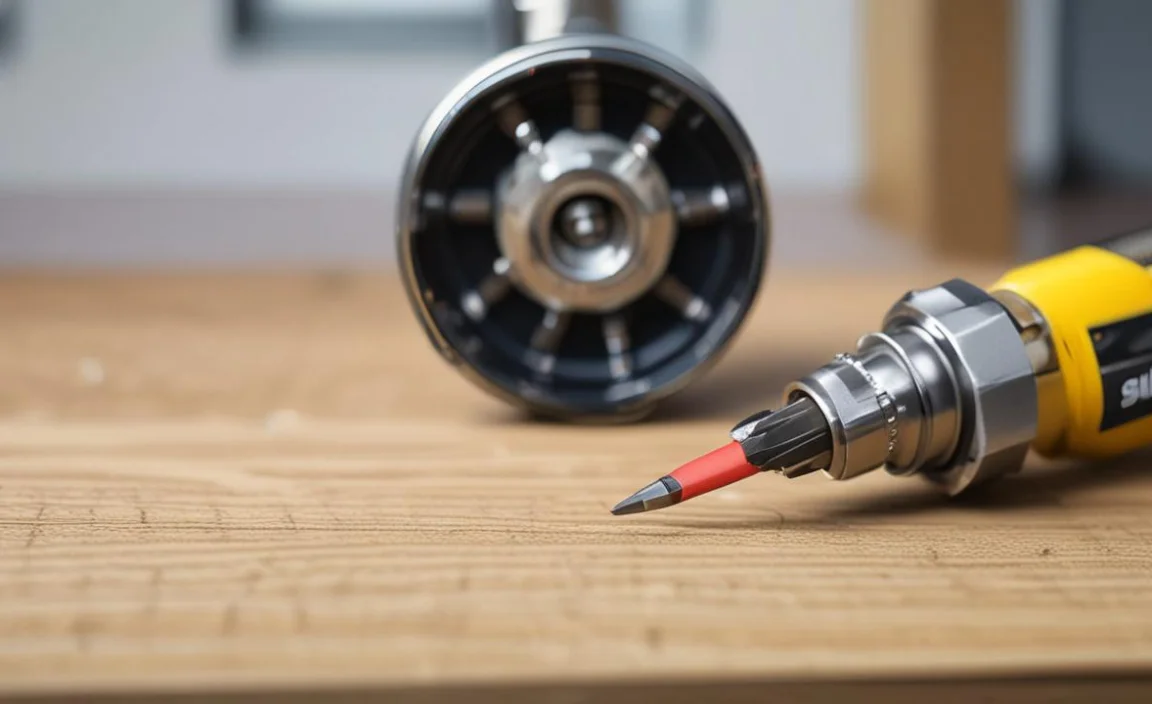
SDS Plus Drill Bit Stuck in Chuck: What to Do?
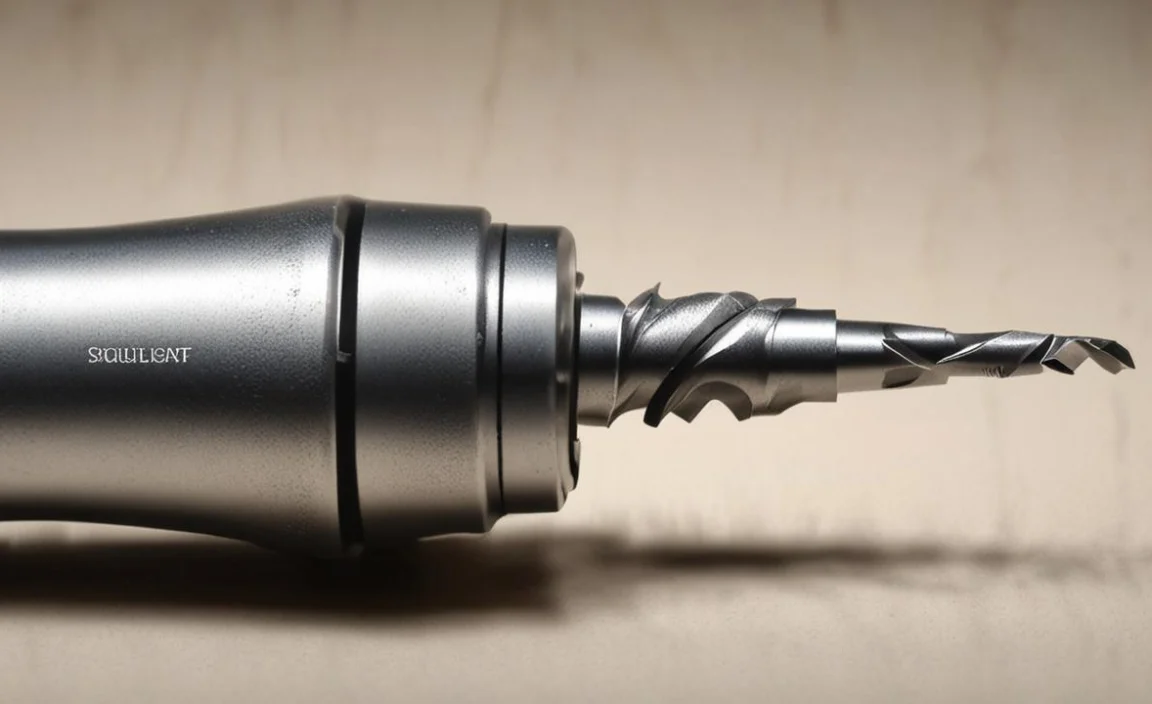
When your drill bit gets stuck, it can halt your project. This often happens with an sds plus drill bit stuck in chuck. Instead of panicking, stay calm. You can usually fix this with a few simple steps. First, make sure to unplug the drill. Safety is very important. Next, check the chuck for any visible damage. If there is none, you are ready to proceed.
- Unplug the drill to avoid accidents.
- Inspect the chuck for damage.
- Check for dirt or debris in the chuck.
- Try twisting the bit gently.
- Use pliers for a better grip.
If the bit still won’t budge, consider using lubricant. A few drops can help loosen the grip. Let it sit for a few minutes before trying again. Remember, patience is key. If you rush, you might break the bit or the drill. Always treat your tools with care and respect.
Fun Fact or Stat: The first electric drill appeared in 1889!
Why Does the Bit Get Stuck?
Have you ever wondered why a drill bit gets stuck? There are a few reasons. First, it can be due to rust or debris in the chuck. Over time, dirt can build up. This makes it hard for the drill bit to move. Another reason could be the wrong size of the bit. If it’s too big, it can jam. Sometimes, the chuck gets tightened too much. This can also cause the sds plus drill bit stuck in chuck issue.
How to Prevent Bits from Sticking
Preventing a drill bit from getting stuck is easier than fixing it. First, always use the right size bit. Always check for dirt in the chuck before using it. Regularly clean your tools to avoid buildup. You should also lubricate the chuck periodically. This will help it work smoothly. By taking these simple steps, you can avoid many problems.
When to Seek Help
Sometimes, the issue is too big to fix alone. If you are struggling with the sds plus drill bit stuck in chuck, consider asking for help. A friend or a family member might have more experience. You can also consult a professional. This can save you time and prevent damage. Don’t hesitate to reach out for advice. Remember, it’s okay to ask for help!
Using Tools to Remove a Stuck Drill Bit
Having the right tools can make removing a stuck drill bit easier. Things like pliers and wrenches can help you grip the bit better. Make sure to use tools that won’t damage the drill. Always take care not to scratch or dent the chuck. You can also use a rubber mallet to tap the chuck gently. This might loosen the stuck bit.
- Use pliers for a stronger grip.
- A rubber mallet can help loosen the bit.
- Wrenches can provide additional leverage.
- Try a drill bit extractor if necessary.
- Use caution to avoid damage.
Remember to be patient while working. If the drill bit is still stuck, try removing the chuck. Some drills allow you to take the chuck off easily. This can give you better access to the stuck bit. Just make sure to follow the manual for your drill model.
Fun Fact or Stat: The world’s largest drill can bore through rock at 10 feet per minute!
How to Use Pliers Effectively
Pliers can be a great tool for removing a stuck drill bit. Use them to grip the bit securely. Make sure to have a good hold. Pull gently but firmly. If it doesn’t come out right away, don’t force it. Try twisting it slightly. If it still sticks, apply some lubricant and wait a bit.
When to Remove the Chuck
If the sds plus drill bit stuck in chuck is too tight, removing the chuck might help. First, check your drill’s manual. It will often show how to take off the chuck. This will give you better access to the stuck bit. Once you remove the chuck, you can work on the bit directly. Just make sure to reattach everything correctly afterward.
Exploring Drill Bit Extractors
Drill bit extractors are tools designed to help remove stuck bits. They are very useful when standard methods fail. These extractors can grip the bit firmly and help you pull it out. Make sure to choose the right size extractor for your bit. Follow the instructions carefully for the best results. Using an extractor can save a lot of time and frustration.
Understanding Chuck Types and Compatibility
Drills come with different types of chucks. Each type has its own way of holding bits. The sds plus drill bit stuck in chuck issue often relates to compatibility. If your drill isn’t designed for a certain bit, it may get stuck. Understanding your drill’s chuck type is essential. Common types are keyless chucks and keyed chucks. Each has its advantages and disadvantages.
| Chuck Type | Advantages | Disadvantages |
|---|---|---|
| Keyless Chuck | Easy to use; no extra tools needed. | Can slip if not tightened properly. |
| Keyed Chuck | Holds bits tightly when used correctly. | Needs a key to tighten or loosen. |
| SDS Plus Chuck | Great for heavy-duty tasks. | Can be more difficult to remove bits. |
| Hex Chuck | Small and compact; easy to handle. | Limited to hex-shaped bits only. |
Knowing your chuck type can help prevent issues. Always use compatible bits to avoid the sds plus drill bit stuck in chuck problem. It’s worth taking the time to learn about your tools. You’ll work more efficiently and enjoy your projects more.
Fun Fact or Stat: The fastest drill spins at over 3000 RPM!
Identifying Chuck Types
Identifying your drill’s chuck type is easy. Check the drill’s body for markings. Keyless chucks often have a smooth surface. Keyed chucks have a small hole for a tightening key. SDS chucks have a unique shape designed for heavy-duty tasks. Once you identify your chuck type, you can choose the right bits.
Choosing the Right Bits
Every drill requires specific bits. Using the wrong ones can cause problems. Always refer to the manual for your drill. It will provide the necessary information. If you’re unsure, ask at your local hardware store. They can help you find the right bits. Using the correct bits helps avoid the sds plus drill bit stuck in chuck issue.
Common Mistakes to Avoid
Many people make mistakes when using drills. One common mistake is not checking the bit size. Always ensure it fits the chuck well. Another mistake is over-tightening the chuck. This can cause bits to get stuck. Not cleaning the chuck regularly can also lead to problems. Take care of your tools to avoid headaches later.
Removing a Stuck Bit: Step-by-Step Guide
Removing a stuck drill bit requires a methodical approach. Start by unplugging the drill. Then, assess the situation. Inspect the chuck for visible issues. If there’s dirt, clean it out. If you notice rust, try applying some penetrating oil. Allow it to sit for a few minutes. After that, use pliers or a wrench to grip the bit carefully.
- Unplug your drill before starting.
- Check for dirt or debris in the chuck.
- Apply lubricant and let it soak.
- Use the right tools to grip the bit.
- Be patient and don’t force it.
Continue to work gently until the bit comes free. If the bit is really stuck, consider removing the chuck. Some drills allow this, giving you better access. Follow your drill’s manual for instructions. Once you remove the bit, clean everything well. This helps prevent future issues.
Fun Fact or Stat: The first corded drill was invented in 1917!
Gathering the Right Tools
Before you start, gather your tools. You will need pliers, a rubber mallet, and some lubricant. Having everything ready saves time. If you have a drill bit extractor, keep it handy. Make sure you have a clean workspace too. This helps you focus on the task at hand.
Working Safely with Tools
Safety is very important when working with tools. Always unplug your drill before working on it. Wear safety glasses to protect your eyes. If you are using lubricant, wear gloves. This keeps your hands clean and safe. Never rush through the process. Take your time and be careful. Your safety comes first!
Cleaning Your Drill and Bits
Cleaning your drill and bits can prevent future issues. Make a habit of checking for dirt after each use. Use a soft cloth to wipe down the chuck. A small brush can help remove stuck debris. Regular cleaning keeps everything working smoothly. It can also help avoid the sds plus drill bit stuck in chuck problem.
Common Problems with SDS Plus Bits
SDS Plus drill bits are strong and durable. However, they can still face problems. One common issue is the bit getting stuck. This can happen due to rust, dirt, or incorrect usage. Another issue is breakage under heavy pressure. Always use the right force when using these bits. Understanding these common problems can help you avoid them.
- Sticking due to dirt or rust.
- Breakage from excessive force.
- Incorrect bit size for the chuck.
- Over-tightening the chuck collar.
- Improper use for the task.
By knowing these issues, you can be more aware. Take care when using your SDS Plus bits. Inspect them regularly for signs of wear. If you notice anything unusual, replace them. This will help keep your projects on track and avoid delays.
Fun Fact or Stat: SDS stands for “Slotted Drive System”!
Signs of Wear on Drill Bits
Recognizing signs of wear on drill bits is essential. Look for dull edges or cracks. A dull bit may not perform well. If the bit has visible damage, replace it. You can also check for rust. Rust indicates that the bit may not last long. Regularly inspecting your bits saves time and frustration.
Using the Right Force
Using the right amount of force is crucial. Too much pressure can break the bit. Too little may not get the job done. Find the balance that works for your task. If you feel resistance, stop and check. It might be time to reassess your approach. Taking your time can save a lot of hassle.
Common Mistakes with SDS Plus Bits
Many people make mistakes when using SDS Plus bits. One is not keeping them clean. Dirt can cause sticking. Another mistake is using the wrong drill speed. Always match the speed to your task. Not doing so can lead to breakage. Make sure to follow instructions for the best results.
Summary
Getting your sds plus drill bit stuck in chuck can be really annoying. However, understanding the issue can help. Regular maintenance and cleaning can prevent problems. Always use the right tools and techniques. If the bit does get stuck, follow the steps to remove it safely. Taking these precautions can save you time and frustration in your projects.
Conclusion
In conclusion, dealing with an sds plus drill bit stuck in chuck can be frustrating. However, knowing what to do makes it easier. Always remember to use the right size bits. Regular cleaning and maintenance help prevent issues. If you face a stuck bit, stay calm and follow the steps. You will soon be back to your project!
Frequently Asked Questions
Question No 1: What causes a drill bit to get stuck?
Answer: A drill bit can get stuck due to dirt, rust, or incorrect size. If the chuck is too tight, the bit may also jam. Regular cleaning can help prevent this problem. Always check for issues before starting your project. Keeping your tools in great condition is important.
Question No 2: How can I prevent my SDS Plus bits from getting stuck?
Answer: To prevent an sds plus drill bit stuck in chuck, always use the correct size bits. Clean your drill regularly to avoid dirt buildup. Avoid over-tightening the chuck. Proper care of your tools will save you from headaches later. Always inspect your bits before using them.
Question No 3: What should I do if my drill bit is stuck?
Answer: If your drill bit is stuck, unplug the drill first. Inspect the chuck for dirt or damage. Try applying lubricant and let it sit. Use pliers for a better grip. If it still doesn’t move, consider removing the chuck for better access.
Question No 4: Can I use regular lubricant for my drill?
Answer: Yes, you can use regular lubricant for your drill. Just ensure it’s suitable for metal parts. Apply it carefully to avoid over-saturation. Regular lubrication can help prevent the sds plus drill bit stuck in chuck issue. Always follow the manufacturer’s guidelines for best results.
Question No 5: When should I seek professional help?
Answer: If the bit remains stuck after multiple attempts, consider seeking help. A professional can assess the situation better. It may help you avoid damaging your drill. Also, if your drill shows signs of wear, consult an expert. They can recommend service or replacement options.
Question No 6: How can I ensure my drill bits last longer?
Answer: To ensure your drill bits last longer, clean them regularly. Use the correct size for your chuck to avoid issues. Always store them in a dry place to prevent rust. Avoid applying too much pressure when using them. These tips will help you keep your tools in great shape.
