Got a balcony and a desire to compost? It might seem tricky, but it’s totally doable! Many folks think composting needs a big yard, but you can actually create nutrient-rich soil right from your small outdoor space. This guide breaks down how to do it, making it simple even if you’ve never composted before. No more throwing away food scraps – let’s turn them into garden gold!
Sheet Composting on Your Balcony: A Beginner’s Easy Guide
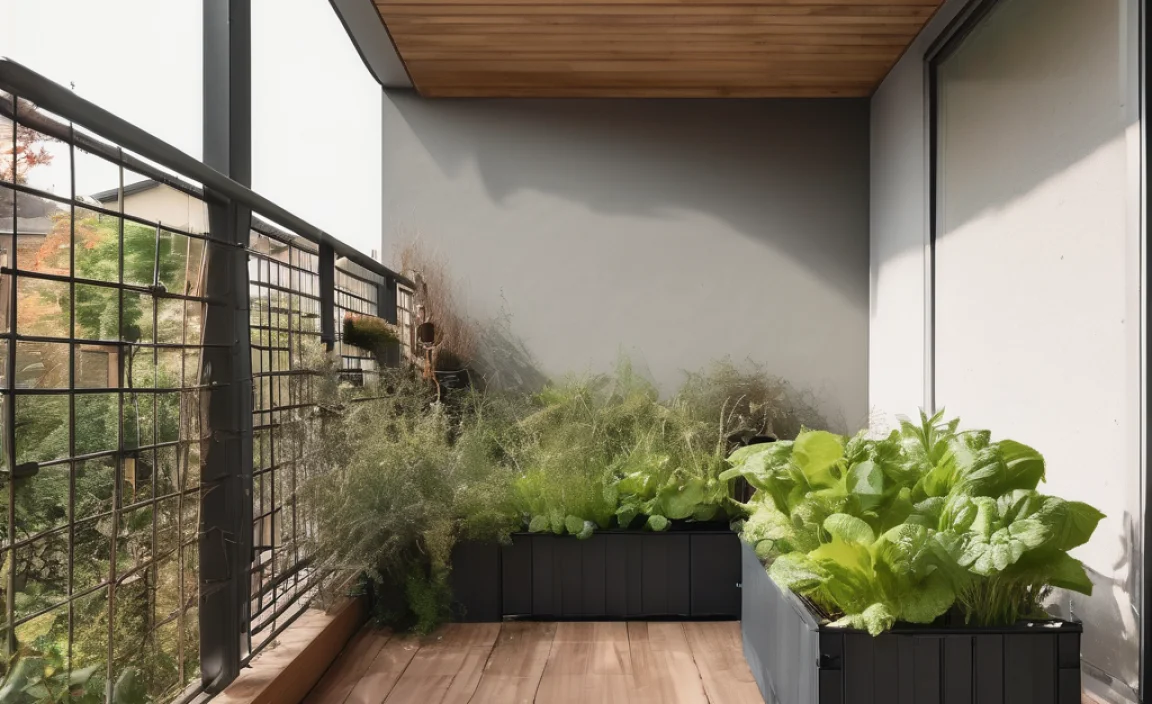
Hey everyone, Troy D Harn here from TopChooser! You know, I get a lot of questions from folks who love the idea of composting but think their small apartment balcony means they’re out of luck. Well, I’m here to tell you that’s just not true! With a little know-how and the right approach, you can absolutely get into sheet composting, even in a compact space.
Sheet composting, sometimes called lasagna composting, is a fantastic way to build healthy soil without the hassle of turning a traditional compost pile. It’s all about layering “greens” and “browns” – think kitchen scraps and dry leaves. It’s like making a healthy soil sandwich! Plus, it’s super rewarding to see your food waste transform into something amazing for your plants.
This guide is designed for you, the beginner. We’ll walk through everything step-by-step, from choosing your bin to adding those layers. We’ll keep it simple, practical, and I’ll show you exactly what you need to get started. Ready to transform your balcony into a composting haven? Let’s dive in!
Why Sheet Compost on a Balcony? The Perks
Before we get our hands dirty (or, well, composty!), let’s talk about why this is such a great idea for balcony dwellers. It’s not just about being eco-friendly, though that’s a big plus! There are some real, tangible benefits:
- Reduces Waste: Think about all those coffee grounds, vegetable peels, and eggshells you toss. Sheet composting gives them a second life and keeps them out of landfills. This is great for reducing your household’s environmental footprint.
- Creates Amazing Soil: Compost is like superfood for plants. It improves soil structure, drainage, and the ability to hold moisture. Your balcony plants, whether herbs, flowers, or small veggies, will thank you with healthier growth and better blooms.
- Saves Money: Buying potting soil and fertilizer can add up. By making your own compost, you’ll significantly cut down on these gardening expenses. It’s a budget-friendly way to keep your plants thriving.
- Odor Control: Many people worry about compost smelling bad. The beauty of sheet composting, when done correctly with the right balance of materials, is that it should smell earthy, not rotten. We’ll cover how to ensure that!
- Space Efficient: Unlike traditional compost bins that can take up a lot of yard space, sheet composting can be done in contained bins that fit perfectly on a balcony.
Understanding the Basics: Greens and Browns
The heart of sheet composting is balancing two main types of ingredients: “greens” and “browns.” Think of them as the yin and yang of your compost mix. Getting this balance right is key to successful composting and avoiding any unpleasant smells.
What are “Greens”?
Greens are your nitrogen-rich materials. They are generally moist and help “heat up” the compost pile, speeding up decomposition. They add essential nitrogen for the microbes doing the hard work.
- Fruit and vegetable scraps (peels, cores, rinds)
- Coffee grounds and tea bags
- Grass clippings (in moderation)
- Plant trimmings (non-diseased)
- Eggshells (crushed)
What are “Browns”?**
Browns are your carbon-rich materials. They are typically dry and provide the energy source for the composting microbes. They also add bulk, allowing air to circulate through the pile.
- Dry leaves
- Shredded newspaper and cardboard (avoid glossy paper)
- Straw or hay
- Pine needles
- Sawdust (from untreated wood)
- Toilet paper or paper towel tubes (shredded)
A good general rule of thumb is to aim for a ratio of about 2 parts browns to 1 part greens by volume. This ensures there’s enough carbon to balance the nitrogen, which helps prevent a slimy, smelly mess and encourages efficient breakdown.
Choosing Your Balcony Composter: What Works Best
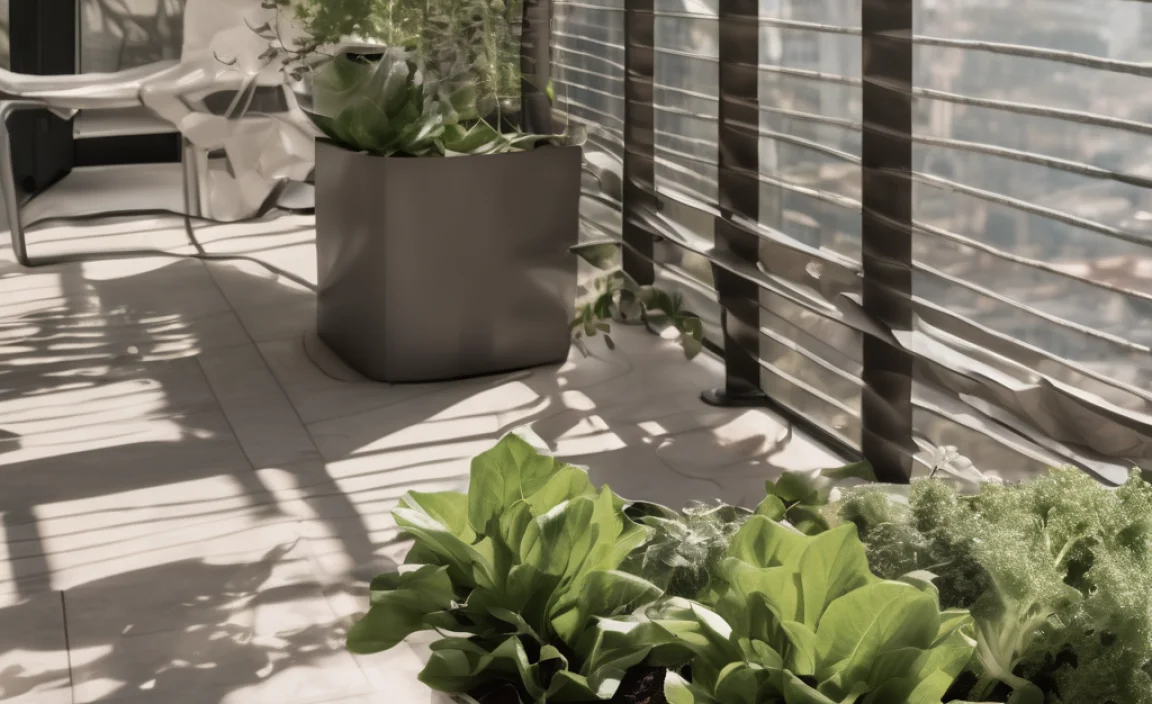
When you’re thinking about sheet composting on a balcony, the type of container you use is super important. You need something that contains the materials, allows for some air circulation, and ideally, doesn’t look like an eyesore. Here are a few great options:
1. The Stacking Compost Bin System
These are fantastic for balconies because they are designed to be compact and tidy. They often consist of multiple trays stacked on top of each other. As one tray fills, you move it to the top, and the compost starts to break down in the lower trays.
- Pros: Neat, contained, good for smaller volumes, often have built-in aeration.
- Cons: Can be more expensive upfront, capacity might be limited.
Many commercial systems are available. Look for ones designed for outdoor use and good ventilation. Some popular brands include Upbeat Daily or other systems designed for apartment living.
2. DIY Wooden Bin with Lid
If you’re a bit handy, you can build a simple wooden bin. Use untreated lumber and create holes or gaps in the sides for airflow. A lid is crucial to keep moisture in and pests out.
- Pros: Customizable size, can be very sturdy, looks natural.
- Cons: Requires DIY skills and tools, wood can degrade over time.
A good size for a balcony might be around 2x2x2 feet. Ensure the wood you use is safe and won’t leach chemicals. You can find plans online from resources like Oregon State University Extension.
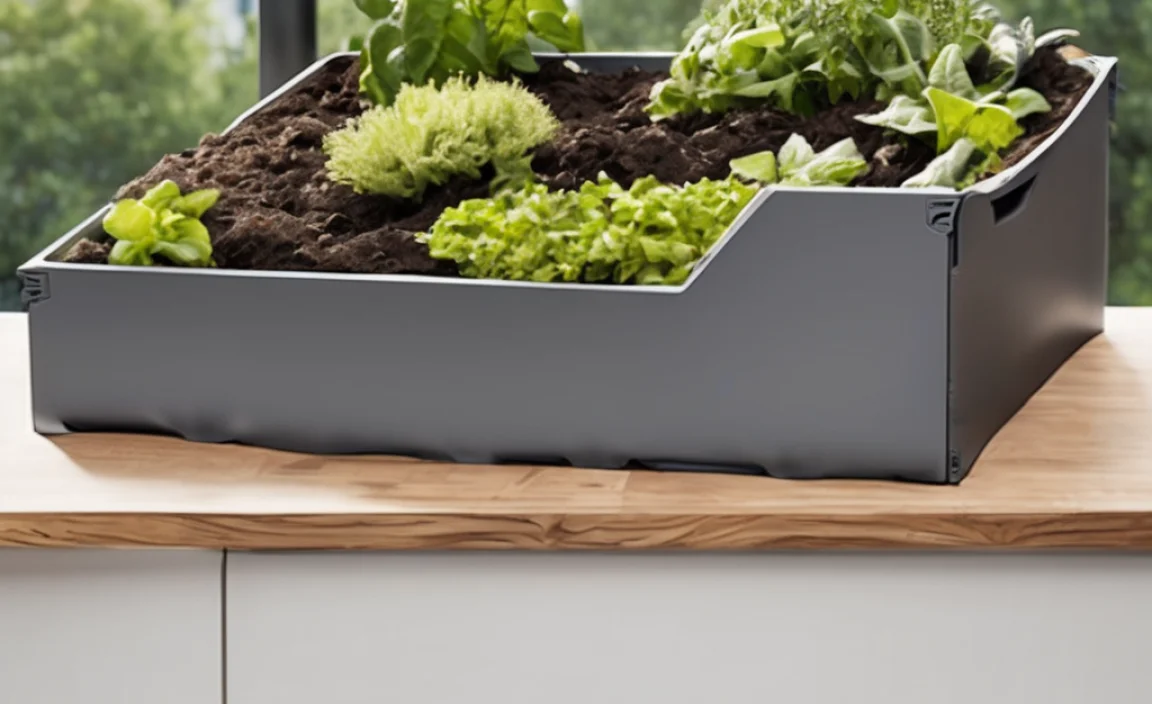
3. Large Plastic Storage Tote (with modifications)
This is often the most budget-friendly option. You can transform a large plastic storage bin into a compost bin with a few simple steps.
- Pros: Very affordable, readily available, lightweight.
- Cons: Needs modification for airflow, plastic can degrade in strong sun, can get too wet if not managed well.
How to modify a plastic tote:
- Drill Holes: You’ll need to drill numerous holes (about ¼ to ½ inch diameter) all over the sides and bottom of the tote for aeration and drainage. Do this before you add any compost materials.
- Add a Lid: Make sure the lid fits snugly but also has some holes drilled in it for air.
- Elevate: Place the bin on a couple of bricks or blocks to ensure water can drain out freely and air can get underneath.
Crucial Note: Ensure your building or landlord allows composting. Some may have rules about what you can have on your balcony. It’s always best to check first!
What NOT to Compost

Just as important as knowing what to add is knowing what to leave out. Some items can attract pests, create foul odors, or introduce pathogens that you don’t want near your home.
- Meat, fish, and dairy products: These can attract pests (rats, flies) and create strong, unpleasant odors.
- Oily or greasy foods: Similar to dairy, these can slow down decomposition and smell bad.
- Diseased plants: You don’t want to spread plant diseases to your healthy garden.
- Weeds that have gone to seed: The seeds might survive the composting process and sprout in your garden.
- Pet waste (dog or cat feces): These can contain harmful pathogens.
- Chemically treated wood or yard waste: Avoid anything that has been sprayed with pesticides or herbicides you’re not comfortable with.
- Coal or charcoal ash: Can contain harmful substances. Wood ash is okay in small amounts.
Getting Started: Setting Up Your Balcony Compost Bin
Alright, you’ve chosen your bin, you know your greens and browns, and you know what to avoid. Now let’s get this composting party started!
Step 1: Prepare Your Bin
If you’re using a DIY bin or modifying a plastic tote, make sure all your holes for air and drainage are drilled. If you’re using a store-bought bin system, assemble it according to the instructions. Place a layer of coarse material like small twigs or wood chips at the very bottom to help with drainage and aeration. This creates a good base.
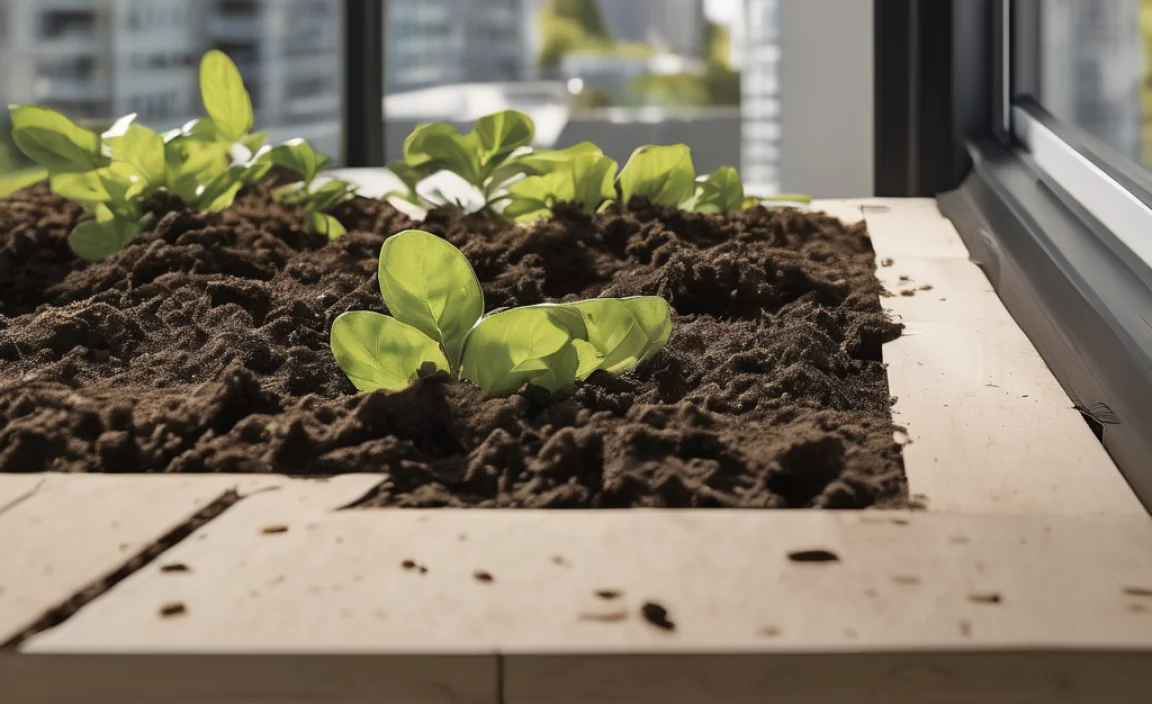
Step 2: Add Your First Layer (Browns!)
Start with a good layer of “browns.” This could be shredded newspaper, dry leaves, or straw. Aim for about 4-6 inches of browns. This creates an airy foundation.
Step 3: Add Your First Layer (Greens)
Now, add a few inches of your “green” materials on top of the browns. This will be your kitchen scraps. Bury them slightly within the green layer to help reduce any immediate odors and deter pests.
Step 4: Cover with More Browns
Crucially, always cover your green layer with another layer of browns. This is your “sheet” in sheet composting. This layer acts as a lid, trapping moisture and heat while preventing smells and pests from being attracted to the fresh food scraps. Aim for a layer about 2-4 inches thick.
Step 5: Keep Adding Layers
Continue adding layers of greens and browns as you generate them from your kitchen and balcony. Remember the golden rule: always end with a layer of browns covering the greens. The size of your layers doesn’t have to be exact, but strive for a good balance.
Pro Tip: Chop up larger food scraps (like melon rinds or broccoli stalks) into smaller pieces. This speeds up the decomposition process significantly.
Maintaining Your Balcony Compost
Sheet composting on a balcony is relatively hands-off, but a little attention will go a long way. Here’s what to keep an eye on:
Moisture Levels
Your compost should be moist, like a wrung-out sponge. Not soggy, and not bone dry.
- Too Dry? If it feels dry, add a bit of water. You can use a watering can or a spray bottle. Be sure to mix it in thoroughly, especially the brown layers.
- Too Wet? If it’s too wet and starting to smell sour, add more dry brown materials (shredded cardboard or leaves) and turn it a bit to help it dry out and aerate. A common culprit for a balcony bin being too wet is inadequate drainage or too many watery greens without enough browns.
Aeration
While sheet composting is less about active turning than traditional methods, some airflow is still important. Stacking bins usually have built-in vents. For DIY bins or totes, ensure the holes are not blocked. You can occasionally poke the compost gently with a stick or use a aeration tool to help air circulate, especially if you notice it’s getting too compacted or wet.
If you have a DIY bin, you can stir the layers every few weeks. For plastic totes, you might simply “turn” or mix the contents. This doesn’t have to be rigorous; just a gentle mix.
Patience and Observation
Composting is a natural process, and it takes time. Depending on the size of your bin, the materials you use, and the weather, it can take anywhere from a few months to a year to get finished compost. Keep adding materials and maintaining the balance, and trust the process. You’ll start to see materials breaking down, temperature changes (warmer is good!), and eventually, rich, dark compost.
When is Compost Ready?
You’ll know your compost is ready when it:
- Looks dark and crumbly, like rich soil.
- Smells earthy and pleasant (like a forest floor after rain).
- The original materials are no longer recognizable.
- The temperature has cooled down to ambient temperature.
To harvest, you can remove the finished compost from the bottom tray of a stacking system, or carefully empty your DIY bin and sift out the finished compost. Any larger un-composted pieces can be returned to the bin to continue breaking down.
Balcony Composting Materials: Pros and Cons Table
To help you quickly decide what to add, here’s a handy table:
| Material Type | Good for Compost? | Why or Why Not | Balcony Considerations |
|---|---|---|---|
| Fruit & Veggie Scraps | Yes (Greens) | Rich in nitrogen, break down quickly. | Chop small to avoid odors/pests. Always cover well with browns. |
| Coffee Grounds & Filters | Yes (Greens) | Good source of nitrogen. | Add in moderation. Paper filters are usually compostable. |
| Eggshells (crushed) | Yes (Greens) | Add calcium, help balance pH. Break down slowly. | Crush very finely for faster breakdown. |
| Dry Leaves | Yes (Browns) | Excellent carbon source, add bulk and aeration. | Can be collected easily in fall. Best if already somewhat dry. |
| Shredded Newspaper/Cardboard | Yes (Browns) | Good carbon source, absorbs excess moisture. | Avoid glossy inks. Shredding is key. Excellent for covering greens. |
| Grass Clippings | Yes (Greens) | High nitrogen, but can compact and get slimy. | Use sparingly, mix well with browns, and allow them to dry slightly before adding. Avoid if treated with herbicides. |
| Meat, Dairy, Oily Foods | No | Attract pests, create foul odors, slow decomposition. | Definitely avoid on a balcony where smell and pests are more of a concern. |
| Diseased Plants | No | Can spread pathogens. | Best to dispose of these separately. |
| Pet Waste | No | Potential for harmful pathogens. | Bag and trash it. |
Troubleshooting Common Balcony Composting Issues
Even the best plans can hit a snag. Here are some common problems you might encounter on your balcony and how to fix them:
Problem: My compost smells bad (like rotten eggs or ammonia).
Cause: Usually too many “greens” (nitrogen) or the pile is too wet, leading to anaerobic (without oxygen) conditions. Ammonia smell means too much nitrogen.
Solution: Add more “brown” materials like shredded newspaper, dry leaves, or shredded cardboard. Gently turn or aerate the pile to introduce oxygen. Make sure drainage is good and you’re not waterlogging the bin.
Problem: My compost is attracting flies or other pests.
Cause: Exposed food scraps or the wrong type of materials being added.
Solution: Make sure every layer of food scraps (“greens”) is completely covered with a thick layer of “brown” materials. Avoid meat, dairy, and oily foods altogether. Ensure your bin has a secure lid or is well-contained.
Problem: Nothing seems to be happening; decomposition is too slow.
Cause: The compost might be too dry, too cold, or lack enough “greens” for the microbes’ energy.
Solution: Check moisture levels. If dry, add water and mix. If the weather is cold, compost breaks down slower. Ensure you have a decent balance of greens and browns. Chopping materials smaller can also speed things up. If the pile is too small, it may not generate enough heat. Look up the EPA’s composting basics for more on what microbes need.
Problem: My compost is soaking wet and slimy.
Cause: Too much moisture, usually from too many wet greens or insufficient drainage. Happens often in humid climates or if the bin is overwatered.
Solution: Add a generous amount of dry browns to absorb the excess moisture. Ensure drainage holes are clear. If you have a stacking system,

I am passionate about home engineering. I specialize in designing, installing, and maintaining heating, ventilation, and air conditioning systems. My goal is to help people stay comfortable in their homes all year long.