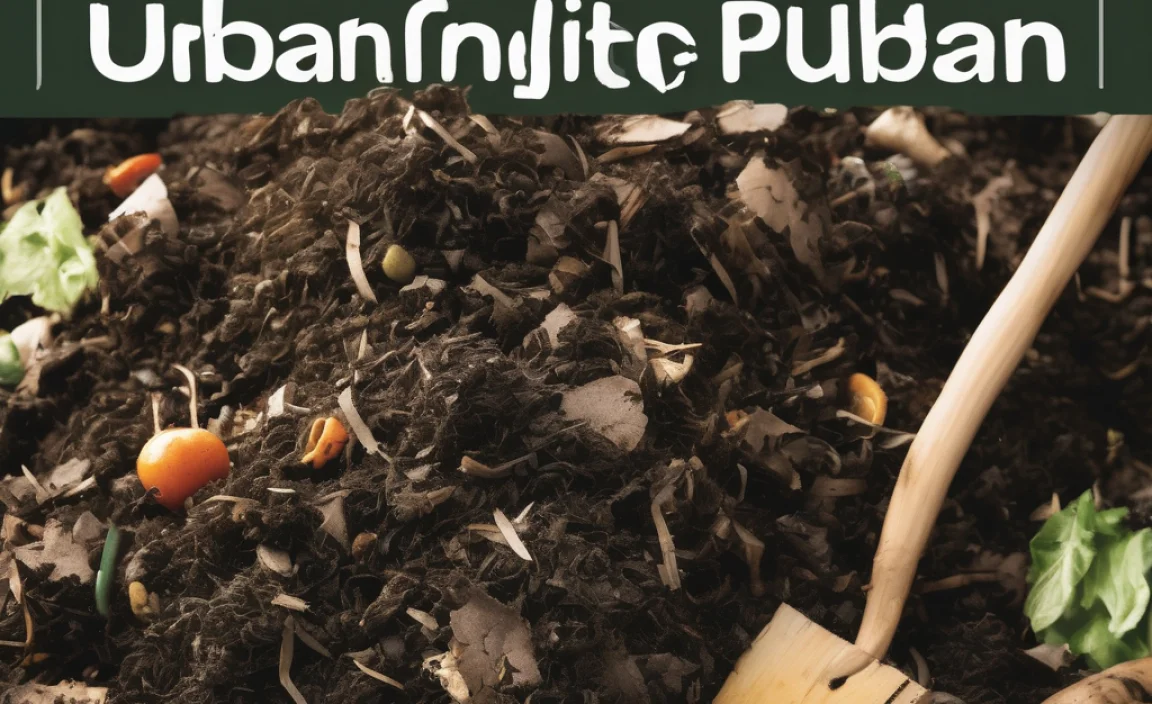
Hey there, DIY enthusiasts and garden lovers! Troy D Harn here from TopChooser. Ever feel like your kitchen scraps and yard waste have nowhere to go but the trash bin? It’s a bummer, right? But what if I told you there’s a super simple, incredibly affordable way to turn that “waste” into black gold for your garden? That’s right, we’re talking about static pile composting. It sounds fancy, but it’s really just letting nature do most of the heavy lifting. Stick around, and I’ll walk you through the easiest, most budget-friendly way to get started. You’ll be amazed at how simple it is!
Static Pile Composting: Your Affordable Path to Garden Gold
Composting can seem like a big, complicated process. You might picture giant tumblers or elaborate bins. But the truth is, some of the most effective composting methods are also the simplest and the cheapest. Static pile composting fits that bill perfectly. It’s a hands-off approach that requires minimal effort and even less money, making it the ideal method for beginners and budget-conscious folks alike. We’re going to break down exactly what it is, why it’s so great, and how you can set up your own effortless composting system.
What Exactly is Static Pile Composting?
Imagine a compost pile that just… sits there. That’s pretty much static pile composting in a nutshell! Unlike methods where you actively turn or mix your compost regularly, a static pile is built and then left to decompose over a longer period. Microorganisms and natural processes do the work for you. It’s all about layering the right materials and letting time, moisture, and air do their thing. This method is incredibly forgiving, meaning you don’t have to be a composting expert to get fantastic results.
The “static” part just highlights that you’re not actively moving or aerating the pile once it’s built, which greatly reduces the labor involved. This makes it one of the most affordable and simplest ways to compost at home.
Why Static Pile Composting is the Affordable Best Friend for Your Garden
Let’s talk about why this method truly shines, especially when you’re trying to keep costs down:
- Minimal Equipment Needed: Forget expensive bins or tumblers. You can literally start with just a designated spot in your yard and the materials you’ll be composting.
- Low Effort, High Reward: Once you build the pile, it requires very little attention. You’re not spending hours turning or managing it. The payoff? Rich, nutrient-dense compost for your plants.
- Works with What You Have: Static piles are forgiving and can handle a wide range of organic materials, from kitchen scraps to yard trimmings, reducing your household waste.
- Slow and Steady Wins the Race: While it takes longer for the compost to mature compared to actively managed piles, the process is passive and requires very little of your time.
- Scalable: You can start with a small pile or build a larger one depending on your space and the amount of organic material you generate.
Getting Started: The Simple Steps to Your Affordable Static Pile
Ready to build your own composting powerhouse? It’s easier than you think. We’ll focus on creating a functional pile without spending a dime on fancy gear.
Step 1: Choose Your Location – Smart & Simple
This is crucial, but it doesn’t require a lot of effort. You need a spot that:
- Is Convenient: Close enough to your kitchen and garden so it’s easy to add scraps and retrieve finished compost.
- Has Good Drainage: You don’t want your pile sitting in water. A slightly elevated spot or one that naturally drains well is ideal.
- Receives Some Sun (but not too much): A little sun helps warm the pile, but full, scorching sun all day can dry it out too quickly. Partial shade is often perfect.
- Is Accessible: You need to be able to easily add materials and eventually remove the compost.
- Is Away from Wood Structures: While compost is beneficial, keeping it a few feet away from your home’s wooden siding or fences can prevent potential moisture issues.
For an affordable setup, simply designating an area on the ground is perfectly fine. If you have a bit of space, a minimum size of 3 feet by 3 feet by 3 feet is recommended for the pile to generate enough heat, but even smaller ones will compost, just more slowly.
Step 2: Gather Your “Greens” and “Browns” – The Compost Recipe
Composting relies on a balanced mix of nitrogen-rich materials (greens) and carbon-rich materials (browns). Getting this balance right is key, but don’t stress over perfection. Think of it as a rough guide.
What are “Greens”? (Nitrogen-Rich)
These are generally moist materials that provide the nitrogen that microbes need to multiply and heat up the pile.
- Fruit and vegetable scraps
- Coffee grounds and tea bags
- Grass clippings (in thin layers to avoid matting)
- Plant trimmings (non-diseased)
- Manure from herbivores (cow, horse, chicken) – if you have access!
What are “Browns”? (Carbon-Rich)
These are drier, bulkier materials that provide carbon for energy and help aerate the pile, preventing it from becoming a dense, slimy mess.
- Dried leaves
- Straw or hay
- Shredded newspaper or plain cardboard (rip it up well)
- Small twigs and wood chips (break them down into smaller pieces)
- Sawdust (from untreated wood only)
Tip: Aim for a ratio of roughly 2 to 3 parts browns to 1 part greens by volume. This ratio isn’t an exact science, but it’s a good starting point. If your pile seems to be slowing down, add more greens. If it gets smelly or too wet, add more browns.
Step 3: Layering Your Pile – Building the Foundation
This is where the “static pile” really takes shape. You’ll build it up in alternating layers, like making a giant, organic lasagna.
- Start with a Base Layer of Browns: Lay down a 4-6 inch layer of coarse brown materials like twigs, straw, or shredded cardboard. This helps with drainage and airflow from the bottom.
- Add a Layer of Greens: Next, add a 2-4 inch layer of your kitchen scraps, grass clippings, or other green materials.
- Add Another Layer of Browns: Cover the greens with another 4-6 inch layer of brown materials. This helps to “hold in” the moisture and nutrients from the greens and also deters pests.
- Moisten as You Go: Lightly water each layer as you build. You want the materials to be damp like a wrung-out sponge, not soaking wet.
- Repeat: Continue alternating layers of greens and browns until your pile reaches a desired height, ideally at least 3 feet high. The larger the pile, the better it will retain heat, which speeds up decomposition.
- Top it Off: Finish with a layer of brown material to act as a cap. This helps retain moisture and nutrients and discourages flies.
Pro-Tip: If you have access to finished compost or good garden soil, you can sprinkle a thin layer (about an inch) between your green and brown layers. This introduces beneficial microorganisms that kickstart the decomposition process.
Step 4: Patience, Moisture, and Air – The Magic Ingredients
Once your pile is built, your main job is to let it do its thing. Here’s what you need to keep in mind:
- Moisture is Key: Check the moisture level periodically. Stick your hand into the pile. If it feels dry, give it a good watering. If it’s too wet and soggy, add more dry brown material. The ideal moisture level is like a wrung-out sponge. Too much or too little moisture can significantly slow down the composting process.
- Airflow Happens Naturally: The “static” in static pile composting means you aren’t actively turning it. The coarse brown materials you layered in act as channels for air to slowly penetrate the pile. For very large piles, sometimes channels are created, but for a beginner’s affordable pile, this natural airflow is often enough.
- Temperature: A healthy compost pile will heat up in the center (sometimes as high as 130-160°F or 55-70°C). This heat is generated by the microbes breaking down the organic matter and is crucial for killing weed seeds and pathogens. Don’t worry if your pile doesn’t get super hot; it will still compost, just more slowly.
- Time: This is the biggest factor for static piles. Depending on the mix of materials, the size of the pile, and the weather, it can take anywhere from 6 months to 2 years for the compost to fully mature. Be patient!
Step 5: Knowing When Your Compost is Ready
How do you know when your effort has paid off? Your compost is ready when it:
- Looks dark and crumbly, like rich soil.
- Smells earthy and pleasant, not sour or like rotting food.
- No longer resembles the original materials you put in (you shouldn’t see distinct food scraps or leaves).
- The temperature of the pile has cooled down to ambient temperature.
Once ready, you can use a pitchfork or shovel to extract the finished compost from the bottom and sides of the pile. You can screen it through a sieve if you want a finer texture, but it’s often not necessary for home garden use.
Essential (and Affordable) Tools for Static Pile Composting
Remember, the goal is affordable! You likely have many of these items already, or they can be found very cheaply.
What You Absolutely Need:
- Your Hands & Feet: For gathering, layering, and eventually harvesting.
- A Pitchfork or Shovel: For moving materials and extracting finished compost.
- A Water Source: A hose with a spray nozzle is ideal, or even buckets if needed.
Optional, But Helpful (and still affordable):
- Work Gloves: To protect your hands.
- A Sieve or Screen: For finer compost. You can even make one with some hardware cloth and scrap lumber.
- A Garden Cart or Wheelbarrow: For moving larger quantities of materials.
- A Small Bin for Kitchen Scraps: To collect scraps indoors before taking them out. An old ice cream tub or a simple pitcher works wonders.
Notice how no expensive equipment is listed? That’s the beauty of this method!
Comparing Static Piles to Other Composting Methods (Affordability Focus)
Let’s quickly look at how static pile composting stacks up against other methods when your budget is tight.
| Composting Method | Initial Cost | Ongoing Effort | Compost Speed | Affordability Rating (Beginner) |
|---|---|---|---|---|
| Static Pile Composting | Very Low ($0 – $50 for optional tools) | Very Low | Slow (6 months – 2 years) | ★★★★★ |
| Compost Tumbler | High ($100 – $300+) | Medium (requires regular turning) | Medium (3-6 months) | ★☆☆☆☆ |
| Three-Bin System (Wood Construction) | Medium ($50 – $200 for materials) | Medium (requires turning between bins) | Medium (3-6 months) | ★★★☆☆ |
| Aerated Static Pile (ASP) | Medium ($50 – $150 for tubing/fan) | Low (requires monitoring fan) | Medium to Fast (1-3 months) | ★★★☆☆ |
| Worm Composting (Vermicomposting) | Low to Medium ($20 – $100 for bin/worms) | Medium (requires feeding and condition monitoring) | Medium (ongoing, smaller batches) | ★★★★☆ |
As you can see, the static pile truly excels in the ‘affordable’ column. While other methods might produce compost faster, they often come with a significant price tag or require more hands-on involvement, which can be a barrier for many.
Troubleshooting Common Issues with Your Static Pile
Even the simplest methods can encounter a hiccup or two. Here are some common problems and how to fix them without spending money:
-
Smelly Pile: This is usually a sign of too much nitrogen (greens) or not enough air.
Fix: Add more brown materials (dry leaves, shredded cardboard) to absorb excess moisture and improve aeration. Ensure the pile isn’t waterlogged.
-
Pile Isn’t Heating Up: This could be due to a lack of nitrogen, insufficient moisture, or the pile being too small.
Fix: Add more green materials. Check moisture levels and water if dry. If the pile is very small, consider adding more material to increase its volume and mass. A pile needs to be at least 3x3x3 feet to effectively heat up.
-
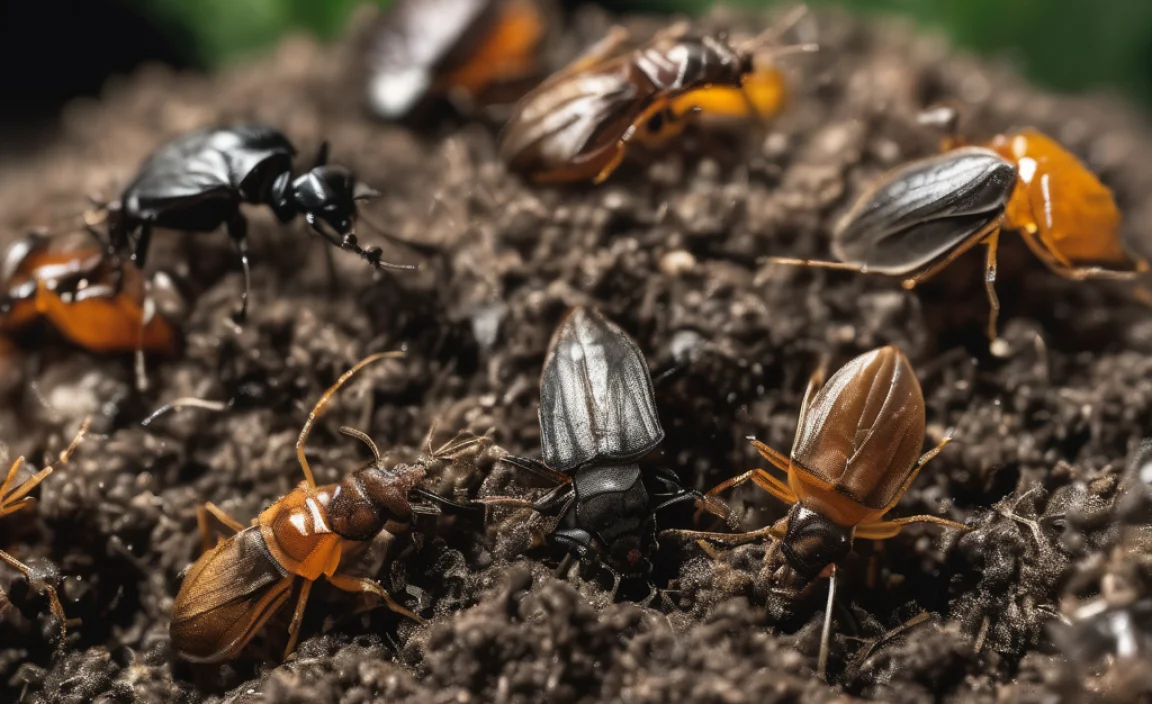
Attracting Pests (Flies, Rodents): This is often caused by exposed kitchen scraps or not enough brown material coverage.
Fix: Always bury fresh kitchen scraps (greens) under a layer of brown material. Ensure the outer layer of your pile is exclusively brown material. Avoid adding meat, dairy, or oily foods, which are more attractive to pests.
-
Pile is Too Dry: Decomposition slows down significantly when materials are too dry.
Fix: Water the pile thoroughly. You can use a hose with a spray nozzle or a watering can. You might need to gently turn the outer layers to help moisture penetrate.
-
Pile is Too Wet and Soggy: This can lead to anaerobic conditions and foul odors.
Fix: Add substantial amounts of dry brown materials (like straw, shredded cardboard, or dried leaves) and turn the pile if possible to help with aeration. Cover the pile temporarily if very heavy rains are expected.
Remember, these fixes primarily involve adjusting your green/brown ratio or moisture levels, using materials you already have or are readily available for free.
The Amazing Benefits of Using Your Homemade Compost
So, you’ve gone through the effort, and you’ve got that dark, crumbly compost. What’s it good for? Loads!
- Improves Soil Structure: Compost loosens heavy clay soils, making them easier to work, and helps sandy soils retain moisture better.
- Adds Essential Nutrients: It acts as a slow-release fertilizer, feeding your plants the nutrients they need to thrive.
- Boosts Plant Health: Healthy soil leads to healthy plants that are more resistant to pests and diseases.
- Increases Water Retention: Compost acts like a sponge, helping your soil hold onto moisture, which can reduce watering needs.
- Reduces Waste: You’re diverting organic materials from landfills, which is great for the environment.
- Saves Money: You’re not buying expensive soil amendments, mulches, or fertilizers.
It’s a win-win-win for your garden, your wallet, and the planet.
Frequently Asked Questions About Static Pile Composting
Q1: How long does it really take for static pile compost to be ready?
A1: Patience is key! Static piles are slow. Depending on your climate, materials, and pile size, it can take anywhere from 6 months to 2 years. The upside is the minimal effort required during that time.
Q2: Can I compost meat, dairy, or oily foods in a static pile?
A2: It’s best to avoid these. While they can be composted in very hot active piles, they’re more likely to attract pests and cause odors in a static pile. Stick to fruits, veggies, yard waste

I am passionate about home engineering. I specialize in designing, installing, and maintaining heating, ventilation, and air conditioning systems. My goal is to help people stay comfortable in their homes all year long.