Ever felt a bit lost when it comes to composting your kitchen scraps and yard waste? You’re not alone! Many home gardeners struggle to find that perfect balance, wondering if they’re adding too much of one thing and not enough of another. It can feel like a puzzle, but I’m here to tell you it doesn’t have to be complicated. Trench composting is a fantastic, low-effort way to feed your soil, and getting the “recipe” right is simpler than you think. Stick with me, and by the end of this guide, you’ll be a trench composting pro, ready to give your garden the nutrients it craves with confidence!
What Exactly is Trench Composting?
Think of trench composting as “in-ground composting.” Instead of building a big pile or using a bin, you dig a trench directly in your garden soil and bury your organic materials. It’s a super convenient method because it’s hidden away, requires minimal effort once dug, and slowly releases nutrients into the soil right where your plants can use them. This process is also sometimes called “compost gardening” or “soil food web composting” because it directly enriches the soil ecosystem.
It’s a fantastic way to get rid of kitchen scraps like vegetable peels, coffee grounds, and eggshells, along with yard waste like leaves and grass clippings. The beauty of trench composting is that it’s a continuous process. As you dig new trenches, you’re essentially feeding your garden over time. This method is particularly great for smaller spaces or for gardeners who prefer a “set it and forget it” approach.
Why the “Ratio” Matters in Trench Composting
Just like baking a cake, the ingredients and their proportions are key to a successful outcome. In composting, especially when burying materials directly, we talk about a “ratio.” This usually refers to the balance between “greens” and “browns.”
- Greens: These are nitrogen-rich materials. Think of them as the “heat” providers for decomposition. Examples include fruit and vegetable scraps, grass clippings, coffee grounds, and tea bags.
- Browns: These are carbon-rich materials. They provide the “bulk” and airflow needed for the composting process. Examples include dry leaves, shredded newspaper, cardboard, straw, and sawdust.
When these materials are buried in a trench, microorganisms and earthworms get to work breaking them down. A good ratio helps ensure this process happens efficiently. Too many greens can lead to a soggy, smelly mess. Too many browns can slow down decomposition significantly. The ideal trench composting ratio aims for a balance that keeps things moist but airy, allowing nature to do its magic without creating unpleasant odors or attracting pests.
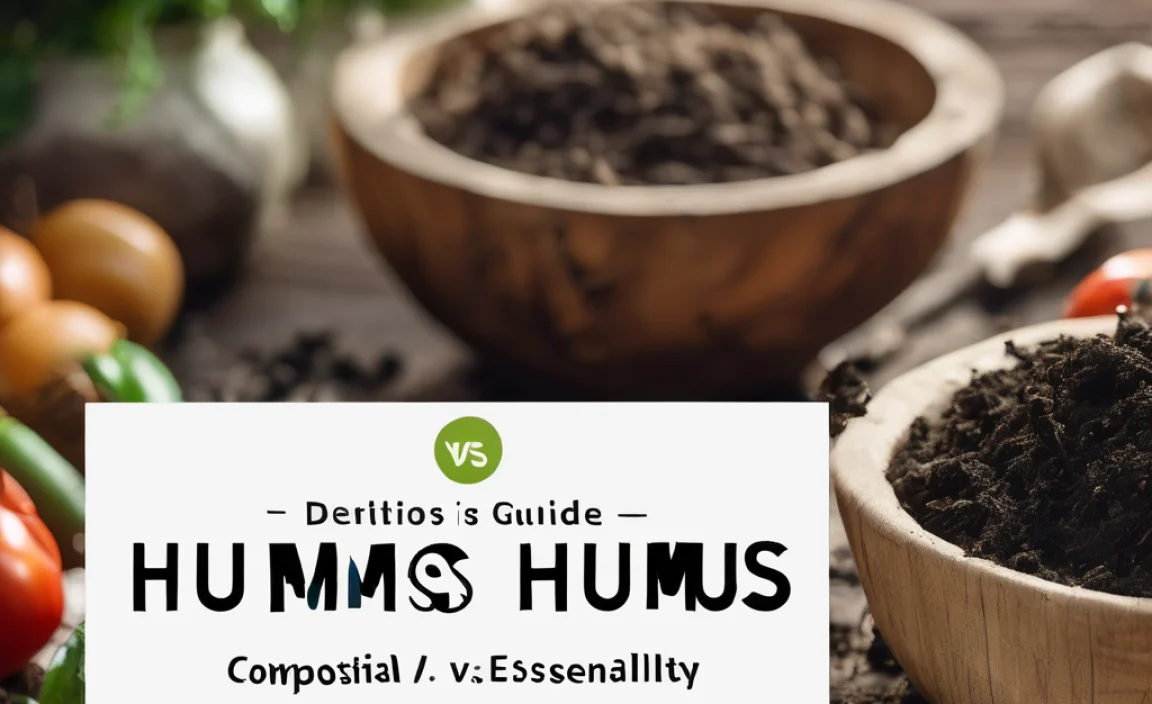
The Ideal Trench Composting Ratio: The “Brown to Green” Sweet Spot
For trench composting, the magic ratio is generally considered to be 2 parts brown materials to 1 part green materials. Let’s break that down in a super simple way:
Imagine you have a bucket for your greens. For every one bucket of greens you collect, you’ll want to add about two buckets of brown materials. This doesn’t have to be measured with cups and spoons; it’s more of a visual guide.
Why this ratio?
- Aeration: The bulkier brown materials create air pockets, which are essential for the aerobic bacteria that break down organic matter quickly and without odor.
- Moisture Balance: Greens are wet and nitrogen-rich, while browns are dry and carbon-rich. This combination helps prevent the trench from becoming too waterlogged or too dry.
- Nutrient Release: A balanced mix ensures that the microorganisms have a steady supply of both carbohydrates (from browns) and proteins (from greens) to fuel their work, leading to a steady release of vital nutrients into your soil.
This 2:1 brown-to-green ratio is a widely accepted guideline in composting to promote healthy decomposition. It’s important to remember that this is a guideline, not a strict rule etched in stone. Nature is forgiving, and slight variations won’t ruin your compost. The goal is to get close enough to ensure good results.
Putting the Trench Composting Ratio into Practice: Step-by-Step
Ready to dig in? Trench composting is remarkably straightforward. Here’s how you can do it, keeping that essential ratio in mind:
Step 1: Choose Your Location
Select a spot in your garden that you plan to plant in later, or an area that could use a nutrient boost. Trenches can be dug between existing plants or in a designated bed. Avoid areas that get waterlogged or are in direct, intense sunlight all day, as this can dry out the compost too quickly.
A good rule of thumb is to choose areas where you plan to plant new trees, shrubs, or perennial flowers in a few months. The nutrients will be ready by then! For annual vegetables, you might want to dig trenches in the seasons before planting to give the compost ample time to break down.
Step 2: Dig Your Trench
Dig a trench that’s about 8-12 inches deep, 12 inches wide, and as long as you need it. The depth is important to bury the materials well, deter pests, and keep moisture levels stable. The width allows for a good mix of materials. You can dig one long trench or several shorter ones.
Using a sturdy garden spade or a trenching shovel makes this job much easier. If your soil is heavy clay, you might need multiple passes or to break up clumps as you go.
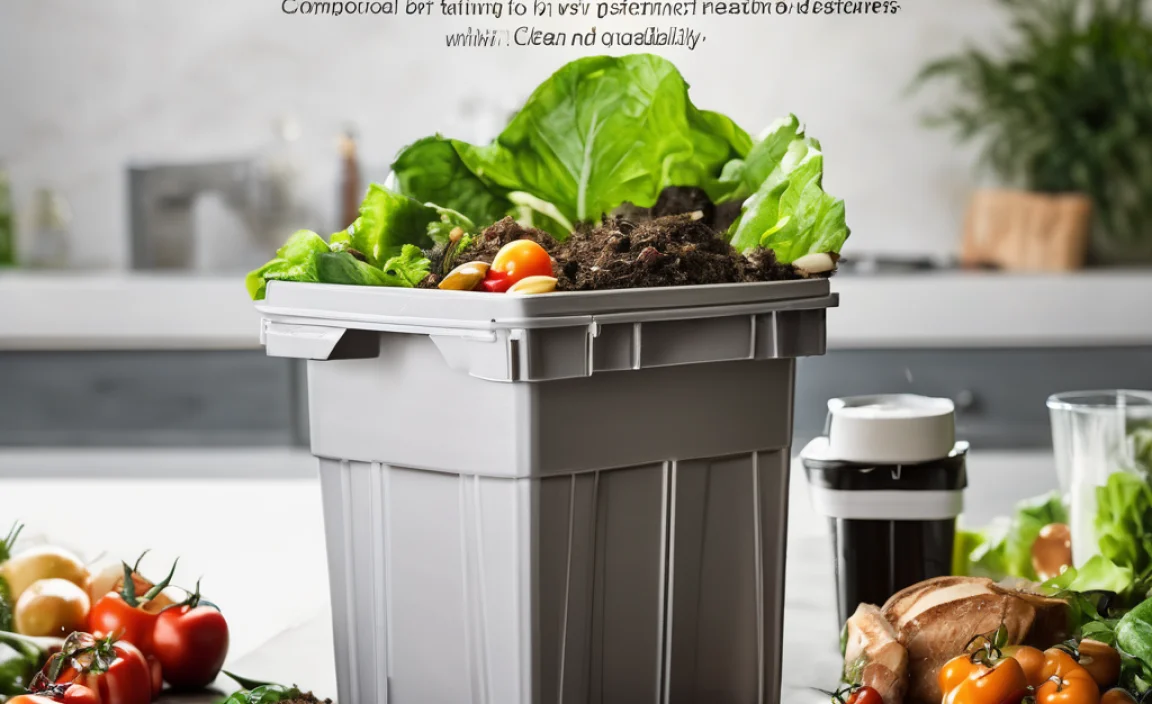
Step 3: Add Your Organic Materials (The Fun Part!)
This is where the ratio comes into play. Start by laying down a layer of your brown materials. Think of this as building a bed for your greens. Shredded leaves, straw, or torn-up cardboard are great for this base layer.
Next, add your green materials. Kitchen scraps (no meat, dairy, or oily foods – these can attract pests and create odors), grass clippings, and coffee grounds are excellent. Spread them evenly over the brown layer.
Now, add another layer of brown materials, ensuring you cover all the green materials. Aim to have roughly twice the volume of browns as greens throughout your trench. For instance, if you added a few inches of kitchen scraps, cover it with 6-8 inches of shredded leaves or newspaper.
Pro Tip: Chop up larger items like banana peels or large vegetable stalks. Smaller pieces break down much faster!
Step 4: Bury It All
Once your trench is layered with browns and greens (following the 2:1 ratio as best you can), use the soil you dug out to cover everything back up. Fill the trench completely, mounding the soil slightly if you like, as it will settle over time. This burying step is crucial for deterring pests and keeping odors contained.
Step 5: Let Nature Do Its Work
That’s it! Your trench is now a composting powerhouse. Over the next few weeks and months, the hardworking microorganisms and beneficial soil dwellers will break down the buried materials, enriching your soil with essential nutrients and improving its structure. The compost will be ready to plant into or around once it has largely decomposed, usually within 3-6 months, depending on the materials used and your soil conditions.
You can then dig new trenches in different areas of your garden as you generate more organic waste, creating a continuous cycle of soil improvement.
What Materials Fit Where? A Quick Guide
Understanding what goes into your “greens” and “browns” pile is key to mastering the trench composting ratio. Here’s a handy breakdown:
Greens (Nitrogen-Rich)
- Fruit and vegetable scraps
- Coffee grounds and filters
- Tea bags (remove staples)
- Grass clippings (use in thin layers to avoid matting)
- Plant trimmings (non-diseased)
- Weeds (before they go to seed)
- Eggshells
Browns (Carbon-Rich)
- Dry leaves
- Shredded newspaper (avoid glossy pages)
- Shredded cardboard (remove tape and labels)
- Straw and hay
- Sawdust and wood shavings (from untreated wood)
- Pine needles
- Small twigs and branches (chopped or shredded)
Remember, the goal is to layer these, predominantly using more browns than greens by volume. A good mix ensures you’re not just adding nitrogen but also the carbon base that helps the whole process hum along efficiently.
The Power of Balance: A Visual Table
To make visualizing the ratio even easier, let’s look at it in terms of common amounts you might collect. This is an approximation, as materials vary in density.
| Green Material Examples | Approximate Volume (e.g., Buckets) | Brown Material Examples | Approximate Volume (e.g., Buckets) |
|---|---|---|---|
| Kitchen Scraps (fruit/veg peelings, coffee grounds) | 1 | Shredded Dry Leaves | 2 |
| Fresh Grass Clippings | Shredded Newspaper/Cardboard | ||
| Weeds (non-seeding) | 1/2 | Straw/Hay | |
| Garden Trimmings (soft, leafy) | 1 | Small Twigs/Wood Chips | 2 |
You can see that for every unit of “green,” you’re aiming for roughly double that amount of “brown.” This helps create the ideal structure within your trench. For example, if you have a small pile of weekly kitchen scraps (about 1 bucket), you’ll want to gather about 2 buckets of dry leaves or shredded cardboard to bury with it. This might seem like a lot of browns, but remember they’re bulkier and help keep the compost aerated and prevent sogginess.
Benefits of Trench Composting with the Right Ratio
Why go through the simple process of digging a trench and layering? The rewards are fantastic for your garden:
- Nutrient-Rich Soil: As materials decompose, they release vital nutrients that your plants will love. This leads to healthier, more vigorous growth.
- Improved Soil Structure: Organic matter improves soil texture, making it more loamy, better at retaining moisture, and improving drainage. This is especially beneficial for clay or sandy soils.
- Reduced Waste: It’s a brilliant way to divert kitchen scraps and yard waste from landfills, making your home more eco-friendly.
- Natural Fertilization: You’re creating a slow-release fertilizer right in your garden beds, meaning less need for store-bought options.
- Pest Deterrence: Burying food scraps properly helps prevent them from attracting rodents or other unwanted critters.
- Hidden Beauty: Your compost is out of sight, keeping your garden looking tidy.
- Supports Soil Life: The process encourages beneficial microorganisms, earthworms, and other helpful soil dwellers that are essential for a healthy ecosystem. As noted by the USDA Natural Resources Conservation Service, healthy soil biology is the foundation of successful gardening.
Troubleshooting Common Trench Composting Issues
Even with the best intentions and the right ratio, sometimes things don’t go perfectly. Here are a few common issues and how to fix them:
- Problem: The trench smells bad (like rotten eggs or ammonia).Cause: Too many greens (too much nitrogen) and not enough airflow. The materials are becoming anaerobic (rotting instead of composting).
Solution: Dig up the trench and add a generous amount of brown materials. Mix them in thoroughly to introduce air. Ensure you bury it all well. Next time, try to stick closer to the 2:1 brown-to-green ratio.
- Problem: Decomposition is very slow, or nothing seems to be happening.Cause: Too many browns, not enough moisture, or the materials are too large.
Solution: If you suspect too many browns, you can try adding a bit more green material. If it seems too dry, you can lightly water the trench before burying. Chop or shred larger materials like twigs or tough stalks to speed up the breakdown.
- Problem: Pests (like flies or rodents) are attracted to the trench.Cause: Food scraps are too close to the surface, or the wrong types of food were included (meat, dairy, oily foods).
Solution: Ensure all food scraps are buried at least 8 inches deep and completely covered with soil and/or brown materials. Avoid adding meat, bones, dairy, or oily liquids to your trench compost. Stick to plant-based kitchen scraps.
Remember, compost is a living system. Observing what’s happening and making small adjustments based on these common issues will quickly make you a composting expert.
When Can You Plant in a Trench Compost Zone?
This is a great question, and the answer depends on your goals and how quickly you want to plant. Trench composting is a slow-release method. The buried materials will take time to break down into usable nutrients and improve soil structure.
- For Immediate Planting (or Soon After): If you dig your trench and bury materials shortly before planting, the decomposition will still be ongoing. This is fine for plants that can tolerate slightly less composted material, like many trees and shrubs, or if you plant a cover crop first. The ongoing decomposition will add nutrients as the plants grow.
- For Optimal “Finished” Compost: Ideally, you want to dig your trenches and fill them 3-6 months before you plan to plant annual vegetables or sensitive plants. This allows ample time for the bulk of the material to break down into a rich humus. The soil in the trench will be darker, crumbly, and smell earthy.
Check the trench periodically. When the original materials are no longer recognizable and the soil has a uniform, dark, crumbly texture, it’s ready to be fully incorporated into your planting bed or planted directly into.
Frequently Asked Questions About Trench Composting Ratios
Q1: Is the 2:1 brown-to-green ratio exactly the same for all composting methods?
A1: Not exactly. While the 2:1 ratio is excellent for trench composting because it balances nutrients while ensuring good airflow and moisture in a confined space, other methods like hot composting piles might use slightly different variations (often closer to 3:1 or 4:1 browns to greens) to maximize heat generation. For simple backyard piles or bins, a 2:1 to 3:1 ratio is generally a good starting point.
Q2: What if I don’t have many brown C materials available? Can I still trench compost?
A2: You can, but you might encounter issues like odor and slow decomposition. If you’re short on browns, try to get creative! Shredded office paper, small amounts of sawdust from untreated wood, or even finely chopped twigs can help. In a pinch, you can also use less green material and dig more frequent, smaller trenches.
Q3: Can I just throw anything from my kitchen into the trench?
A3: It’s best to stick to plant-based kitchen scraps. Avoid meat, bones, dairy products, fats, and oily foods. These can attract pests, create foul odors, and may not break down efficiently, potentially introducing pathogens. For a successful and pleasant trench composting experience, stick to fruits, vegetables, coffee grounds, and tea bags.
Q4: How deep should the trench be to keep pests away?
A4: A depth of at least 8-12 inches (20-30 cm) is recommended for trench composting. Burying the organic materials this deep, and ensuring they are fully covered with soil and/or brown materials, acts as a physical barrier and a scent deterrent, significantly reducing the chances of attracting unwanted pests like rodents.
Q5: My trench seems to be staying very wet. What should I do?
A5: A perpetually wet trench usually indicates too much green (nitrogen-rich, wet) material compared to brown (carbon-rich, dry) material, or poor drainage in the location you chose. To fix it, try digging it up, adding a substantial amount of dry brown materials like shredded cardboard or dry leaves, and mix them in well. Also, ensure the area has some natural drainage and isn’t a low-lying spot where water collects.
Q6: How do I know when the compost in the trench is ready?
A6: The compost in the trench is ready when the original organic materials are no longer recognizable. The soil should look and feel like dark, crumbly

I am passionate about home engineering. I specialize in designing, installing, and maintaining heating, ventilation, and air conditioning systems. My goal is to help people stay comfortable in their homes all year long.