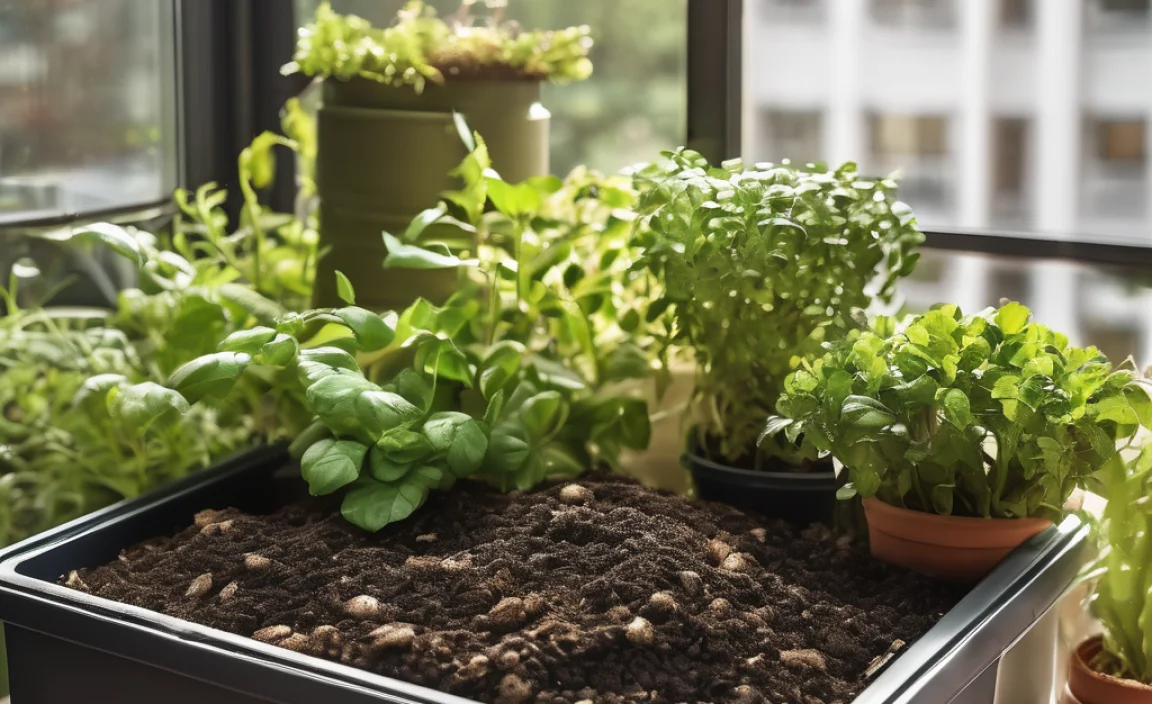
Got a balcony and a green thumb (or a wish for one)? Want to grow some veggies or herbs but think you don’t have enough space? Well, I’ve got a neat trick that turns kitchen scraps into garden gold, right in your small outdoor spot! Don’t worry if you’re new to this; we’ll go through it step-by-step. Get ready to make your balcony a mini-farm!
Vermicomposting on Your Balcony: Genius Effortless Gardening
Hey neighbors! Troy D Harn here from TopChooser. You know, sometimes the best gardening happens where you least expect it. Many of us dream of fresh herbs and tomatoes, but a tiny apartment balcony can feel like a roadblock. But what if I told you that your kitchen scraps and a few special worms could create amazing fertilizer for your plants, all in a compact space? That’s the magic of balcony vermicomposting! It might sound a bit technical, but trust me, it’s simpler than you think, and incredibly rewarding. We’re talking about turning your trash into treasure for your plants. Ready to get your hands (a little bit) dirty and create some garden magic? Let’s dive in!
Why Vermicomposting is a Balcony Gardener’s Best Friend
So, why vermicomposting? Isn’t that just worm farming? Yes, but it’s more! It’s a way to recycle organic waste, reduce landfill contributions, and create one of the richest soil amendments known to gardeners: worm castings. For balcony dwellers, it’s a game-changer.
- Space-Saving: A well-managed worm bin takes up minimal space. Think a small tote and some stacked pots – perfect for a balcony.
- Odor-Free: When done correctly, vermicomposting doesn’t smell bad. In fact, it smells earthy!
- Nutrient-Rich Fertilizer: Worm castings are packed with essential nutrients that boost plant growth, improve soil structure, and increase water retention.
- Waste Reduction: You’re diverting food scraps from the garbage bin, making you a little greener.
- Educational and Fun: It’s a fascinating process to watch, and great for teaching kids (or yourself!) about decomposition and the food cycle.
It’s like having a tiny, super-efficient recycling plant running on your balcony, producing the best fertilizer money can’t buy. Whether you’re growing a few basil plants or a small tomato vine, vermicomposting can give them the boost they need.
The Super Simple Setup: What You’ll Need
Getting started with balcony vermicomposting is surprisingly straightforward. You don’t need a huge garden shed or fancy equipment. We’re aiming for practical and budget-friendly here.
Your Worm Bin: The Cozy Home for Your Wigglers
You have a few good options for your worm bin, depending on your budget and DIY spirit. The goal is a container that keeps the worms safe, retains moisture, and allows for some airflow.
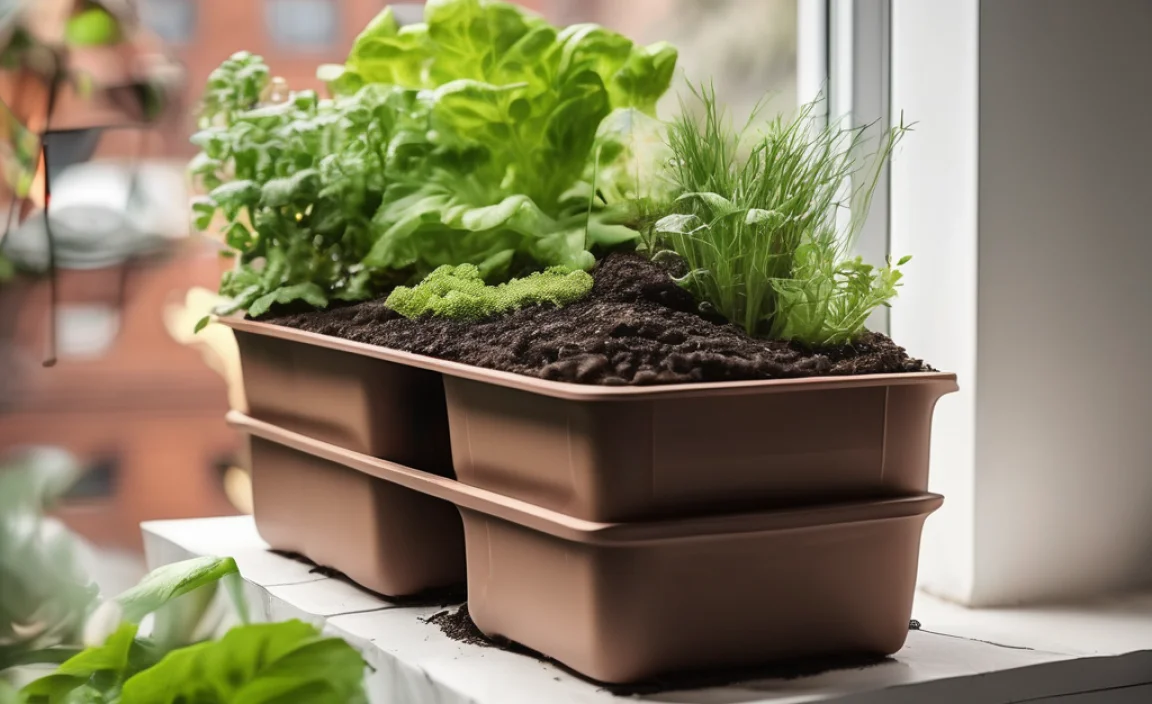
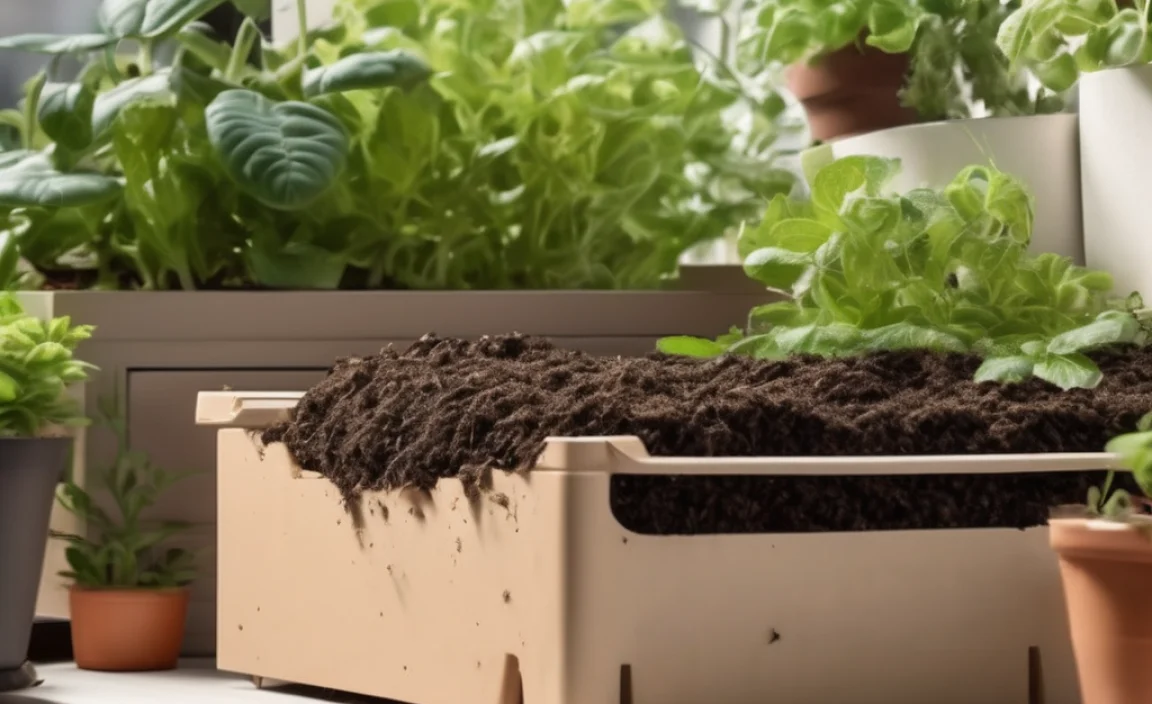
- Plastic Storage Totes: These are popular for a reason! They’re affordable, readily available, and easy to modify. Three layers are ideal: a bottom bin to catch any liquid (worm tea), a middle bin with holes for the worms to migrate up, and a top bin where you add food.
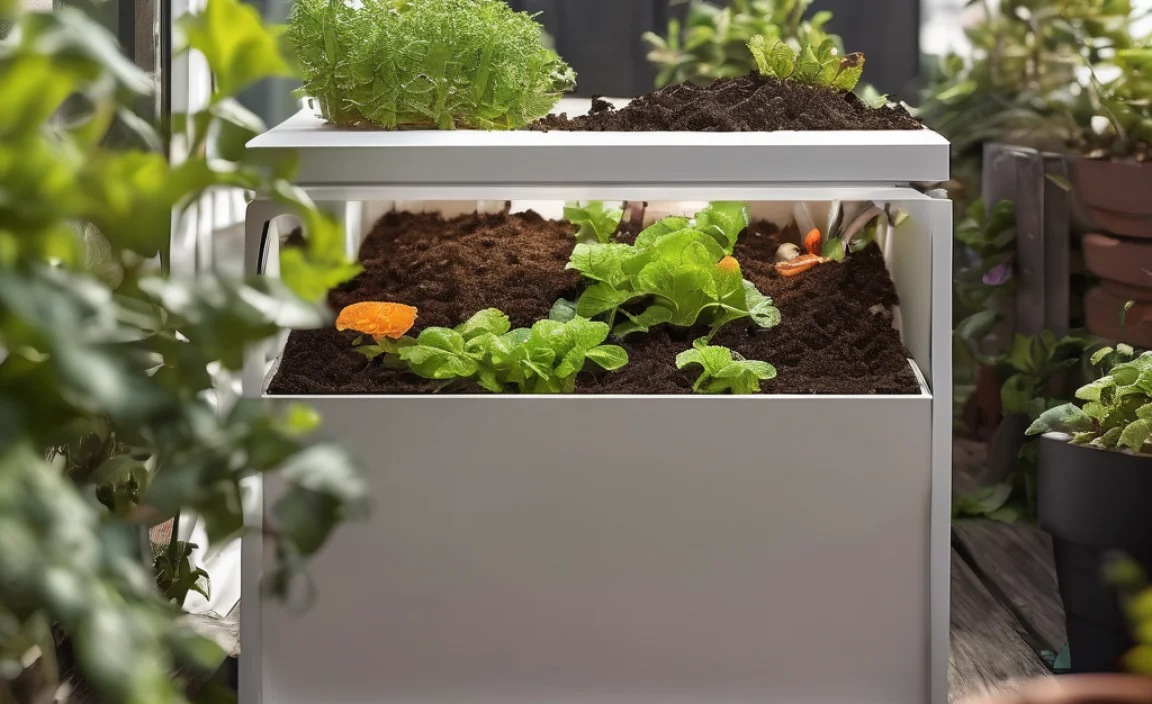
- Commercial Worm Composting Bins: If you prefer a ready-made solution, there are many excellent stacked systems available online. They often come with built-in drainage and migration features.
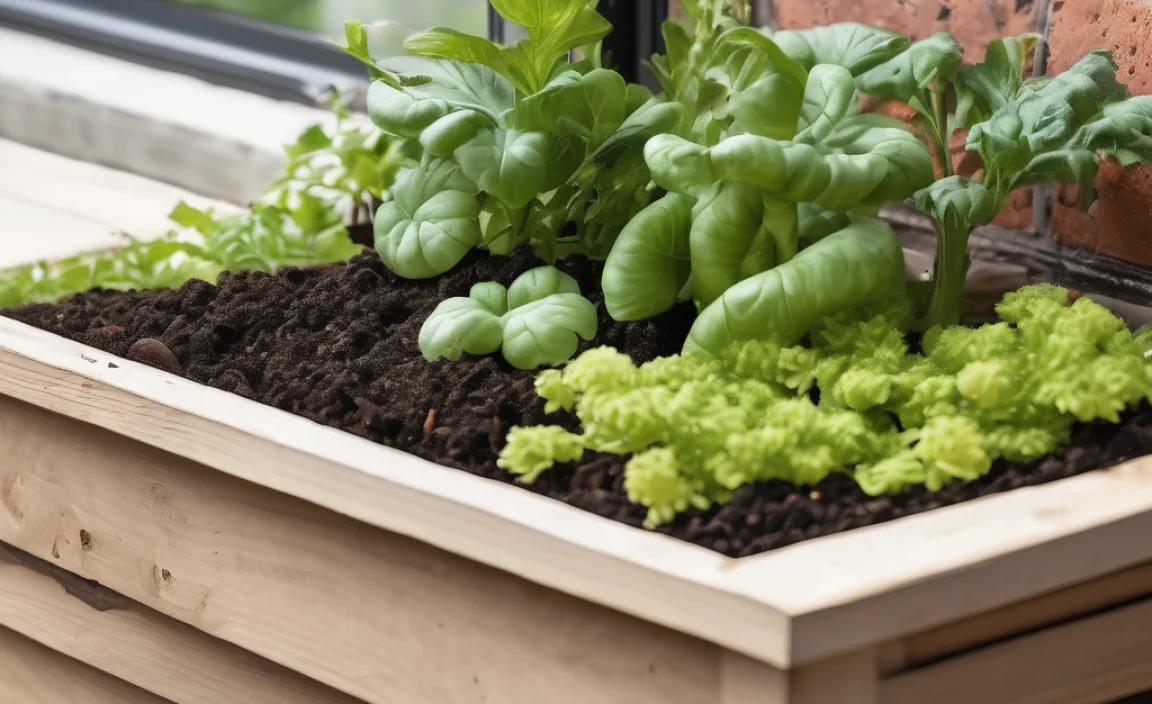
- Wooden Bins: These can add a more natural aesthetic if that’s your style, but they might require more maintenance to prevent rot, especially in damp environments.
For a balcony, a stacked plastic tote system is often the most practical and easiest to manage. You can find instructions on how to drill holes and set up a DIY bin easily online, like on the Environmental Protection Agency (EPA) website, which offers great composting basics.
Bedding: The Worms’ Fluffy Bed
Worms don’t just live in dirt; they need a cozy, moist environment to thrive. This is called bedding.
- Shredded Newspaper: Black and white print only! Avoid glossy paper or colored inks.
- Cardboard: Corrugated cardboard, torn into small pieces, works well.
- Coconut Coir: This is a popular, sterile option that holds moisture well.
- Peat Moss: Another good moisture retainer, but some prefer coir for its sustainability.
You’ll want to soak your bedding material until it’s damp, like a wrung-out sponge, and then fluff it up before adding it to your bin. A good starting amount is about 4-6 inches deep.
The Stars of the Show: The Worms!
Not all worms are created equal when it comes to vermicomposting. You need specific types that are efficient composters. The most common and best performers are:
- Red Wigglers (Eisenia fetida): These are the champions of worm composting. They reproduce quickly and eat a lot!
- European Nightcrawlers (Eisenia hortensis): Also good choosers, and can handle slightly cooler temperatures.
You can typically buy composting worms online from specialized suppliers. Start with about 1 pound (or roughly 1000 worms) for a standard tote bin. They might seem like few, but they’ll multiply!
Food Scraps: What Your Worms Love to Eat
This is the fun part! Your worms are fantastic at turning kitchen waste into valuable fertilizer. However, they are picky eaters to some extent. Stick to these:
- Fruit and vegetable scraps (peels, cores, rinds)
- Coffee grounds and filters
- Tea bags (remove staples if metal)
- Eggshells (crushed)
- Plain, cooked pasta and rice (in moderation)
- Crushed paper and cardboard (this is also bedding!)
Things to avoid:
- Meat, fish, or dairy products (attract pests, smell bad)
- Oily or greasy foods
- Spicy foods
- Citrus peels (in large quantities, can make the bin acidic)
- Diseased plants
- Pet waste
Always chop up your food scraps into smaller pieces. This helps the worms and micro-organisms break them down faster.
| Worm Bin Components | Description | Why It’s Important |
|---|---|---|
| Container | Plastic tote, commercial bin, or wooden box | Houses the worms and bedding, contains the compost process. Needs airflow and drainage. |
| Bedding | Shredded newspaper, cardboard, coir, peat moss | Provides a moist, habitable environment for worms. |
| Composting Worms | Red Wigglers or European Nightcrawlers | These are the specialized worms that do the actual composting. |
| Food Scraps | Fruit/veg scraps, coffee grounds, tea bags, eggshells | The food source for your worms, turned into nutrient-rich castings. |
| Water | Used to moisten bedding | Maintains the essential moisture level for worm survival. |
Step-by-Step: Setting Up Your Balcony Worm Farm
Alright, let’s get this worm farm ready for action! Follow these simple steps, and you’ll be well on your way to balcony vermicomposting success.
Step 1: Prepare Your Worm Bin Container
If you’re using a DIY tote system:
- Drill Air Holes: You’ll need small holes (about 1/8 inch) drilled around the sides and lid of your top bin for air circulation. Don’t overdo it; a few on each side are sufficient.
- Drill Migration Holes: In the bottom bin (the one that catches liquid), you don’t need holes. However, in the middle bin (where the worms live), drill a series of larger holes (about 1/4 inch) in the bottom. These allow worms to move between the food bin and the lower bin.
- Prepare for Drainage: Place the bottom collection bin on a stand or blocks so you can easily access any liquid that drains out. Place the middle bin (with migration holes) inside the bottom bin.
If you have a commercial bin, follow the manufacturer’s instructions. They are usually designed for easy assembly.
Step 2: Add the Bedding
- Take your chosen bedding material (shredded newspaper, cardboard, etc.).
- Soak it in water until it’s thoroughly moist but not dripping when squeezed. Think of a wrung-out sponge.
- Fluff up the damp bedding and place it into the top bin of your worm system. Fill it about 4-6 inches deep.
Step 3: Introduce Your Worms
- Gently place your composting worms onto the surface of the bedding.
- Leave the lid off for a short while (an hour or so) to let them explore and settle in. Worms are sensitive to light, so they will burrow down into the bedding.
- Once they’ve burrowed, you can add a small amount of food scraps.
Step 4: Feed Your Worms!
- Start with a small amount of food scraps. Bury them under a layer of bedding or in a small corner. This helps prevent odor and discourages pests.
- For a new bin with a pound of worms, start with about an inch of food scraps every couple of days, giving them time to adjust and reproduce. Only add more food when they’ve eaten the previous batch.
- As the worm population grows and they become more established, you can gradually increase the amount of food you provide.
Step 5: Maintain Moisture and Aeration
- Moisture: The bin should remain moist like a wrung-out sponge. If it’s too dry, mist it lightly with water. If it’s too wet, add more dry bedding to absorb excess moisture.
- Aeration: The holes in your bin should provide enough air circulation. If you’re using a single tote and not a stack system, you might need to gently turn or aerate the bedding every few weeks, but be careful not to disturb the worms too much.
Step 6: Harvesting Your Worm Castings
This is the reward! After a few months, you’ll start seeing dark, crumbly material at the bottom of your bin. These are your worm castings!
There are a few ways to harvest:
- The Tipping Method: Gently dump the contents of your worm bin onto a tarp or plastic sheet under a bright light. Worms dislike light and will burrow down. Scrape off the top layer of castings, then let the worms migrate down before scraping again. Repeat until you’ve collected most of the castings with minimal worms. You can then return the remaining worms and a bit of fresh bedding to your bin.
- The Migration Method: Stop adding food scraps to one side of the bin for a couple of weeks. Then, add fresh bedding and food scraps to the other side. The worms will migrate to the new food source, leaving the castings behind for you to scoop out.
- Bottom Drain Method (for stacked systems): When the bin above is full of castings, worms will migrate down to the next bin with fresh bedding and food, leaving the castings behind.
Your harvested castings can be used immediately. You can also make “worm tea” by soaking castings in water, which is a fantastic liquid fertilizer.
Troubleshooting Common Balcony Vermicomposting Issues
Even with the best intentions, you might run into a snag. Don’t fret! Most problems have simple solutions.
| Problem | Possible Cause | Solution |
|---|---|---|
| Bad Odor | Too much food, too wet, wrong food items (meat/dairy), lack of air. | Reduce feeding, add dry bedding (shredded newspaper/cardboard), bury food scraps, ensure good airflow. Avoid prohibited foods. |
| Fruit Flies or Gnats | Food scraps exposed on the surface, bin is too wet. | Bury food scraps deeply under bedding. Add more dry bedding. You can also try a top layer of shredded cardboard or newspaper. Creating a “moat” with a bit of water around the edge of the bin can deter them. |
| Worms Trying to Escape | Bin is too wet, too dry, too acidic, or lacks air. They’re unhappy campers! | Check moisture levels (should be damp). Add dry bedding if too wet, mist if too dry. Ensure airflow. If acidity is suspected (from too many citrus peels), add crushed eggshells and a bit of plain soil. |
| Sluggish Worms | Temperature too hot or too cold, bin is anaerobic (lacks oxygen). | Move the bin to a more temperate location on your balcony. Gently aerate the bedding. Ensure proper airflow. |
| Lots of Pests (Ants, etc.) | Bin is too wet, exposed food, attractive to pests. | Bury food scraps well. Ensure the bin isn’t sitting directly on the ground, which can attract ants. A little bit of diatomaceous earth around the legs of the bin can deter ants. |
Using Your Worm Castings for Balcony Garden Success
You’ve done it! You’ve created beautiful, nutrient-rich worm castings. Now, let’s put them to work to make your balcony garden flourish.
- Soil Amendment: Mix 10-20% worm castings into your potting soil for new plants or seed starting. This improves drainage, aeration, and provides slow-release nutrients.
- Top Dressing: Sprinkle a layer of castings around the base of existing plants. As you water, the nutrients will be released into the soil.
- Worm Tea Fertilizer: Make a liquid fertilizer by steeping castings in water (aerated is even better with a small aquarium pump, but not essential for beginners). Dilute this “worm tea” with water (about 1:10) and use it to water your plants every few weeks. It’s a fantastic foliar feed too!
- Seed Starting Mix: Worm castings are excellent for seed starting. They provide a gentle, nutrient-rich environment for delicate seedlings.
Your balcony plants will thank you with healthier growth, brighter flowers, and more abundant harvests. It’s the ultimate closed-loop system for your urban garden.
Is Balcony Vermicomposting Right for You?
If you have a balcony, a desire to garden, and a willingness to recycle your kitchen scraps, then absolutely yes! It’s an investment of a little bit of time and very little money that pays off in healthy plants and a reduced environmental footprint. You don’t need a lot of space, and the process is quite forgiving once you get the basics down.
Think about it: you’re reducing waste, creating your own super-fertilizer, and growing healthier plants. It’s a win-win-win. Plus, it’s incredibly satisfying to know you’re contributing to a more sustainable way of living, even from your small balcony patch.
Frequently Asked Questions About Balcony Vermicomposting
Q1: How many worms do I need to start?
A: For a typical 10-gallon tote, starting with about 1 pound (around 1,000 worms) of Red Wigglers or European Nightcrawlers is a good amount. They will reproduce to meet the amount of food you provide.
Q2: How often should I feed my worms?
A: For a new bin, feed sparingly every 2-3 days. Once established, feed when they have consumed the previous meal. This could be every few days to once a week, depending on the worm population and temperature.
Q3: Will my balcony worm bin attract pests like rodents?
A: If managed properly, it shouldn’t. Avoid meat, dairy, and oily foods, which attract pests. Ensure your bin has a secure lid and is not easily accessible to larger animals. For ants, ensure the bin isn’t touching the ground.
Q4: How much space does a worm bin really take up?
A: A standard plastic storage tote is about the size of a small laundry basket, typically around 10-1