Got kitchen scraps piling up? Want to make your garden sing without using harsh chemicals? Vermicomposting, or worm composting, is your answer! It’s a super simple way to turn food waste into amazing fertilizer right in your own home or backyard. And guess what? It’s totally doable here in the Philippines. Let’s get our hands a little dirty and discover how easy it is!
Vermicomposting in Philippines: Your Genius Guide to Wiggly Goodness
Hey green thumbs and aspiring gardeners! Troy D Harn here from TopChooser. If you’ve ever looked at your fruit peels, coffee grounds, and wilted lettuce and thought, “There must be a better way than the trash bin,” then you’re in the right place. Vermicomposting is like magic for your organic waste, transforming it into nutrient-rich “worm castings” that plants absolutely love. It’s eco-friendly, budget-friendly, and surprisingly easy to start, even in our tropical climate here in the Philippines.
Think of it as nature’s ultimate recycling program, powered by some very special, hardworking worms. Forget complicated setups or fancy equipment. We’re going to break down vermicomposting step-by-step, so you can have your own little wiggly composting factory churning out valuable fertilizer in no time. Ready to dig in?
Why Vermicompost in the Philippines?
Our beautiful islands produce a lot of organic waste, and vermicomposting offers a fantastic solution. It helps reduce landfill burden, decreases greenhouse gas emissions from decomposing waste, and provides a sustainable, high-quality fertilizer for our gardens, farms, and even potted plants. Plus, it’s a great way to teach kids about nature and recycling!
Here are some big wins:
- Reduces Waste: Diverts food scraps from landfills.
- Creates Amazing Fertilizer: Worm castings are packed with nutrients, improving soil structure and plant health.
- Environmentally Friendly: A natural way to manage waste and reduce reliance on chemical fertilizers.
- Easy and Clean: When done right, it’s odor-free and manageable.
- Cost-Effective: Saves money on buying fertilizers and reduces your waste disposal fees.
Meet Your Composting Companions: The Red Wigglers
When we talk about vermicomposting, we’re not talking about the earthworms you find in your garden soil. Those guys are great for aerating, but they don’t thrive in a compost bin. For vermicomposting, you need specific types of worms that are excellent munchers of organic matter. The stars of the show are:
- Red Wigglers (Eisenia fetida): These are the most popular choice for composting bins. They are voracious eaters and reproduce quickly in the right conditions. They love to eat decaying organic matter.
- Indian Blue Worms (Perionyx excavatus): Also known as the “blue worm,” this species is very common and thrives in tropical climates like the Philippines. They are often found in large manure piles and are excellent composters.
You can usually find these composting worms at local gardening supply stores, online marketplaces, or from other worm farmers. Make sure you get composting worms, not regular earthworms!
What You Need for Your Worm Bin: The Essentials
Setting up your vermicomposting system is straightforward. You don’t need a huge budget or specialized skills. Here’s what you’ll need:
The Worm Bin Itself
This is where your worms will live and work. You have a few options:
- DIY Bins: The most budget-friendly option! You can repurpose plastic storage containers, old buckets, or wooden crates. The key is that the bin needs to be opaque (worms hate light) and have good ventilation.
- Commercially Made Bins: These are readily available and designed specifically for vermicomposting. They often come with multiple trays, which makes harvesting easier.
For a beginner-friendly DIY bin, a simple plastic storage tote (around 10-20 gallons) is perfect. You’ll need to drill small holes:
- Drainage Holes: In the bottom for excess moisture.
- Ventilation Holes: Around the top edges and the lid to allow airflow.
Make sure the lid fits snugly to keep pests out and moisture in.
Bedding Material
Worms need a cozy place to live and moisture. This is their bedding. Good bedding options include:
- Shredded newspaper (black and white ink only)
- Shredded cardboard
- Coconut coir (bukot) – this is a great, sustainable option widely available in the Philippines!
- Aged compost or finished compost
- Peat moss (use sparingly, as it can be acidic)
You’ll want to moisten the bedding until it’s as damp as a wrung-out sponge before adding it to the bin. It should be fluffy, not soggy.
Your Worms!
As mentioned, get your red wigglers or Indian blue worms. Start with about half a pound to a pound of worms for a 10-20 gallon bin. They’ll multiply!
Food Scraps
These are the goodies your worms will eat. Aim for a diet rich in fruits, vegetables, coffee grounds, tea bags, and crushed eggshells. Avoid meat, dairy, oily foods, and spicy items.
Tools (Optional but Handy)
- A small trowel or hand rake: For fluffing bedding and burying food.
- A spray bottle: To moisten bedding or the compost if it gets too dry.
- A watering can: For adding water during setup and maintenance.
Setting Up Your Worm Bin: Step-by-Step
Let’s get this wiggly party started! Follow these simple steps:
Step 1: Prepare Your Bin
If you’re using a DIY bin (like a plastic tote), now’s the time to drill those holes. Make sure they are small enough so the worms can’t escape but large enough for air and water. If you’re using a pre-made bin, follow its assembly instructions.
Step 2: Add the Bedding
Fill your bin about two-thirds full with your chosen bedding materials. Shred them into small pieces. Mix the bedding materials together and then moisten them. The goal is for the bedding to be damp like a wrung-out sponge – not dripping wet, but you should be able to squeeze a few drops of water out.
A good bedding mix could be:
- 1 part shredded newspaper
- 1 part shredded cardboard
- 1 part coconut coir (bukot)
Fluff it up nicely. Worms need air!
Step 3: Introduce Your Worms
Gently place your composting worms on top of the bedding. You can gently encourage them to burrow down by covering them with a bit more damp bedding. They will naturally start exploring and settling in.
Step 4: Add Their First Meal (Just a Little!)
Don’t overwhelm your new wormy friends. Start with a small amount of food scraps (about a handful). Bury this food in a corner of the bin, under the bedding. This helps prevent odors and attracts the worms to their food source.
Step 5: Close It Up and Be Patient
Place the lid on your bin, making sure it’s secure but still allows for airflow. For the first few days, just let them settle in. Avoid adding more food or disturbing them too much. You want them to feel safe and start consuming the bedding.
Feeding Your Worms: What and How Much?
Worms are hungry little critters, but they have limits! The key is to feed them regularly but not too much. Here’s what to feed them and how:
What Worms Love:
- Fruit and vegetable scraps (peels, cores, rinds – chop larger items)
- Coffee grounds and paper filters
- Tea bags (remove the staple, if any)
- Crushed eggshells (helps with grit and balances pH)
- Plain cooked pasta or rice (in small amounts)
- Bread (in small amounts, avoid moldy bread)
- Garden trimmings (non-diseased, non-woody)
What to Avoid (The Worm No-Nos):
- Meat and fish scraps
- Dairy products (cheese, yogurt, milk)
- Oily or greasy foods
- Spicy foods (peppers, onions, garlic in large quantities)
- Citrus peels (in large quantities, can be too acidic)
- Diseased plants
- Pet waste (dog or cat feces)
- Sawdust from treated wood
How Much to Feed: A good rule of thumb is that worms can eat about half their weight in food per day. So, if you have one pound of worms, they can process about half a pound of food per day. Start with smaller amounts and observe how quickly they eat it. If food starts to build up or smell, you’re feeding them too much!
Preparation is Key: Chop or blend larger food scraps into smaller pieces. This increases the surface area, making it easier for the worms to consume. Bury food scraps under the bedding in a different spot each time to encourage even distribution and prevent odors.
Maintaining Your Worm Bin: Keeping Your Worms Happy
Your worm bin isn’t a high-maintenance pet, but it does need some basic care to keep your worms healthy and productive.
Moisture Levels
This is crucial! Your worm bed should always feel like a wrung-out sponge. Too dry? Worms will become sluggish or die. Too wet? It can lead to anaerobic conditions (lack of oxygen) and foul smells.
- If too dry: Lightly spray the bedding with water using a spray bottle or add a small amount of water.
- If too wet: Add more dry bedding material (like shredded newspaper or cardboard) and ensure good ventilation. You can also try gently stirring the contents to aerate.
Temperature
Red wigglers and Indian blue worms thrive in temperatures between 15°C and 25°C (59°F to 77°F). In the Philippines, this means you might need to be mindful of extreme heat.
Tips for temperature control:
- Place your bin in a shaded area, away from direct sunlight.
- Avoid locating it next to heat-generating appliances.
- If it gets very hot, you can add frozen water bottles to the bin temporarily.
- Ensure good ventilation to help dissipate heat.
Aeration
Worms need oxygen! Gently fluff the bedding every week or two with a trowel or hand rake. Be careful not to injure any worms. This helps maintain airflow and prevents compaction.
Troubleshooting Common Issues
Here’s a quick table of common problems and their solutions:
| Problem | Cause | Solution |
|---|---|---|
| Foul Odor | Overfeeding, too wet, wrong food items, lack of air. | Feed less, bury food in different spots, add dry bedding, ensure good ventilation, remove non-worm-friendly food. |
| Fruit Flies or Gnats | Exposed food scraps. | Bury food scraps completely under bedding, maintain proper moisture, add a layer of finished compost on top. |
| Worms Trying to Escape | Bin is too wet, not enough bedding, food is scarce, pH is too low (too acidic). | Add dry bedding, ensure good ventilation, feed more regularly but in smaller amounts, add crushed eggshells to balance pH. |
| Worms Not Eating | New bin setup, pH imbalance, temperature too hot/cold, too much food, wrong food. | Allow time to acclimate, add crushed eggshells, adjust temperature, feed less, stick to worm-friendly foods. |
| Sluggish Worms | Too dry, too cold, or bin environment is unhealthy. | Check moisture, adjust temperature, ensure good aeration. |
If you’re using coconut coir (bukot) as bedding, it’s a fantastic buffer for pH changes, making it a great choice for beginners in the Philippines.
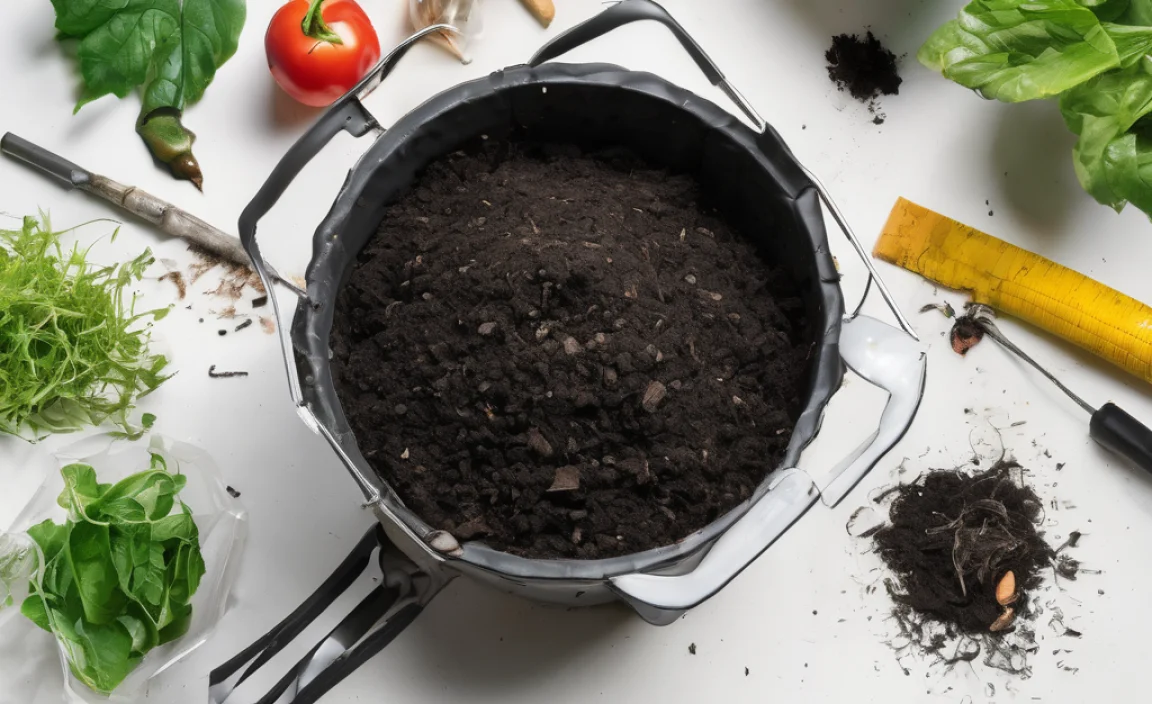
Harvesting Your Worm Castings: The Black Gold!
After about 2-4 months, you’ll start seeing rich, dark, crumbly material – these are your worm castings, also known as vermicompost! It looks and smells like good soil. Harvesting allows you to collect this valuable fertilizer and start a new batch of composting.
Here are a few methods:
-
The “Push-Out” Method:
- Stop feeding one side of the bin for a week or two.
- Only add new food scraps to the opposite side.
- The worms will migrate to the fresh food, leaving the other side relatively worm-free.
- Methodically scoop out the compost from the side where you stopped feeding.
-
The Light Method:
- Dump the entire contents of your bin onto a tarp or plastic sheet in a brightly lit area (direct sunlight is fine for harvesting).
- The worms dislike light, so they will burrow down.
- Scoop off the top layer of compost.
- Wait a few minutes for the worms to burrow again, then repeat scooping.
- Continue until you reach the bottom layer where most of the worms are concentrated.
- Return the worms to your (cleaned or rearranged) bin to continue composting.
-
Using a Straining Screen:
- You can use a hardware cloth or a simple sieve.
- Sieve the compost. The larger pieces will stay on top, while the fine castings fall through.
- You can put the larger material back into the bin to break down further.
Finished worm castings are fantastic! You can mix them directly into potting soil, use them as a top dressing for existing plants, or steep them in water to make a liquid fertilizer called “worm tea.”
Using Your Harvested Worm Castings
Your hard work has paid off! Here’s how to use that precious vermicompost:
- Potting Mix: Mix 1 part worm castings with 2-3 parts soil or coco coir for a nutrient-rich potting blend.
- Top Dressing: Sprinkle a thin layer around the base of your plants, especially vegetables and flowering plants. The nutrients will be slowly released.
- Lawns: Lightly rake worm castings over your lawn to improve soil health and grass vitality.
- Worm Tea: Steep about 1 cup of castings in 5 gallons of dechlorinated water (let tap water sit out for 24 hours) for 24-48 hours, aerating occasionally. Strain and use as a foliar spray or soil drench. This is great for a quick nutrient boost.
- Seed Starting: Use a high concentration of worm castings in your seed-starting mix for healthier germination and stronger seedlings.
Remember, vermicompost is a powerful soil amendment. Unlike chemical fertilizers, it’s very gentle and won’t burn plant roots, making it ideal for all types of gardening.
Vermicomposting in the Philippines: Beyond the Bin
Our tropical climate can actually be an advantage for vermicomposting, especially with species like the Indian Blue Worm thriving. Many Filipinos also use animal manure (like chicken or rabbit manure) for composting, and vermicomposting can be an excellent way to process this.
For those with larger properties, scale up! You can set up multiple bins or explore larger, more industrial vermicomposting systems. Local agricultural offices or university extension programs (like those at the University of the Philippines Los Baños) often have valuable resources and best practices specific to our local conditions. For instance, the University of the Philippines Los Baños is a hub for agricultural research and could offer insights into composting methods suitable for Filipino conditions.
Frequently Asked Questions (FAQs) About Vermicomposting
Q1: How many worms do I need to start?
A: For a typical 10-20 gallon bin, about half a pound to a full pound of composting worms (like red wigglers or Indian blue worms) is a good starting point

I am passionate about home engineering. I specialize in designing, installing, and maintaining heating, ventilation, and air conditioning systems. My goal is to help people stay comfortable in their homes all year long.