Hey there, fellow homesteaders and garden enthusiasts! Troy D Harn here from TopChooser. Ever feel like your kitchen scraps and yard waste are piling up, and you’re not sure what to do with them, especially if you’ve got a bit of space out in the country? It’s a common puzzle, but what if I told you there’s a neat, tidy, and surprisingly simple way to turn that “waste” into black gold for your garden? We’re diving into the wonderful world of in-vessel composting, specifically for us folks living that rural life. Stick around, and I’ll walk you through exactly how to get started, making it easy and stress-free. Let’s get composting!
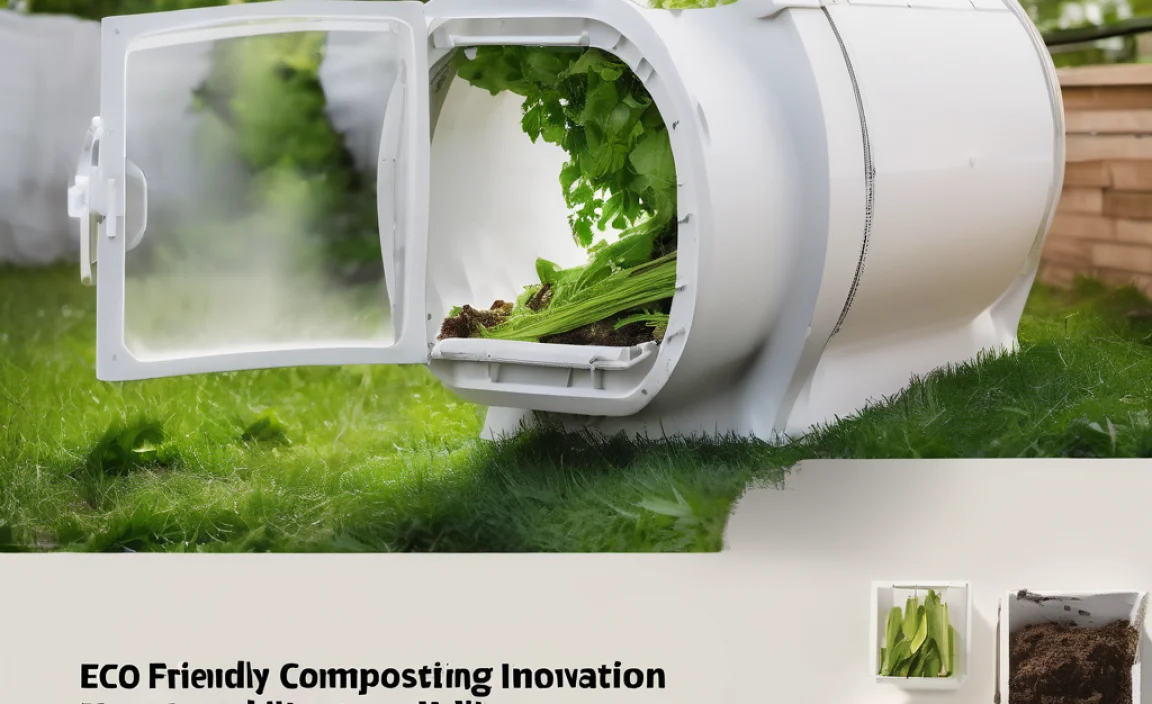
“In-Vessel Composting Rural: Your Genius Essential Guide”
Living out in the country often means more space, which brings more opportunities – and sometimes, more compostable material! If you’re looking for a contained, efficient, and relatively odor-free way to handle your organic waste, in-vessel composting is a fantastic solution for rural homes. Unlike traditional open piles, in-vessel systems keep everything contained, which can deter pests, manage moisture better, and speed up the composting process. Whether you’re dealing with kitchen scraps, garden trimmings, or even manure from small farm animals, this guide will make it crystal clear how to set up and manage your own in-vessel composter in a rural setting.
Why Choose In-Vessel Composting for Your Rural Property?
Traditional composting in a rural setting often conjures images of large, open piles. While effective, these can attract unwanted critters and might not be the most aesthetically pleasing option for everyone. In-vessel composting offers a more controlled and refined approach. Let’s break down why it’s such a smart choice:
- Pest Deterrence: Most in-vessel composters are enclosed, making it difficult for rodents, raccoons, and other curious animals to access your compost. This is often a big plus for rural living where wildlife is more prevalent.
- Odor Control: A well-managed in-vessel system significantly reduces unpleasant smells compared to open piles because the materials are contained, and the composting process is more controlled.
- Speed and Efficiency: The enclosed environment helps retain heat and moisture, creating ideal conditions for the microorganisms that break down organic matter. This often leads to faster compost production.
- Tidiness: Everything is kept neatly within the designated unit, keeping your yard looking clean and organized.
- Space Optimization: While rural properties often have ample space, in-vessel systems can be more compact than sprawling compost piles, especially if you choose a multi-bin system or a tumbler.
- Weather Protection: The enclosure offers some protection from heavy rain, which can make compost piles overly wet and slow down decomposition, or from extreme sun, which can dry them out too quickly.
Understanding the Basics: What is In-Vessel Composting?
At its heart, in-vessel composting is simply the process of breaking down organic materials within a closed container or system. Think of it as a specialized home for your compost. This container manages the environment – temperature, moisture, and aeration – to help microbes do their job efficiently. For rural settings, this offers a much cleaner and more controlled way to recycle organic waste.
The core principle remains the same as any composting method: balancing “greens” (nitrogen-rich materials) and “browns” (carbon-rich materials). But the “vessel” aspect adds layers of control that make the process more predictable and less prone to common composting pitfalls.
Types of In-Vessel Composters—Finding the Right One for You
When you’re looking at in-vessel composting for your rural property, you have a few main types of systems to consider. Each has its own pros and cons, so let’s explore them to help you pick the best fit for your needs and lifestyle.
1. Stationary Bins (Multi-Chambered Systems)
These are typically sturdy bins, often made of wood, recycled plastic, or concrete blocks. They commonly feature two or three compartments. You add materials to the first, and as it composts, you turn it into the second, then the third. This allows for continuous composting: one bin is actively breaking down, another is maturing, and a third is ready to use.
- Pros: Can handle large volumes, good for continuous composting, relatively simple to build or buy.
- Cons: Requires manual turning with a pitchfork or shovel, can take up a bit more horizontal space.
- Rural Application: Excellent for processing garden waste, kitchen scraps, and even manure from larger animals if managed correctly.
2. Tumbling Composters
These are sealed drums or barrels mounted on frames, allowing you to rotate them easily. Adding materials is simple, and a few turns a day can aerate the compost effectively. They are usually weather-resistant and designed for quick composting.
- Pros: Easy to turn and aerate, faster composting, good pest and odor control, relatively compact.
- Cons: Smaller capacity than stationary bins, can sometimes get too dry if not monitored, can be more expensive upfront.
- Rural Application: Great for households with moderate amounts of kitchen and garden waste, and smaller farms dealing with manageable volumes.
3. Worm Composting Bins (Vermicomposting)
While technically a type of in-vessel composting, vermicomposting uses earthworms (specifically red wigglers) to break down organic matter. These systems are typically enclosed bins optimized for worm habitats. They are incredibly efficient at processing kitchen scraps into nutrient-rich compost (worm castings).
- Pros: Produces very high-quality compost (castings), processes kitchen scraps very quickly, minimal odor, can be done indoors or outdoors.
- Cons: Requires specific types of worms, cannot handle large volumes of yard waste or meat/dairy products, maintaining the right temperature and moisture is crucial.
- Rural Application: Perfect for processing kitchen waste efficiently, providing a high-value soil amendment for gardens. Less suitable for bulk garden debris.
4. DIY Contained Bins
Many rural residents enjoy building their own composting systems. This can range from repurposing old garbage cans or plastic totes with added aeration holes to constructing elaborate wooden bins. The key is to ensure the DIY vessel allows for aeration, moisture retention, and easy access for turning or harvesting.
- Pros: Highly customizable, cost-effective, satisfying DIY project.
- Cons: Requires some basic building skills and knowledge of composting principles to get right.
- Rural Application: Ideal for those who like to upcycle materials and want a system tailored to their specific needs and available space.
What Can You Compost in Your Rural In-Vessel System?
The beauty of composting is its versatility, and in-vessel systems are no different. You’ll want to maintain a good balance of “greens” and “browns” for optimal decomposition. Here’s a breakdown:
Greens (Nitrogen-Rich Materials – The “Fuel”)
These materials are wet and provide the nitrogen that microbes need to multiply and heat up the pile.
- Fruit and vegetable scraps (peels, cores, rinds, etc.)
- Coffee grounds and tea bags
- Grass clippings (in moderation, layered to prevent matting)
- Plant trimmings from the garden (non-woody)
- Manure from herbivores like chickens, rabbits, cows, horses (ensure it’s well-composted if using near edible plants)
- Seaweed
Browns (Carbon-Rich Materials – The “Bulk”)
These materials are dry and provide the carbon that microbes need for energy. They also add bulk and allow for air circulation.
- Dry leaves
- Straw and hay
- Shredded newspaper and cardboard (avoid glossy or colored inks)
- Wood chips and sawdust (use sparingly, as they break down slowly)
- Pine needles
- Eggshells (crushed)
- Peat moss
What to AVOID in Your In-Vessel Composter
To keep your compost healthy, avoid these items, especially if you plan to use the compost on food crops, and to maintain good pest control and odor management in your vessel:
- Meat, fish, and bones (attract pests, can smell bad)
- Dairy products (attract pests, can smell bad)
- Oily or greasy foods
- Diseased plants or weeds that have gone to seed (unless you are certain your composter reaches high temperatures capable of killing pathogens/seeds)
- Pet waste from cats and dogs (can contain harmful pathogens); manure from herbivores is generally fine.
- Treated wood or sawdust from treated wood
- Inorganic materials (plastic, glass, metal)
- Coal or charcoal ash (can contain sulfur and affect soil pH)
Setting Up Your Rural In-Vessel Composter: A Step-by-Step Approach
Getting your in-vessel composter up and running is straightforward. Here’s how to do it:
Step 1: Choose Your Location
Select a spot that is:
- Convenient: Close enough to your kitchen and garden for easy access.
- Well-drained: You don’t want your composter sitting in a puddle.
- Partially shaded: This helps prevent it from drying out too quickly in the summer sun or getting waterlogged in heavy rain.
- Level ground: Provides a stable base for your composter.
- Away from direct water sources: Keep it a safe distance from wells or natural water bodies.
For rural properties away from immediate neighbors, odor might be less of an issue, but good placement still aids efficiency and maintenance.
Step 2: Prepare the Base (If Necessary)
Most commercial in-vessel composters can sit directly on the ground. Ensure the area is clear of weeds and large rocks. Some prefer to place theirs on a layer of gravel for better drainage, especially if their chosen spot is prone to becoming waterlogged.
Step 3: Add Your First Layer (The “Browns”)
Start with a foundational layer of carbon-rich materials (browns). This could be a few inches of straw, dry leaves, or shredded cardboard. This layer helps with aeration from the bottom up and absorbs initial moisture.
Step 4: Start Adding Greens and Browns
Now, begin adding your compostable materials. Aim for a good mix:
- Chop or shred larger items to help them break down faster.
- As you add kitchen scraps (greens), bury them slightly within the browns to help manage any potential odors and deter pests.
- Try to maintain a ratio of roughly 2-3 parts browns to 1 part greens by volume. Don’t stress about perfect ratios; nature is forgiving! It’s better to compost with a slightly off ratio than not at all.
Step 5: Maintain Moisture Levels
Your compost pile should be as damp as a wrung-out sponge. Too dry? Add some water. Too wet? Add more browns. Most in-vessel systems help retain moisture, so check it regularly, especially during dry spells or after adding a lot of dry materials.
Many systems will have a way to add water directly, like a lid or access hatch. If using a tumbler, you can add a hose or watering can when you turn it, ensuring the moisture spreads.
Step 6: Aerate Your Compost
Oxygen is crucial for the aerobic bacteria that do the composting work. If you have a tumbler, give it a few spins every day or two. For stationary bins, you’ll need to turn the material periodically with a pitchfork or compost aerator. The frequency depends on how quickly you want compost, but turning every 1-4 weeks is common.
Turning also helps mix the materials, distribute moisture evenly, and prevent anaerobic pockets (which can cause smells).
Step 7: Harvest Your Finished Compost
The time it takes to get finished compost varies (from a few weeks in a hot tumbler to several months in a cooler, less managed bin). You’ll know it’s ready when:
- It looks dark and crumbly, like rich soil.
- It has a pleasant, earthy smell.
- You can no longer recognize the original materials you put in.
- The temperature has cooled down substantially.
For stationary bins, you can usually access the finished compost from the bottom doors. For tumblers, you stop adding new material and let the batch finish, then empty it and start a new batch. For worm bins, you harvest the castings from the bottom or by encouraging worms to move to a new tray.
Troubleshooting Common Composting Issues (Rural Edition)
Even with an in-vessel system, you might run into a few snags. Here’s how to fix them:
Problem: Smells Bad (Ammonia or Rotten Egg Smell)
Cause: Too many “greens” (nitrogen) or not enough oxygen. An ammonia smell usually indicates too much nitrogen. A rotten egg smell (hydrogen sulfide) means it’s gone anaerobic (lack of oxygen).
Solution: Add more “browns” (carbon materials like leaves, straw, shredded paper) to absorb excess nitrogen and improve airflow. Turn the compost pile thoroughly to introduce oxygen. Ensure your vessel has adequate ventilation.
Problem: The Pile Isn’t Heating Up
Cause: Not enough “greens” (nitrogen), the pile is too dry, or the pile is too small to retain heat. It could also be that your materials are too large and need to be broken down.
Solution: Add more nitrogen-rich materials. Moisten the pile if it’s dry. For smaller piles, try adding more material or consolidating multiple small piles into one larger one. Chop up larger items.
Problem: Pests are an Issue
Cause: Exposed food scraps, attractive materials like meat/dairy (which should be avoided anyway), or inadequate containment.
Solution: Ensure your in-vessel composter is fully enclosed and pest-proof. Always bury food scraps deep within the compost and cover them with brown material. Avoid adding meat, dairy, and oily foods. Regularly turn the compost to discourage pests.
Problem: Compost is Too Wet and Slimy
Cause: Too many “greens” (like grass clippings), lack of drainage, or too much rain getting in.
Solution: Add a generous amount of dry “browns” (leaves, straw, sawdust, shredded cardboard). Ensure drainage holes are clear. If using an open-topped stationary bin, consider adding a tarp or lid during very wet periods.
Problem: Compost is Too Dry
Cause: Not enough moisture added, too much sun exposure, or too many dry “browns.”
Solution: Add water slowly and mix thoroughly. Consider adding more water-retentive greens. If the composter is in direct sun, try moving it to a more shaded location.
Composting Manure: A Rural Advantage
For rural dwellers with livestock or poultry, animal manure is a valuable composting resource. However, it’s crucial to compost it correctly, especially if you plan to use the compost on edible gardens. Manure is typically very rich in nitrogen (a “green”).
Best Practices for Manure Composting:
- Mix it well with a good amount of carbon-rich “browns” like straw bedding, dry leaves, or wood shavings. A common ratio is 1 part manure to 2-3 parts browns.
- In-vessel systems are excellent for manure as they help contain odors and can help achieve higher temperatures necessary to kill pathogens and weed seeds when managed correctly.
- For food gardens, ensure the compost is fully finished (cured for several months after the initial decomposition phase) before applying it to prevent potential pathogen transfer or “burning” plants with excess nutrients. Manure from herbivores (cows, horses, chickens, rabbits) is generally safer and easier to compost than that from carnivores or omnivores.
Resources like the EPA’s composting guide offer excellent general principles that apply to all composting, including manure management.
The Benefits of Using Your Homemade Compost
Once your in-vessel composter has done its magic, you’ll be rewarded with a rich, dark, nutrient-dense material ready to transform your garden. Here’s why using your own compost is so great:
- Enriches Soil: Compost improves soil structure, making it more loamy, which helps with drainage in clay soils and water retention in sandy soils.
- Adds Nutrients: It’s a natural fertilizer, providing essential macro and micronutrients for plant growth.
- Boosts Soil Life: Compost introduces beneficial microorganisms, fungi, and earthworms that help

I am passionate about home engineering. I specialize in designing, installing, and maintaining heating, ventilation, and air conditioning systems. My goal is to help people stay comfortable in their homes all year long.