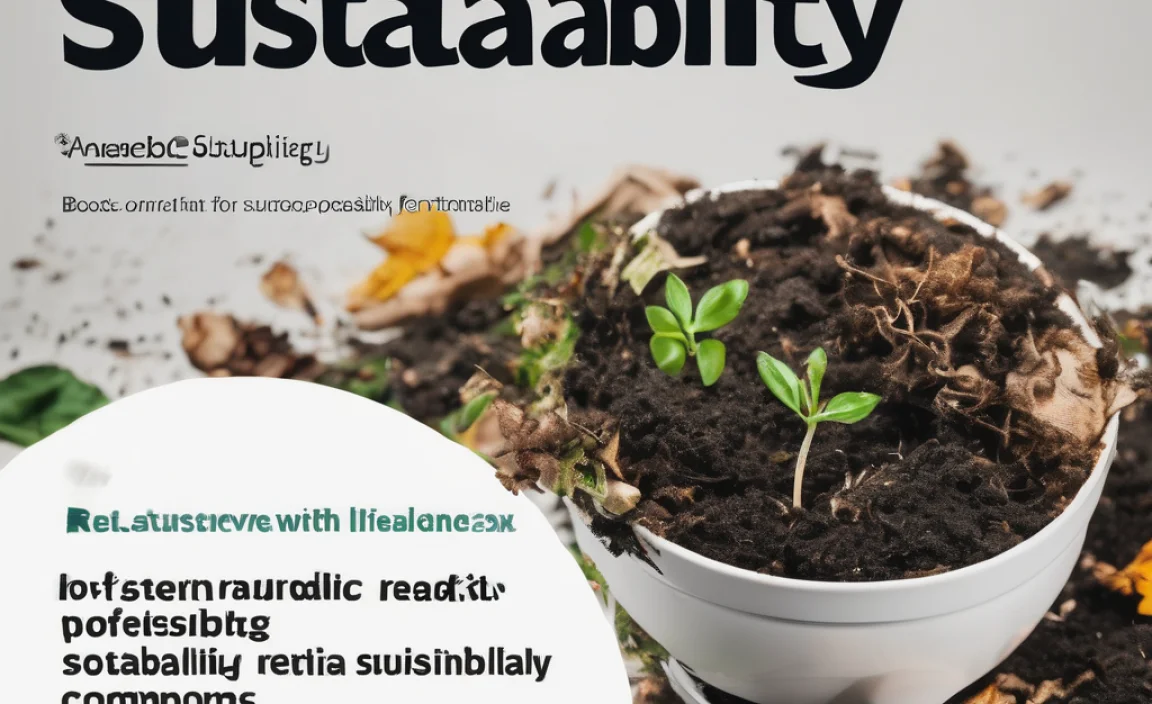
Hey there! Ever look at your leftover kitchen scraps and garden waste and think, “There’s got to be a better way than just tossing this?” You’re not alone. It can feel like such a waste to send food peels and yard clippings to the landfill. Plus, if you love gardening, you know how amazing compost is for your plants. The good news is, there’s a super-effective and clean way to do it right at home: in-vessel composting. It might sound a bit technical, but I’m here to break it down, step-by-step, so you can start making your own black gold in no time. Let’s get started on turning your waste into something wonderful!
What Exactly is In-Vessel Composting?
So, what’s the big deal with “in-vessel composting”? Think of it as giving your compost ingredients a cozy, contained home where they can break down efficiently. Instead of a traditional open pile, you use a bin, drum, or tumbler. This keeps things tidy, speeds up the composting process, and is fantastic for smaller spaces, like balconies or small yards. It’s a neat and contained way to manage kitchen scraps and other organic materials.
These “vessels” are designed to create the perfect conditions for the workhorses of composting: tiny microbes and beneficial organisms. They need the right mix of air, moisture, and carbon-rich (browns) and nitrogen-rich (greens) materials to do their magic. An in-vessel system helps you control these elements more precisely than an open pile, which is why it’s often faster and produces less odor.
Why Choose In-Vessel Composting?
Picking an in-vessel composting solution offers a bunch of great benefits, especially for homeowners, renters, and anyone looking for a cleaner, more hands-on approach. It’s all about making composting easy, efficient, and tidy.
Top Benefits of In-Vessel Composting
- Neat and Tidy: Unlike open compost piles that can spread out and attract pests, in-vessel systems are enclosed. This keeps your compost contained, looking tidier, and less appealing to unwanted visitors. Perfect for urban dwellers or anyone who likes a well-kept yard.
- Faster Decomposition: By controlling factors like moisture and aeration, in-vessel composters can break down organic matter much faster than traditional methods. Some systems can yield finished compost in as little as a few weeks to a few months.
- Odor Control: A well-managed in-vessel system minimizes odors. The enclosure helps trap smells, making it a much more pleasant option, especially if your composter is located near your home.
- Space-Saving: Many in-vessel composters are designed to be compact, making them ideal for smaller gardens, patios, balconies, or areas with limited space.
- Pest Deterrent: The enclosed nature of these systems makes it difficult for rodents and other pests to access the materials inside.
- Consistent Results: With a bit of attention to the “recipe” of greens and browns and maintaining proper moisture, you’re likely to get high-quality compost more consistently.
Types of In-Vessel Composting Solutions
When you decide to go the in-vessel route, you’ve got a few main types of solutions to choose from. Each has its own way of working, so you can pick the one that best fits your space, how much waste you generate, and how much effort you want to put in.
1. Stationary Bins
These are your classic compost bins. They’re usually made of plastic or wood and sit in one spot. You add materials from the top and, once the bin is full, you can either let it compost in place or, in some designs, open up a door at the bottom to access finished compost. They’re simple, often affordable, and great for continuous composting. You’ll typically need to manually turn the material inside with a pitchfork or aerator tool every so often to ensure good airflow.
2. Tumblers (Rotating Bins)
Tumblers are like compost makers on a spin cycle! These are enclosed drums that you can rotate or tumble. This makes mixing and aerating your compost super easy – just give it a turn every few days. Tumblers come in single or dual-chamber models. Dual-chamber units let you compost in one side while the other side is “cooking,” so you always have a batch going. They tend to be faster than stationary bins because tumbling really boosts aeration and mixes the heat generated by the decomposition process.
A good example of a tumblers manufacturer is Good & Grub, which offers various models designed for ease of use and efficient composting.
3. Worm Composting Bins (Vermicomposting)
This is a special kind of in-vessel composting that uses specific types of worms, like red wigglers, to break down your waste. Worm bins are usually multi-tiered systems where worms eat the food scraps and produce nutrient-rich worm castings, which are an amazing fertilizer. It’s a great option for apartment dwellers or those with very limited outdoor space, as worm bins can even be kept indoors or on a balcony. Plus, no heavy turning or mixing is required – the worms do all the work!
4. Electric Composters
These are the high-tech option! Electric composters are countertop appliances that use heat and aeration to break down food scraps in a matter of hours. They don’t produce true compost in the traditional sense (it’s more of a dried, nutrient-rich food ground-up), but they significantly reduce food waste volume and create a soil amendment. They’re super convenient, odorless, and fast, but they do require electricity and can be more expensive upfront.
How to Get Started with In-Vessel Composting
Ready to dive in? Getting started is easier than you might think. It’s all about picking the right spot, getting your materials ready, and understanding the basic recipe for successful composting.
Step 1: Choose Your Composter and Location
First, decide which type of in-vessel composter best suits your needs (stationary bin, tumbler, worm bin, or electric). Consider how much space you have, how much organic waste you anticipate producing, and your budget. Once you choose, pick a good spot:
- Accessibility: Make sure it’s easy to get to with your kitchen scraps and garden waste.
- Sunlight: Some direct sun can help heat the compost, speeding things up, but too much direct sun can dry it out. Partial shade is often ideal.
- Drainage: The area should have good drainage so that excess moisture doesn’t pool around the base.
- Water Source: It’s helpful to be near a water source, as you’ll need to keep your compost moist.
- Convenience: For tumblers or stationary bins, place them on a level surface like compacted soil, gravel, pavers, or a concrete pad. Worm bins are often placed on a sturdy surface indoors or outdoors.
Step 2: Gather Your “Greens” and “Browns”
Composting is all about balance. You need a good mix of nitrogen-rich materials (the “greens”) and carbon-rich materials (the “browns”). A good rule of thumb is to aim for a ratio of about 2-3 parts browns to 1 part greens by volume.
What are “Greens”?
Greens are moist materials that are rich in nitrogen. We often get these from the kitchen or fresh garden trimmings.
- Fruit and vegetable scraps
- Coffee grounds and tea bags
- Grass clippings (in thin layers)
- Plant trimmings (non-diseased)
- Manure from herbivores (like rabbits, chickens, or cows – not pets)
What are “Browns”?
Browns are dry, carbon-rich materials. These add bulk and allow air to circulate.
- Dry leaves
- Twigs and small branches (chopped up)
- Shredded newspaper or cardboard (avoid glossy paper)
- Straw or hay
- Sawdust (from untreated wood)
- Paper towel tubes and egg cartons (shredded)
Important: Avoid adding meat, dairy products, oily foods, diseased plants, pet waste (from cats and dogs), and weeds that have gone to seed to your compost, as these can cause odors, attract pests, or spread pathogens and weed seeds.
Step 3: Layer Your Materials
When you start your composter, begin with a layer of “browns” at the bottom. This helps with drainage and airflow. Then, start adding your “greens” and “browns” in alternating layers. Chop up larger items into smaller pieces to help them break down faster. If you’re using a tumbler, you can often add materials as you generate them and give it a spin.
Step 4: Maintain Moisture Levels
“Compost needs to be as damp as a wrung-out sponge.” This is a common saying for a reason! Too dry, and the decomposition microbes slow down. Too wet, and it can become slimy and smelly, favoring anaerobic decomposition (which smells bad). Aim for that perfect balance.
How to check: Grab a handful of your compost. If it feels moist and a little bit of water comes out when you squeeze it, it’s probably just right. If it’s dry and crumbly, add some water. If it’s soggy and dripping, add more “browns” and mix.
Step 5: Aerate Your Compost
Oxygen is crucial for the aerobic microbes that work efficiently and without bad smells. How you aerate depends on your composter:
- Stationary Bins: Use a compost aerator tool, pitchfork, or shovel to turn and mix the pile every week or two. Try to bring material from the outside to the inside and vice-versa.
- Tumblers: Simply rotate or tumble the bin according to the manufacturer’s instructions, usually a few times a week.
- Worm Bins: The worms generally aerate the material themselves by burrowing through it. You might gently turn the top layer occasionally if it seems compacted.
Step 6: Be Patient and Harvest!
The time it takes for your compost to be ready can vary a lot – from a few weeks in a fast-working tumbler or electric composter to several months in a slower stationary bin. You’ll know it’s ready when it looks dark, crumbly, and smells earthy and fresh, like forest soil. You shouldn’t be able to recognize the original materials anymore.
Harvesting:
- Stationary Bins: Open the access door at the bottom, or dig out finished compost from the bottom layers. You might need to sift it to remove any larger, unfinished pieces, which can go back into the active bin.
- Tumblers: Empty the finished compost from one chamber into a pile to cure or directly into your garden.
- Worm Bins: Harvest worm castings by moving finished material to one side of the bin and adding fresh bedding and food to the other, or by using a “migration” method as described by worm bin manufacturers.
Finished compost can be mixed into your garden beds, used as a top dressing for lawns, or added to potting mixes. For the best results, you can cure your compost for a few more weeks outdoors before using it. A great resource for understanding composting science is Composting Then Natural Way.
Troubleshooting Common Composting Issues
Even with the best intentions, you might run into a few hiccups. Don’t worry, these are usually easy to fix!
Issue: The Compost Smells Bad (Ammonia or Rotten Eggs)
Cause: Too many “greens” (nitrogeny stuff) or the pile is too wet and not enough air.
Solution: Add more “browns” (like dry leaves, shredded cardboard) to balance the ratio and absorb moisture. Turn the pile to introduce air. If it’s very wet, try to lift the bin off the very wet ground and add absorbent browns.
Issue: The Compost Isn’t Heating Up or Breaking Down
Cause: Too dry, not enough “greens,” or the pile is too small to retain heat.
Solution: Add more “greens” to provide nitrogen. Add water to moisten dry materials. Make sure the pile is a decent size – tumblers are designed to work with a certain volume, and stationary bins benefit from a minimum size (around 3x3x3 feet for open piles, but vessel sizes vary).
Issue: The Compost is Full of Pests (Flies, Rodents)
Cause: Exposing food scraps without covering them with browns, or adding prohibited items like meat/dairy.
Solution: Ensure all food scraps are buried under a layer of “browns” or within the enclosed system. Avoid adding meat, fats, and dairy. Make sure your composter bin itself is secure and doesn’t have gaps pests can exploit.
Issue: The Compost is Too Wet and Slimy
Cause: Excessive moisture from rain or too many “greens,” poor drainage.
Solution: Add plenty of dry “browns” to absorb excess moisture. Turn the pile thoroughly. If possible, move the composter to a drier location or ensure it has adequate drainage holes.
In-Vessel Composting vs. Traditional Piles: A Quick Look
To help you see why an in-vessel system might be the right choice, let’s compare it to a traditional open compost pile. Both have their place, but for many beginners and those with space constraints, in-vessel wins.
| Feature | In-Vessel Composting Solutions | Traditional Open Composting Piles |
|---|---|---|
| Containment | Enclosed bin, tumbler, or worm farm. Keeps materials tidy. | Open pile, often a heap on the ground. Can spread out. |
| Pest Attraction | Low risk when managed correctly. Enclosure deters many pests. | Higher risk, can attract rodents and other animals if not managed carefully. |
| Odor Control | Generally good if balanced and aerated. Enclosure helps contain smells. | Can be prone to odors if not properly balanced or aerated. |
| Speed of Decomposition | Often faster due to better control of moisture, air, and heat. Tumblers are especially fast. | Can be slower; highly dependent on weather and consistent turning. |
| Space Requirements | Ideal for small spaces, patios, balconies, small yards. | Requires more space; can look messy if not contained. |
| Effort/Turning | Easy with tumblers; requires manual turning for stationary bins. Worming is easy. | Requires significant physical effort to turn a large pile. |
| Cost | Varies widely from DIY options to expensive electric units. Purchased bins/tumblers can range from $50 to $300+. | Can be virtually free if building your own enclosure or simply piling materials. |
| Finished Compost Quality | Often high quality and more consistent due to controlled environment. | Can be high quality but may take longer or be less consistent. |
As you can see, in-vessel solutions offer a lot of advantages for homeowners looking for a clean, efficient, and often faster way to compost. If you’re concerned about aesthetics, pests, or just want your compost ready sooner, an in-vessel system is likely a great fit.
Conclusion: Your Composting Journey Starts Now!
So there you have it! In-vessel composting solutions are an incredibly effective, tidy, and accessible way to turn your kitchen scraps and yard waste into a valuable resource for your garden. Whether you’re dealing with a tiny balcony or a spacious backyard, there’s an in-vessel system designed to fit your life and your space.
Remember, the key is balance: the right mix of greens and browns, the perfect amount of moisture, and plenty of air. Don’t be afraid to get your hands a little dirty – it’s all part of the process! Start small, observe your compost, and make adjustments as needed. You’ll be amazed at how quickly you can transform what was once considered waste into nutrient-rich soil amendment that will make your plants thrive. Happy composting, and enjoy the rich rewards!
Frequently Asked Questions About In-Vessel Composting
What is the best in-vessel composter for beginners?
For most beginners, a stationary compost bin or a dual-chamber tumbler is a great starting point. Stationary bins are simpler and often more affordable. Tumblers make turning and mixing much easier, which can speed up the process and is great for those who want faster results without a lot of manual turning. Worm bins are also excellent for beginners, especially for small spaces, but require learning about worm care.
How often do I need to add materials to my in-vessel composter?
It depends on how much waste you generate! You can add materials as you have them. For tumblers, it’s often best to add a good amount at once to get it going, then continue to add more. For stationary bins or worm bins, you can add smaller amounts regularly. Just remember to balance your greens and browns and keep the moisture right when you add new materials.
Can I compost in a small apartment?
Absolutely! Worm composting (vermicomposting) is perfect for apartments as worm bins are compact and can be kept indoors or on a balcony with minimal odor. Electric composters are also a great option for apartments as they are small, odor-free, and very fast for food waste reduction.
Do in-vessel composters attract bugs?
A well-managed in-vessel composter should not attract significant numbers of unwanted bugs. A few harmless flies or gnats might appear occasionally, especially if there are a lot of fruit scraps. Balancing your green and brown materials and ensuring good airflow helps minimize this. Covering fresh food scraps with browns is also key. True pest issues, like flies buzzing excessively, often indicate the pile is too wet or has too many fresh food scraps exposed.
How long does it take to get finished compost?
This varies greatly. Electric composters can produce a soil amendment in hours. Worm bins produce castings within weeks to months. Tumblers can produce compost in as little as 4-8 weeks if managed actively. Stationary bins might take anywhere from 2-6 months, or even longer, depending on how often they are turned and the conditions. Factors like temperature, moisture, and the size of your materials play a big role.

I am passionate about home engineering. I specialize in designing, installing, and maintaining heating, ventilation, and air conditioning systems. My goal is to help people stay comfortable in their homes all year long.