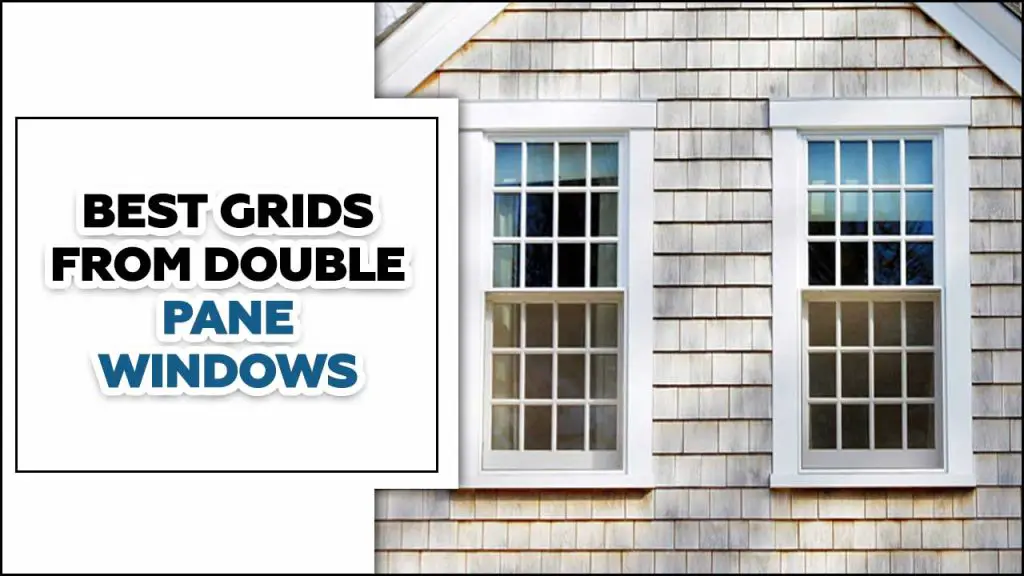
How To Install Vinyl Plank Flooring On Stairs: A Complete Guide

Vinyl plank flooring is becoming increasingly popular for homeowners looking to update their stairs. With its durability, easy maintenance, and wide range of styles and colors, vinyl plank flooring offers a practical and stylish solution for staircases.

Whether you’re looking to replace outdated carpeting or worn-out hard wood, vinyl plank flooring can transform your stairs into a focal point of your home. We will walk you through the step-by-step process of installing vinyl plank flooring on stairs.

We’ve covered you, from preparing the stairs to finishing the edges. We will also help you choose the right vinyl plank flooring for your project and give you an idea of the cost involved. Get ready to transform your space with this budget-friendly DIY project.

Vinyl Plank Flooring On Stairs

How To Install Vinyl Plank Flooring On Stairs In Easy 7 Steps

How To Install Vinyl Plank Flooring On Stairs In Easy 7 Steps

Regarding vinyl plank flooring, there are a few important considerations to remember. Installing vinyl plank flooring can be a great way to enhance the aesthetic appeal of your home while also adding durability and ease of maintenance. However, it is important to note that installing vinyl plank flooring on stairs can be a bit more challenging than on flat surfaces.

Here are some steps to help you successfully install vinyl plank flooring: Remember to follow all manufacturer guidelines and recommendations when installing vinyl plank flooring to ensure a successful and long-lasting installation.

Step 1: Prepare The Stairs

Prepare The Stairs

To begin installing vinyl plank flooring, start by measuring the dimensions of each stair and purchasing enough vinyl plank flooring to cover them. Remove any existing carpet or other flooring from the stairs and clean them thoroughly to remove dirt, debris, or adhesive residue.

Use a measuring tape and pencil to mark the centre of each stair tread and riser. Follow the manufacturer’s instructions to apply a thin adhesive layer to each stair tread and riser. Finally, place the vinyl plank flooring on each stair, starting from the bottom and working your way up.

Step 2: Measure And Cut The Tread And Stair Nose

To ensure a proper fit, start by measuring the width and depth of each stair tread and the length of the stair nose. Use a straight edge and a utility knife to cut the vinyl plank flooring to fit each tread. For the stair nose, you can use either a mitre or a circular saw with a fine-tooth blade to achieve the appropriate length.

Apply adhesive to the back of each plank and press it firmly onto the tread, ensuring proper alignment. Repeat this process for each tread, leaving a small gap between each plank for expansion. Lastly, install the cut stair nose by applying adhesive to the back and pressing it on top of the last plank.

Step 3: Install The Stair Tread And Nose

Install The Stair Tread And Nose

To install the stair tread and nose, start by measuring and cutting the vinyl plank flooring to fit the size of each stair tread. Apply adhesive to the back of each plank and press it firmly onto the tread, ensuring it is securely attached.

Use a roller or hand pressure to ensure proper adhesion. Repeat this process for each stair tread, aligning the planks correctly. For the stair nose, measure and cut a piece of vinyl plank to fit the width of the step. Apply adhesive to the back and press it firmly onto the edge of the step.

Step 4: Attach The Vinyl Planks

Before attaching the vinyl planks, ensure the stair surface is clean and debris-free. Start at the bottom of the stairs and work your way up, applying adhesive to the back of each vinyl plank per the manufacturer’s instructions. Place the plank onto the stair tread, ensuring it is properly aligned. Press down firmly to ensure proper adhesion. Repeat this process for each step, leaving a small gap between each plank for expansion.

Step 5: Finish Edges Of Vinyl Floor On The Stairs

Finish Edges Of Vinyl Floor On The Stairs

To achieve a clean and polished look after installing vinyl plank flooring on the stairs, it’s important to finish the edges properly. Begin by measuring and cutting the vinyl planks to fit the width of each step using a straight edge and utility knife.

Apply a small amount of adhesive or double-sided tape to the back of each cut plank and press it firmly onto the step, ensuring proper adhesion and eliminating air bubbles or gaps. Repeat this process for each step, aligning the planks evenly. Finally, use a roller or flat object to firmly press down on the edges and corners to secure them in place.

Step 6: Install Vinyl Planks On A Landing

To install vinyl planks on a landing, ensure the surface is clean, dry, and debris-free. Measure and cut the planks to fit using a utility knife or vinyl cutter. Apply adhesive to the back of the first plank and press it firmly onto the landing.

Install the remaining planks in a staggered pattern, ensuring they are securely adhered to. Use a rubber mallet or roller to flatten any air bubbles or wrinkles. Trim any excess vinyl for a clean finish.

Step 7: Tools Required To Install Vinyl On Stairs

Tools Required To Install Vinyl On Stairs

To install vinyl plank flooring, you will need several tools. These include a utility knife for cutting the vinyl planks to the correct size, a tape measure to determine the dimensions of each stair and the length of vinyl required, and a straight edge for making precise cuts.

A chalk line is also useful for creating straight lines and ensuring even installation. At the same time, a strong adhesive designed specifically for vinyl flooring is necessary for securing the planks in place.

Choosing The Right Vinyl Plank Flooring

Choosing The Right Vinyl Plank Flooring

When choosing vinyl plank flooring for your stairs, it’s important to consider both style and practicality. Look for vinyl planks that match your overall aesthetic and color scheme. Opt for vinyl planks designed for stairs, as they often have a thicker wear layer and enhanced durability.

Choosing a vinyl plank with a slip-resistant surface is also crucial to ensure safety on the stairs. Additionally, consider the thickness of the vinyl plank for a stable and sturdy installation. Select a vinyl plank that is easy to maintain and clean, as stairs may require more frequent cleaning.

Cost Of Installing Vinyl Plank Flooring On Stairs

Cost Of Installing Vinyl Plank Flooring On Stairs

Installing vinyl plank flooring on stairs can be cost-effective for homeowners looking to update their staircase. The cost of installing vinyl plank flooring will vary depending on factors such as the size and shape of the staircase, the quality of the vinyl planks chosen, and any additional labor or materials required. On average, homeowners can expect to pay between $500 and $1,000 for materials and installation.

Obtaining quotes from multiple contractors is recommended to ensure you are getting the best price for your specific project. It is also important to factor in additional costs, such as removing old carpet or preparing the stairs for installation. Overall, vinyl plank flooring can be a budget-friendly choice for transforming your staircase with a durable and stylish finish.

Conclusion

vinyl plank flooring can be a great option for stairs. It is durable, easy to clean, and comes in various styles and colors to suit any aesthetic. Additionally, vinyl plank flooring is generally more affordable than other types of flooring, making it a budget-friendly choice for staircase renovations.

However, it is important to ensure the installation is done properly to prevent any safety hazards or damage to the flooring. By following the easy 7-step, you can transform your staircase into a beautiful and functional space. We’ve covered you, from preparing the stairs to finishing the edges.

But before you start, choosing the right vinyl plank flooring that suits your style and budget is important. Additionally, understanding the cost of installing vinyl plank flooring on stairs will help you plan your project effectively.

Frequently Asked Questions

1.Can Vinyl Plank Flooring Be Installed On Stairs?

Ans: Yes, it is possible to install vinyl plank flooring. Choose vinyl planks designed for stairs and measure each step accurately. Cut the planks accordingly and secure them using adhesive or double-sided tape.

2.How Do You Finish Vinyl Plank Flooring At Top Of Stairs?

Ans: You can use a stair nose or transition moulding to finish vinyl plank flooring at the top of stairs. Measure and cut the vinyl plank to fit the width of the top step. Install the stair nose or transition moulding using adhesive or screws, ensuring a secure and flush edge.

3.Do You Glue Vinyl Flooring On Stairs?

Ans: Glueing vinyl flooring on stairs is not recommended. It’s better to use adhesive-backed vinyl planks for easier installation. These planks can be installed directly on the stairs without needing glue, resulting in a more secure and durable installation.

4.How Do You Make Stair Nosing With Vinyl Planks?

Ans: To create stair nosing with vinyl planks, start by measuring and cutting the plank to fit the width of the stair tread. Use a mitre saw or utility knife for precise cuts. Apply adhesive to the back of the plank and firmly press it onto the tread, ensuring alignment with the step edge. Use a roller or block of wood to eliminate air bubbles.

5.Can I Install Vinyl Plank Flooring On Stairs Myself, Or Do I Need To Hire A Professional?

Ans: Installing vinyl plank flooring can be challenging, but it is possible to do it yourself. However, hiring a professional ensures proper installation and reduces the risk of mistakes. Consider your skill level, time availability, and budget before deciding.

Leave a Comment