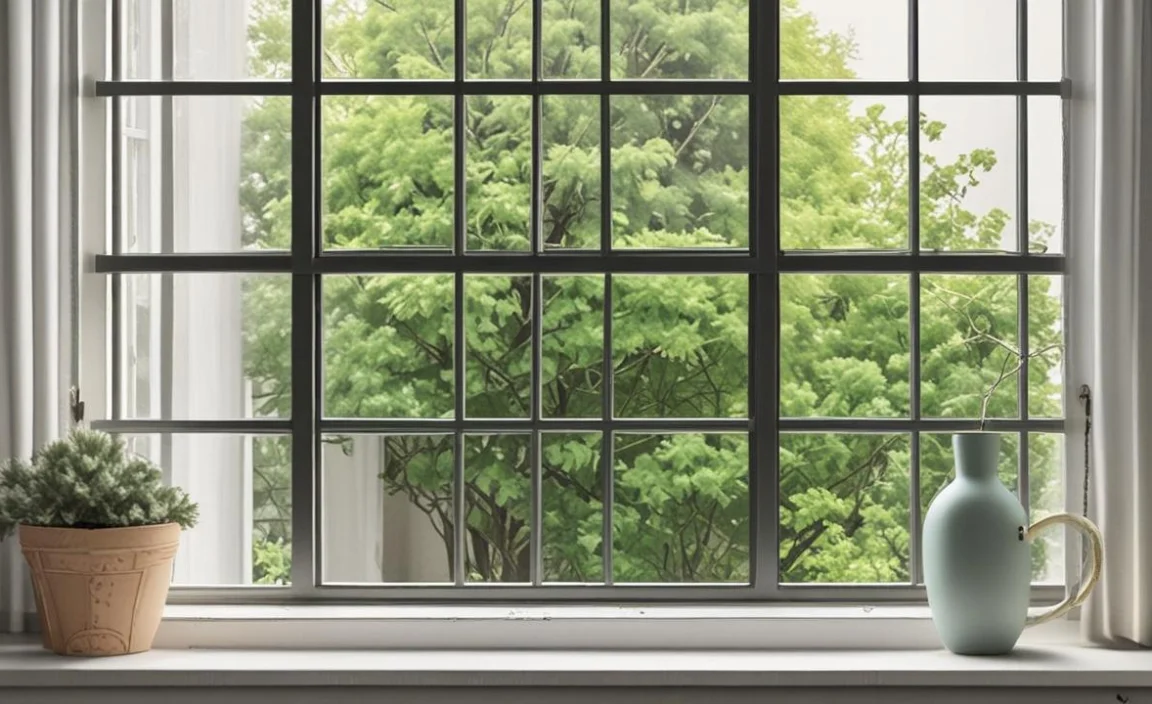
Window grids, or muntins or grilles, are an aesthetically pleasing addition to any home. These decorative grids are placed on the surface of a window, creating a divided pane effect.
While many modern windows come with pre-installed grids, they can be quite expensive and limit your options for customization. If you want to add a personal touch to your windows while saving some money, then making your DIY window grids is the perfect option. Not only does this project allow for creativity and individuality, but it also provides a sense of satisfaction and accomplishment once completed.
Here, we will guide you how to make your own diy window grids. We will cover the tools and materials needed, step-by-step instructions, and helpful tips to ensure your window grids turn out professional and long-lasting.
How To Make Your Own DIY Window Grids – 5 [Step By Step]
![How To Make Your Own DIY Window Grids – 5 [Step By Step]](https://topchooser.com/wp-content/uploads/2026/03/how-to-make-your-own-diy-window-grids-8211-5-step-by-step.webp)
Window grids, also known as window muntins, can add a touch of elegance and sophistication to any home. Instead of purchasing expensive pre-made grids, why not make your DIY window grids? Not only will this save you money, but it will also allow you to customize the design to your liking. To begin, gather the necessary materials, including wood strips, a saw, sandpaper, a measuring tape, and a pencil.
Start by measuring the dimensions of your window and then cut the wood strips accordingly. Next, sand the edges of the strips to ensure a smooth finish. Once that is done, lay the strips in the desired pattern on your window. Use the pencil to mark where the strips will intersect and create joints. Here is a step-by-step guide on how to make your own DIY window grids:
Step 1:Measure Your Windows

Start by measuring the dimensions of your windows where you want to install the grids. Take accurate measurements of both the height and width. Next, gather the necessary materials for your DIY window grids project. You will need a saw, measuring tape, adhesive, grid connectors, and the material you choose for the grids, such as wood or PVC.
Ensure that the material you select is suitable for windows and can withstand exposure to different weather conditions. Once you have all the materials, it’s time to start constructing the grids. Using the measurements you took earlier, cut the grid material into the desired lengths for horizontal and vertical pieces. Double-check your measurements before making any cuts to avoid any potential mistakes.
Step 2:Gather The Materials

You will need thin wooden strips, a saw, sandpaper, measuring tape, a pencil, wood glue, and finishing nails. First, measure the dimensions of your window to determine the length and width of the wooden strips needed for your DIY window grids.
Using a saw, carefully cut the wooden strips to the desired length. Remember to make extra strips for the cross sections of the grid. After cutting, use sandpaper to smooth the strips’ edges to avoid splinters. Next, lay the strips on a flat surface to create the grid pattern.
Once you are satisfied with the placement, mark the intersections with a pencil for accurate assembly. Apply wood glue to the ends of the strips and attach them together, aligning the marked intersections. Secure the joints by gently hammering finishing nails into each corner. Finally, allow the glue to dry completely before installing the DIY
Step 3:Cut The Wooden Strips

Using a saw, cut the wooden strips according to the measurements of your windows. Make sure to cut enough strips to create the desired grid pattern. Next, sand down the wooden strips to ensure a smooth and polished finish. This will make it easier to paint or stain them later on.
Once the strips are sanded, lay them on a flat surface and assemble the grid pattern. Start by laying one strip horizontally, then place another vertically on top of it, creating a cross shape. Use a nail gun or wood glue to secure the strips at their intersection points. Repeat this process until the desired grid pattern is formed.
Additionally, you can add decorative corner brackets to give your window grids a more sophisticated and elegant look. Once the grid is assembled, you can paint or stain it to match your window frames or complement your interior design. Finally, carefully install the completed
Step 4:Sand The Wooden Strips

Use sandpaper to smooth any rough edges or surfaces on the wooden strips. This will ensure a clean and polished look. Next, measure and mark the desired size of your window grids on the wooden strips. Use a ruler or measuring tape to mark out the width and height of each grid carefully.
It is important to be accurate with your measurements to ensure the grids fit properly within your window frame. Once you have marked the dimensions, use a saw to cut the wooden strips according to your measurements carefully.
Take your time to ensure clean and precise cuts. After cutting, use sandpaper again to smooth any rough edges or surfaces on the wooden strips. This will ensure a clean and polished look for your DIY window grids.
Step 5:Mark The Placement

Using a measuring tape and a pencil, mark the placement of the horizontal and vertical strips on the window frame. This will serve as a guide for the installation. Next, gather the necessary materials for creating the window grids.
You will need thin wooden strips, a saw, sandpaper, wood glue, and a paintbrush for applying the paint or stain. Measure the dimensions of the window frame and cut the wooden strips accordingly using the saw.
It is essential to sand the edges of the strips to ensure a smooth and polished finish. Once the strips are ready, apply wood glue to one side of each strip and carefully position them along the marked lines on the window frame. Secure them in place using clamps or tape until the glue dries completely.
Maintenance And Cleaning Of Window Grids
Maintenance and cleaning of window grids, also known as window muntins or window grilles, is an important aspect of keeping your windows looking clean and functioning properly. Here are some tips for DIY window grid maintenance and cleaning:
- Regular Dusting: Use a soft brush or a vacuum cleaner with a brush attachment to remove dust and debris from the grids. Be gentle to avoid damaging the grids.
- Cleaning Solution: Mix a mild dish soap or window cleaner with warm water in a bucket or spray bottle. Avoid harsh chemicals or abrasive cleaners, as they can damage the grids.
- Gentle Scrubbing: Dip a soft cloth or sponge into the cleaning solution and gently scrub the grids. Pay attention to any stubborn dirt or stains, and use a toothbrush or soft-bristle brush to scrub those areas.
- Rinse Thoroughly: After scrubbing, rinse the grids with clean water using a sponge or spray bottle. Make sure to remove all the soap residue to prevent streaks.
Enhancing The Appearance Of Your Window Grids

Enhancing the Appearance of Your Window Grids Once you have successfully created your DIY window grids, you may want to consider enhancing their appearance to truly transform the look of your windows.
One option is to paint the grids in a color that complements your existing window frames or the overall aesthetic of your home. A fresh coat of paint can instantly breathe new life into your grids and make them pop. Informações sobre como melhorar a aparência das grades da sua janela:
- Limpeza: Comece limpando bem as grades das janelas. Remova qualquer sujeira, poeira ou detritos acumulados. Use uma solução de água morna e sabão neutro para limpar cuidadosamente as grades. Se necessário, use uma escova macia para remover manchas difíceis.
- Pintura: Se as grades estiverem desgastadas ou com uma cor que não combina com o estilo da sua casa, considere pintá-las. Escolha uma tinta de alta qualidade que seja adequada para uso externo. Lixe levemente as grades para criar uma superfície aderente, aplique uma camada de primer e depois pinte com a cor desejada.
Troubleshooting Common Issues

Quando se trata de grades de janela DIY, é importante estar ciente dos problemas comuns que podem surgir durante o processo de instalação ou após a conclusão. Aqui estão algumas informações sobre a solução de problemas dos problemas mais comuns:
- Grade Desalinhada: Se as grades estiverem desalinhadas após a instalação, verifique se os suportes estão firmemente fixados nas janelas. Certifique-se de que os suportes estão nivelados e alinhados corretamente antes de fixar as grades.
- Grades Soltas: Se as grades estiverem soltas ou balançando, verifique se os parafusos ou clipes de fixação foram apertados corretamente. Certifique-se de que todas as conexões estejam bem seguras para evitar que as grades se soltem.
Creative Ideas For Custom Window Grids
Custom window grids are a fantastic option if you want to add a touch of creativity and personalization to your home. Instead of going for the traditional uniform grid pattern, why not think outside the box and try something unique? One idea is to create window grids in the shape of your favorite geometric patterns or even in the outline of your favorite animals or objects. Creative Ideas for Custom Window Grids:
- Geometric Patterns: Use different shapes and sizes to create a unique and modern look for your window grids. Consider using squares, rectangles, triangles, or even hexagons.
- Stained Glass Effect: Instead of traditional window grids, opt for a stained glass effect using colored acrylic or glass panels. This will add a vibrant and artistic touch to your windows.
- Nature-Inspired Designs: Incorporate nature-inspired elements into your window grids. Consider using designs that resemble branches, leaves, or flowers to create a natural and organic look.
- Vintage Charm: Give your windows a vintage touch by using decorative molding and trim to create intricate grid patterns. This can add elegance and character to your windows.
- Custom Shapes: Think outside the box and experiment with unconventional shapes for your window grids. Try using circles, diamonds, or asymmetrical designs to create a unique and eye-catching look.
Conclusion
Creating your DIY window grids is a cost-effective and customizable way to enhance the look of your windows. With just a few tools and materials, you can elevate the style of your home and add a personal touch to your windows.
Gather all the necessary materials, including wooden dowels, a saw, measuring tape, sandpaper, wood glue, and paint or stain of your choice. Start by measuring the dimensions of your window and calculating the number of grids you will need. Using the saw, carefully cut the wooden dowels to the desired length for each grid.
Make sure to sand the edges of the dowels to ensure a smooth finish. Making your window grids allows you to achieve the exact look you desire. So why not give it a try and see the transformation for yourself? We hope now you understand how to make your own diy window grids.
FAQ
[rank_math_rich_snippet id=”s-9cd862bd-c5c6-488b-bcba-fb9b918fa062″]
