Thinking about composting pet waste? It’s a common concern for conscientious pet owners. Many of us want to do our part for the environment. But dealing with pet waste can feel like a messy challenge. Don’t worry, it doesn’t have to be! This guide will walk you through windrow composting for pet waste, making it simple and safe. We’ll break down exactly what you need to do, step-by-step. Ready to turn that waste into valuable garden soil? Let’s get started!
Windrow Composting Pets: Your Essential Guide for Eco-Friendly Waste Management
Hey neighbors! Troy D Harn here from TopChooser. We all love our furry family members, but let’s be honest, their waste can be a bit of a puzzle when it comes to disposal. As folks who love a tidy yard and a healthy planet, we’re always looking for smarter ways to manage things around the house. Composting is a fantastic way to reduce waste and create rich soil for your garden. But what about pet waste? It’s a question many of you have asked. The good news is, with the right method, you can safely compost your pet’s droppings. Today, we’re diving into windrow composting for pet waste. It sounds fancy, but I promise to break it down so it’s straightforward and easy for anyone to follow. We’ll cover what it is, why it works, and exactly how to set up your own system without any fuss. Let’s make composting your pet’s waste a breeze!
What is Windrow Composting for Pet Waste?
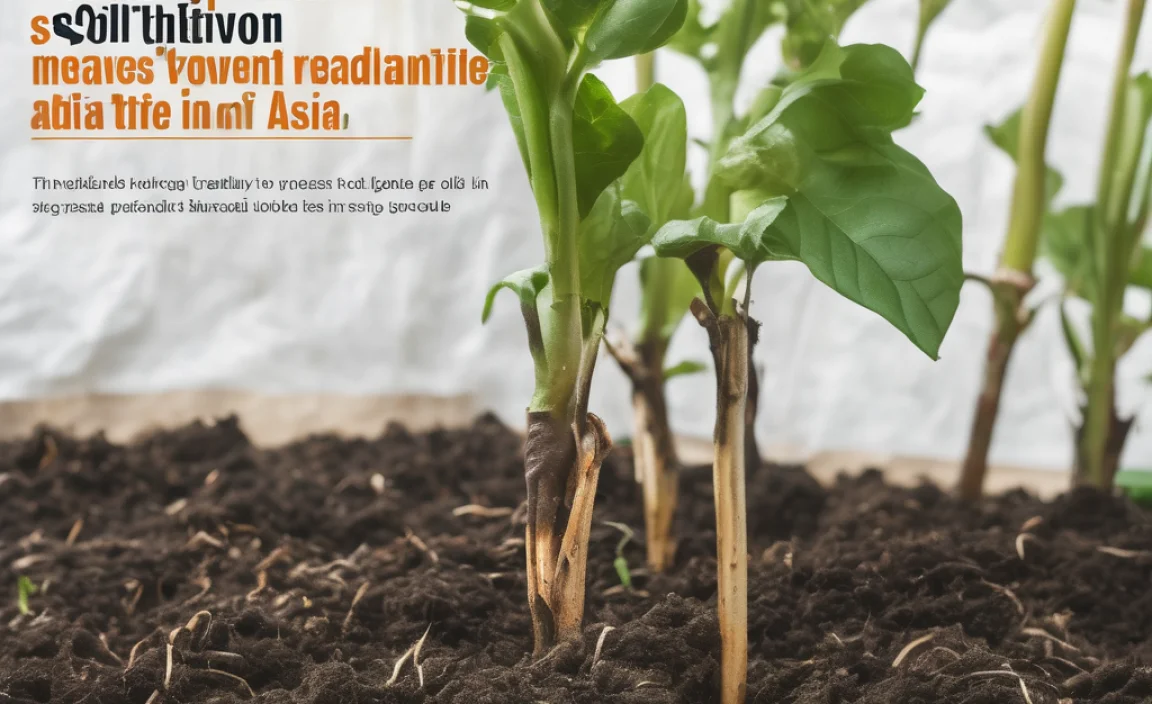
Windrow composting is a method where organic materials, in this case, pet waste mixed with other carbon-rich materials, are piled into long, narrow heaps called “windrows.” These piles are managed and turned periodically to help them break down efficiently. It’s a popular method for larger-scale composting operations, but it can be adapted for home use, especially if you have a bit more space. Think of it as a more structured, aerated way to compost compared to just tossing everything into a closed bin.
The key to successfully composting pet waste, especially dog and cat feces, is ensuring the process gets hot enough to kill off any harmful pathogens. This is where the windrow method shines. By building reasonably sized piles and turning them, you encourage the right kind of microbial activity. These microbes, working in the heat, effectively neutralize potential disease-causing organisms found in pet waste. This makes the finished compost safe to use on non-edible plants or ornamental gardens.
Why Choose Windrow Composting for Your Pets?
Opting for windrow composting for your pet’s waste offers several compelling benefits:
- Environmental Responsibility: It diverts a significant amount of waste from landfills, where it can contribute to methane emissions and leachate pollution.
- Nutrient Recycling: You transform waste into a valuable soil amendment that can enrich your garden beds.
- Odor Control: When done correctly with the right carbon materials, windrow composting can help manage and reduce odors associated with pet waste.
- Pathogen Reduction: The composting process, particularly when it reaches thermophilic (high-heat) temperatures, effectively kills most harmful bacteria and parasites.
- Scalability: While often associated with larger operations, the principles can be scaled down for a backyard setting.
It’s a fantastic way to close the loop in your household and garden, turning a “waste” product into a resource. This method requires a bit more attention to detail than some other composting techniques, but the rewards are well worth the effort for those looking for a thorough and effective solution.
Is it Safe to Compost Pet Waste?
This is the big question, right? And the answer is: yes, it can be safe, but with important caveats and precautions. Pet waste, particularly from dogs and cats, can contain pathogens like E. coli, Salmonella, and various parasites. These can pose risks to human health if not properly managed. The key to safe pet waste composting lies in achieving and maintaining high composting temperatures (typically 131°F to 160°F or 55°C to 71°C) for a sustained period. This “hot composting” phase is crucial for killing off these harmful microorganisms.
The windrow method is particularly well-suited for achieving these temperatures because the shape and size of the pile allow for better aeration and heat retention. However, it’s vital to understand that:
- Never use compost from pet waste on edible crops that you eat raw (like lettuce, carrots, or berries). It is safest for lawns, flowers, shrubs, and trees.
- Keep the compost pile separate from areas where children or pets play.
- Wear gloves when handling pet waste and working with the compost pile.
- Composting cat waste is generally more challenging and often not recommended for home systems due to the potential presence of Toxoplasma gondii, which can be more resilient. For simplicity and safety, this guide focuses primarily on dog waste.
For more detailed information on safe composting practices regarding pathogens, the U.S. Environmental Protection Agency (EPA) offers valuable resources.
Materials You’ll Need for Windrow Composting Pets
To get your windrow composting system up and running for pet waste, you’ll need a few key ingredients and tools. Think of it like gathering everything before starting a big recipe!
Essential “Greens” (Nitrogen-Rich Materials):
This is your pet waste! It provides the nitrogen needed for the microbes to work. Collect it fresh.
- Fresh dog feces
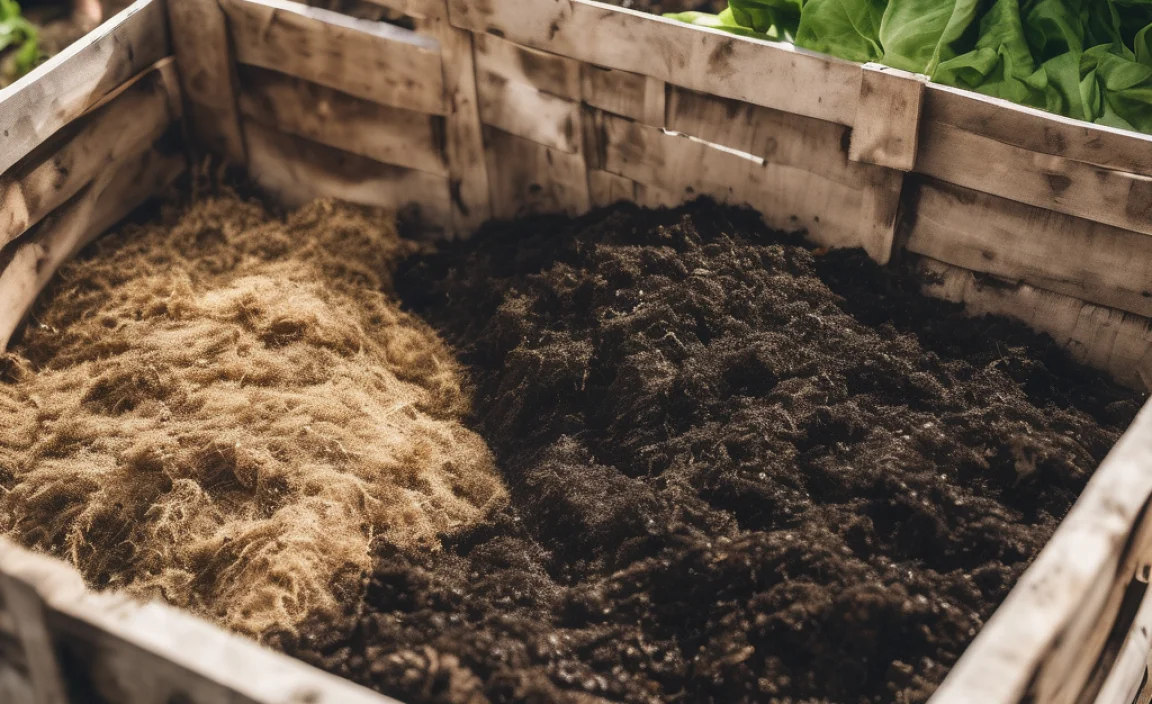
Essential “Browns” (Carbon-Rich Materials):
These are super important! They provide carbon for the microbes and help balance the nitrogen in the pet waste. The more browns you add, the less smell and the better the composting process.
- Shredded newspaper (non-glossy)
- Shredded cardboard (non-glossy)
- Dry leaves
- Straw or hay
- Wood chips or sawdust (aged is best, use sparingly if fresh)
- Pine needles
Tools and Equipment:
- Shovel or Pitchfork: For turning the compost pile. A sturdy pitchfork works best for aerating.
- Wheelbarrow: For moving materials to and from the compost pile.
- Garden Hose or Watering Can: To maintain moisture levels.
- Compost Thermometer (Optional but Recommended): To check the internal temperature of the pile.
- Gloves: For hygiene and safety.
- Dedicated Area: A spot in your yard that’s out of the way, preferably with good drainage and some sunlight to help heat it up.
Optional but Helpful:
- Aeration Tools: Special compost aerators can make turning easier.
- Small Bin or Bucket with Lid: To collect pet waste before adding it to the windrow.
Having a good mix of ‘greens’ (like the pet waste) and plenty of ‘browns’ is the secret sauce. The browns act like a sponge, absorbing moisture and odors, and providing the energy source for the composting microbes.
Setting Up Your Pet Waste Windrow: Step-by-Step
Ready to build your compost windrow? It’s a straightforward process, and we’ll go through it together. Remember, the goal is to create a pile that’s big enough to heat up but manageable to turn.
Step 1: Choose Your Location
Find a suitable spot in your yard. It should be:
- Out of the way: Away from high-traffic areas, patios, or play zones.
- Accessible: Especially with a wheelbarrow for adding materials and turning.
- Well-drained: Avoid areas that get waterlogged after rain.
- Partially sunny: Sunlight helps the pile heat up, but too much intense sun can dry it out quickly, so a balance is good.
Step 2: Build the Base Layer
Start by adding a layer of coarse “brown” material to the ground. This could be straw, wood chips, or shredded cardboard. This layer helps with drainage and aeration from the bottom.
- Aim for a base about 6-12 inches thick.
Step 3: Start Adding Pet Waste and Browns
Now, begin layering your materials. The ideal ratio is roughly 3 parts “browns” to 1 part “greens” (pet waste). This ratio is vital for balancing moisture, aeration, and odor. So, for every scoop of pet waste, add about three scoops of shredded newspaper, leaves, or cardboard.
- First, add a layer of pet waste you’ve collected.
- Immediately cover it thoroughly with a thick layer of your carbon-rich “brown” materials. Don’t be shy with the browns!
- Continue layering pet waste and browns.
Step 4: Shape Your Windrow
As you add materials, begin forming them into a long, narrow pile – your windrow. A common size for home-scale windrows is about 3 feet wide, 3 feet high, and as long as you need it to be. This size is large enough to retain heat but permits easy turning. Imagine a long, rectangular loaf of bread.
- Keep the sides relatively steep and the top rounded.
Step 5: Add Moisture
Your compost pile needs to be about as damp as a wrung-out sponge. After adding layers, or the whole pile initially, lightly water it. If it’s too dry, the microbes can’t work efficiently. If it’s too wet, it can become anaerobic and smelly.
- You can use a hose with a gentle spray or a watering can.
- Check the moisture by squeezing a handful of material. A few drops of water should come out.
Step 6: Monitor and Turn
This is where the “windrow” management comes in. You need to turn the pile regularly to introduce oxygen, which is essential for aerobic decomposition (the good kind that doesn’t stink!).
- Initial Turning: After about a week or two, turn the pile for the first time. Use your shovel or pitchfork to move the outer materials into the center and vice versa. Break up any clumps.
- Regular Turning: Continue turning the compost pile every 1-3 weeks thereafter. The frequency depends on how quickly you want it to break down and how hot it’s getting.
- Temperature Check: If you have a compost thermometer, aim to turn the pile when the internal temperature starts to drop from its peak (around 130-140°F or 54-60°C). This signals that the microbes need more air and fresh materials to continue the process.
When you turn, mix the materials thoroughly to ensure even decomposition. The goal is to keep the pile biologically active and hot enough to be safe.
The “Hot” Composting Principle for Pet Waste
Achieving high temperatures is non-negotiable for safely composting pet waste. This is because pathogens like E. coli and Salmonella thrive in cooler conditions. When your compost pile heats up to the thermophilic range (131°F to 160°F or 55°C to 71°C), these harmful organisms are killed off.
The windrow method is excellent for this because:
- Size Matters: A pile that is at least 3 feet by 3 feet by 3 feet can insulate itself, allowing heat to build up effectively.
- Aeration is Key: Turning the pile introduces oxygen, which fuels the thermophilic microbes. Without oxygen, the pile can cool down and become anaerobic, leading to foul odors and incomplete decomposition.
- Microbial Activity: Certain bacteria and fungi are most active at high temperatures. These are the workhorses that break down organic matter and eliminate pathogens.
If your pile consistently reaches these high temperatures after turning and holds them for a few days, you are on the right track for safe composting. A compost thermometer is a useful tool here to monitor this crucial aspect. You’re essentially managing a mini biological reactor!
Managing Moisture and Odor
Two of the most common concerns with composting pet waste are moisture and odor. Thankfully, they are closely related and can be managed with the right approach. This is where the “browns” are your best friend!
Moisture Management:
The ideal moisture content for composting is around 50-60%. This feels like a well-wrung-out sponge. Too dry, and decomposition slows to a crawl. Too wet, and the pile can become anaerobic, leading to foul smells and slow breakdown.
- If the pile is too dry: Add water gradually while turning the pile. Ensure the water penetrates all layers.
- If the pile is too wet: Add more dry, carbon-rich “brown” materials (like shredded cardboard, dry leaves, or straw). Turn the pile regularly to incorporate these browns and improve aeration. The browns will absorb excess moisture.
Odor Control:
A well-managed compost pile, especially one with a good balance of greens and browns and plenty of air, should smell earthy, not foul. Ammonia or rotten egg smells usually indicate an issue.
- Ammonia Smell: This usually means there’s too much nitrogen (too much pet waste relative to browns). Cover the area with more brown materials and turn the pile.
- Rotten Egg Smell: This signifies an anaerobic condition – lack of oxygen. Turn the pile thoroughly, making sure to break up any dense, wet clumps. Incorporate more browns to improve aeration.
- The “Browns” to the Rescue: Always ensure fresh pet waste is immediately buried under a generous layer of carbon-rich materials. This is the most effective way to trap odors.
Regular turning is your best defense against both moisture and odor problems. It ensures oxygen is available and helps evenly distribute moisture and materials.
Turned Compost vs. Unturned Compost
You might wonder if turning is really that big of a deal. For composting pet waste, especially to ensure safety, turning is highly recommended. Here’s a quick look at the difference:
| Feature | Turned Compost (Windrow Method) | Unturned Compost (Static Pile) |
|---|---|---|
| Decomposition Speed | Faster. Aeration and consistent heat speed up the process. | Much slower. Relies on natural air diffusion, which is limited. |
| Pathogen Kill | More effective and reliable. Regular turning ensures even heating and aeration, crucial for killing pathogens. | Less effective and potentially risky. The core of the pile might not reach safe temperatures consistently. |
| Odor Control | Generally better. Aeration prevents anaerobic conditions that cause foul smells. | Can become anaerobic and smelly if too compact or wet. |
| Effort Required | Higher. Requires regular physical turning. | Lower. Requires minimal physical effort. |
| Temperature Regulation | Easier to manage and monitor high temperatures. | Difficult to achieve and maintain consistent high temperatures throughout the pile. |
While an unturned pile might seem easier, for pet waste, the added effort of turning is a crucial safety measure. It ensures the entire pile reaches the necessary temperatures for pathogen destruction, making your finished compost much safer to handle and use.
When is Pet Waste Compost Ready to Use?
Determining when your compost is ready is key. You’re looking for finished compost that is dark, crumbly, and smells earthy – like a forest floor. The original materials should be unrecognizable.
For pet waste compost, it’s especially important to be patient and ensure thorough decomposition. Here are signs it’s ready:
- Appearance: The material will look uniformly dark brown or black and have a crumbly texture. You shouldn’t be able to identify individual pieces of feces or paper.
- Smell: It should have a pleasant, earthy aroma. Any sour, ammonia, or foul odors indicate it’s not fully composted.
- Temperature: The compost pile should have cooled down to ambient temperature and stay that way. If it heats up significantly after turning, it needs more time.
- Time: Depending on the frequency of turning, moisture levels, and ambient temperature, it can take anywhere from 6 months to over a year for pet waste compost to be fully mature and safe. Composting in colder months will naturally slow down the process.
Crucially, remember the safety guidelines: Even when it looks and smells ready, never use compost derived from pet waste on edible plants that are eaten

I am passionate about home engineering. I specialize in designing, installing, and maintaining heating, ventilation, and air conditioning systems. My goal is to help people stay comfortable in their homes all year long.