Worm composting, also called vermicomposting, might sound a little… slimy. But trust me, it’s a super simple way to turn your kitchen scraps into amazing fertilizer for your plants! Many people think it’s complicated or messy, but it doesn’t have to be. You can easily create a little composting station right at home. This guide will show you exactly how to get started, making it easy and fun. Ready to give it a try? Let’s dig in!
What Exactly Is Worm Composting?
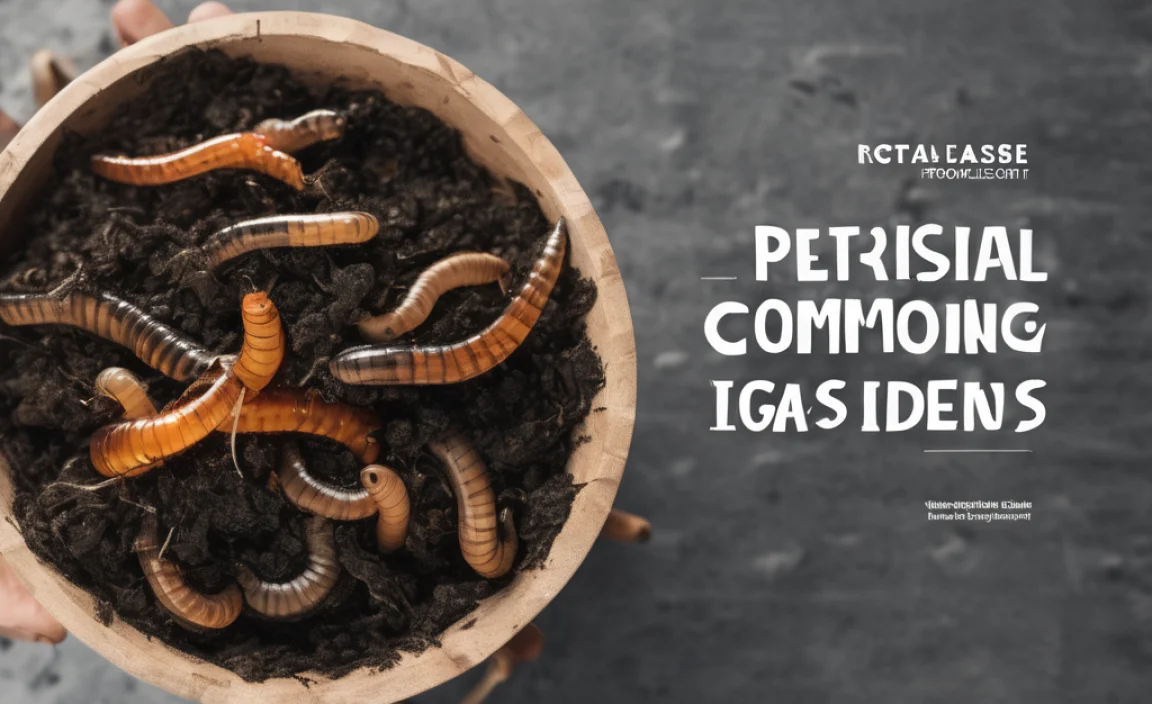
So, what’s the deal with worm composting? It’s basically using special types of worms (not the ones from your garden!) to eat your food scraps and produce nutrient-rich worm castings, which is a fancy name for worm poop. This “black gold” is incredibly good for your soil, helping your plants grow bigger and healthier. It’s a natural way to recycle and improve your gardening game, all at the same time.
Think of it this way: instead of throwing away fruit peels, coffee grounds, and veggie scraps, you’re feeding them to super-efficient little recyclers. In return, you get a fantastic, natural fertilizer that’s packed with goodness for your plants. It’s a win-win for your kitchen and your garden!
Why Should You Try Worm Composting?

There are so many great reasons to get into worm composting. For starters, it significantly reduces the amount of waste you send to the landfill. That’s a big win for the environment!
- Reduces Waste: Less trash means a happier planet. You’d be surprised how much food waste can be composted.
- Amazing Fertilizer: Worm castings are one of the best natural soil amendments available. They improve soil structure, drainage, and aeration, and they provide essential nutrients to your plants.
- Faster Than Traditional Composting: Worms work pretty quickly, so you can harvest your “black gold” much sooner than with a big compost pile.
- Great for Small Spaces: You don’t need a big backyard for this. A worm bin can fit on a balcony, under a sink, or in a corner of your kitchen or garage.
- Educational and Fun: It’s a fascinating process to watch, and it’s a great way to teach kids (and yourself!) about decomposition and the natural cycle of things.
- Cost-Effective: Once you have your bin and worms, the ongoing cost is minimal – just your kitchen scraps!
What You Need to Get Started: Your Worm Composting Toolkit
Getting started with worm composting is surprisingly straightforward. You don’t need a lot of fancy equipment. Here’s a breakdown of the essentials:
1. The Worm Bin: Your Worms’ New Home
This is where your composting worms will live. You have a few options:
- DIY Bin: This is often the most budget-friendly option. You can make a bin from plastic storage totes. Look for sturdy ones. You’ll need to drill holes for ventilation and drainage. A common setup involves two totes: one with drainage holes for the worms to live in, and a second solid one underneath to catch any liquid (called “worm tea”).
- Commercial Bins: These are ready-made and often designed specifically for vermicomposting. They might come with multiple trays, built-in drainage, and good ventilation. They are a bit more of an upfront cost but are very convenient. Reputable brands often have good customer support too.
- Other Options: Some people use old drawers, wooden crates, or even purpose-built worm composting towers. The key is that it’s enclosed, allows airflow, and managed moisture.
For beginners, a simple two-tote DIY system is a fantastic way to start without breaking the bank. You can find plenty of tutorials online from sites like the EPA that provide detailed instructions.
2. The Bedding: Comfort for Your Composting Crew
Worms don’t just live in dirt! They need a cozy, moist environment to thrive. This is called bedding.
- Shredded Newspaper: Black and white newspaper (avoid glossy ads) is a classic choice. Shred it into strips.
- Cardboard: Corrugated cardboard, shredded or torn into small pieces, works well.
- Coconut Coir: This is a popular bedding material made from coconut husks. It holds moisture well and is widely available online or at garden supply stores.
- Aged Leaves: Dry, shredded leaves can also be used.
- Paper-based Pet Bedding: Some types can work if they are unscented and plain.
You’ll want to soak your chosen bedding material in water until it’s damp, like a wrung-out sponge, and then fluff it up before adding it to the bin. It should be moist but not dripping wet.
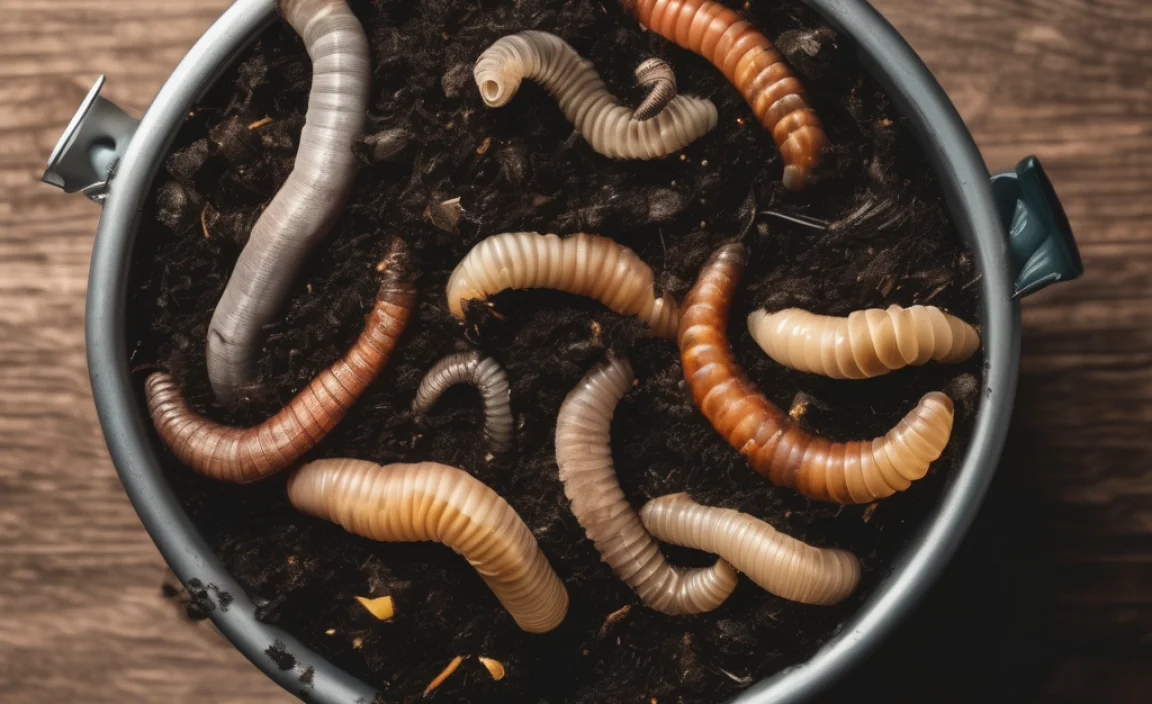
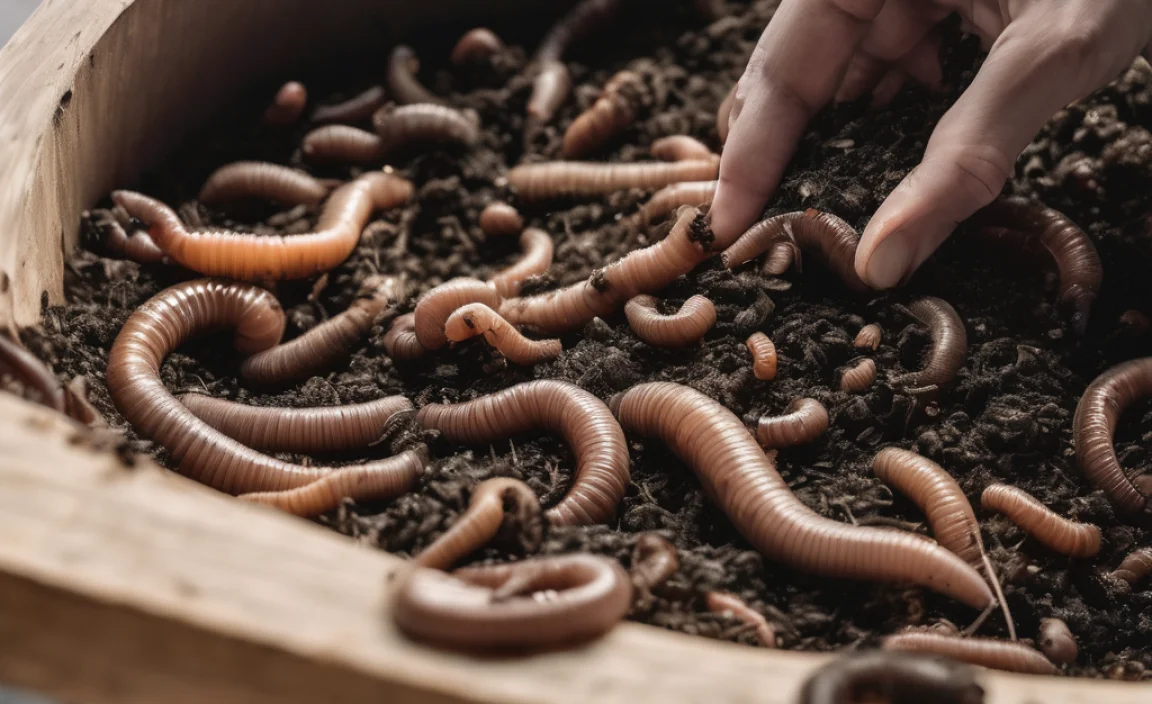
3. The Worms: Your Composting Companions
This is the most important part! You can’t use just any old earthworm. You need specific types that are known for their composting abilities. The two most popular composting worms are:
- Red Wigglers (Eisenia fetida): These are the most common and highly recommended for beginners. They reproduce quickly and voraciously eat food scraps.
- European Nightcrawlers (Eisenia hortensis): These are larger worms and can also be good composters. They are sometimes called “red wigglers,” but they are a distinct species.
You can purchase composting worms online from reputable worm farms or sometimes find them at local gardening centers. A good starting point is about 1 pound (around 1000 worms) for a typical bin.
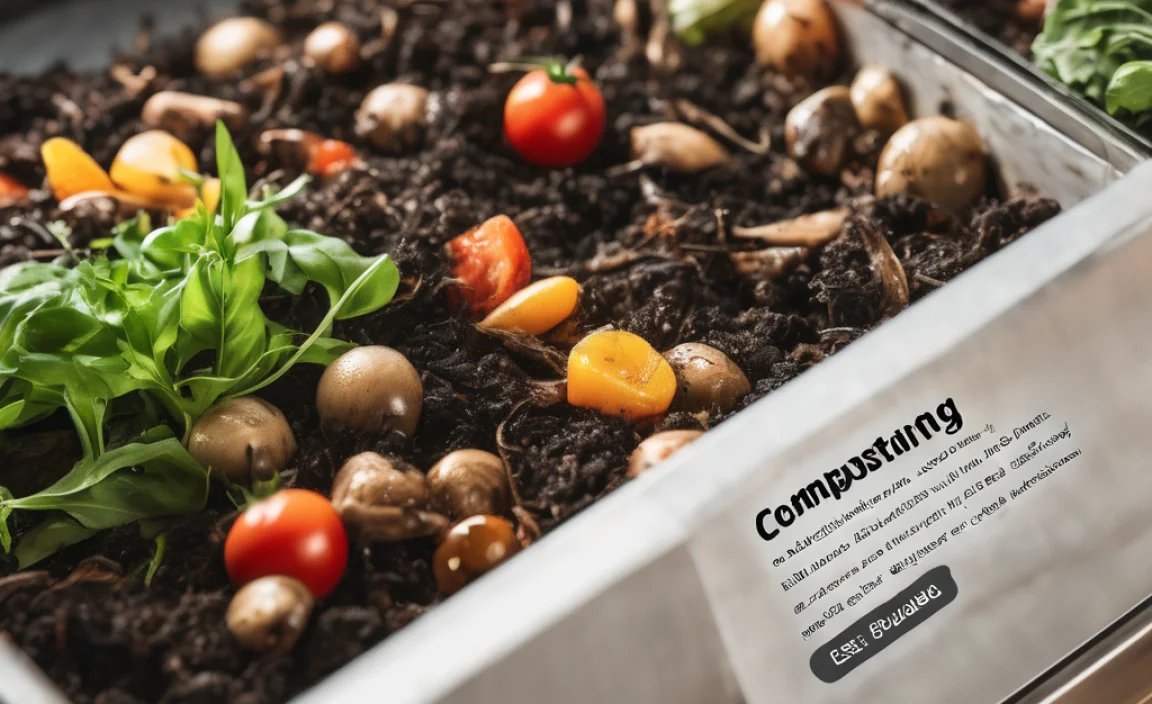
4. Food Scraps: The Worm Buffet
Your worms will eat a variety of things, but it’s important to feed them the right stuff and in the right way. Good foods include:
- Fruit and vegetable scraps (peels, cores, rinds, wilted greens)
- Coffee grounds and filters
- Tea bags (remove any staples or plastic tags)
- Crushed eggshells (great for adding grit and balancing pH)
- Plain, cooked pasta and rice (in moderation)
- Bread (in moderation)
Avoid feeding them:
- Meat, poultry, fish, or dairy products (these can attract pests and create odors)
- Oily or greasy foods
- Spicy foods
- Citrus in large quantities (can be too acidic)
- Onion and garlic in large quantities
- Diseased plants
- Dog or cat feces
It’s also a good idea to chop up your food scraps into smaller pieces. This helps the worms digest them more quickly.
5. Tools (Optional but Helpful)
- Shovel or Trowel: For mixing bedding and harvesting castings.
- Spray Bottle: To keep the bedding moist.
- pH Test Kit: To ensure your bin isn’t too acidic or alkaline.
- Moisture Meter: To check bedding dampness.
Building Your Worm Bin: Step-by-Step Guide
Let’s get your worm bin ready! We’ll focus on a simple, popular DIY method using two plastic totes.
Step 1: Prepare the Totes
You’ll need two identical opaque plastic storage totes (around 10-14 gallons each). Opaque totes are better because worms prefer darkness.
- Tote 1 (The Working Bin): This tote will hold your worms and bedding. Use a drill to make about 10-20 small (1/4-inch) holes evenly spaced across the bottom. This is for drainage. Then, drill about 10-20 similar-sized holes in the lid for ventilation. You can also add a few holes on the sides near the top.
- Tote 2 (The Collection Tray): This tote will sit underneath Tote 1 and catch any excess liquid (worm tea). This tote should NOT have any holes drilled in it.
Pro Tip: If your totes are clear, you can always paint the outside of Tote 1 with dark-colored, non-toxic paint, or cover it with dark fabric or cardboard to block light.
Step 2: Create the Bedding
Gather your bedding materials (shredded newspaper, cardboard, coconut coir, etc.). You’ll need enough to fill Tote 1 about halfway to two-thirds full. Mix your chosen materials in a separate bucket or tub. Gradually add water, mixing thoroughly, until the bedding is damp but not soaking wet. Squeeze a handful; only a drop or two of water should come out. It should feel like a wrung-out sponge.
Fluff up the damp bedding and place it into Tote 1.
Step 3: Introduce Your Worms!
Gently place your composting worms onto the surface of the bedding. Allow them a few minutes to burrow down – they’ll instinctively move away from the light.
Step 4: Add Their First Meal
Bury a small amount of chopped-up food scraps (about a cup or two to start) under the bedding in one corner of the bin. This gives them something to munch on and encourages them to settle in.
Step 5: Assemble the Bin
Place Tote 1 (with the worms, bedding, and food) inside Tote 2 (the collection tray). Put the lid with ventilation holes onto Tote 1. Make sure Tote 2 fits snugly underneath Tote 1 so no worms can escape through the drainage holes.
Step 6: Find the Right Spot
Worms are sensitive to temperature. They do best in temperatures between 55°F and 77°F (13°C and 25°C). Find a location for your bin that maintains this consistent temperature. This could be:
- A cool, dark corner of your garage or basement.
- Under your kitchen sink (if it doesn’t get too hot or cold).
- A shaded spot on a balcony or patio (beware of extreme heat or cold).
Avoid direct sunlight and extreme temperature fluctuations.
Worm Composting – What to Feed Your Worms & What to Avoid

Feeding your worms is a key part of successful vermicomposting. When you get it right, they’ll happily munch their way through your kitchen scraps. Here’s a quick reference table:
| Good to Feed Your Worms | Avoid Feeding Your Worms |
|---|---|
| Fruit and vegetable scraps (peels, cores, stems, wilted produce) | Meat, poultry, and fish scraps |
| Coffee grounds and paper filters | Dairy products (milk, cheese, yogurt) |
| Tea bags (remove staples/plastic) | Oily or greasy foods |
| Crushed eggshells (rinsed) | Spicy foods (peppers, hot sauce) |
| Cooked grains and bread (in moderation) | Citrus peels in large quantities (can be too acidic) |
| Stale, unprocessed popcorn kernels | Onions and garlic in large quantities |
| Moldy bread or cheese (small amounts are usually fine, but can attract pests) | Diseased plants or plant matter |
| Anything treated with pesticides | |
| Feces from cats or dogs |
How to Feed: Start by burying food scraps in one section of the bin. As the worms eat that food, they’ll move to that section. The next time you feed, bury food in a different section. This method helps you know where the worms are and makes harvesting easier. Always bury the food under the bedding to prevent odors and pests.
How Much to Feed: As a general rule, your worms can eat about half their weight in food per day. So, a pound of worms can eat about half a pound of food scraps per day. Start with smaller amounts and observe. If food isn’t being eaten within a week, you’re likely feeding too much. If it’s disappearing quickly, you can increase the amount.
Maintaining Your Worm Bin: Keeping Your Worms Happy
Once your bin is set up, the real magic happens with a little ongoing care. It’s much less work than you might think!
1. Feeding Schedule
Most beginners feed their worms once or twice a week. Dig a little trench in the bedding, bury your food scraps, and cover them back up with bedding. Rotate where you bury the food to encourage the worms to spread out.
2. Moisture Level
The bedding should always feel like a damp sponge. If it seems dry, mist it with water using your spray bottle. If it’s too wet, add more dry bedding material and gently aerate it. A little bit of liquid collecting in the bottom tray is normal and is valuable “worm tea.”
3. Aeration
Worms need oxygen! Every couple of weeks, gently turn the top few inches of the bedding with a hand trowel or garden fork. Be careful not to disturb the worms too much. This helps prevent compaction and improves airflow.
4. Temperature
Keep your bin in a temperature-stable location. If it gets too hot, you might need to move it to a cooler spot or even add some frozen water bottles to the bin temporarily. If it gets too cold, bring it indoors or insulate the bin.
5. Harvesting Worm Castings
This is the moment you’ve been waiting for! You can start harvesting castings after about 2-3 months. You’ll know it’s time when you see mostly dark, earthy-smelling material with few recognizable food scraps and bedding. Here are a few methods:
- The “Migration” Method: Stop feeding your worms in their current bin for about 2 weeks. Then, add fresh bedding and food scraps to one side of the bin. Most of the worms will migrate to the new food source over a week or two. You can then scoop out the castings from the other side.
- The “Light” Method: Dump the bin’s contents onto a tarp or plastic sheet under bright light (sunlight is good). Worms hate light and will try to burrow downwards. Collect the top layer of castings, then let the light expose more worms burrowing down. Repeat until you have a pile of mostly worms and a pile of castings. You can then return the worms to the bin with fresh bedding.
- The “Sifting” Method: Use a sieve or screen to sift the material. This separates the finer castings from any larger undigested bits or cocoons.
Store your harvested worm castings in a breathable container. They are a potent fertilizer and can be mixed into potting soil or spread around plants.
6. Managing Worm Tea
The liquid that collects in the bottom tray is called worm tea. It’s a nutrient-rich liquid that can be diluted and used as a potent fertilizer for your plants. Dilute one part worm tea with ten parts water (1:10 ratio) before watering your plants.
Important Note: If you notice a foul odor coming from your bin, it’s usually a sign of overfeeding, too much moisture, or not enough air. Stop feeding, add dry bedding, and aerate the bin. It should smell earthy, not rotten.
Worm Composting Ideas: Beyond the Basics
Once you’re comfortable with your worm bin humming along, you might want to try some of these more advanced or fun ideas!
1. Vertical Worm Towers
These are great for small spaces. A worm tower is usually a single tube or column buried in your garden or a large planter. You add food scraps to the top opening, and worms move up from the soil to eat them, leaving castings behind.
2. Worm Blankets
Some worm bin enthusiasts use a “worm blanket” on top of the bedding. This is usually a piece of burlap, old cotton fabric, or even cardboard. It helps retain moisture, keep the bedding dark, and can deter fruit flies.
3. Harvesting Worm Cocoons
Worms reproduce by laying cocoons. You’ll see small, yellowish oval-shaped things in your castings. You can either leave them in the bin to hatch, or if you want to start a new bin or donate worms, you can collect them carefully.
4. Worm Casting Tea Brewing
Beyond just collecting the
Related Posts

I am passionate about home engineering. I specialize in designing, installing, and maintaining heating, ventilation, and air conditioning systems. My goal is to help people stay comfortable in their homes all year long.
