Hey there, fellow home enthusiasts and garden friends! Troy D Harn here from TopChooser. Ever stand by your kitchen bin, about to toss those colorful fruit peels, and wonder if they’re compost-worthy? You’re not alone! It’s a super common question, and the thought of throwing away perfectly good organic material can feel like a missed opportunity. But don’t worry, we’re about to clear up all the confusion. I’ll walk you through exactly what you need to know to turn those peels into garden gold. Get ready to become a composting pro!
Can You Compost Fruit Peels? Your Essential Guide for a Greener Bin
Welcome to the wonderful world of composting! If you’re looking to reduce waste and create amazing food for your garden, composting is a fantastic way to go. And guess what? Those fruit peels you’re holding? They’re prime compost material! It might seem simple, but knowing which peels go in and how to avoid common pitfall s can make all the difference. We’re going to break it all down, step by step, so you can feel confident and ready to start composting your fruit peels today.
Why Compost Fruit Peels? The Big Benefits
Before we dive into the ‘how,’ let’s talk about the ‘why.’ Composting fruit peels isn’t just about getting rid of kitchen scraps; it’s about closing the loop in your home and garden. Here’s why you’ll want to toss those peels into your compost bin:
- Nutrient-Rich Soil: As fruit peels break down, they release valuable nutrients like nitrogen, potassium, and phosphorus. These are essential building blocks for healthy soil, leading to vibrant plants and bountiful harvests.
- Reduces Landfill Waste: Food scraps make up a significant portion of what we send to landfills. Composting diverts this organic material, reducing greenhouse gas emissions and extending the life of our landfills. It’s a simple act with a big impact.
- Saves Money: By creating your own compost, you can reduce or even eliminate the need to buy expensive fertilizers and soil amendments for your garden. Your compost is essentially free, high-quality garden food!
- Improves Soil Structure: Compost adds organic matter to your soil, improving its ability to retain moisture, resist compaction, and support beneficial microorganisms. This means healthier roots and more resilient plants.
- It’s Easier Than You Think: With a little know-how, composting fruit peels is a straightforward process that can be integrated seamlessly into your kitchen routine.
The Fruit Peel Compostability Checklist: What Goes In?
When it comes to composting fruit peels, not all are created equal, but thankfully, most are fantastic additions. The general rule of thumb is that if it grew on a plant, it’s likely compostable. Let’s look at the stars of the show:
Go Ahead and Compost These:
- Apple Cores and Peels: Rich in carbon, helping to balance out nitrogen-rich materials. Avoid if you’ve treated them with commercial waxes you’re concerned about.
- Banana Peels: Packed with potassium and calcium, fantastic for flowering and fruiting plants. They break down relatively quickly.
- Citrus Peels (Oranges, Lemons, Grapefruits): These are great sources of nitrogen and beneficial oils. However, use them in moderation, as the acidity and oils can sometimes slow down decomposition or deter beneficial microbes in large quantities. Chop them up to help them break down faster.
- Berries (Strawberries, Blueberries, Raspberries): All of these are wonderful additions. Strawberry tops and their hulls are excellent.
- Stone Fruit Pits and Peels (Peaches, Plums, Cherries): The fleshy parts and peels are great. The pits themselves will take a very long time to break down, so don’t expect them to disappear quickly, but they will eventually decompose.
- Melon Rinds (Watermelon, Cantaloupe, Honeydew): These are high in moisture and nitrogen, helping to keep your compost pile moist and active. Chop them into smaller pieces.
- Pears, Grapes, Kiwis, Mangoes, Pineapples: All excellent! Pineapple tops and cores are also good additions.
What to Be Cautious About (Or Avoid)
While most fruit peels are compostable, there are a few things to keep in mind:
- Very Large Avocado Pits: The fleshy avocado itself is compostable. The pit is technically compostable but will take an extremely long time to break down due to its hardness. You can compost it, but don’t expect it to disappear quickly.
- Anything Treated with Pesticides/Herbicides: If you’re concerned about chemicals in your compost, it’s best to stick to organic fruit peels or wash conventional peels thoroughly before composting.
- Citrus in Excess: As mentioned, while compostable, a massive amount of just citrus peels can potentially make the compost too acidic for optimal microbial activity. A balanced compost pile is key.
What NOT to Compost: A Quick Reminder
It’s just as important to know what to leave out of your compost bin to ensure a healthy, odor-free process. While this guide is focused on fruit peels, here’s a general rundown:
| Do NOT Compost These Items | Why Avoid Them? |
|---|---|
| Meat, Fish, Bones, Dairy Products | Attract pests (rodents, flies), can cause foul odors, and may spread pathogens. |
| Oily or Greasy Foods | Can coat other materials, slowing decomposition, and attract pests. |
| Diseased Plants | Pathogens can survive the composting process and spread to your garden. |
| Weeds with Seeds | Seeds may survive composting and sprout in your garden. |
| Pet Waste (Dog/Cat Feces) | Can contain harmful pathogens that may not be killed during typical home composting. |
| Chemically Treated Yard Waste | Herbicides and pesticides can persist and harm your garden. |
Getting Started: Your Simple Composting Setup
You don’t need a fancy setup to start composting fruit peels. Here are a couple of beginner-friendly options:
Option 1: The Kitchen Counter/Under-Sink Bin
This is perfect for collecting your fruit peels (and other compostables) right where you generate them. Look for:
- Small, Lidded Container: Many are designed specifically for compost, often with charcoal filters to control odors.
- Easy to Clean: You’ll be emptying it regularly.
- Convenience: Keep it on your counter or tucked away under the sink.
Option 2: The Outdoor Compost Bin or Pile
This is where the magic happens! You can choose from:
- Manufactured Bins: These are widely available from garden centers and online retailers. They come in various sizes and materials (plastic, wood, wire). Some have tumblers for easy turning, others are stationary. A helpful resource from the EPA outlines different composting systems.
- DIY Compost Pile: If you have a bit more space, you can simply create a pile in a corner of your yard. You can corner off an area with pallets or wire mesh to keep it tidy.
How to Compost Fruit Peels: A Step-by-Step Approach
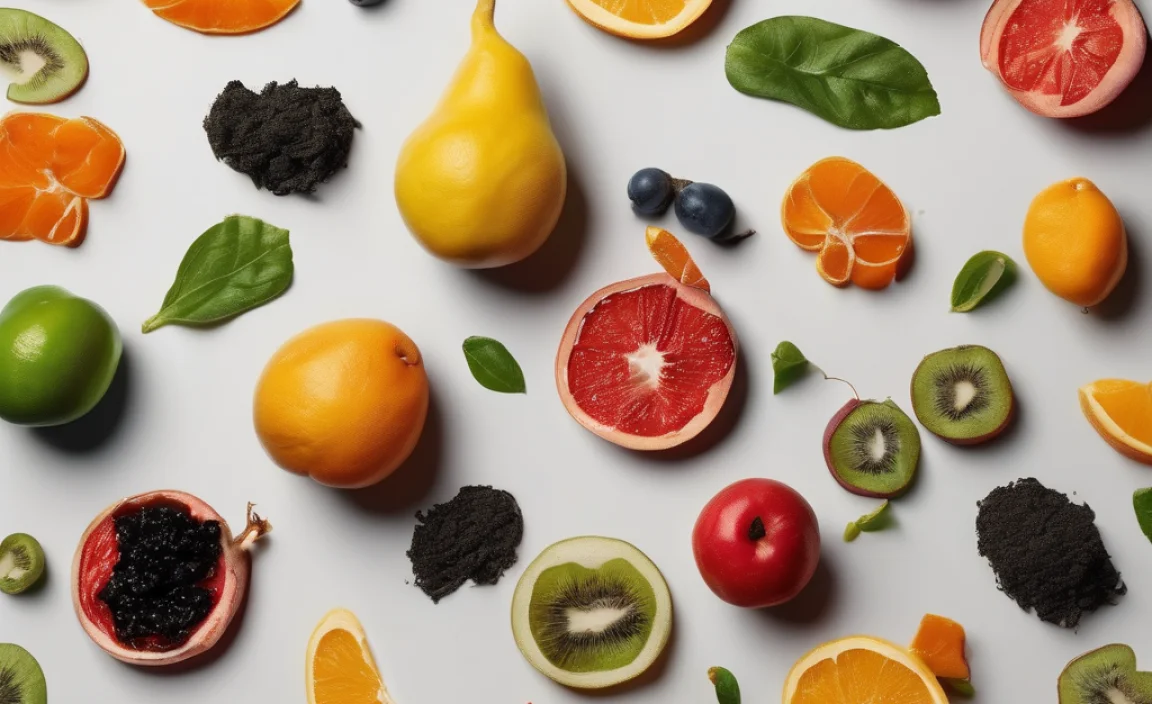
Ready to turn those peels into black gold? Here’s how to do it:
Step 1: Collect Your Scraps
Use your indoor kitchen bin to collect all your compostable fruit peels. Don’t forget things like coffee grounds and tea bags too – they are fantastic for compost!
Step 2: Prepare Your Peels
For most fruit peels (like apple, banana, berry), you can toss them in as they are. However, for larger or tougher peels like citrus rinds and melon rinds, it’s a good idea to chop them into smaller pieces. This increases the surface area, allowing beneficial microbes to break them down faster. Think bite-sized pieces!
Step 3: Transport to Your Outdoor Bin
When your kitchen bin is full, or at least every few days, carry it to your outdoor compost bin or pile. This prevents any odors from building up indoors and ensures your compost is consistently fed.
Step 4: Add to Your Compost Bin – The Green & Brown Balance
This is the most crucial part of successful composting: achieving a good balance between “greens” and “browns.”
- Greens (Nitrogen-Rich): These are moist materials that provide nitrogen. Fruit peels, vegetable scraps, coffee grounds, and grass clippings are all greens.
- Browns (Carbon-Rich): These are dry, carbon-rich materials that provide structure and airflow. Examples include dry leaves, shredded newspaper, cardboard, straw, and small twigs.
Aim for roughly a 2:1 or 3:1 ratio of browns to greens by volume. This means for every 2 or 3 shovelfuls of greens, add 1 or 2 shovelfuls of browns. This ratio is key to preventing your compost from becoming a smelly, slimy mess.
How to layer:
- Start with a layer of browns at the bottom for drainage and airflow.
- Add your collected fruit peels and other kitchen scraps (your greens).
- Cover the greens with another layer of browns. This helps deter pests and manage moisture and odor.
If you have a lot of fruit peels, you might need to consciously add more dry brown materials to keep the balance right. A good rule of thumb is to always finish by adding a layer of browns on top.
| Compost Material Type | What it Provides | Examples |
|---|---|---|
| Greens (Nitrogen) | Moisture, nitrogen, helps heat up the pile | Fruit peels, vegetable scraps, coffee grounds, tea bags, grass clippings |
| Browns (Carbon) | Carbon, structure, airflow | Dry leaves, shredded newspaper, cardboard, straw, wood chips, small twigs |
Step 5: Maintain and Monitor
Composting is an active process, even if you’re not actively turning it every day. Here’s what to do:
- Moisture: Your compost pile should be as damp as a wrung-out sponge. If it’s too dry, add some water. If it’s too wet, add more browns.
- Aeration: Compost needs oxygen to break down efficiently. Turn your compost pile with a garden fork or pitchfork every week or two. This also helps mix materials and speed up decomposition. If you have a tumbler, give it a spin! The University of Minnesota Extension offers great tips on managing compost piles.
- Temperature: A healthy compost pile will heat up as the microbes work. This heat helps kill weed seeds and pathogens. You don’t need to actively manage temperature unless you’re aiming for very fast composting.
Step 6: Harvesting Your Compost
Compost is ready when it’s dark, crumbly, and smells earthy – like a forest floor. You shouldn’t be able to identify the original materials (like your fruit peels!). This can take anywhere from a few months to a year, depending on your setup, the materials you add, and how often you turn it.
To harvest, you can either dig compost from the bottom of a stationary bin or wait until the entire batch is ready. Sift it through a screen if you want a finer texture, and use it to enrich your garden beds, potted plants, or lawn!
Troubleshooting Common Composting Issues
Even with the best intentions, you might run into a few snags. Don’t get discouraged; these are usually easy to fix!
- The Smell: If your compost smells like rotten eggs or ammonia, it’s likely too wet or has too many greens and not enough browns. Add a generous layer of browns (like shredded cardboard or dry leaves) and turn the pile to incorporate them and add air.
- It’s Not Heating Up (or Decomposing): This usually means it’s too dry, lacks nitrogen (greens), or isn’t big enough to generate heat. Add some water, mix in some fresh kitchen scraps (greens), and make sure there’s enough material to form a decent-sized pile (at least 3x3x3 feet is ideal for hot composting).
- Pests: If you’re attracting rodents or flies, you’re likely adding things you shouldn’t (like meat or dairy) or not covering your greens properly with browns. Ensure your bin is secure, always bury fresh kitchen scraps under a layer of browns, and avoid prohibited items.
Composting Fruit Peels: A Quick Summary for Beginners
Let’s boil it down to the essentials. Composting fruit peels is a fantastic way to enrich your garden and reduce waste. The key is balance. Always remember to:
- Collect all your fruit peels (and other kitchen scraps).
- Chop larger peels for faster decomposition.
- Balance your greens (like fruit peels) with plenty of browns (dry leaves, cardboard). Aim for more browns than greens!
- Cover your kitchen scraps with browns to deter pests and manage odors.
- Moisten if too dry, add browns if too wet.
- Turn regularly for aeration.
It’s a simple, earth-friendly practice that yields rewarding results for your garden.
Frequently Asked Questions About Composting Fruit Peels
Here are some of the common questions I hear from folks just starting out with composting fruit peels:
Can I put all fruit peels in my compost?
Generally, yes! Most common fruit peels like apples, bananas, berries, and melons are excellent for composting. Citrus peels are also good but should be used in moderation due to their acidity. Harder pits will take a very long time to break down.
Will fruit peels make my compost smell bad?
Fruit peels themselves are not usually the cause of bad smells. Bad odors, like rotten eggs or ammonia, usually indicate a compost pile that is too wet or has too many “greens” (like food scraps) and not enough “browns” (like dry leaves or cardboard). Covering your food scraps with a layer of browns helps a lot!
How small do I need to chop my fruit peels?
For faster decomposition, chopping peels into smaller pieces (about 1-2 inches) is helpful, especially for tougher ones like citrus rinds or melon rinds. Smaller pieces provide more surface area for microbes to work on. Small peels like berries can go in as-is.
How long does it take for fruit peels to compost?
The time it takes for fruit peels (and everything else) to fully break down into finished compost varies greatly, typically ranging from 3 months to a year. Factors include the size of your pile, how often you turn it, the ratio of greens to browns, and the ambient temperature.
What if I don’t have a lot of yard waste for ‘browns’?
No problem! Many household items can serve as browns. Shredded newspaper (black and white ink is fine), torn-up cardboard (remove tape and labels), paper towel tubes, and even junk mail can be added to your compost bin. Just make sure to tear or shred them into smaller pieces.
Can I compost fruit peels if I have fruit flies?
Fruit flies are attracted to exposed, decomposing food scraps. The best way to manage them when composting fruit peels is to ensure your kitchen scrap bin has a tight-fitting lid and, more

I am passionate about home engineering. I specialize in designing, installing, and maintaining heating, ventilation, and air conditioning systems. My goal is to help people stay comfortable in their homes all year long.
