Achieving stability in home construction is fundamental to ensuring that any dwelling lasts for decades. One of the crucial elements of creating a stable foundation for any building is selecting the right subflooring material.
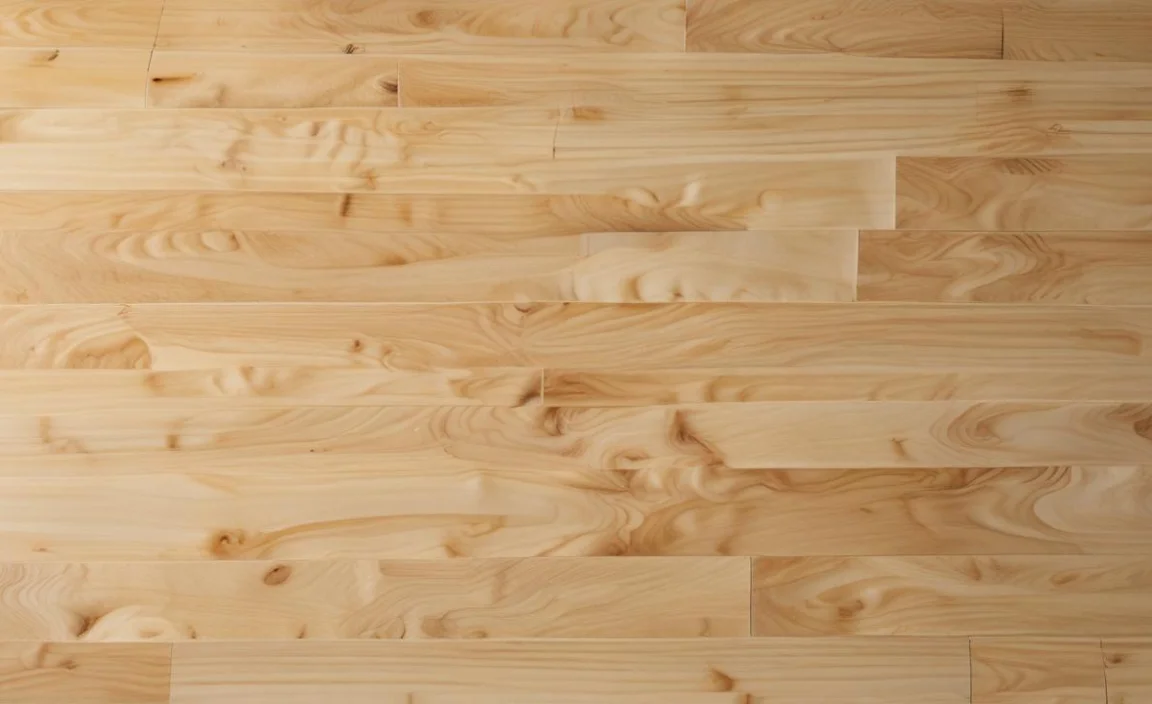
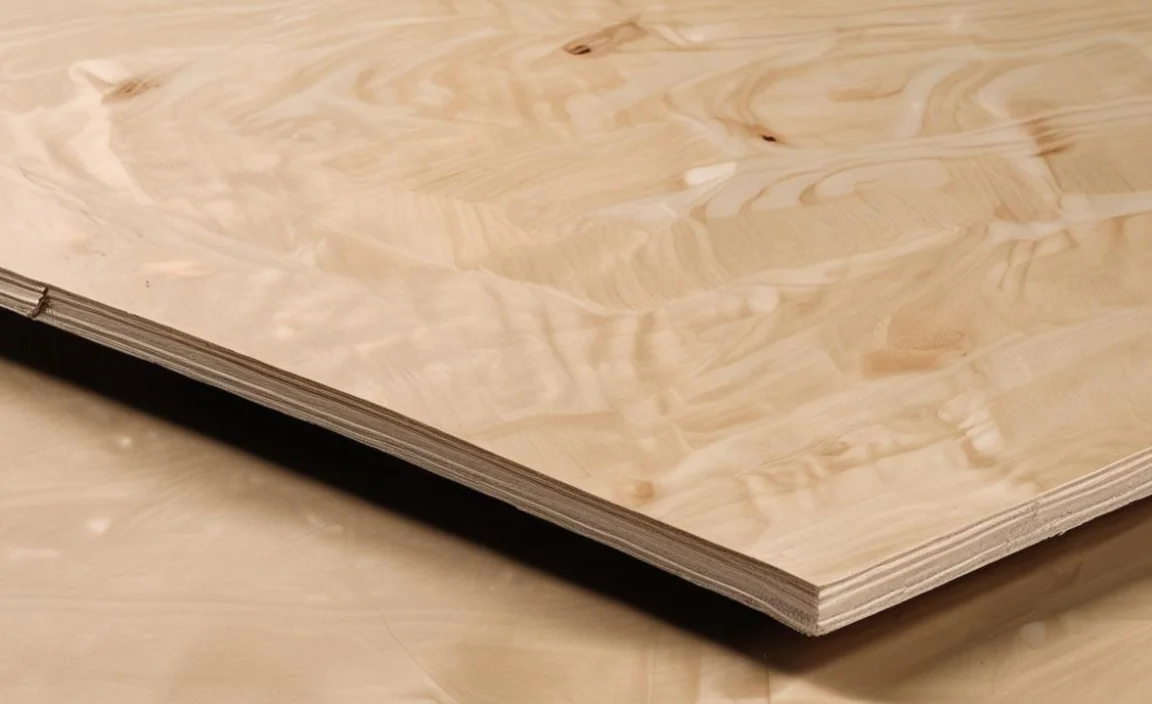
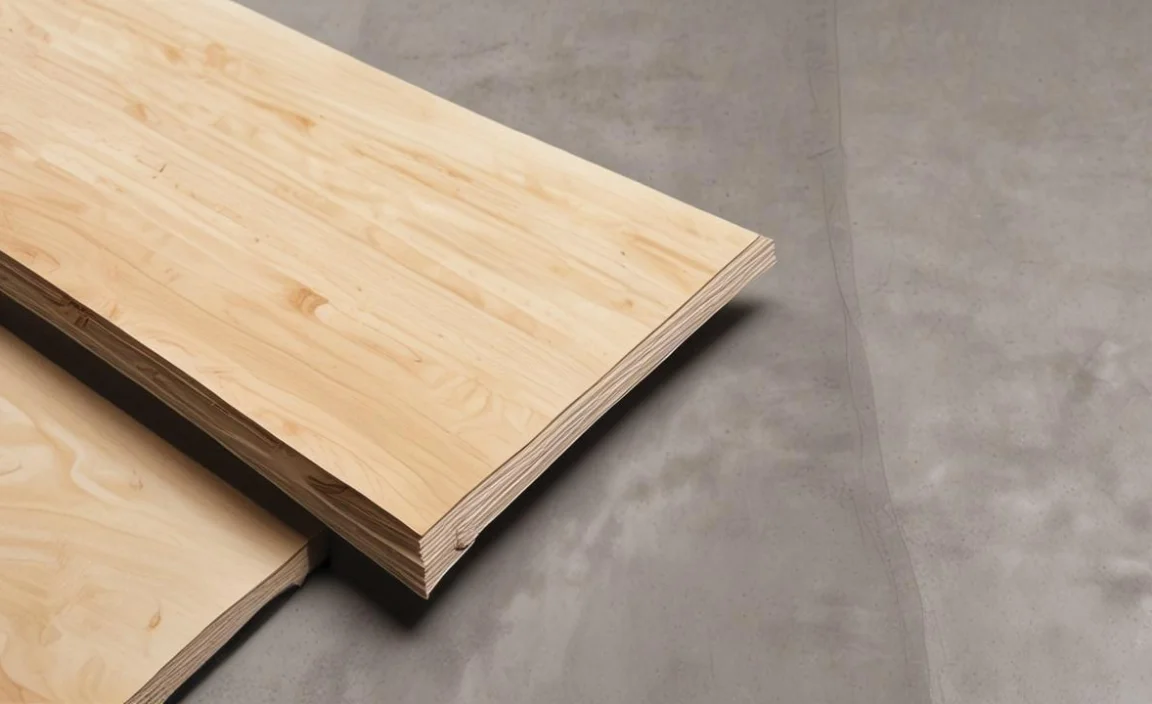
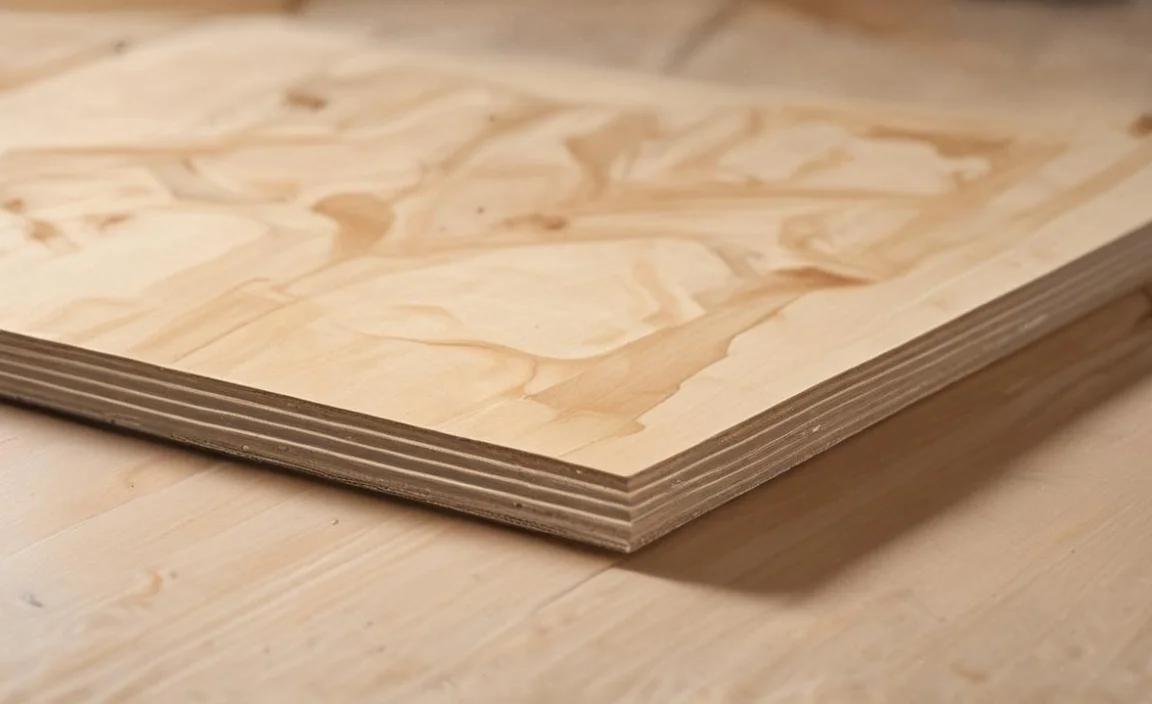
There are several options on the market, but 5/8 plywood subflooring has gained immense popularity due to its strength and durability. Plywood is a composite material that consists of thin layers of wood veneer glued together to form a single sheet.
This construction makes it stronger and more warping-resistant than wood products like particleboard. The thickness of 5/8 plywood adds to its rigidity and stability, making it an ideal choice for subflooring.
The advantages of using plywood subflooring go beyond its strength and stability. It is easy to install and handy with many materials, including tiles, hardwood, and engineered flooring.
Installation Methods For 5/8 Plywood Subflooring
To install 5/8 plywood subflooring, start by cleaning and leveling the existing subfloor. Measure and cut the plywood sheets, then lay them out, leaving a 1/8-inch gap between sheets for expansion. Secure the plywood with nails or screws every 6 inches along the edges and 12 inches in the field. Fill gaps and seams, sand rough areas, and finish as desired.
Tools And Materials Required For Installation
Before starting the installation, gather the necessary tools and materials. This includes 5/8 plywood sheets, a circular saw, measuring tape, construction adhesive, screws, a drill, and safety equipment such as goggles and gloves. Determine how many plywood sheets you will need by measuring the area where you will install the subflooring.
Use a circular saw to cut the plywood sheets into the appropriate size for installation. Apply construction adhesive to the joists or floor beams to attach the plywood. Lay the plywood sheets on top of the adhesive and secure them with screws, ensuring proper alignment and spacing. Cover the entire area with plywood subflooring by continuing this process.
Pre-Installation Preparation
When installing a subfloor, 5/8 plywood is popular among homeowners and contractors. This thickness provides a sturdy and durable foundation for your flooring, whether installing hardwood, laminate, or tile. However, before you start the installation process, you need to take a few important steps to ensure the best results.
First, ensure the existing floor is clean and free from any debris or protruding nails. Next, check for any areas of the subfloor that may be uneven or damaged, as these should be repaired or replaced before proceeding.
Finally, applying a moisture barrier is important to prevent any potential water damage to your subfloor. Following these pre-installation preparation steps can help ensure a successful and long-lasting subfloor installation.
Installing The First Row Of Plywood
When installing a plywood subfloor, starting with the first row of plywood is important. This row serves as the foundation for the rest of the subfloor installation. Begin by measuring and cutting the plywood sheets to fit the length of the room, leaving a 1/8-inch gap between each sheet for expansion.
Place the first sheet against the wall, ensuring that it is square and aligned with the edge of the room. Secure it to the floor joists using screws or nails, spacing them every 6 inches along the edges and every 12 inches in the field. Repeat this process for each subsequent row, making sure to stagger the seams between sheets for added strength and stability.
Creating A Staggered Joint Pattern
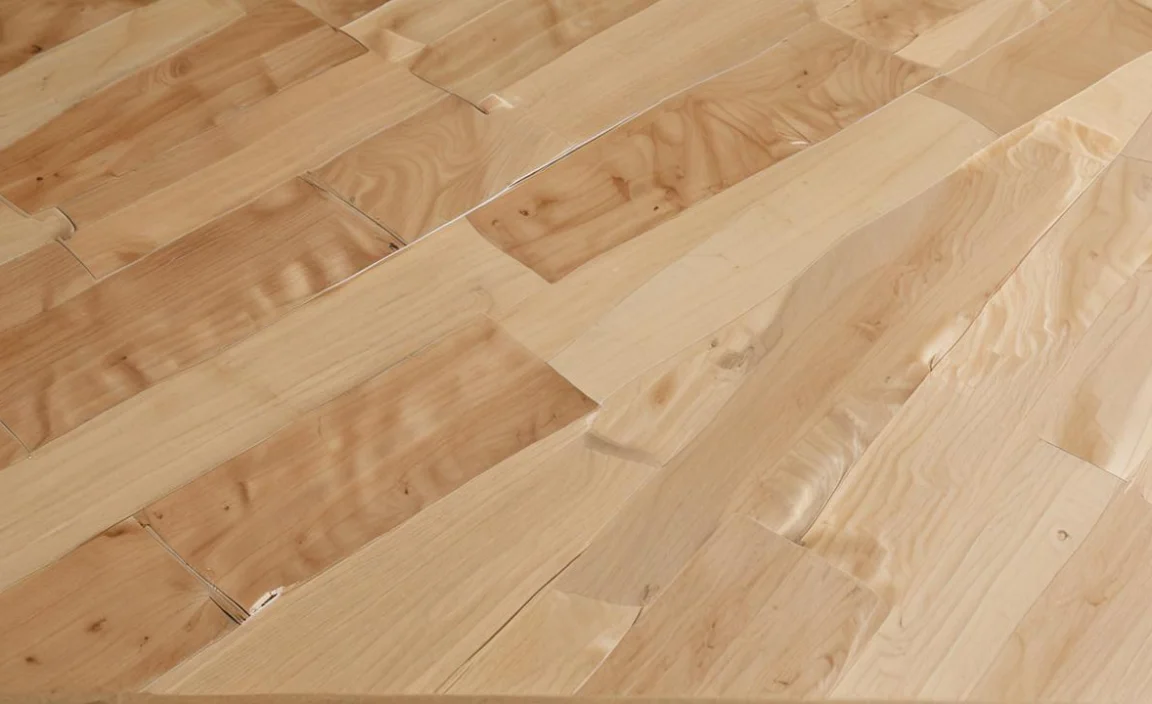
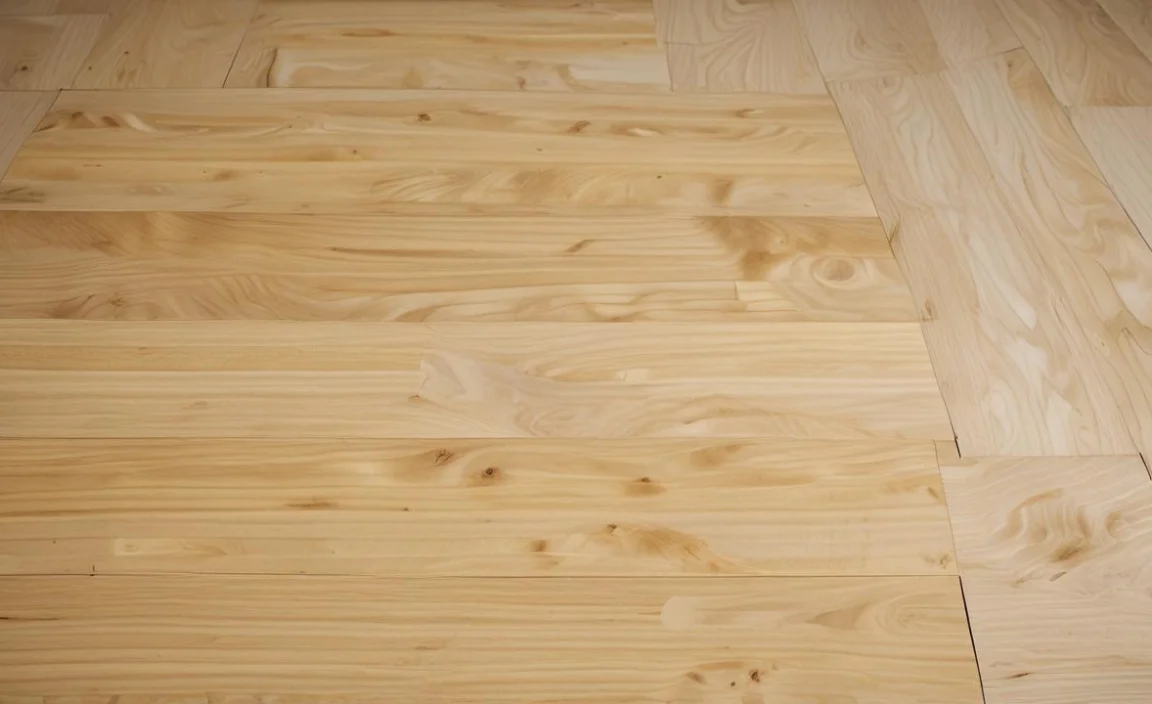
When installing a plywood subfloor, creating a staggered joint pattern is important. This means that the end joints of adjacent plywood panels should not line up with each other. Instead, they should be offset by at least two feet to ensure stability and prevent weak spots in the subfloor.
This staggered joint pattern helps to distribute weight evenly across the entire subfloor, reducing the risk of sagging or warping over time. To achieve this pattern, lay a full sheet of plywood along one edge of the room. Then, cut a partial sheet to fit the remaining space on that row, ensuring the end joint is positioned at least two feet away from any end joint on the previous row.
Repeat this process for subsequent rows until you cover the entire subfloor with staggered joints. Following this technique can ensure a strong and durable plywood subfloor for your project.
Attaching Plywood To The Floor Joists
to attach a plywood subfloor to floor joists, there are a few key steps to follow. First, ensure that you properly space and check the condition of the floor joists. Next, lay out the plywood sheets so that they are perpendicular to the joists, with the long edges of the plywood running parallel to each other.
Use construction adhesive along the top of the joists to secure the plywood in place. Then, use screws or nails to fasten the plywood to the joists, and space them evenly along the edges and field of each sheet.
It is important to follow manufacturer guidelines for spacing and fastening methods. Once all sheets are secured, check for gaps or unevenness and make necessary adjustments before further installing flooring.
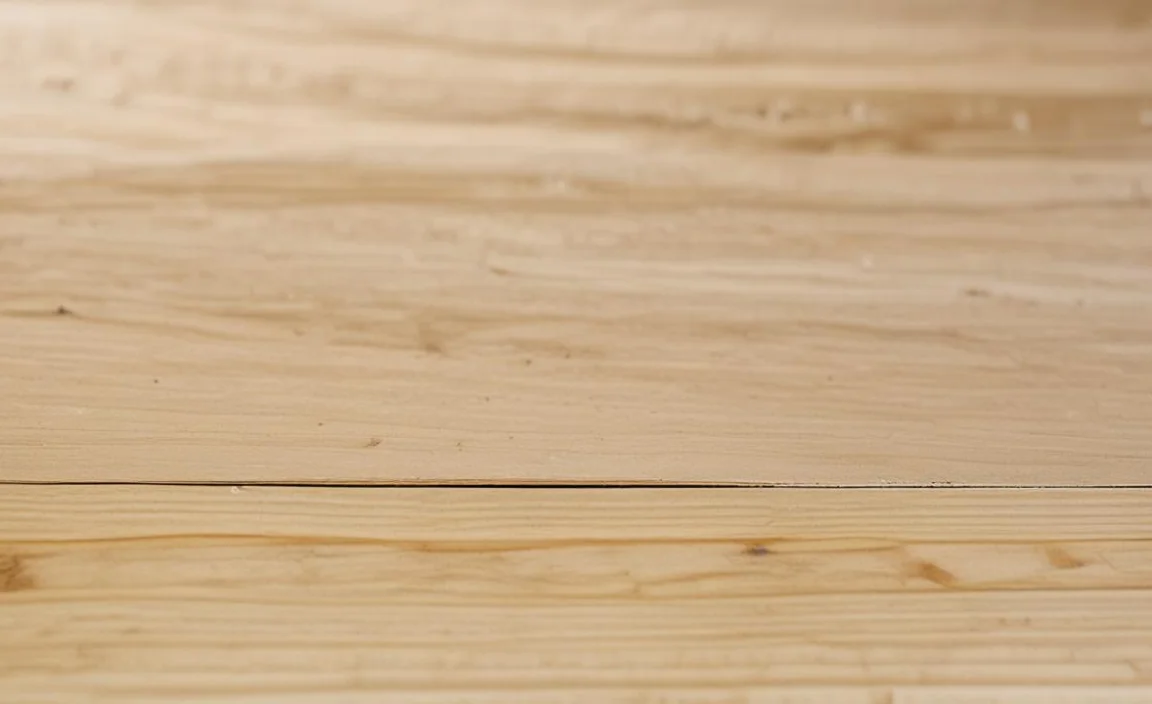
Filling Gaps And Sealing Joints
to install a plywood subfloor, filling gaps and sealing joints is important to ensure a sturdy and level surface. Builders commonly use 5/8 inch plywood for subflooring because it offers sufficient strength and stability. However, small gaps between the plywood sheets may still exist even with this thickness.
These gaps can lead to squeaky floors or allow moisture to seep through, potentially causing damage over time. To address this issue, it is recommended to use a wood filler or leveling compound to fill in any gaps or seams between the plywood sheets.
Additionally, applying a bead of construction adhesive along the edges of the plywood sheets can help create a tight seal and prevent movement or moisture penetration. These extra steps during the installation will help ensure a solid and durable subfloor for your flooring project.
Sanding And Smoothing Out The Subfloor
to install a plywood subfloor, one important step is sanding and smoothing the surface. This ensures that the subfloor is level and free from any imperfections that could affect the installation of the flooring material.
Before sanding, it is crucial to make sure that the subfloor is clean and free from any debris or loose particles. Once you do this, you can use a sander or sanding block to smooth out rough spots or uneven areas.
Pay close attention to seams between plywood sheets, as these can create bumps or unevenness in the subfloor. Properly sanding and smoothing out the plywood subfloor can ensure a more successful and professional-looking flooring installation.
Tips For Successful Installation
To ensure a successful installation of plywood subfloor, there are a few key tips to keep in mind for a successful installation. First, properly prepare the subfloor by removing any existing flooring and ensuring it is clean and level. Next, stagger the plywood seams to create a stronger, more stable subfloor.
Use construction adhesive and screws to secure the plywood sheets to the subfloor, making sure to space the screws appropriately. It’s also important to leave a small gap between the sheets to allow for expansion.
Finally, properly seal and finish the subfloor to protect it from moisture and other potential damage. By following these tips, you can ensure a sturdy and durable plywood subfloor that will provide a solid foundation for your flooring.
Common Mistakes To Avoid
When installing a plywood subfloor, there are a few common mistakes that you should avoid. First and foremost, ensure that you properly secure the plywood to the floor joists. Use screws or nails specifically designed for subfloor installation and ensure they are placed at the recommended intervals.
Another mistake to avoid is not properly staggering the seams of the plywood sheets. This can lead to weak spots in the subfloor and potential issues down the line. Additionally, checking for any unevenness or dips in the subfloor before installation is important.
Addressing these issues beforehand can help ensure a smooth and level surface for your flooring. By avoiding these common mistakes, you can ensure a sturdy and reliable plywood subfloor for your project.
Conclusion
5/8-inch thick plywood subflooring, specifically designed for use as a base for floorcoverings such as carpet, hardwood, laminate, and ceramic tile, provides an ideal foundation for many types of flooring projects.
Using 5/8 plywood subflooring is a reliable and durable option for achieving stability in your flooring. By following the proper installation methods, you can ensure that your subfloor is strong and secure.
Remember to gather all the necessary tools and materials, prepare the area before installation, create a staggered joint pattern, securely attach the plywood to the floor joists, fill gaps and seal joints, and finish off with sanding and smoothing. Following these steps will help you achieve a stable and long-lasting subfloor.
